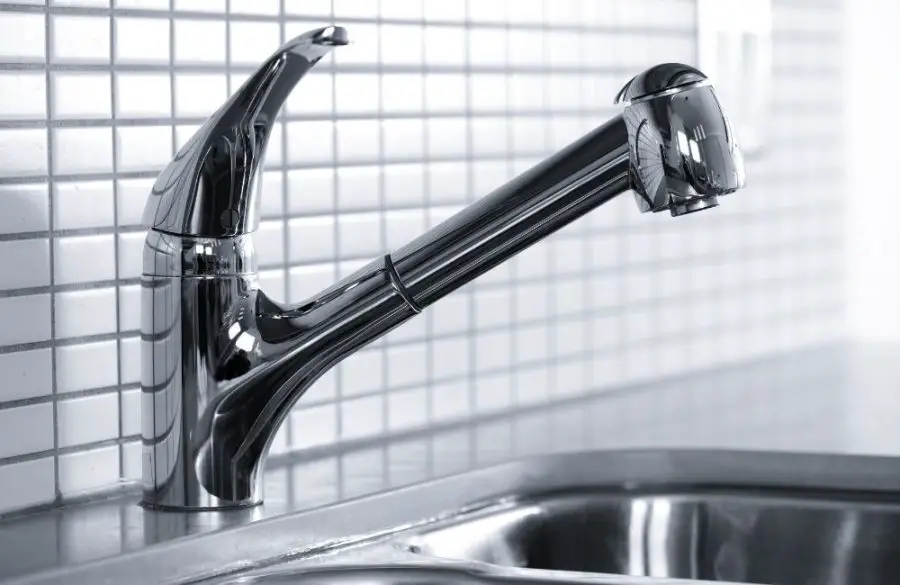
As time goes on, your kitchen faucets will become loose. Apart from these being very frustrating, they can cause some damages to your plumbing. Below are some of the reasons for this problem.
One of the major reasons for loose kitchen faucets is when nuts are not properly tightened. There is a nut that has the role of holding the faucet head and base together.
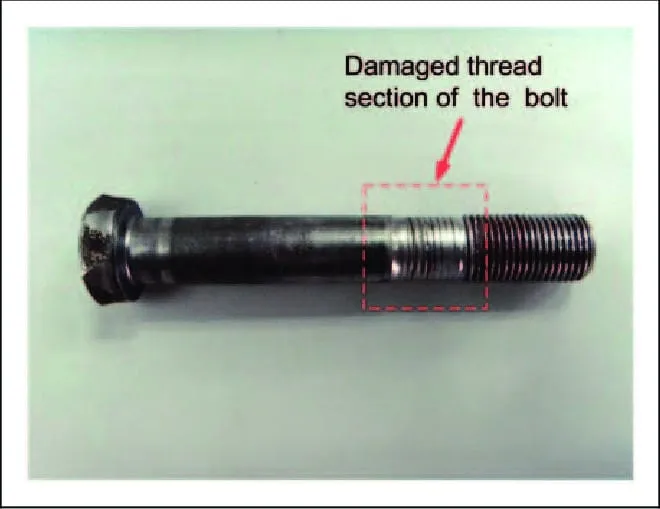
The mount’s underside is where it is usually located. As the months and years are going by, its thread will become damaged. This will make the faucet keeps coming loose.
The problem of loose kitchen faucets is very common. When not repaired on time, such can bring about leakages.
Do you want to know the best part? It is a fact that you can easily tighten a loose kitchen faucet. This means you won’t need to hire the services of any professional.

Why Does My Kitchen Faucet Keep Coming Loose?
After being tightened over and over again, it is possible for your kitchen faucet keeps coming loose.
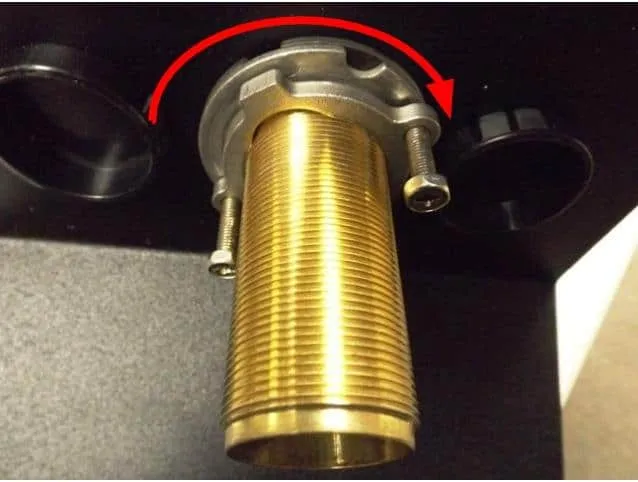
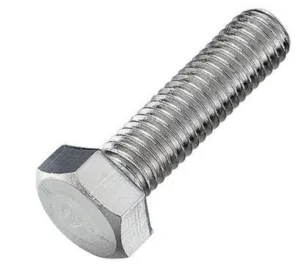
It doesn’t matter whether such faucet is new or old. There is an under-mount bolt that couples the faucet base as well as the head together.
This bolt is being held by some screws which can become loose with time. Once this happens, your faucet will begin to swivel. This is a sign that it is starting to become loose.
One of the reasons why this nut can become loose is when the threads on such bold have become damaged.
Another reason could be when a plumber makes it slip. Over-tightening of the nut can make it not be firm on the bolt.
How To Repair Loose Kitchen Faucet – 5 Practical Steps You Can Follow Today

You don’t need a plumber to have your lost kitchen faucet fixed. It is basically all about having the bolt which fastens the faucet head and base together tightened.
The only task that you will find a little bit difficult is locating the nut. When you find it, just rotate it over and over to ensure it is tight.
In order to make this very easy for you, I have managed to break the entire process down into 5 easy steps.
Before revealing these steps, there are some things that need to be done. These will be highlighted below:
- Get a flashlight for finding the under-mount bolt beneath the sink
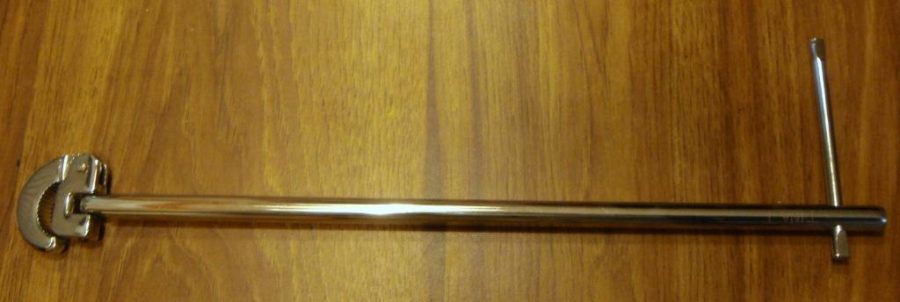
- Get an adjustable sink/basin wrench that can be used in tightening your faucet bolt. A regular wrench can also be used. However, I don’t recommend such since it hasn’t worked for me before. The easiest way of accessing a bolt is via a basin wrench.
*Note*
There is no need to bother about purchasing a basin wrench since such will be used only once. The best thing to do is have one rented. When you have the correct tools for this job, such a task shouldn’t take up to 30mins to be completed.
Step 1 – Emptying your under-sink cabinet
Most people make use of the space (cabinet) under their sink to store various items. Ensure that these items have been removed.
Also, clean the space to remove dust.
Remember to have the upper surface of such a cabinet cleaned to prevent dust and dirt from entering your eyes while trying to locate the bolt.
This step may be optional but it is important to ensure you are safe while doing such a task.
Step 2 – Turning off water valves
Before locating the bolt, it is important that water valves are turned off beneath the sink.
Again, this is a precautionary measure just like in step 1 above. Under your sink, there are two valves.
These should be turned off to prevent you from getting soaked in case there is a pipe burst.
Step 3 – Locating the bolt under the skin
You will need the flashlight recommended above in this step. Position yourself in a way that you will be facing your sink’s underside directly.
Now, turn on the flashlight to find the bolt on the cabinet’s roof. It is always directly below the location of your kitchen faucet.
Step 4 – Setting your wrench to size
You will need to set the size of your wrench. This is usually based on the nut which is on your faucet bolt. That is the nut that needs to be tightened.
Step 5 – Rotating the nut in order to have it tightened
This is the final step. Use your wrench to have a firm grip on such a nut. It should be turned clockwise.
For this task to be properly done, you may have to get into positions that are uncomfortable. It all depends on your cabinet size and the location of such a nut though.
Utmost caution should be exercised while the nut is being tightened. Your faucet will still remain loose once it is not properly tightened.
Also, avoid tightening it too much. Just keep on turning until it gets to the point where it can’t move anymore. Don’t force it beyond such a point since it can create other problems for you.
That is it as your loose kitchen faucet has been fixed. The water valves should be turned on again. Don’t just stop there as it is recommended to try your work in order to see whether it has been effectively repaired. The job is perfect if it is not loose.
*Important note*
In case the faucet is loose after the tightening, try to have it further tightened. If the problem still persists, it is recommended to contact a professional plumber for help.
Before calling a plumber, there is another solution you can try to see whether the situation can improve.

Tightening The Handles of Your Kitchen Faucets
If the handle of your kitchen faucet is loose, such will not function properly. In case you have tightened the faucet as discussed above but there doesn’t seem to be any improvement, you can check its handles.
In order for this to be done, there are items that will be needed. These are:
- Flathead screwdriver
- Phillips head screwdriver
- Hex head wrench
Step 1 – Clearing out your sink cabinet
Every object or item in your sink should be removed. Just clean the sink a little bit before commencing.
Step 2 – Turning water valves off
The 2 water valves in the sink cabinet should be located and turned off.
Step 3 – Identifying your faucet type
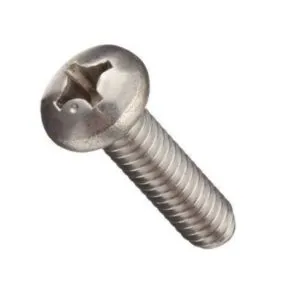
Using a Phillips head screw or Hex-head screw can make your faucet secured.
There are instances when you may not see the head of the screw. This means the decorative cap will need to be removed.
Once this has been done, that is when you will find out the type of screw that needs to be tightened.
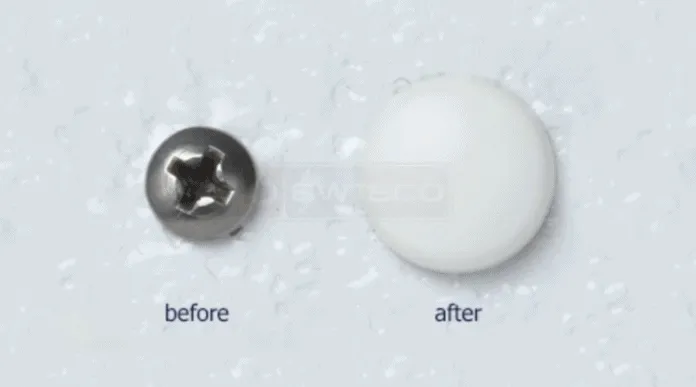
With the aid of a knife or flathead screwdriver, the decorative cap can be removed easily. All that is required is to use any of their edges for this to be done.
Step 4 – Tightening the screw
Depending on the screw that needs to be tightened, Phillips or hex-head screwdriver will be required.
If you are going to make use of a hex head wrench, your faucet handle will have to be turned on for the screw to be fixed. This is why it is recommended that your valves are turned off.
Conversely, using a Phillips screwdriver may require you to have the handle held in place while the screw is being rotated clockwise.
After turning on the valves, check your faucet handles and base again. If everything is working fine as expected, put back the cap.
However, it is recommended to hire the services of a professional plumber in case it is still not working.
A word of advice
One of the implications of a loose kitchen faucet is that the water supply will begin to rupture. It is a frustrating problem.
Tightening the bolt which fastens your faucet head and base together is the only way for fixing this problem.
This solution isn’t recommended though. If you have a leaking faucet that is not serious, leave it for some months. This is because you can cause more serious damage in an attempt to have it repaired. In some cases, a new faucet may be the solution meaning unnecessary expenses.
Whatever the case may be, always consult the expertise of a plumber when trying to purchase a new faucet.
Final words
It is true that loose kitchen faucets can be very annoying especially when they have become serious. However, this is a common problem that most homeowners experience.
The good part is that fixing them on your own doesn’t require any special skill or knowledge. In other words, there won’t be any need to hire the services of a plumber.
All you need is to get access to the right tools as explained above and you are good to go. From the explanations above, you can tell that the process is simple and straightforward.
Once you are committed to getting a fully functional kitchen faucet, the steps will work without any restriction.
In case you don’t want to get your hands to get stained, it is recommended to hire a plumber who can help out.
However, there is no doubt that the tips shared here can help in times of emergency. If you ever have any questions, don’t hesitate to ask. They will be replied to as soon as possible.

More from Materialsix: