
If you’ve been looking for the perfect way to bring the warm, cozy vibes of fall to your dining room, a crochet leaf table runner is the ultimate weekend project.
Recently, a gorgeous image of a textured, multi-colored leaf runner from our collection of Thanksgiving table runner ideas went viral on Pinterest, and so many of you asked the same question: “How can I make this?”
While the original viral image is a stunning piece of visual inspiration, recreating this exact look is easier than you think! Below, we break down exactly how to construct this beautiful autumn tablescape piece, the basic stitch patterns you need, and the best resources to get you started.
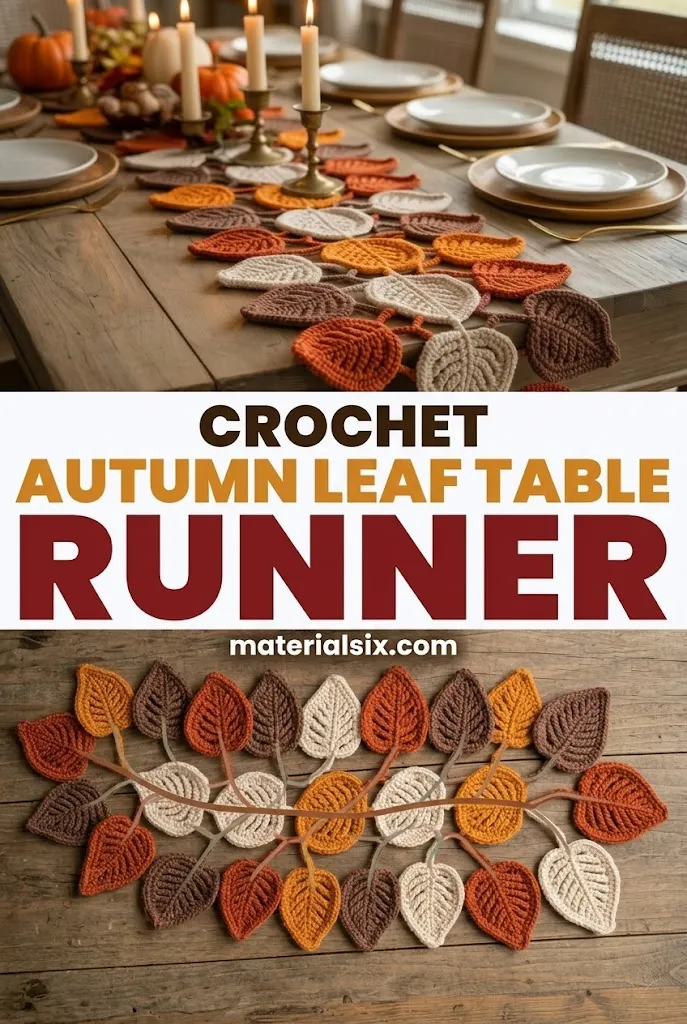
Why This Crochet Leaf Runner Layout Works So Well
Unlike traditional, solid rectangular table runners, this design stands out because of its modular construction. Instead of crocheting one massive piece, you create individual leaves and join them together.
- Customizable Length: You can make as many or as few leaves as you need to fit your specific table size.
- Stunning Drape: The way the leaves naturally cascade over the edge of the wooden table creates an elegant, organic look.
- Perfect Scrap-Buster: You can use up your leftover yarn in various autumn shades without needing multiple full skeins of the same color.
The Autumn Color Palette
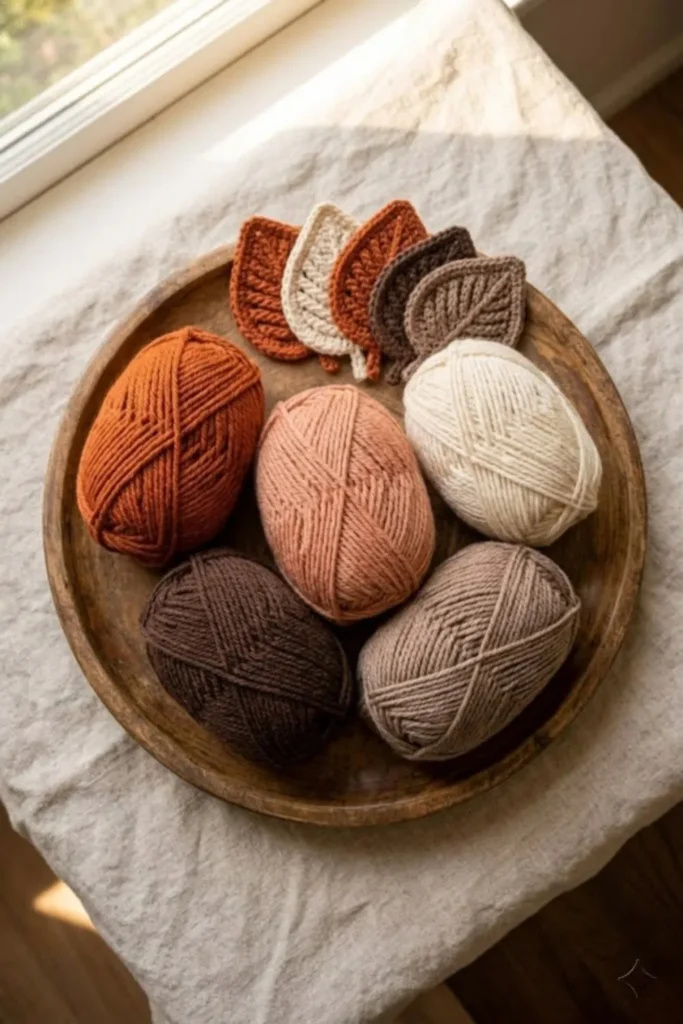
To achieve the exact warm, rustic look from our viral pin, you will want to use medium-weight (worsted/medium 4) yarn.
A curated mix of earthy tones is key to this design.
Stick to this earthy color family:
- Rust / Burnt Orange
- Terracotta / Soft Orange
- Cream / Off-White
- Deep Chocolate Brown
- Taupe / Warm Grey
Six coordinated autumn shades of medium-weight cotton yarn with crisp stitch definition for creating textured crochet leaves.

The Step-by-Step Construction Guide
Since this is a modular project, the process is broken down into three simple phases: making the leaves, blocking them for a neat finish, and assembling the runner.
Step 1: Choose Your Leaf Pattern
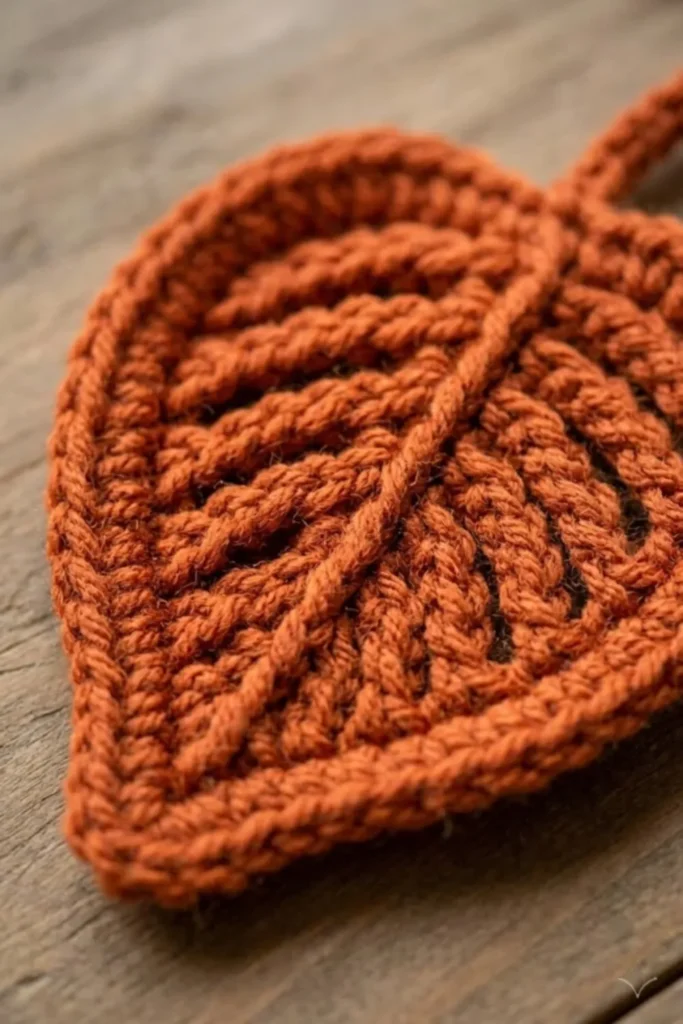
The leaves in the design feature a prominent center vein and ribbed texture. This is crucial for giving the leaves that realistic, 3D structure rather than looking like flat, shapeless blobs.
Notice how the ‘Back Loop Only’ (BLO) stitches create deep, realistic ridges along the leaf. If you don’t already have the recommended hook size, an ergonomic crochet hook set gives you several sizes to test with your chosen yarn and leaf pattern.
The Secret Technique: Most crochet leaf patterns that look like this utilize Back Loop Only (BLO) stitches. By working your single crochets (sc) and half double crochets (hdc) only into the back loop of the previous row, you naturally build those distinct raised ridges running down the sides of the leaves.
Step 2: Block Your Leaves (Crucial Step!)
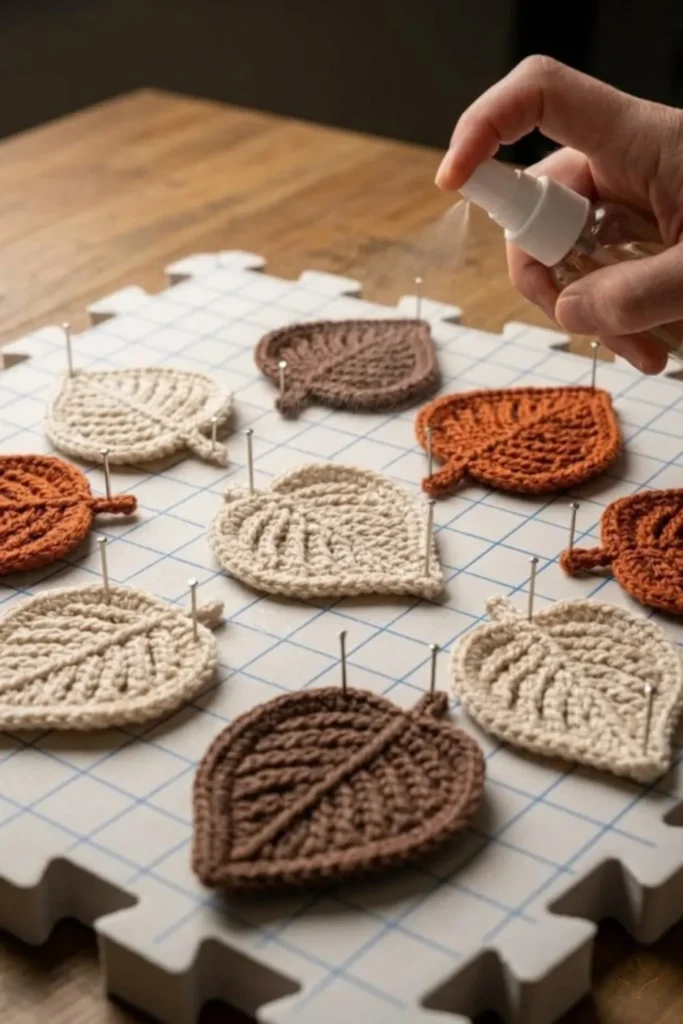
Because crochet stitches tend to curl, your leaves won’t lay flat on the table automatically right off the hook. If you skip this step, your runner will look messy.
Pinning and misting your leaves ensures they lay perfectly flat.
A small set of interlocking blocking mats gives you enough space to shape several leaves at once while keeping their sizes and curves consistent.
Four interlocking 12-inch foam mats with 50 T-pins for shaping several crochet leaves at once before assembling the runner.

- Pin each finished leaf down onto a foam blocking mat.
- Lightly spray them with water or steam them gently.
- Let them dry completely. This ensures they lay perfectly flat and crisp on your dining table.
Step 3: Layout and Assembly
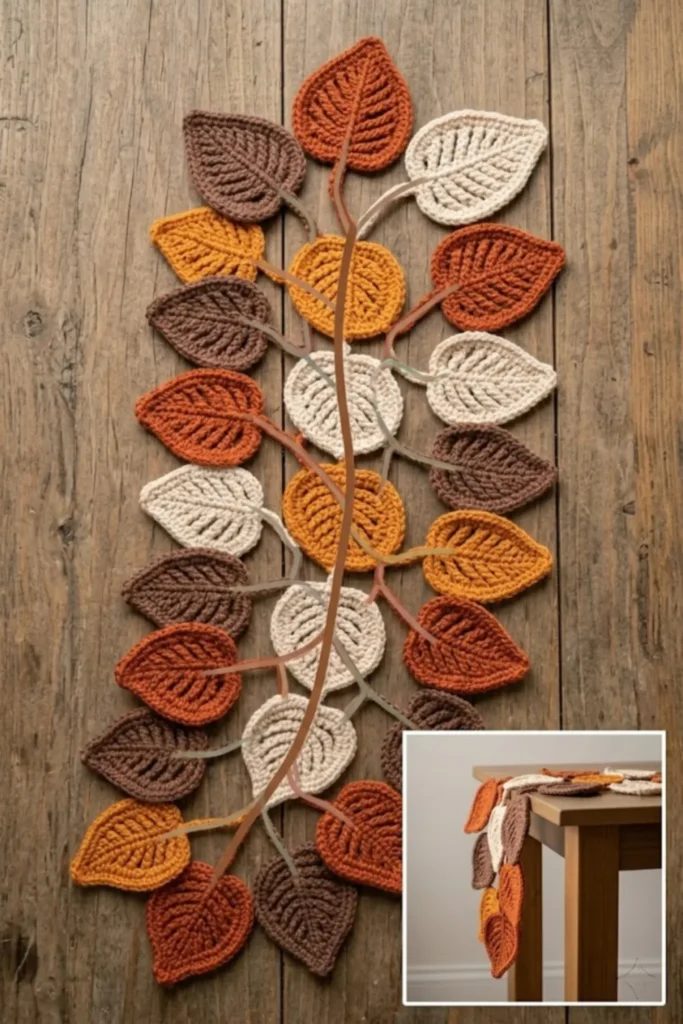
Before joining, lay your flat leaves out on your table to find the perfect arrangement. Notice how the viral design alternates colors randomly to keep the eye moving.
Building a central ‘vine’ helps anchor the leaves and creates a natural cascade over the table edge.
- The Vine Method (Recommended): To get the exact look, crochet a long “vine” (a simple chain stitch running down the center of the table). Then, slip-stitch the stems of your individual leaves directly into the main vine as you go.
- The Drape: Make sure to leave 3 to 4 leaves unattached at the very ends so they can hang naturally off the edge of your table.
Styling Your Autumn Tablescape
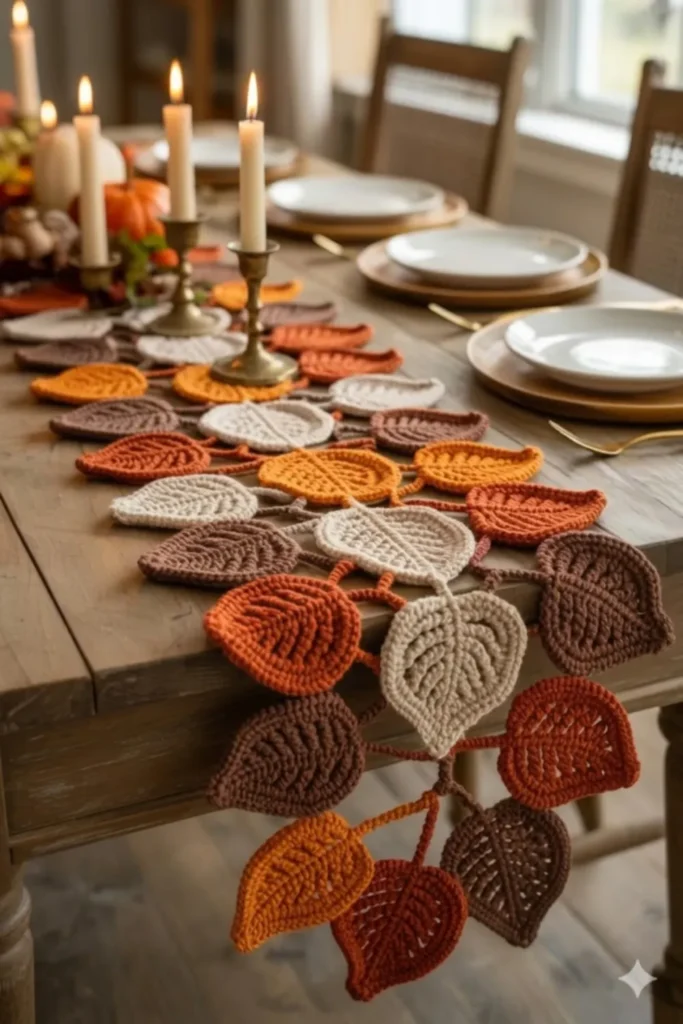
Once your runner is complete and assembled, you can recreate the exact cozy ambiance from our viral photo by adding a few simple, complementary elements.
If you’re planning the rest of the table, these Thanksgiving tablescape ideas can help you coordinate the runner with candles, place settings, natural greenery, and seasonal accents.
Keep the rest of the table decor neutral so your handmade runner is the star of the show.
- Taper Candles: Use vintage brass or dark metal candlesticks with cream-colored taper candles to add height and warm lighting.
- Mini Pumpkins: Scatter a few white and orange mini pumpkins or dried gourds along the center of the runner.
- Neutral Dinnerware: Keep your plates neutral (white or earthy stoneware) with wooden or gold charger plates to let the colors of your handmade runner truly shine.
To complete the arrangement without covering too much of the handmade runner, choose one of these compact DIY Thanksgiving centerpiece ideas.
Happy crocheting! If you make this runner, don’t forget to save this post to your Pinterest craft boards, and drop a comment below showing off your gorgeous autumn tablescape!