
That old picture frame in the closet might be the right size for your favorite fabric scrap, the house keys you keep losing, or the little souvenirs you brought home from vacation.
These 21 picture frame crafts make use of what you already have, from shallow thrift-store frames to deep shadow boxes. Some ideas keep the glass in place, while others swap it for cork, wire, or a shelf.
Before you start, check the corners, backing, and hanging hardware so you can match each frame to a project it can handle.
1. Pressed Flower Display
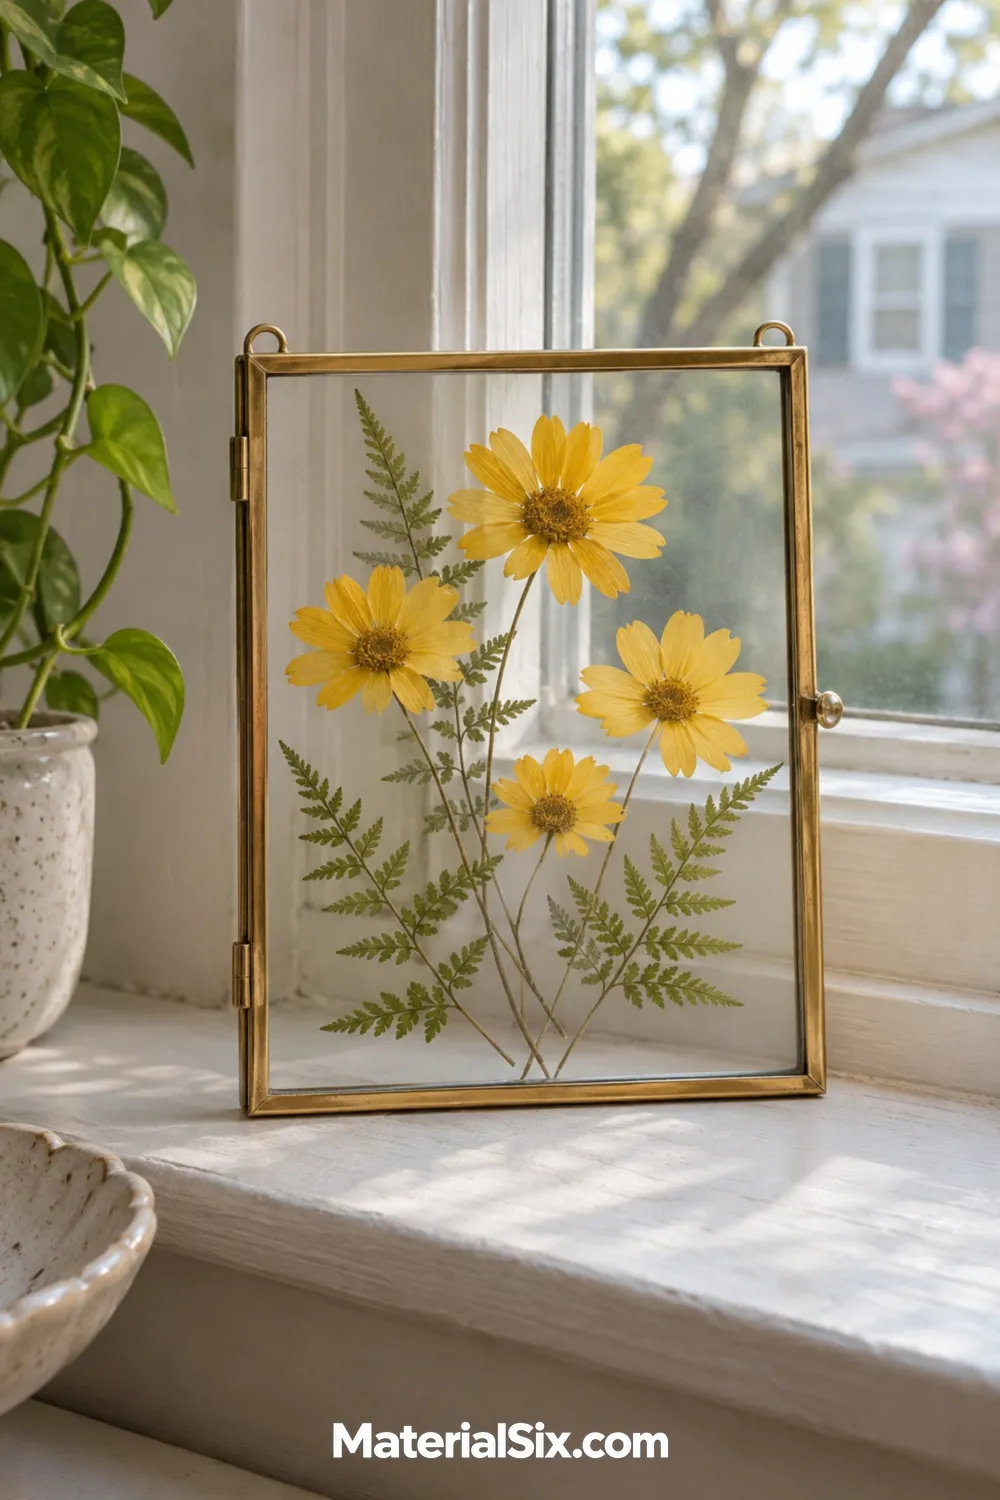
A double-glass frame lets the wall or window show through around pressed flowers. Lay out a few dry, flat stems on one pane first. Leave an open space near the center and angle the stems so they look loosely gathered. If the pieces shift when you close the frame, secure the backs with tiny dots of clear craft adhesive suitable for glass.
Choose thin flowers and fern tips that fit without forcing the panes apart. Display the arrangement in indirect light if you want to slow fading.
2. Fabric Scrap Wall Art
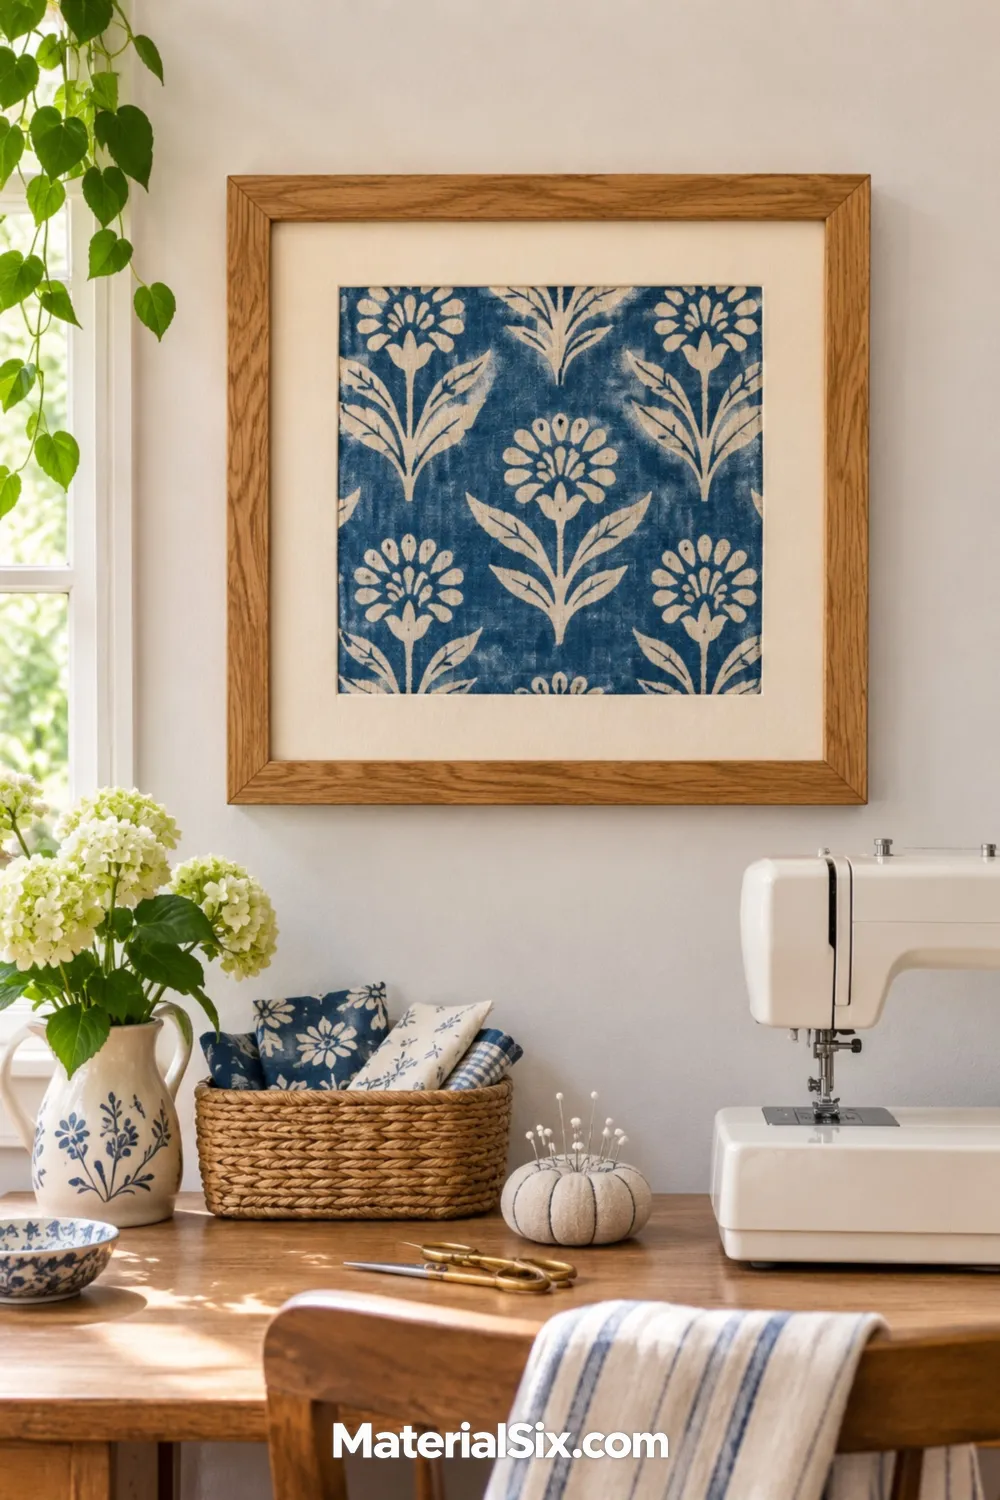
An oak frame and cream mat give a little offcut of block-print fabric room to shine. Look through your sewing scraps for a repeat you can center in the opening. If the motif is large, move the mat around before cutting so you can see which part of the pattern looks strongest on its own.
Smooth the fabric over a piece of backing board and secure the extra fabric behind it. A slim spacer or mat can keep a lightly textured print from pressing against the glazing.
3. Button Mosaic Frame
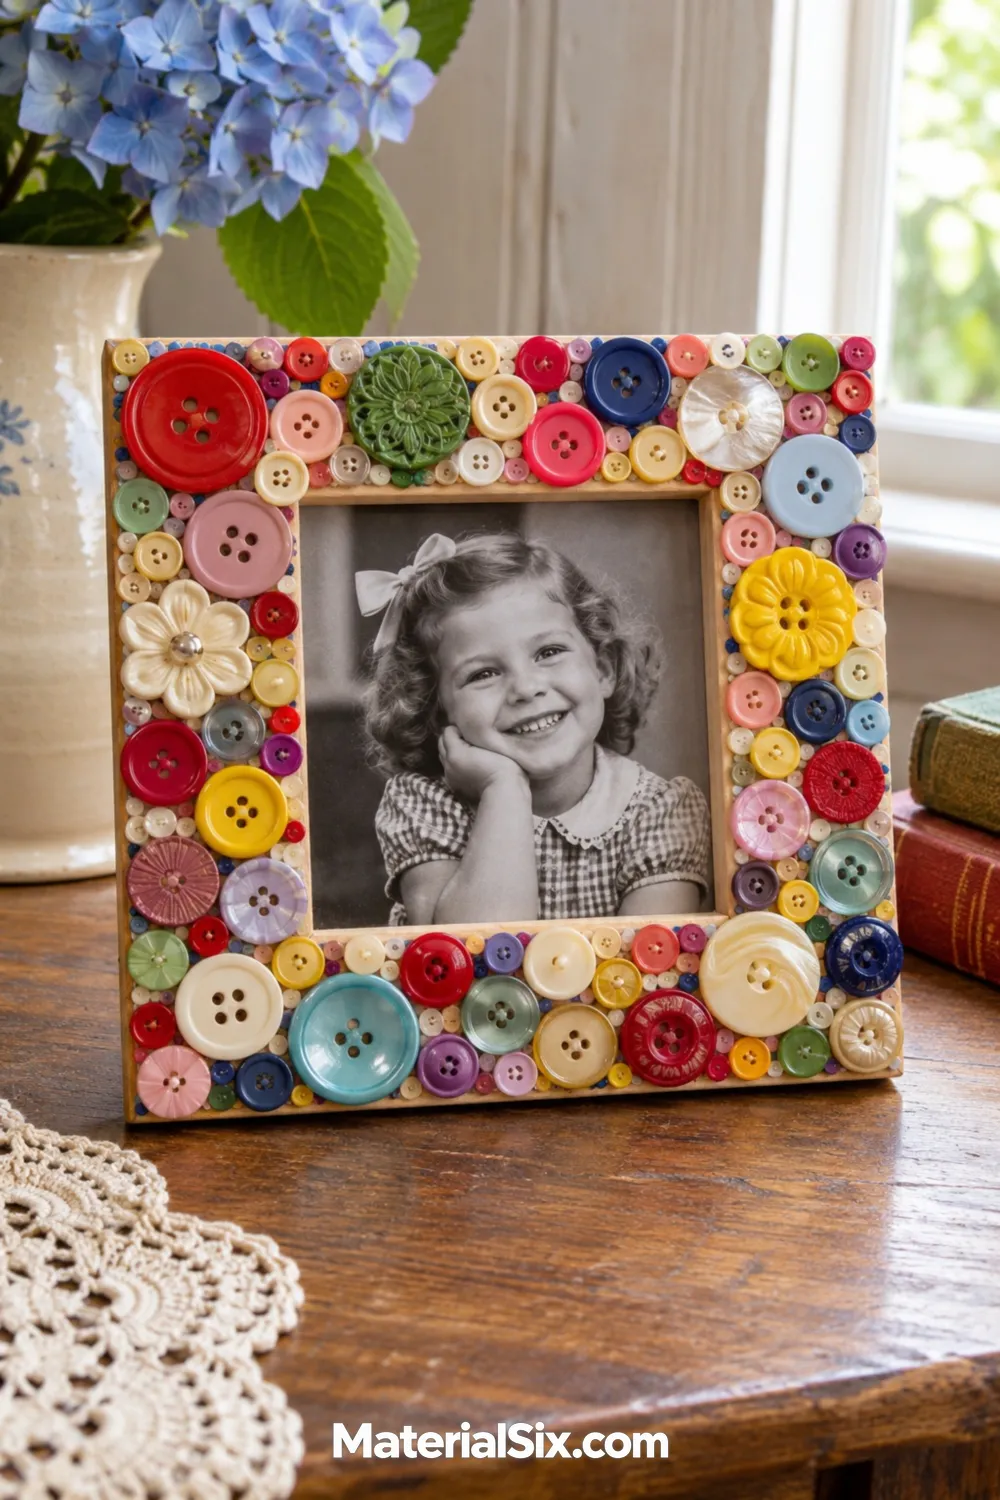
A wide, flat frame gives you space to arrange buttons around a favorite photo. Sort the buttons by size before you glue anything. Large buttons anchor the corners, and small ones fill the spaces where the edges meet. Try laying them out around the frame with the photo in place so the border and picture feel like they belong together.
Flat-backed buttons sit most easily on the wood. Use an adhesive compatible with the frame finish and the buttons, and allow it to cure before you stand the frame upright.
4. Cork Pinboard
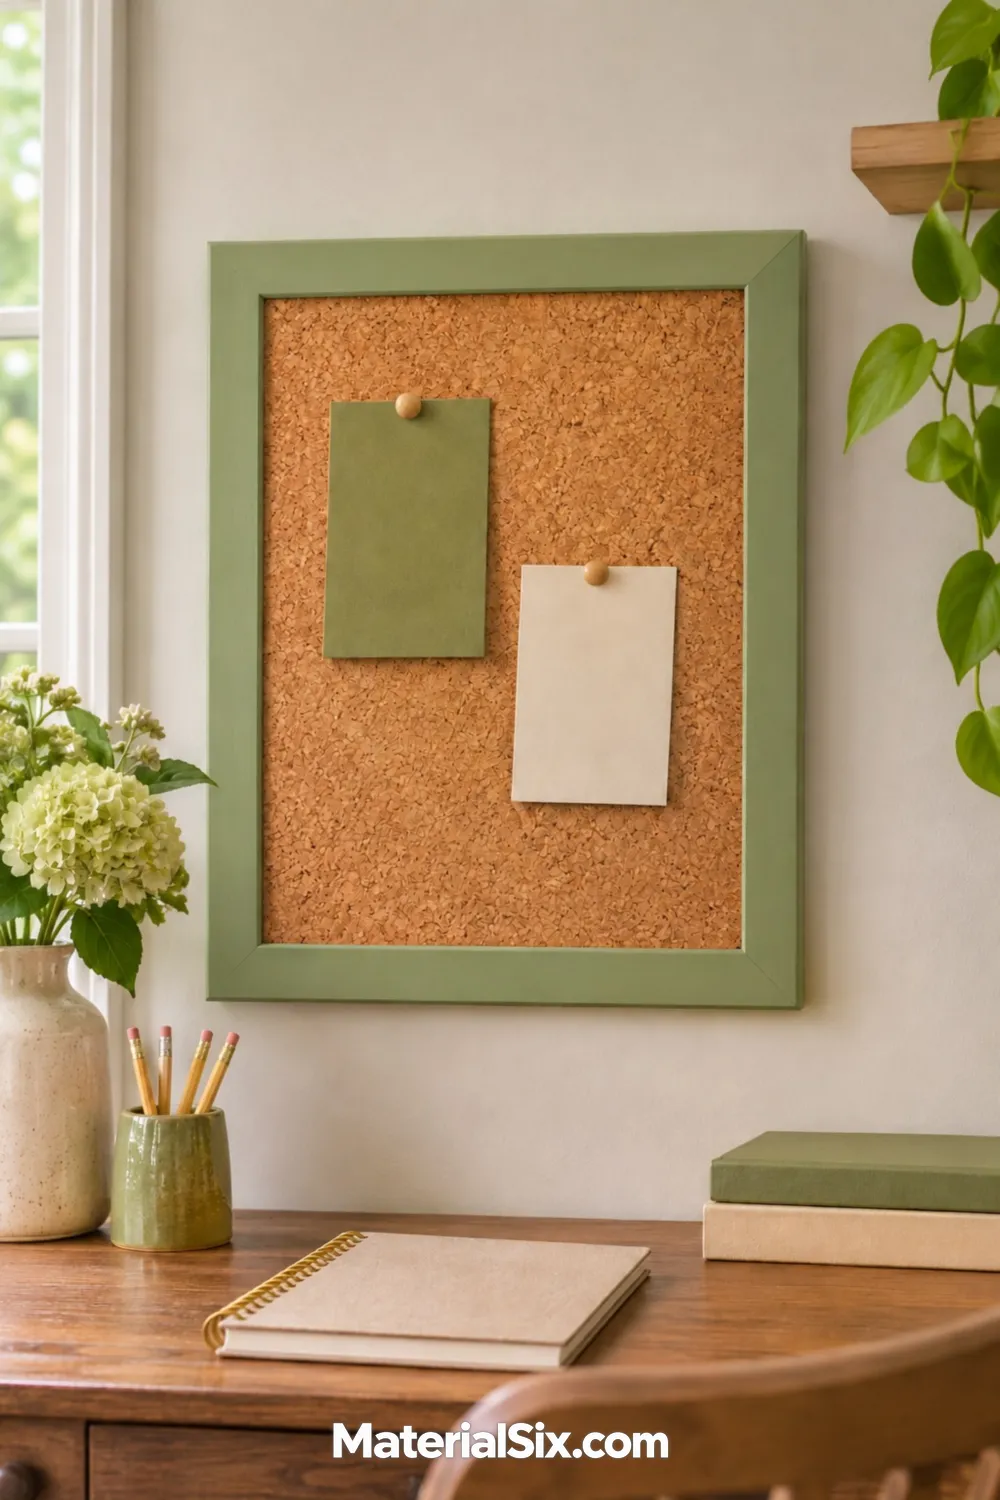
If your desk is covered in paint samples and notes, cut a piece of cork to fit an old frame. Remove the glass and mount the cork to a firm backing so the board stays flat when you press in a pin. Check that the cork is deep enough for the pushpins you plan to use.
Sage green paint softens the look of the cork, while natural oak works well if the board shares wall space with other frames. Leave some room between pinned pieces so you can see everything at a glance.
5. Chicken Wire Photo Holder
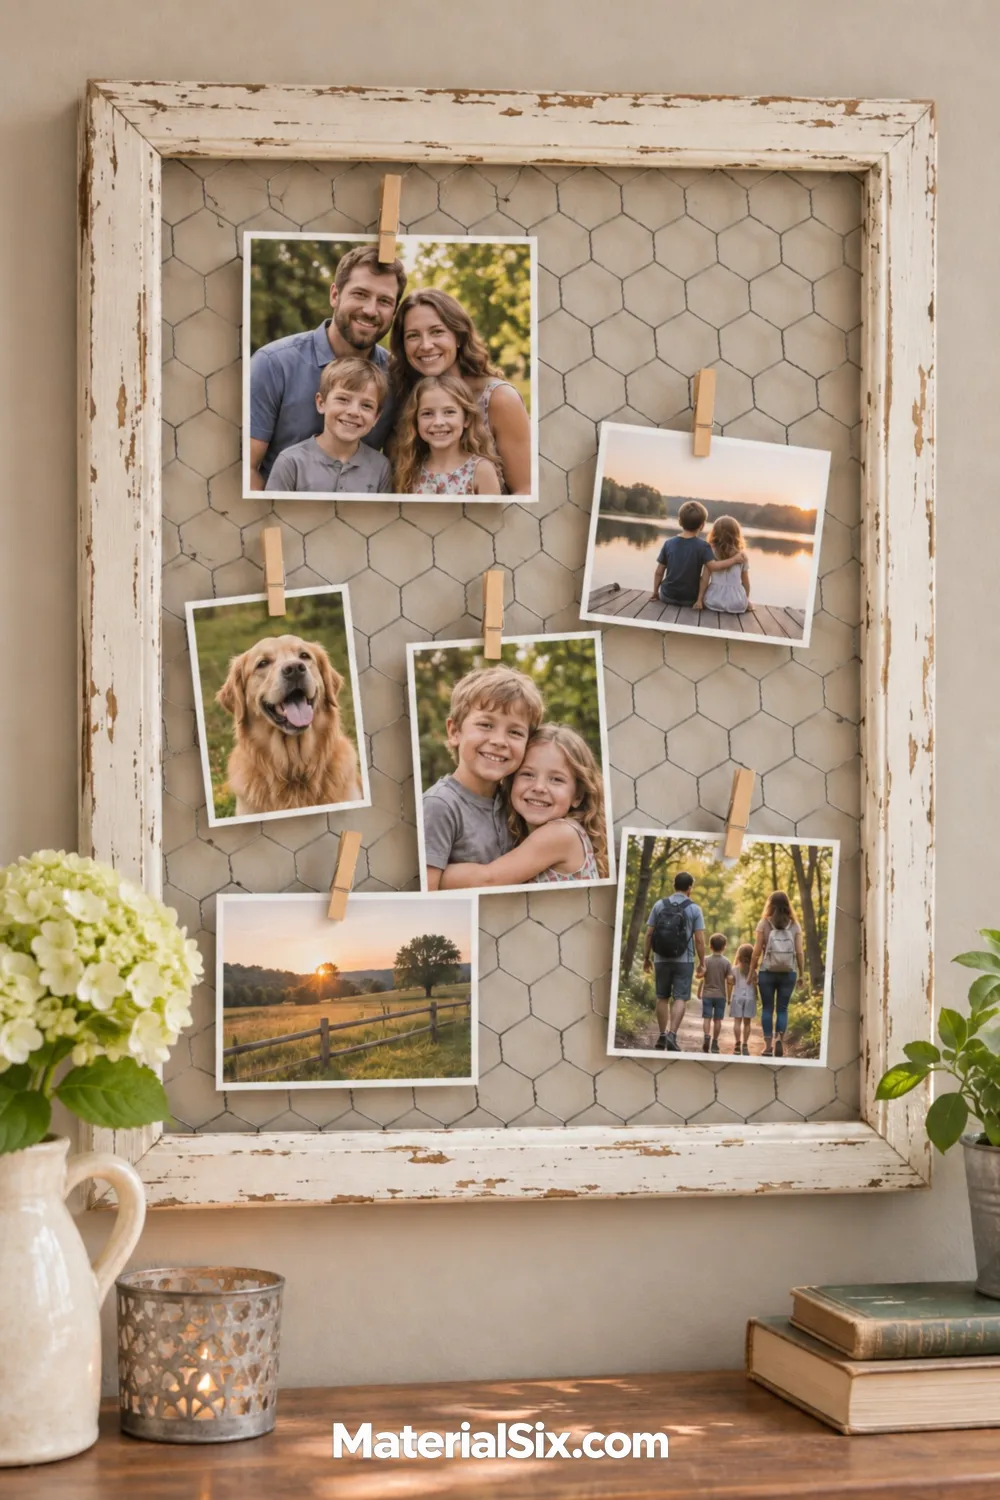
Mini clothespins let you trade out snapshots as often as you like. Cut mesh to fit inside the back of a sturdy wood frame and secure it so the front stays flat. Wear gloves for the wire work, fold or cover the cut ends, and check the back for sharp points before hanging it.
Use lightweight prints so the clips stay put. A distressed white frame works with black-and-white pictures, or you can use warm wood and mix in a postcard from a recent trip.
6. Framed Key Rack
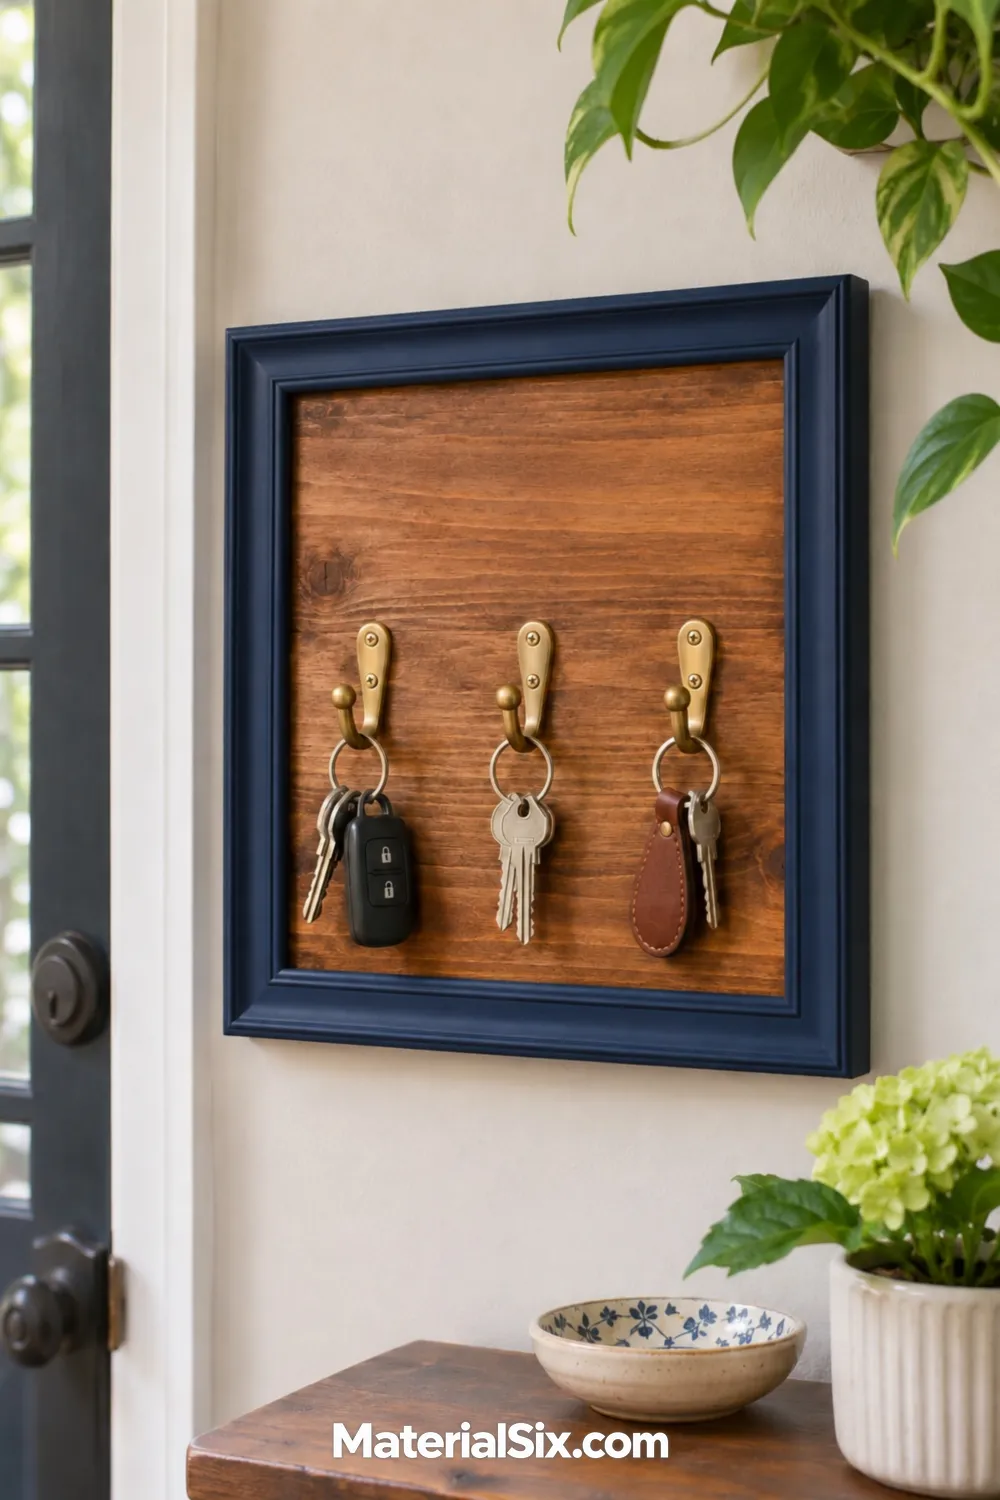
Turn a sturdy frame into a landing spot for keys by replacing the glass with a fitted wood panel. A row of brass hooks across the middle is easy to reach and leaves room for keys to hang freely. Space the hooks using your widest key ring as a guide.
Fasten the hooks into the wood panel and make sure both the panel and hanger can take the repeated tug of removing keys. Mount the piece where it feels natural to reach on your way through the door.
7. Jewelry Organizer
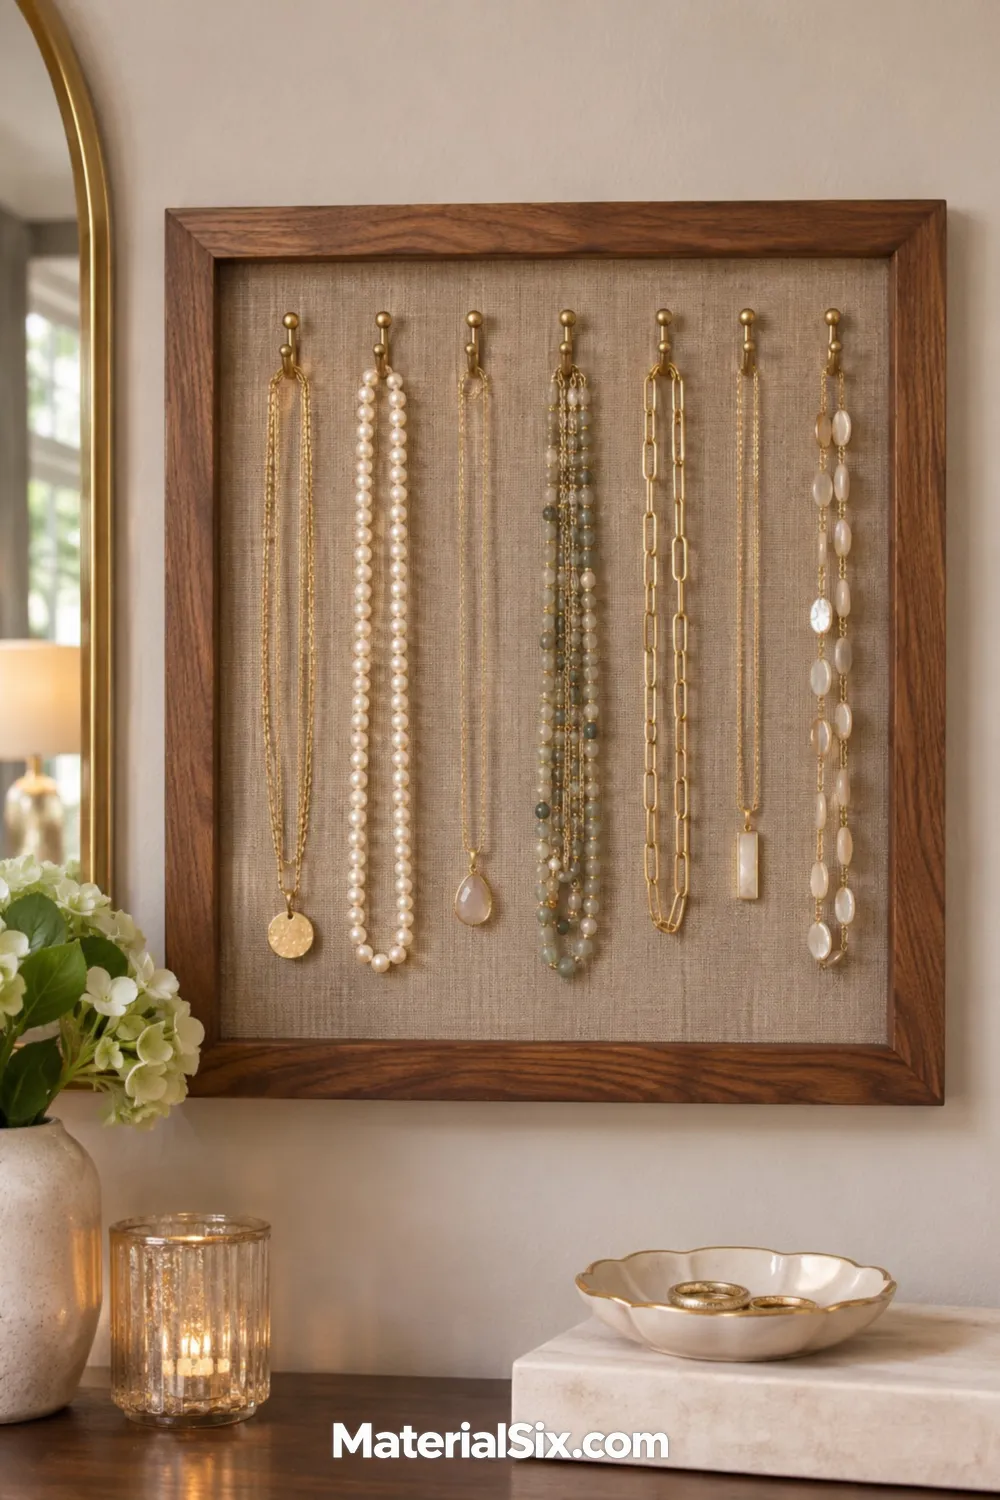
An open walnut frame can hold the necklaces you reach for most. Wrap a solid insert with taupe linen and add a row of small hooks that attach securely to the insert. Before marking the hook positions, hang your longest necklace from a pencil to check how much clearance it needs below.
Grouping necklaces by length helps keep the chains apart. If the display sits above a dresser, use the space beneath it for a small dish of rings and earrings.
8. Framed Dry-Erase Planner
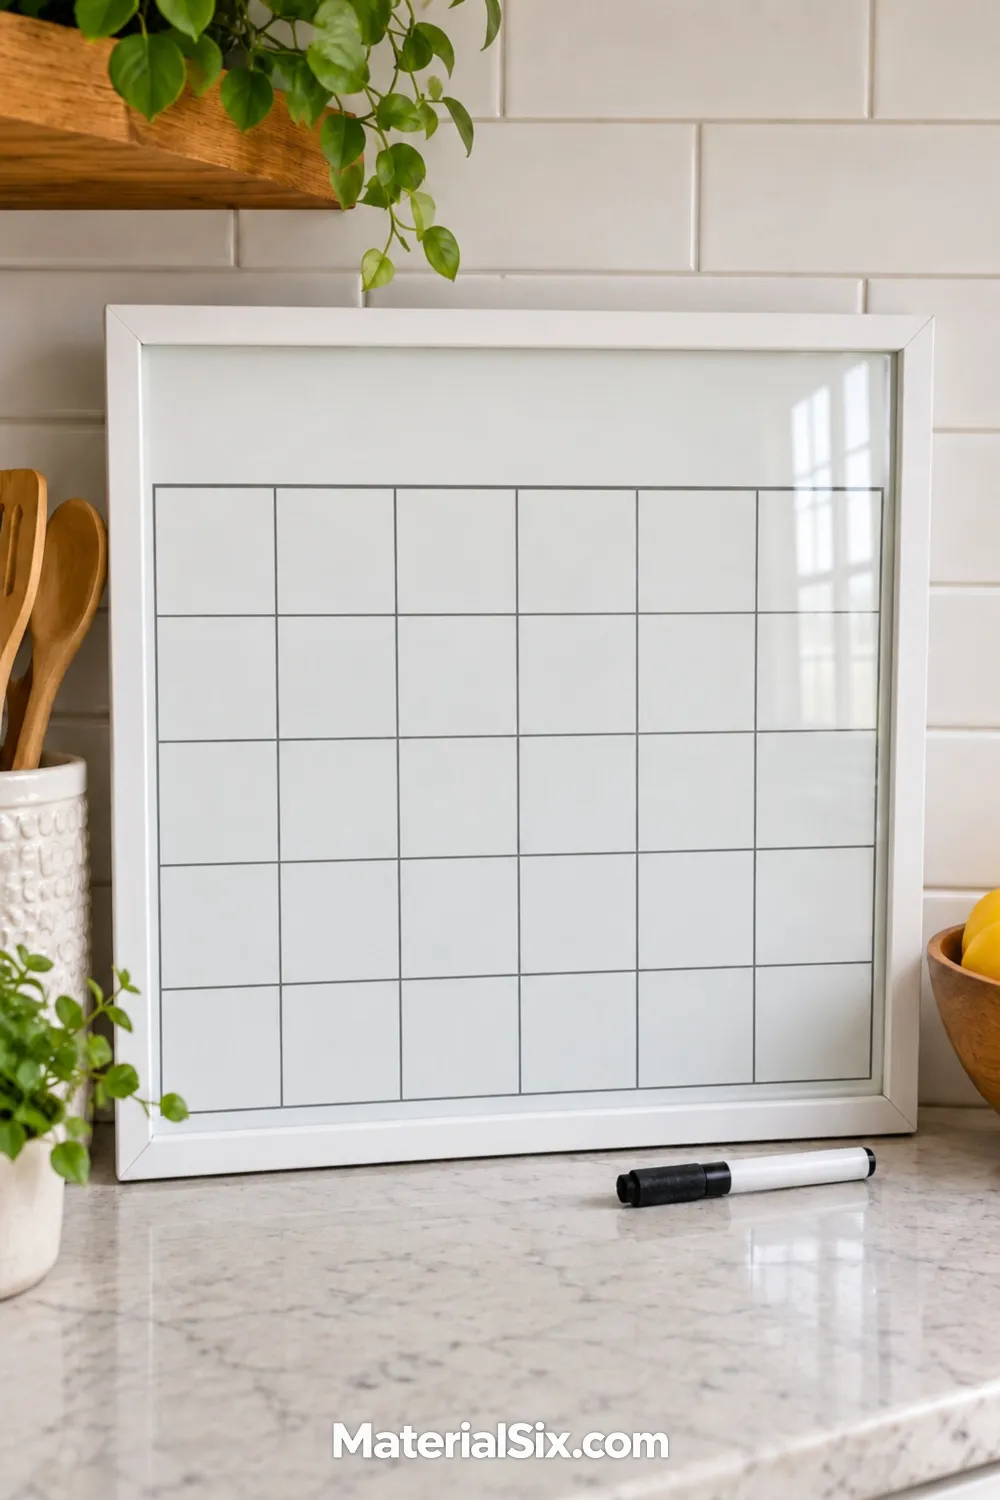
Slide a blank weekly grid or checklist behind the glass of a slim frame. The paper stays in place while you update your plans with a dry-erase marker on the outside. Try the marker on a corner of the glazing first, especially if the frame has acrylic in place of glass.
A light grid leaves room for handwritten entries to stand out. For a counter display, pick a frame with a stable easel back and set the marker beside it so you can make changes on the way out.
9. Chalkboard Message Board
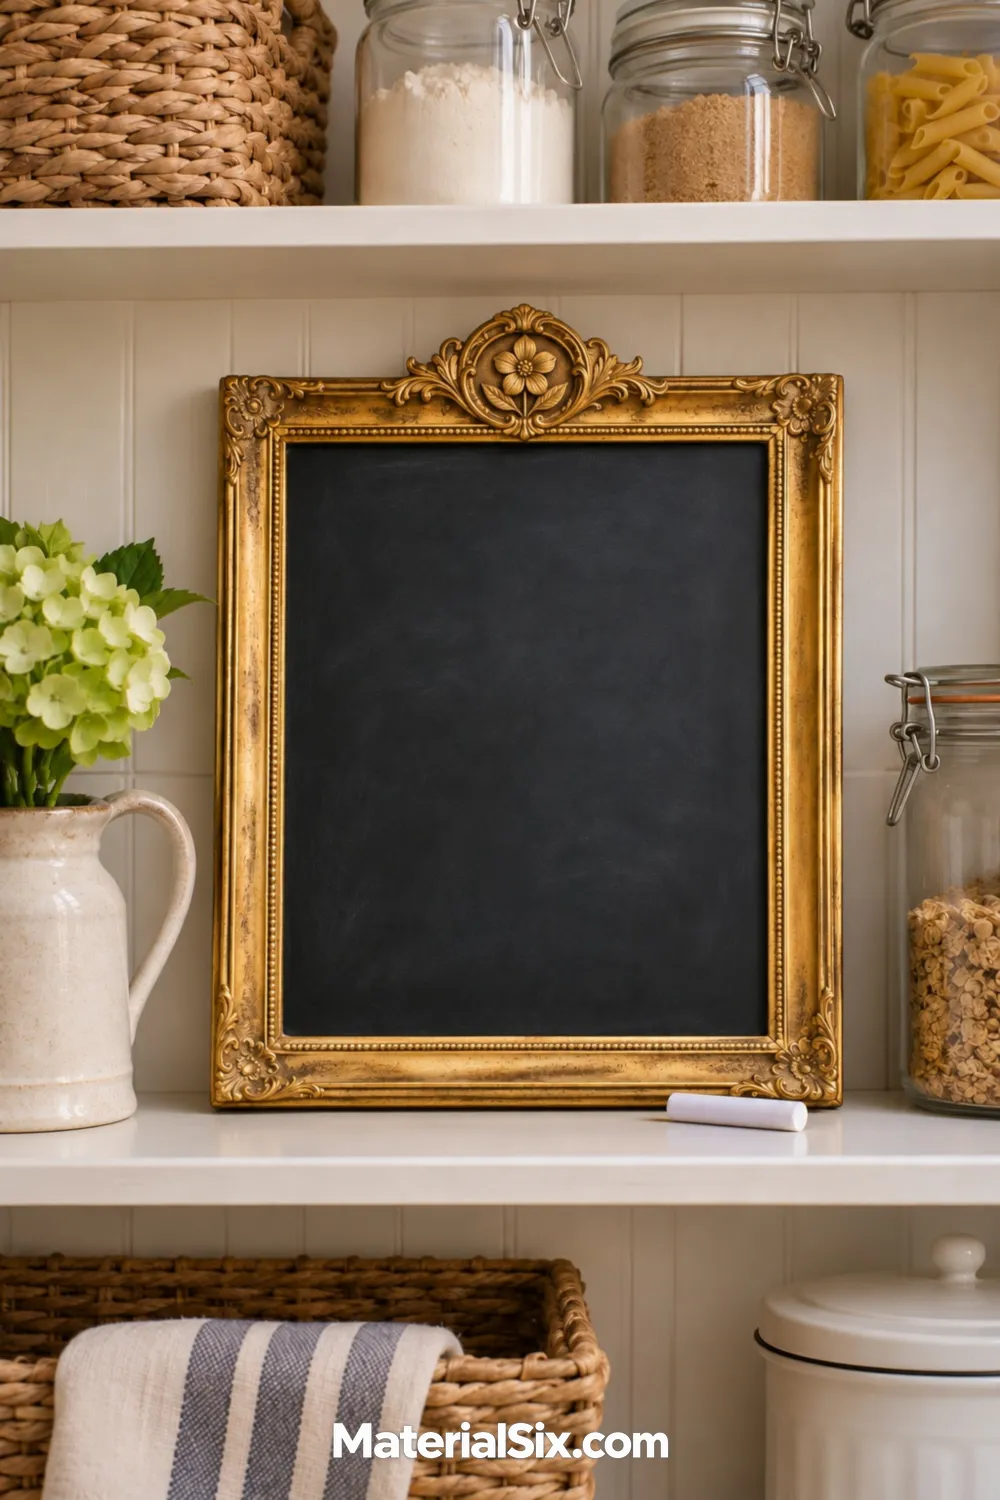
A chalkboard panel gives an ornate old frame a useful job by the pantry. Choose a rigid chalkboard insert that fits the opening and fasten it into the frame. If you already have a sound insert, prepare it and follow the chalkboard paint label for drying and curing before writing on it.
Use the board for grocery reminders or the ingredients you need to use this week. If it sits on a shelf, leave enough room to steady it with your free hand while you write.
10. Framed Mini Shelf
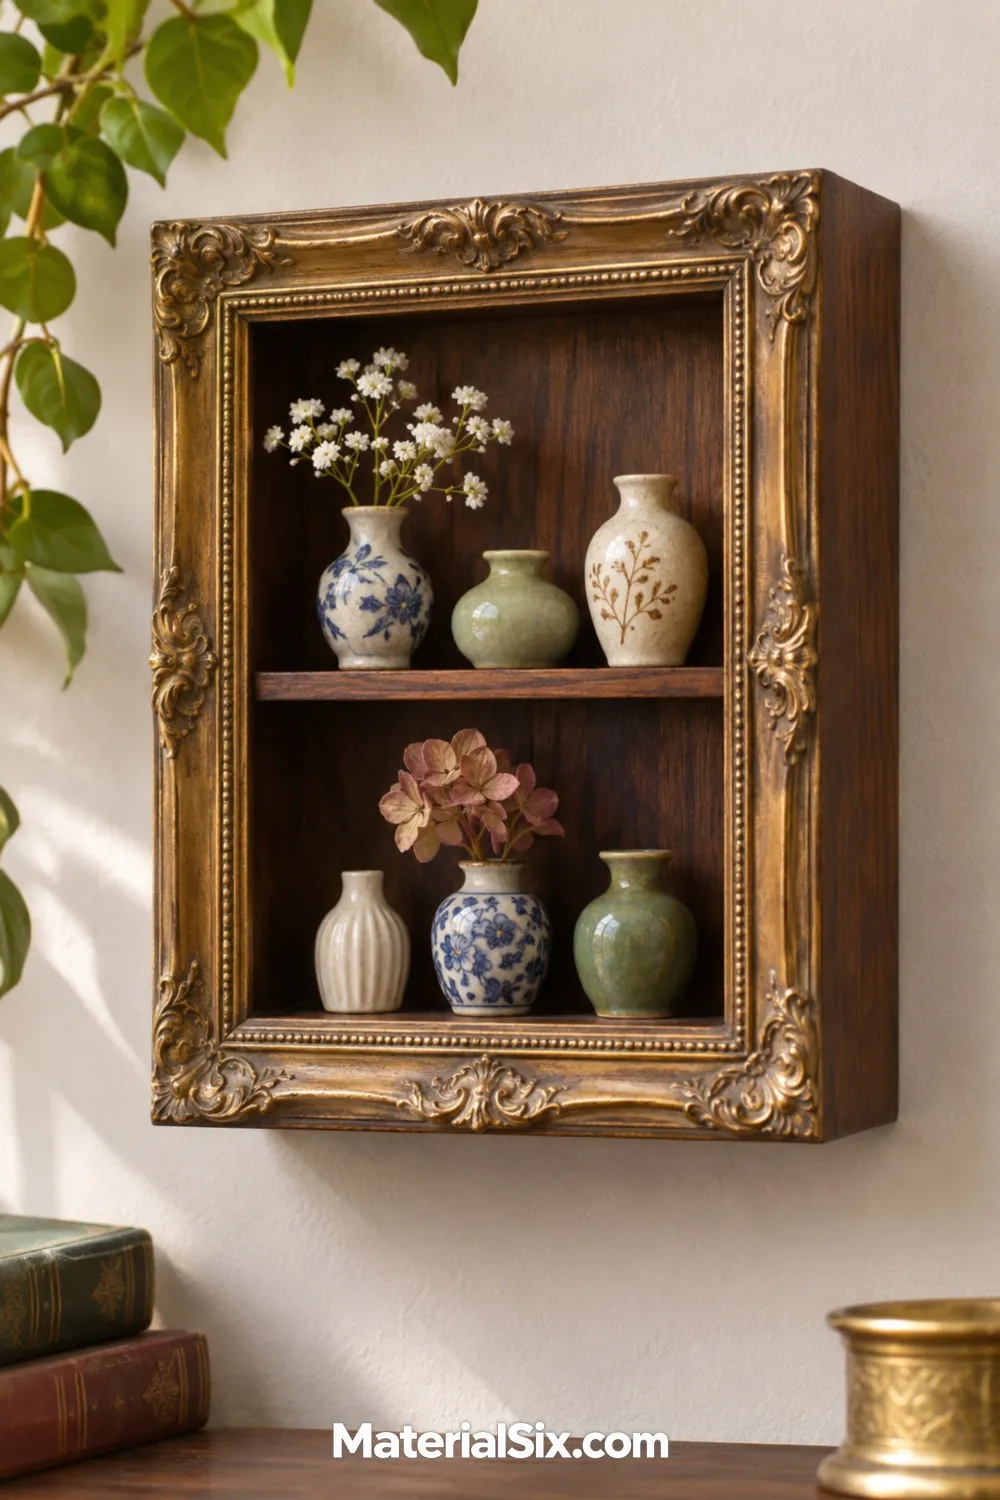
A decorative frame makes an interesting face for a small shadow-box shelf. Choose a sturdy box that can carry the contents, then fit the picture frame over its front edge. Check how much of the opening the frame lip covers before you decide where the shelves go. A short ceramic vase can look cramped if the trim hides its base.
Use secure hardware sized for the loaded box. In a narrow hallway, keep the shelves shallow and display small objects that sit well behind the frame’s front edge.
11. Decorative Vanity Tray
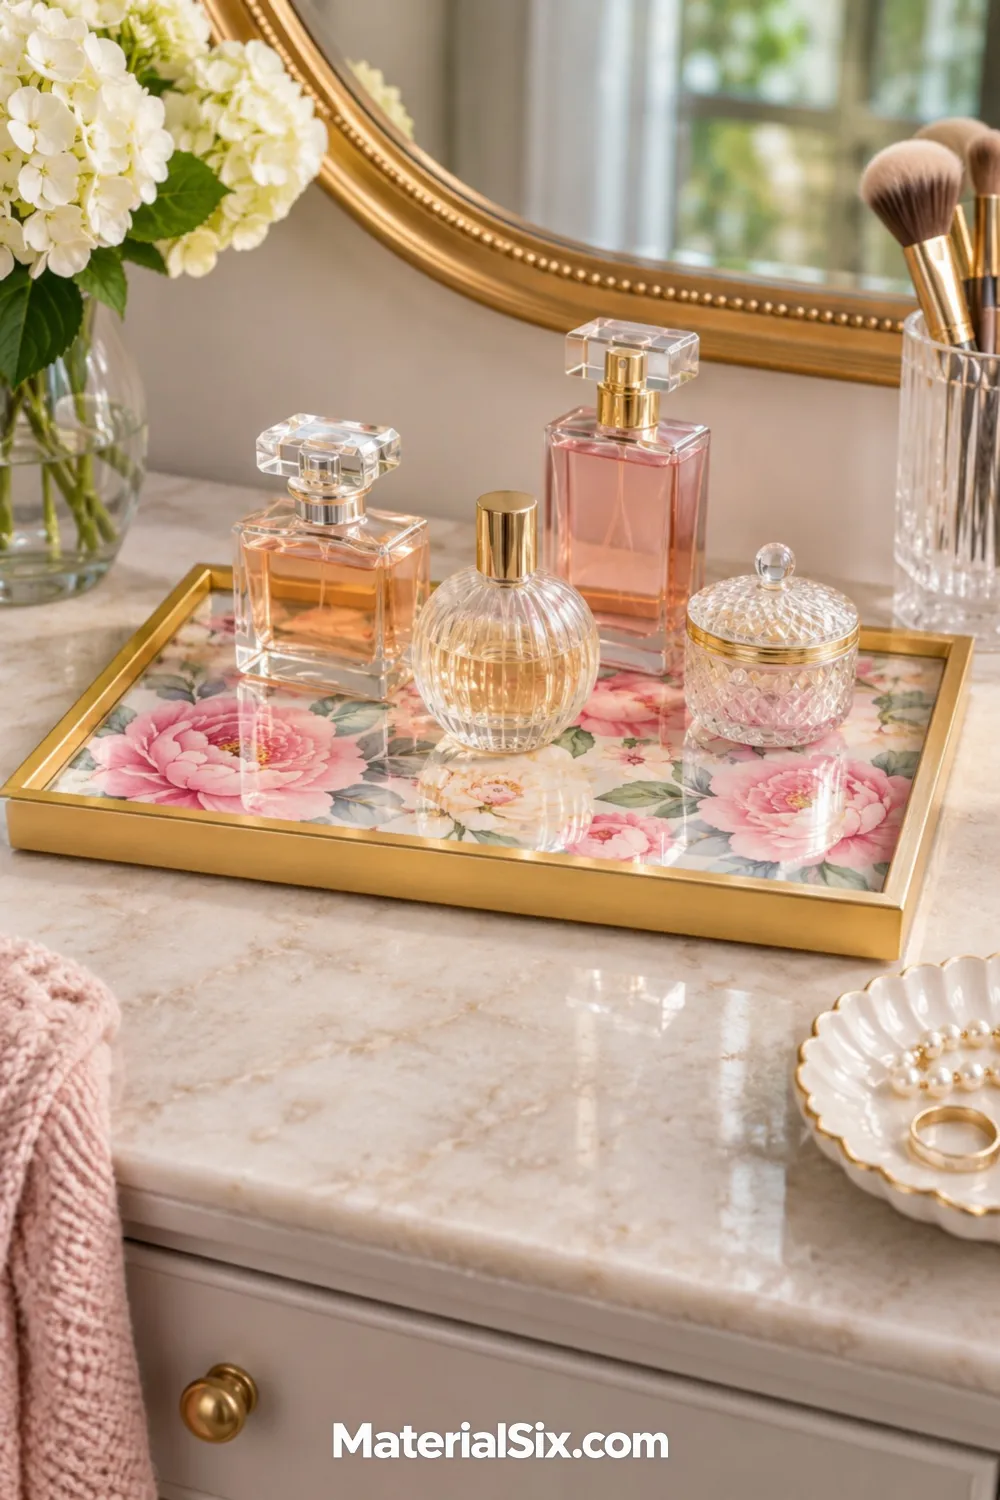
Lay a decorative frame flat on a vanity and use it to group perfume bottles. A floral print beneath clear acrylic gives the arrangement some pattern, while a rigid backing supports the bottles. Use a frame that sits flat on its back and add felt pads if the hardware might scratch the furniture.
Treat it as a stationary display and lift the bottles separately when you move it. A slightly raised frame edge makes a nice visual boundary around a small collection.
12. Photo Centerpiece
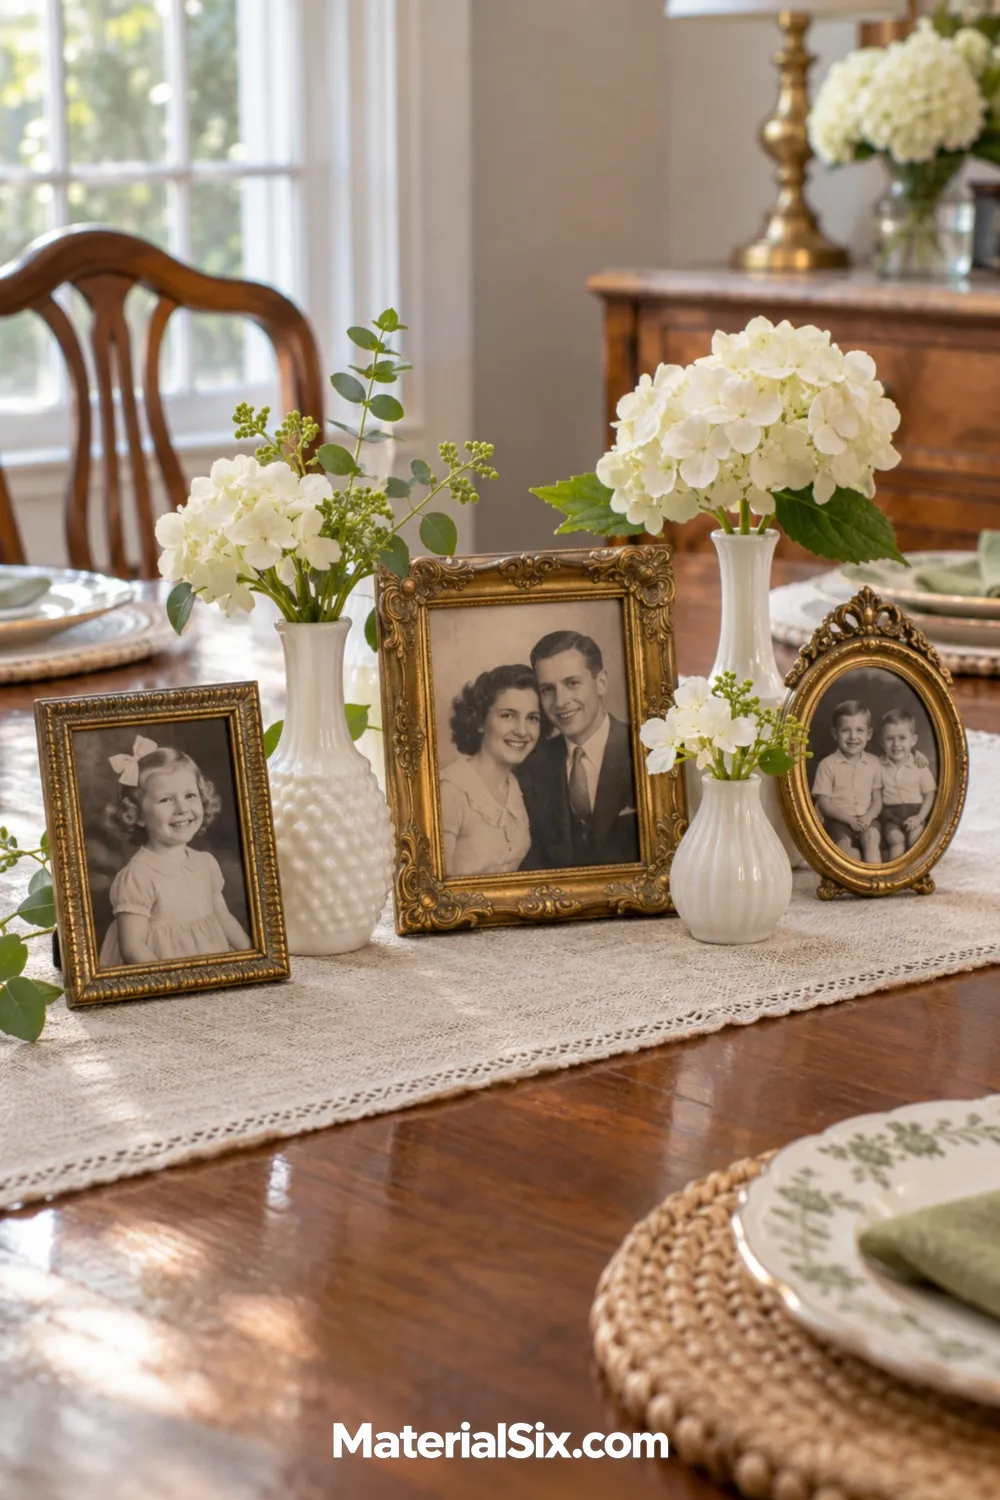
Small framed family photos can fill the gaps between bud vases on a table runner. For a birthday or reunion, choose pictures from several years and arrange them where guests on both sides of the table can see them. Easel-backed frames are handy because you can move them when the serving dishes come out.
Mix two or three frame finishes and repeat a color in the flowers to pull the grouping together. Keep the tallest pieces low enough for guests to talk across the table.
13. Lace Keepsake Frame
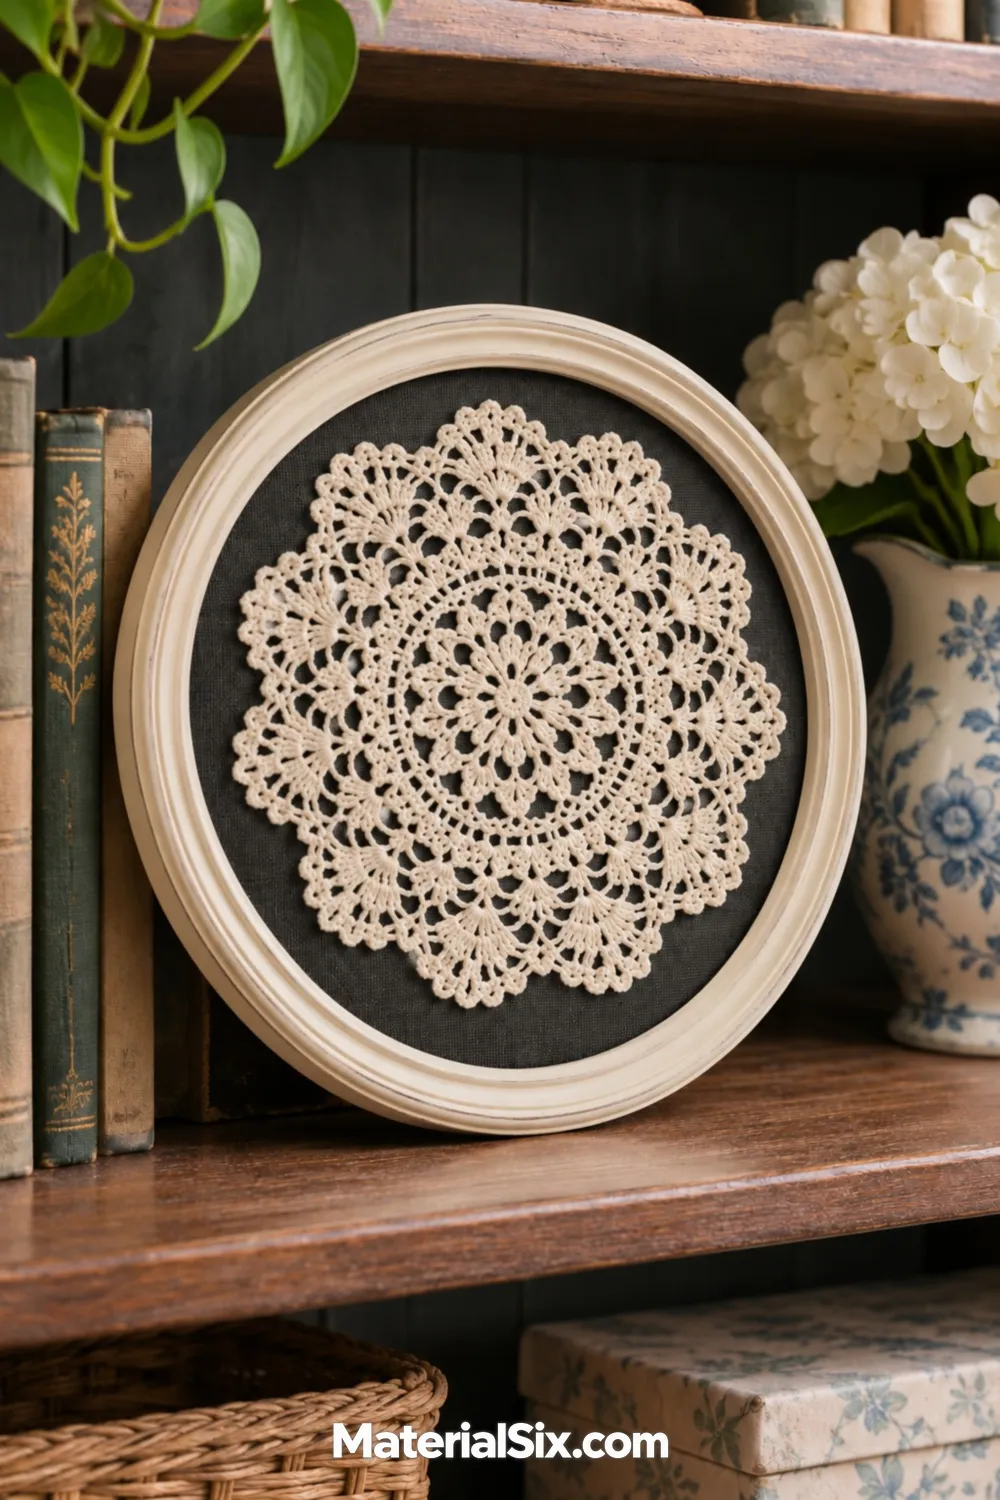
A round frame can give a crocheted doily or a piece of heirloom lace a spot on the bookshelf. Try the lace on several fabric colors before you decide on a backing. Deep charcoal draws attention to the openwork, while muted blue gives softer contrast against ivory thread.
Use a few small removable stitches to hold the lace to the backing fabric. If the piece has thick knots or raised stitching, select a deeper frame so the glass clears the texture.
14. Framed Initial
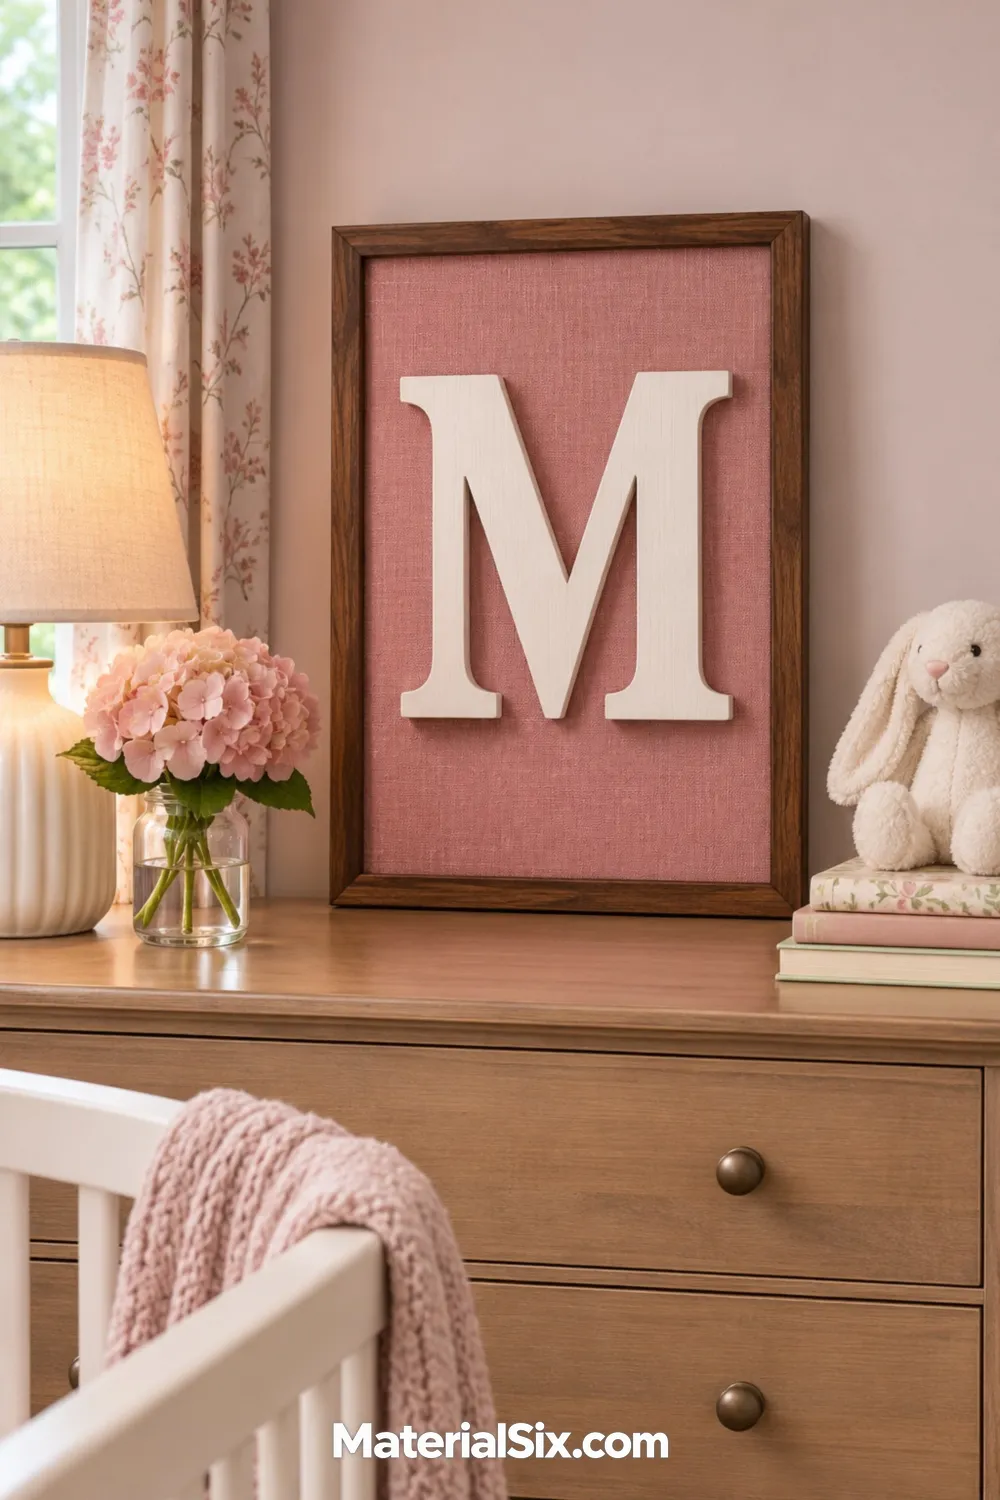
Mount a thin wooden letter on fabric for a framed initial with real dimension. Dusty rose fabric and a white letter make a soft color combination, and the walnut border adds warmth. To find the best placement, stand the frame upright with the letter temporarily in position and look at it from across the room.
Check that the frame is deep enough for the letter and its backing. A shadow box works well if you want the letter behind glazing.
15. Paper Silhouette Portrait
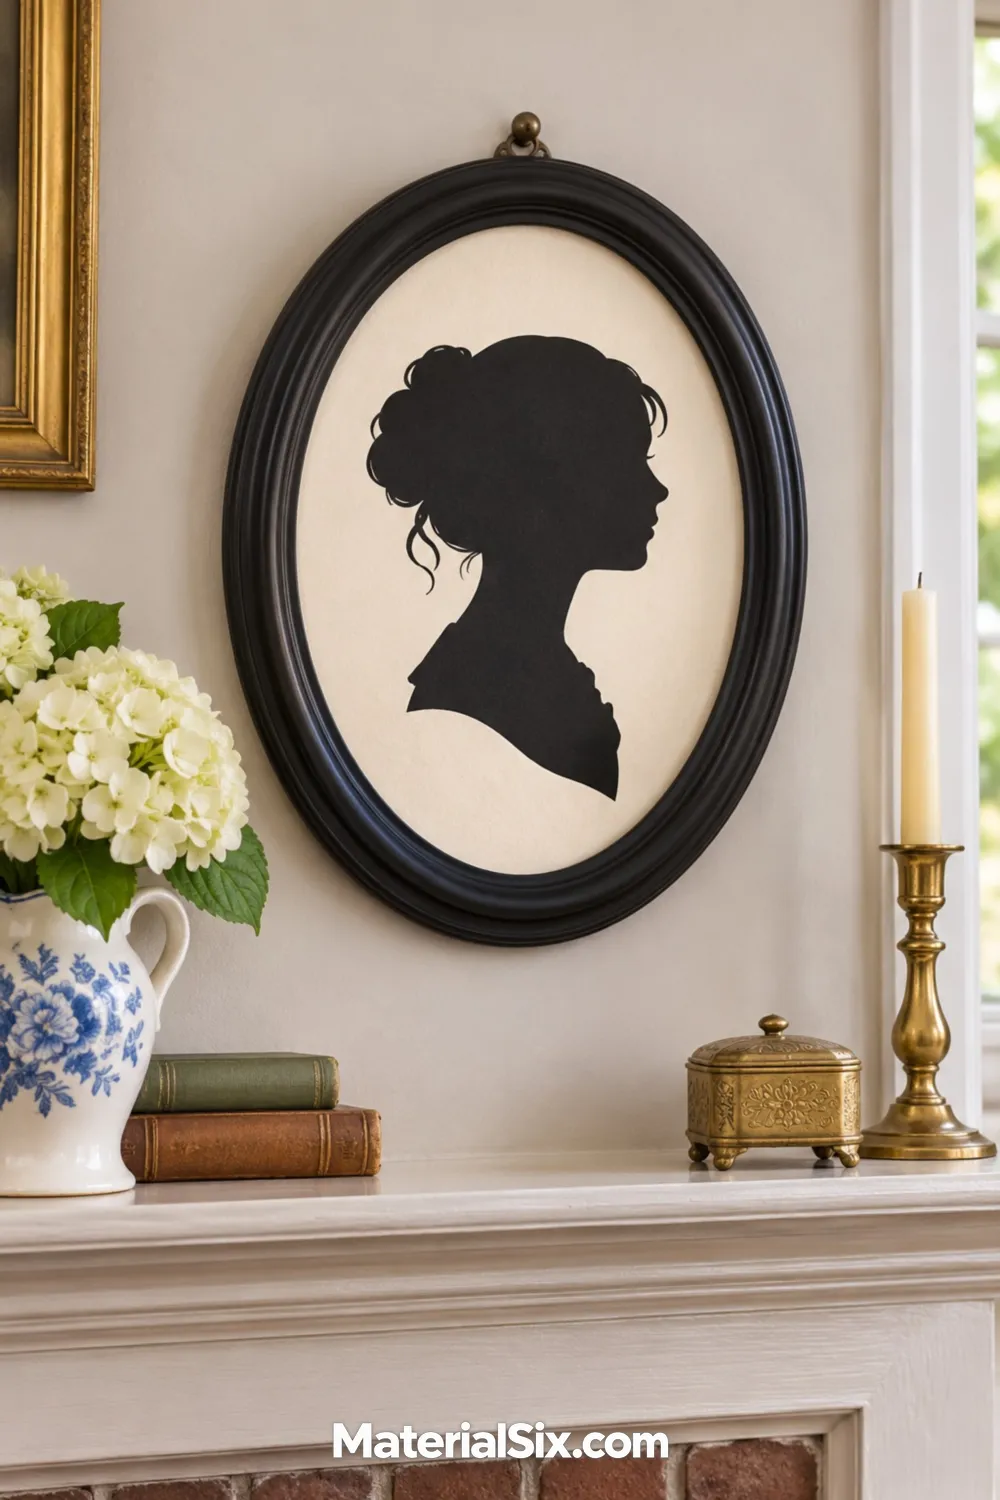
Start with a side-profile photograph taken against a plain wall. Print it at the size you want, trace the outline onto black paper, and cut it with small scissors. Mount it on ivory cardstock and look for an oval frame that leaves space above the head and in front of the face.
A simple profile has plenty of character when the outline of the hair and chin is clear. It can stand alone above a mantel or sit beside a photo from the same day.
16. Shadow Box for Travel Keepsakes
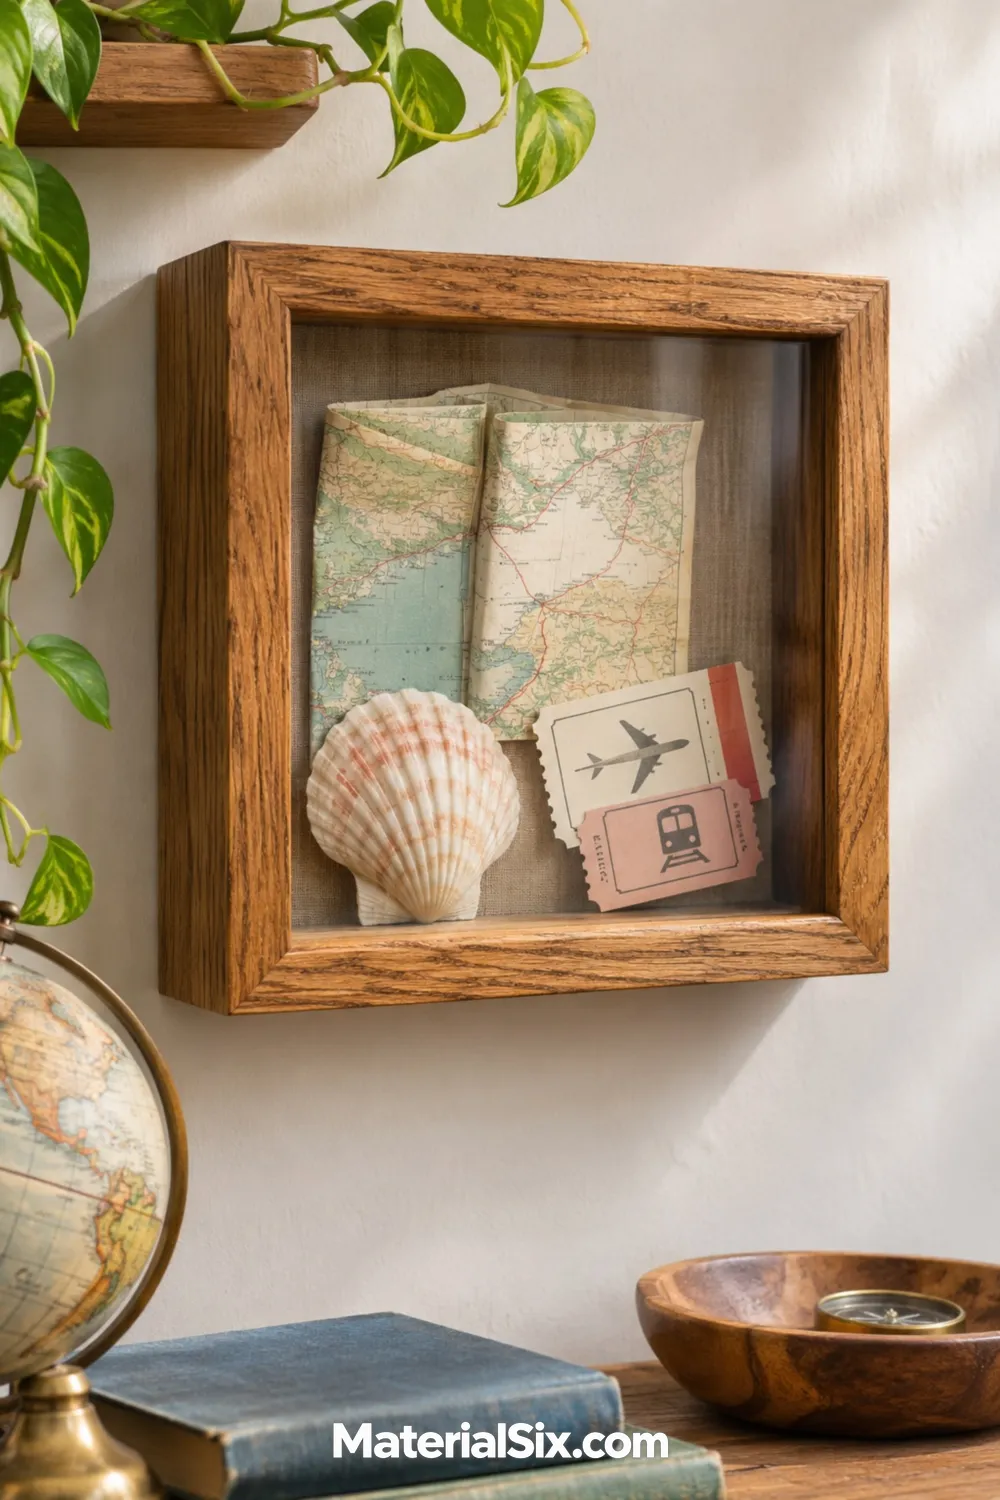
Give vacation keepsakes a single place to live by grouping a folded map, a ticket, and one small object in a shadow box. Pick the largest item as an anchor, then build the layout around it. Fold the map so a meaningful part of the route remains visible, and use a shallow pocket or photo corners for paper pieces you might want to take out later.
Check the depth before mounting anything bulky. A shell or pebble should have clearance from the glazing and a mount that holds it in place when the box stands upright.
17. Halloween Specimen Frame
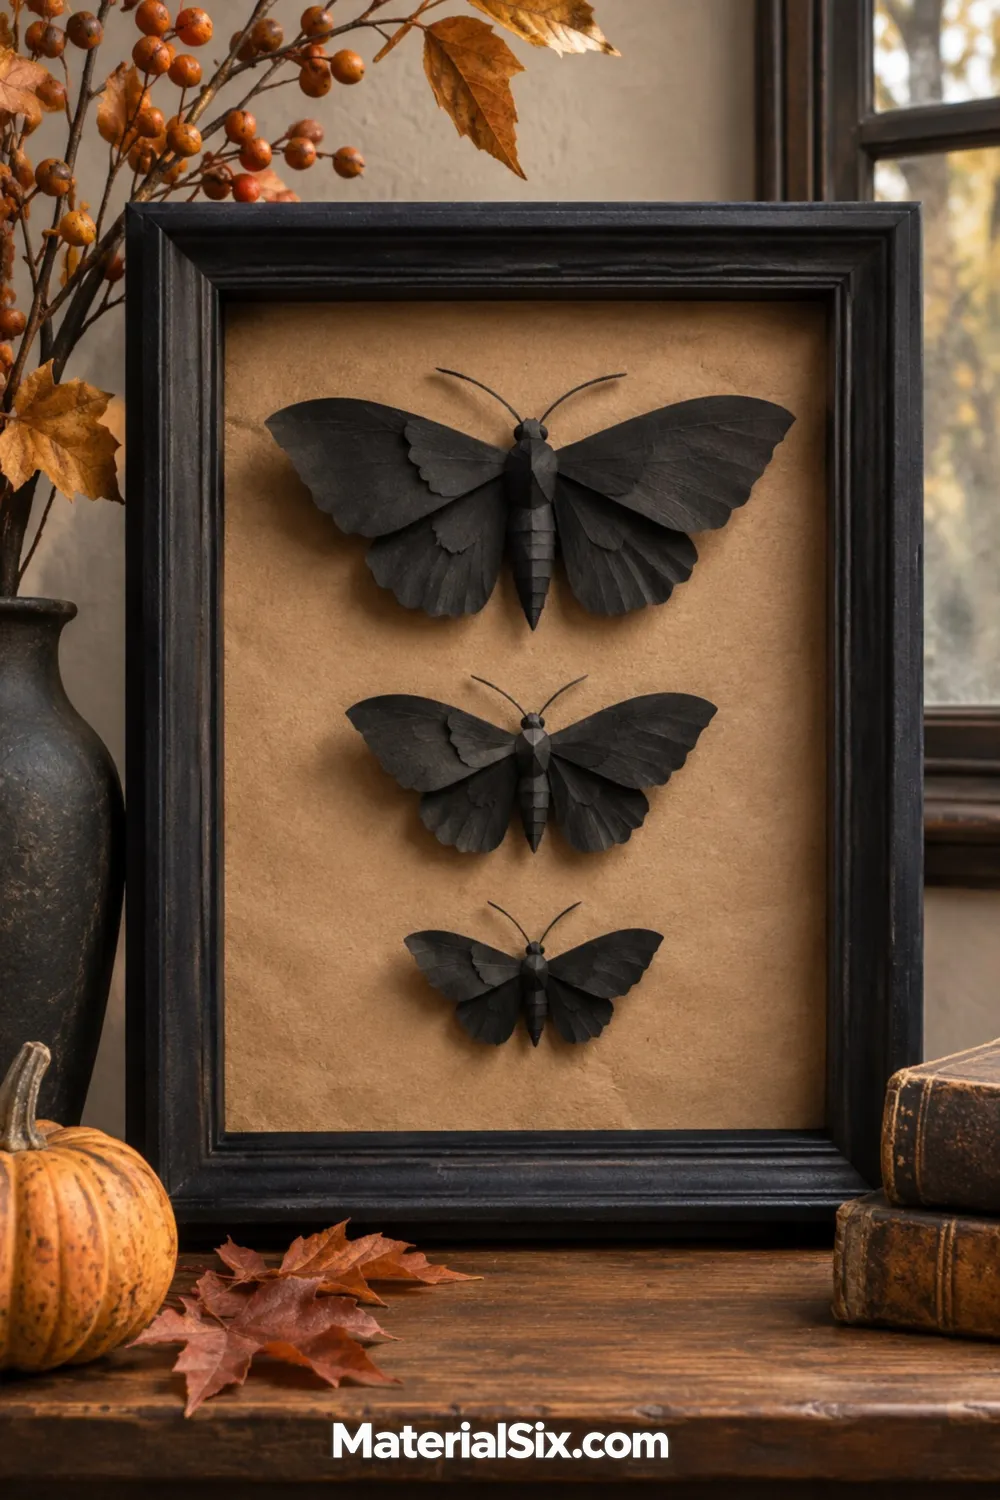
A black frame, kraft backing, and a few folded paper moths make a Halloween display you can tuck into a bookshelf. Cut the wings from black cardstock, crease each body gently, and leave the wings slightly raised so they cast little shadows.
Arrange the shapes in an open grid like a specimen display, with the largest near the middle. Use a deep frame if you keep the front panel in place. Plain kraft paper gives the moth shapes enough contrast to show up in a dim hallway.
18. Framed Wreath
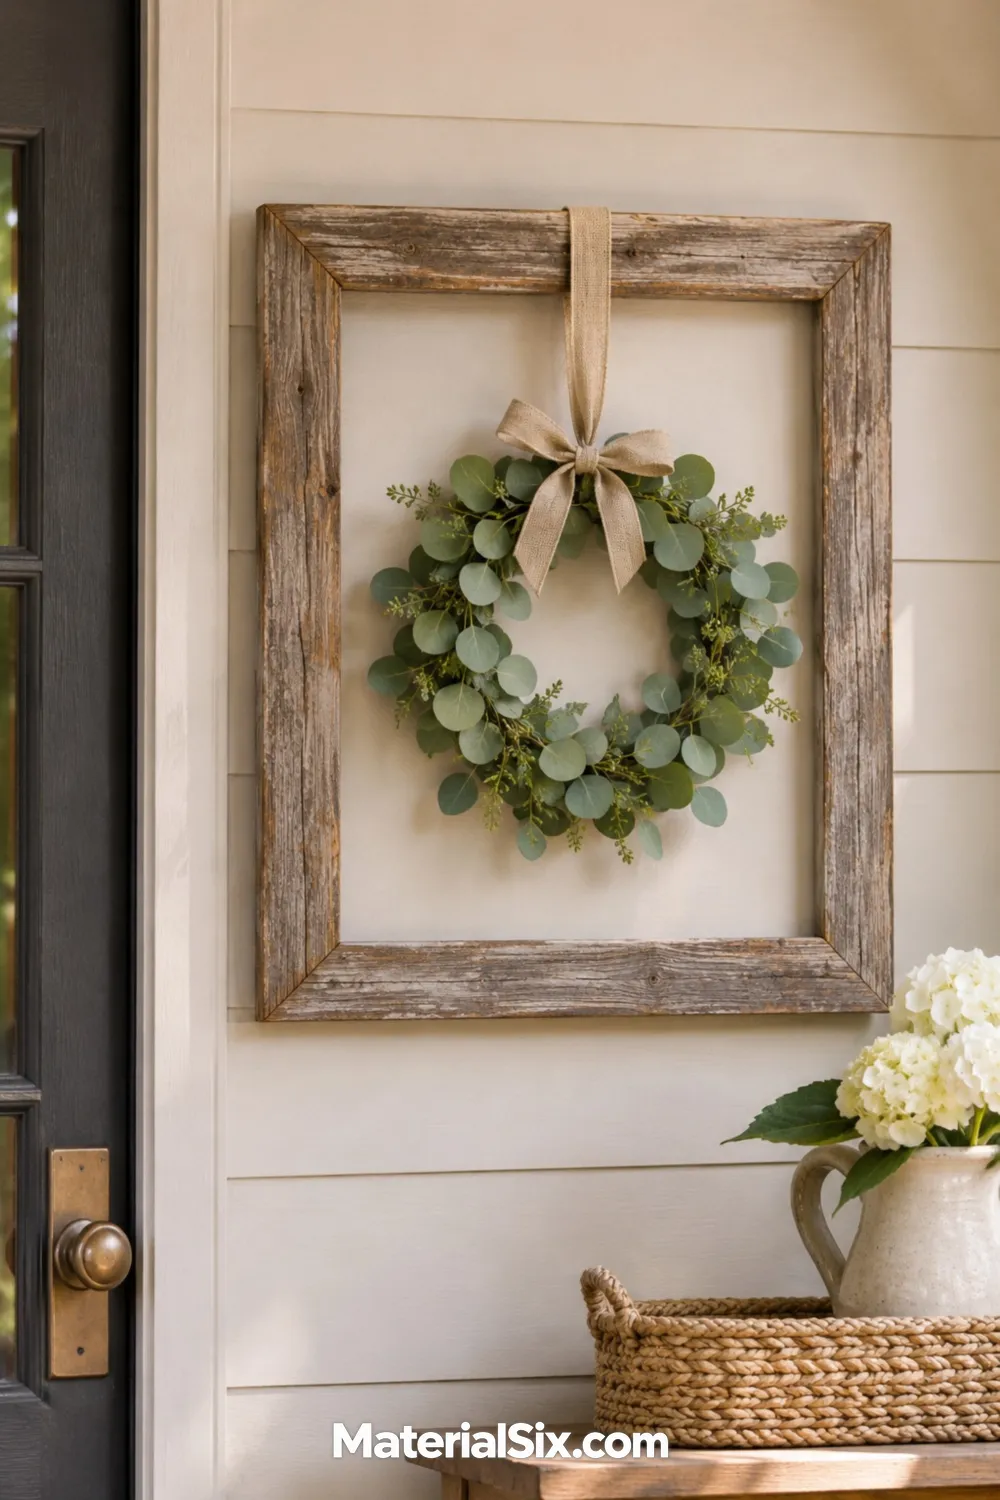
An empty wood frame gives a small wreath a clear outline on a pale entry wall. Tie the wreath to the frame’s top rail with a ribbon and let it hang inside the opening. Leave a little breathing room around the leaves, especially if the wreath has loose sprigs that stick out to one side.
A lightweight faux eucalyptus wreath works across seasons. Change the ribbon or slip in a few stems when you want a different look without rebuilding the frame.
19. Ribbon Card Display
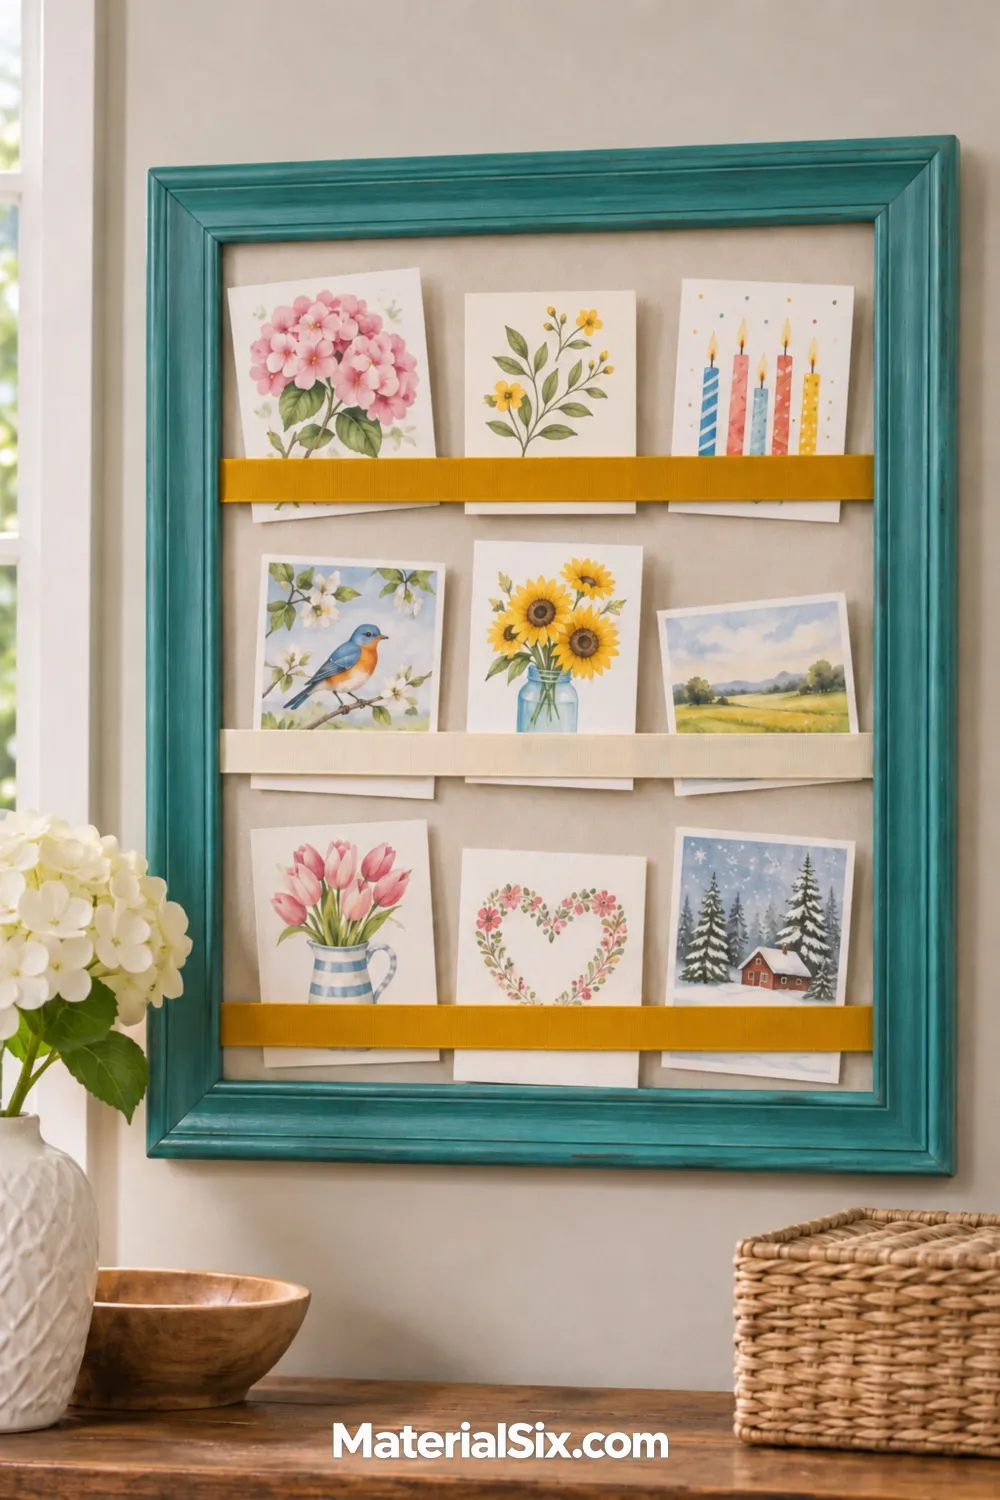
Horizontal ribbons inside a wide frame make pockets for cards you want to see for a few weeks. Remove the glazing, wrap a firm insert with plain fabric, and fasten each ribbon end behind the insert. Leave enough give to slip in cards while keeping the ribbons taut enough to hold them.
Test the spacing with the tallest card you plan to display. A broad ribbon near the lower edge of each row can support the cards, while shorter pieces can sit between taller ones without blocking their artwork.
20. Framed Embroidery
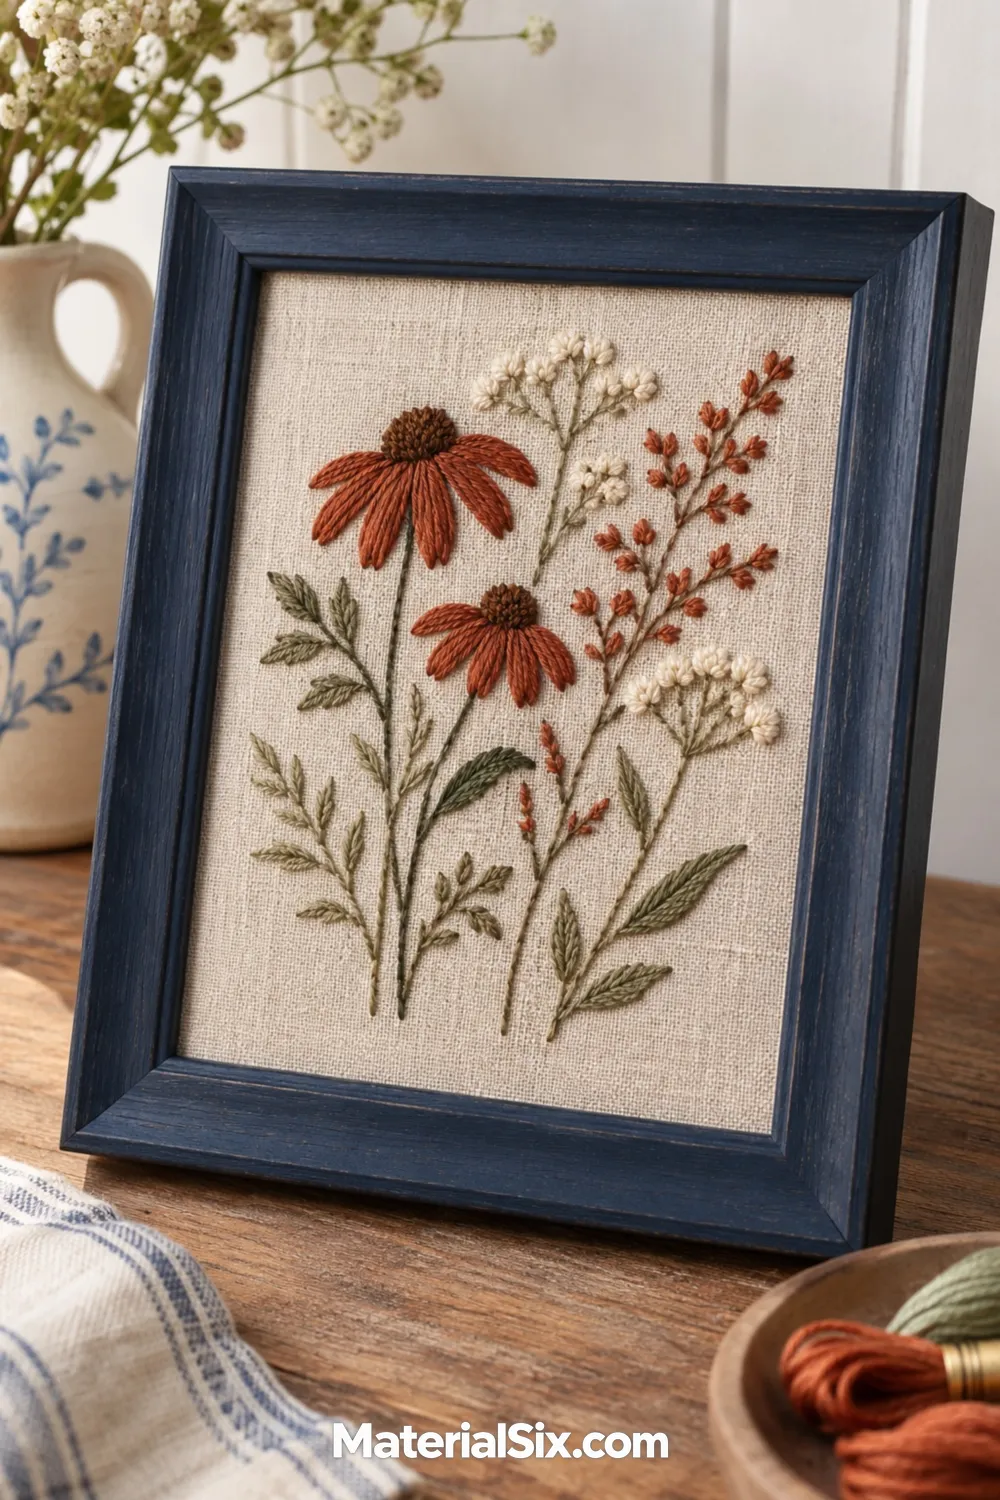
A wooden picture frame gives a small embroidery piece a clean edge. Lay the frame over the stitching to choose how much bare linen you want around the motif. A generous border can give one embroidered wildflower enough room to stand on its own.
Stretch the fabric evenly over a firm board and lace the excess at the back, checking the weave stays straight. A spacer keeps raised stitches clear of the glazing if you use it.
21. Nested Empty Frame Gallery
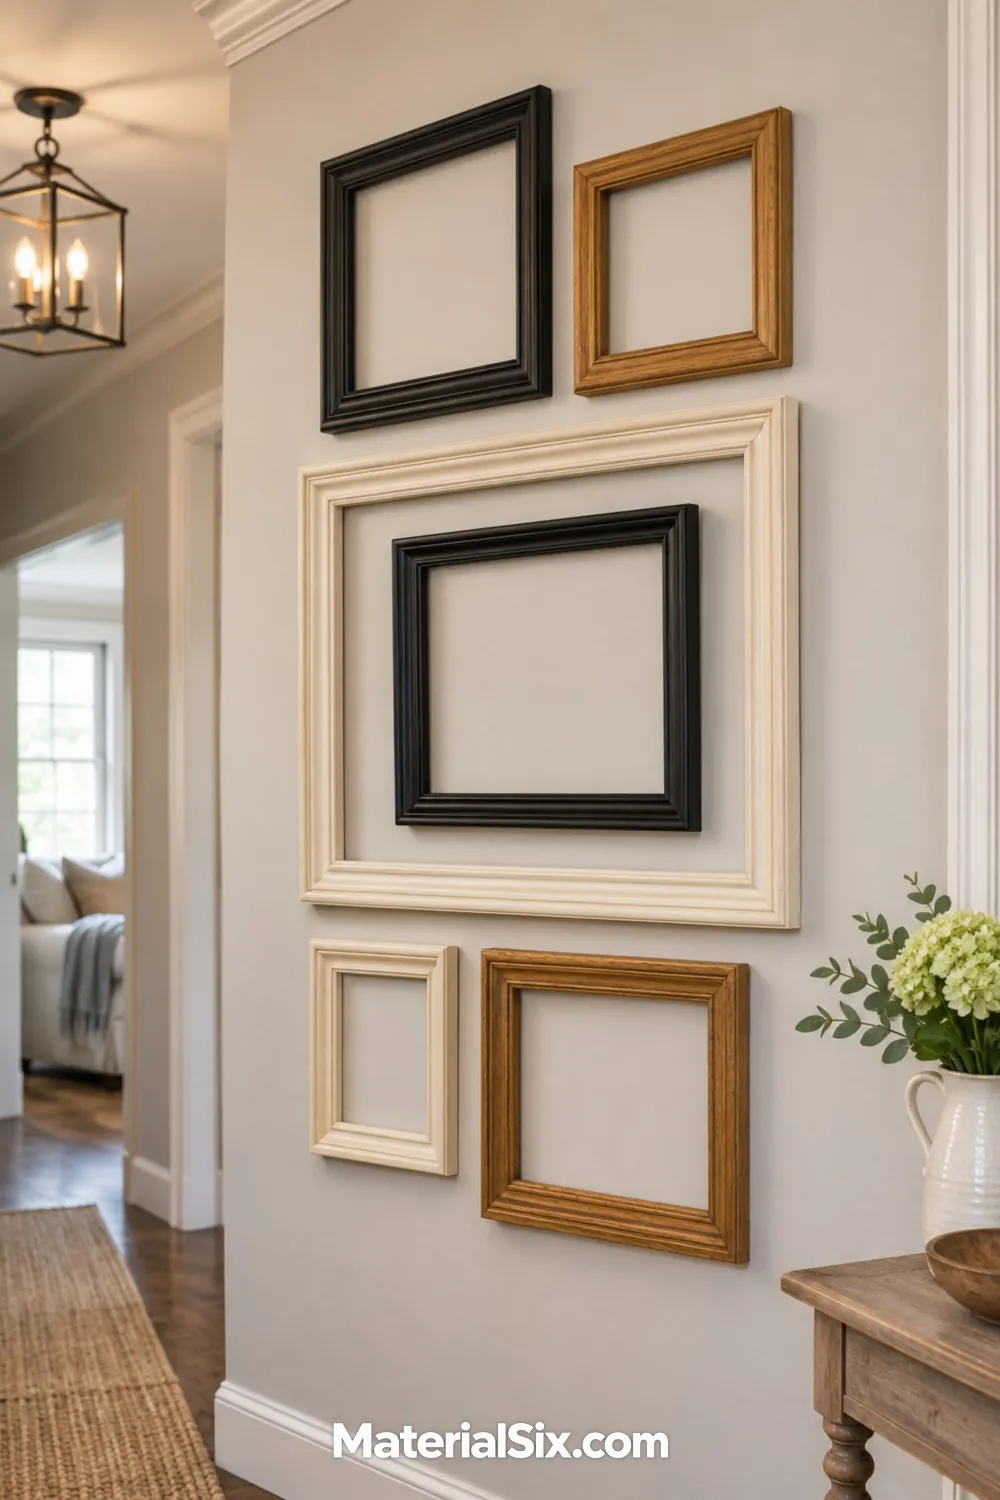
Gather several empty frames in related finishes and arrange them on the floor before hanging. Start with a large frame and try placing a smaller frame within its opening. A mix of cream, black, and honey oak works when each finish shows up more than once, and a little uneven spacing keeps the arrangement relaxed.
Remove the glass and backing and check that every frame has its own secure hanger. Paper outlines taped to the wall let you test the whole composition before making holes.
Start with the frame you already have. A shallow one can hold a silhouette or fabric scrap, while a deep box gives shells and folded paper room to stand out. If the backing or hanger needs replacing, sort that out before you commit to a project that will carry weight.