
The side yard that stays dim all afternoon, the bare patch under a maple, and the front bed that rarely sees direct sun can feel like three versions of the same problem. Look a little closer and they may need very different solutions.
One might have room for a path, while another has surface roots that make digging impractical. These shade landscaping ideas show how to plan around those differences.
Start by watching where the light falls and noticing where the soil stays damp or dries out. Then choose a layout that makes sense for how you use that part of the yard.
1. Frame the Front Walk With a Low Foliage Border
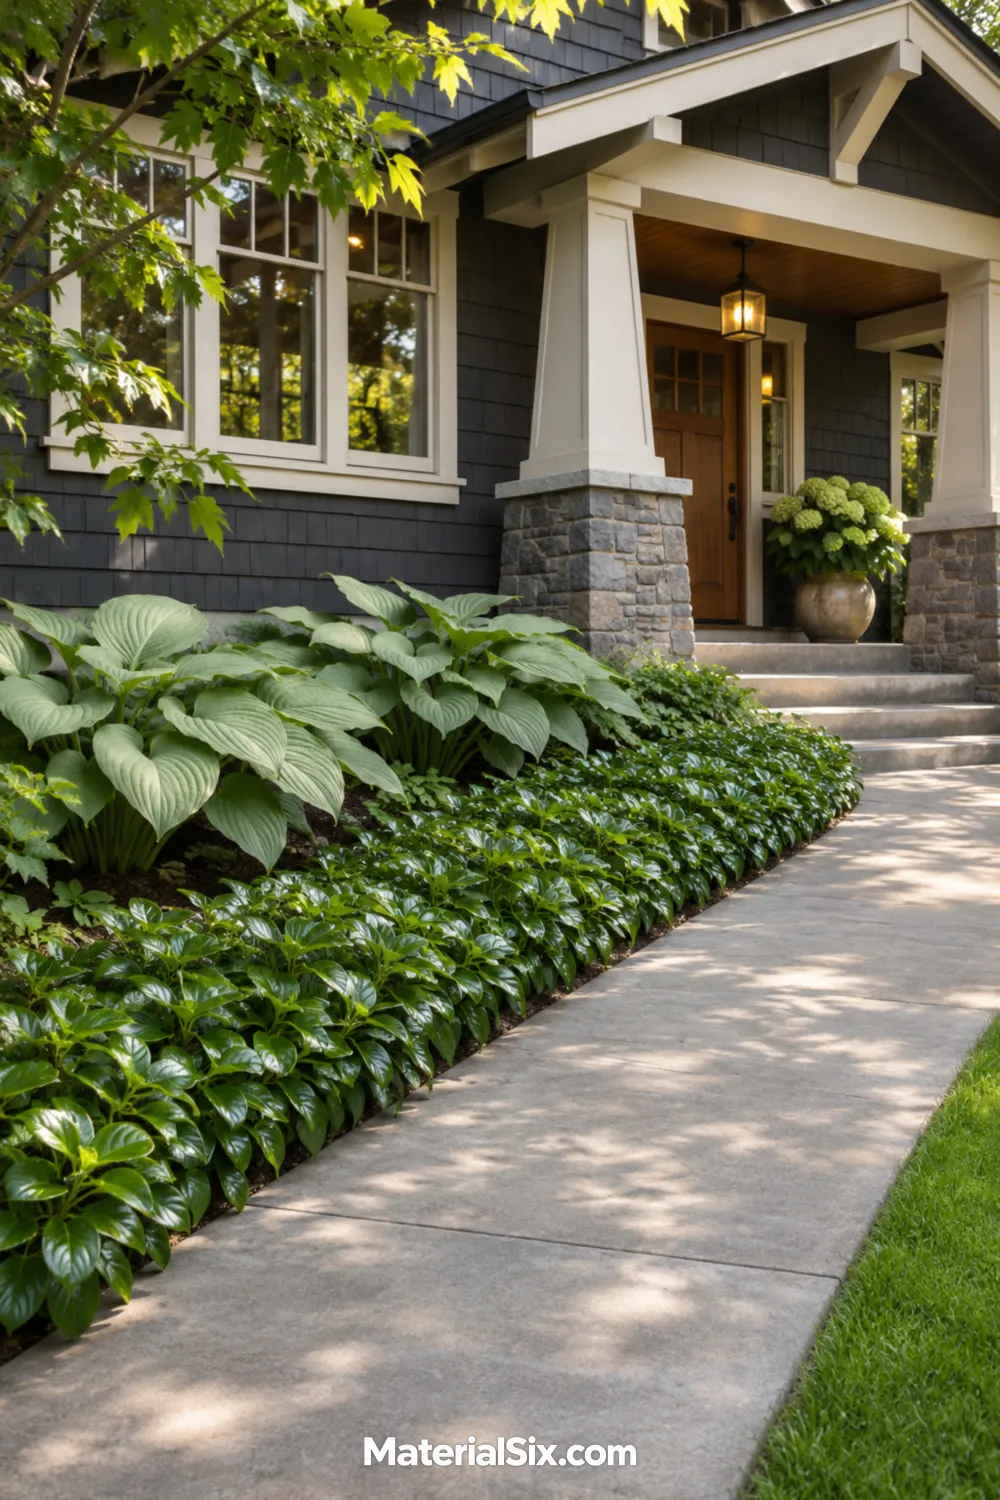
On a shaded approach to the front door, a few repeat plants can make the walk feel connected to the house. Try a low ribbon of green foliage alongside the paving, then set broader, lighter leaves behind it where the bed widens. Let the taller layers gather near the foundation so they don’t crowd the approach.
Lay out the pots before planting and walk past them carrying something bulky, like a grocery bag. Check the plants’ mature widths, too. A border that leaves the whole walkway usable will feel more generous than one that spills across it.
2. Build a Woodland Path With Bark Chips
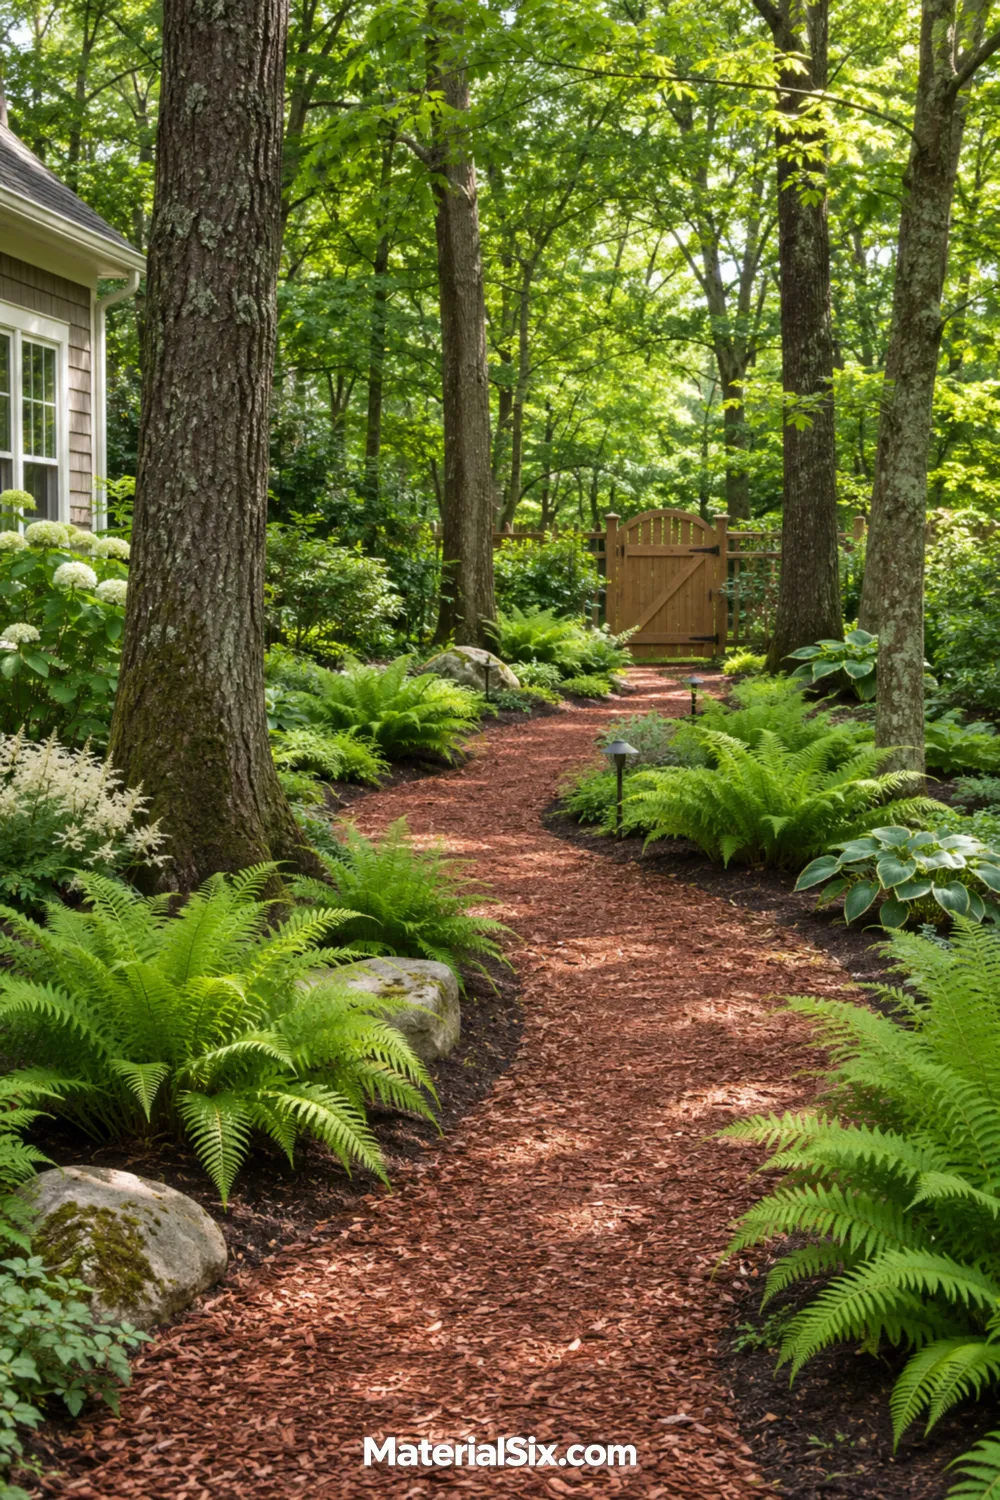
A gently curving path can give a shady backyard a destination even when it only leads to the far gate. Bark chips bring a warm tone to the ground, while loose groups of ferns make the planting feel like part of a woodland garden. Keep the inside of the bend low so you can see where the path goes.
Mark the route with a hose first and walk it in both directions. Where tree roots run close to the surface, shift the route around them and work with the existing grade instead of cutting a trench for edging.
3. Run Stepping Stones Through a Narrow Side Yard
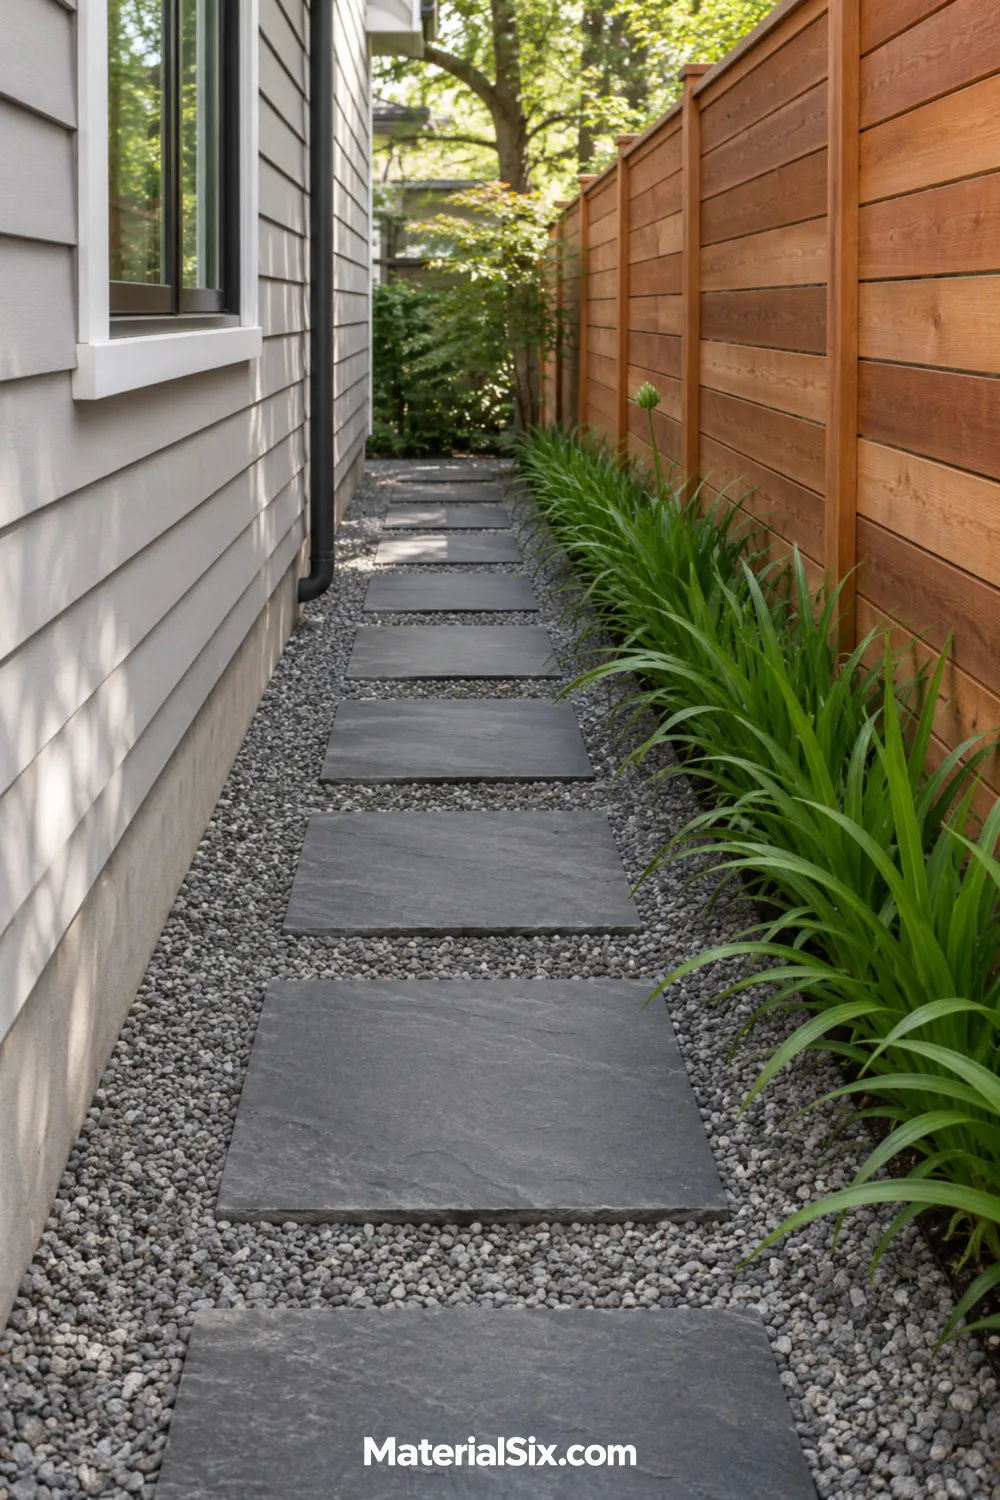
A strip between the house and fence can earn its keep as a route to the backyard. Set a simple line of broad, flat stepping stones down the middle and leave the wider side for planting. Repeating one leaf shape along the fence gives the narrow view some rhythm.
Before committing to the route, walk it after rain and note where downspouts empty or puddles linger. Fit the stones where the footing will stay steady, and leave access to utilities and gates. A modest planting strip is enough if the passage also needs to carry a wheelbarrow.
4. Shape an Island Bed Around the Tree Canopy
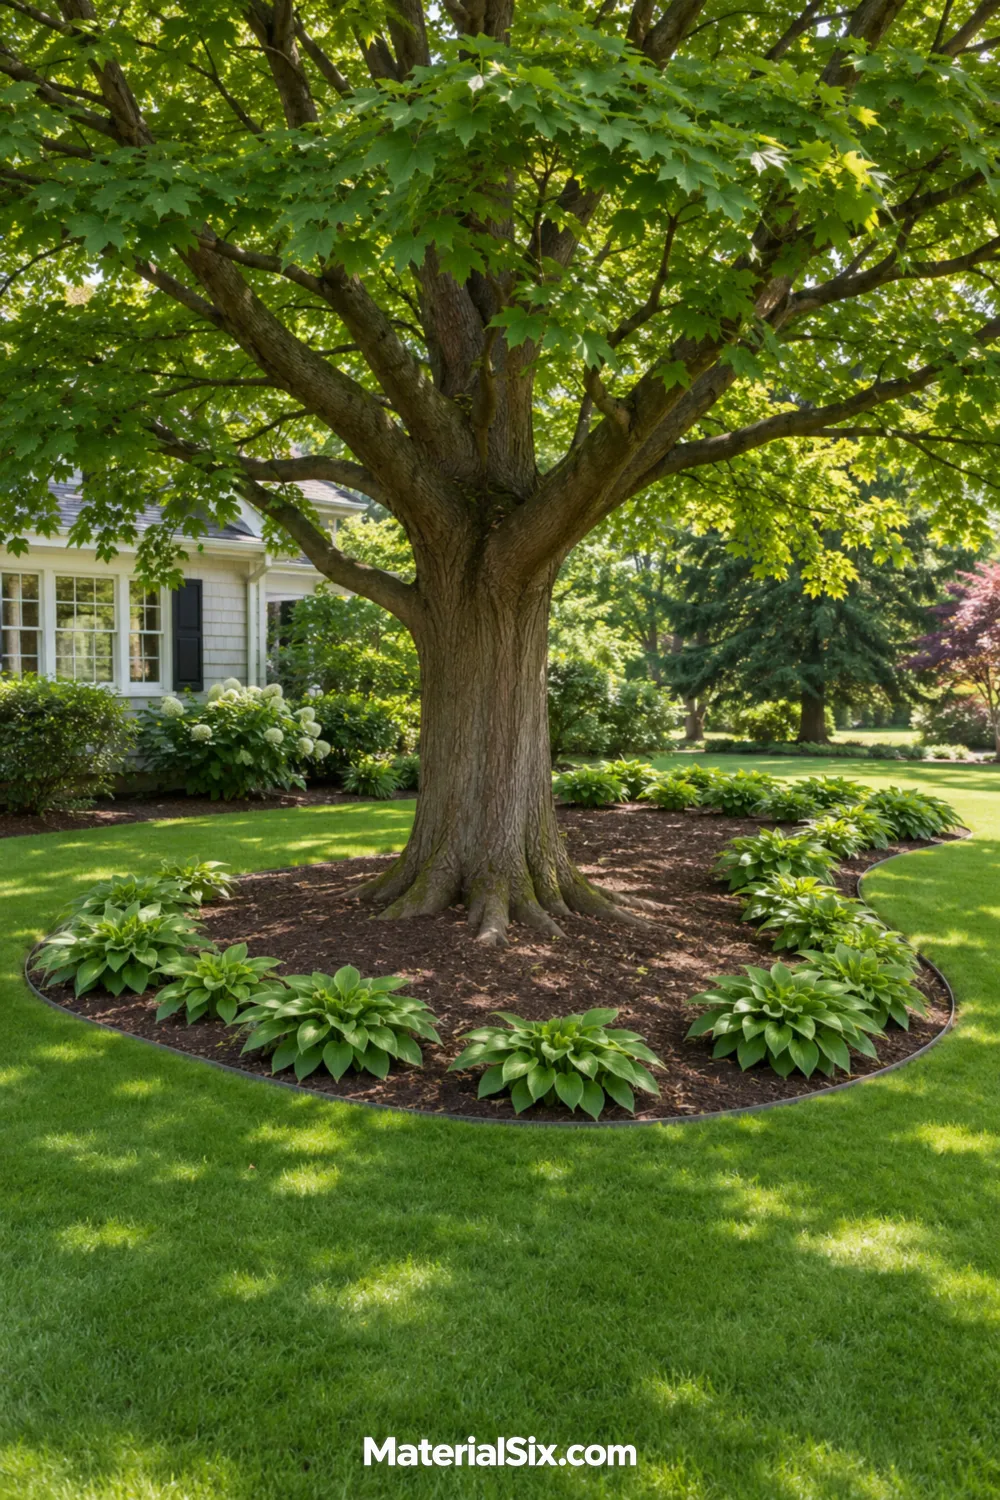
A curved island bed can connect the area below a mature tree to the rest of the yard. Give it a generous outline rather than drawing a tight circle at the trunk. Place small groups of plants toward the outer edge where there are suitable planting pockets. Seen from the house, that repeated foliage can read as one continuous sweep.
Keep the trunk flare visible and avoid piling soil or mulch against it. If a planting pocket is crowded with roots, move the plant and leave that spot open. Bare ground near the trunk can be part of the composition.
5. Put a Bench at the End of a Shady View
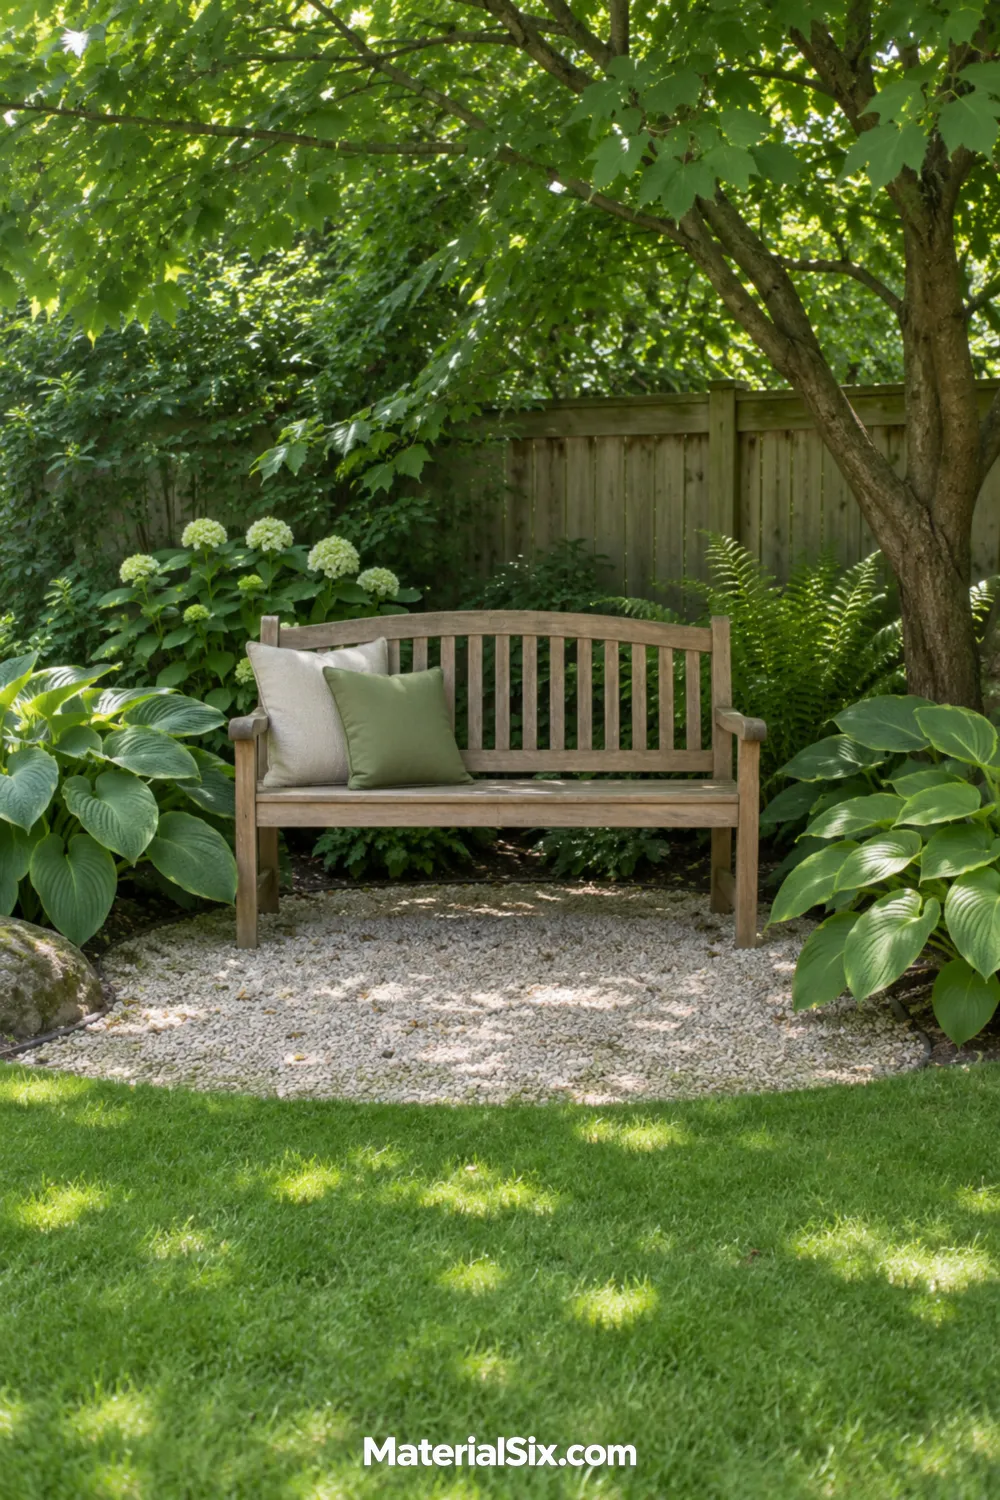
A bench gives your eye somewhere to land when you look into a dim corner. Turn it toward a view you’ll actually enjoy, even if that’s just the garden path and the changing leaves on the opposite side. A small gravel pad and plants on either side are enough to make the seat feel settled.
Check the corner at the time of day you’re most likely to sit there. Leave enough clear space in front to stand comfortably, and plant the broadest foliage behind the seat or off to one side so it doesn’t brush against your shoulders.
6. Give a Damp Low Spot a Fern-Lined Stone Channel
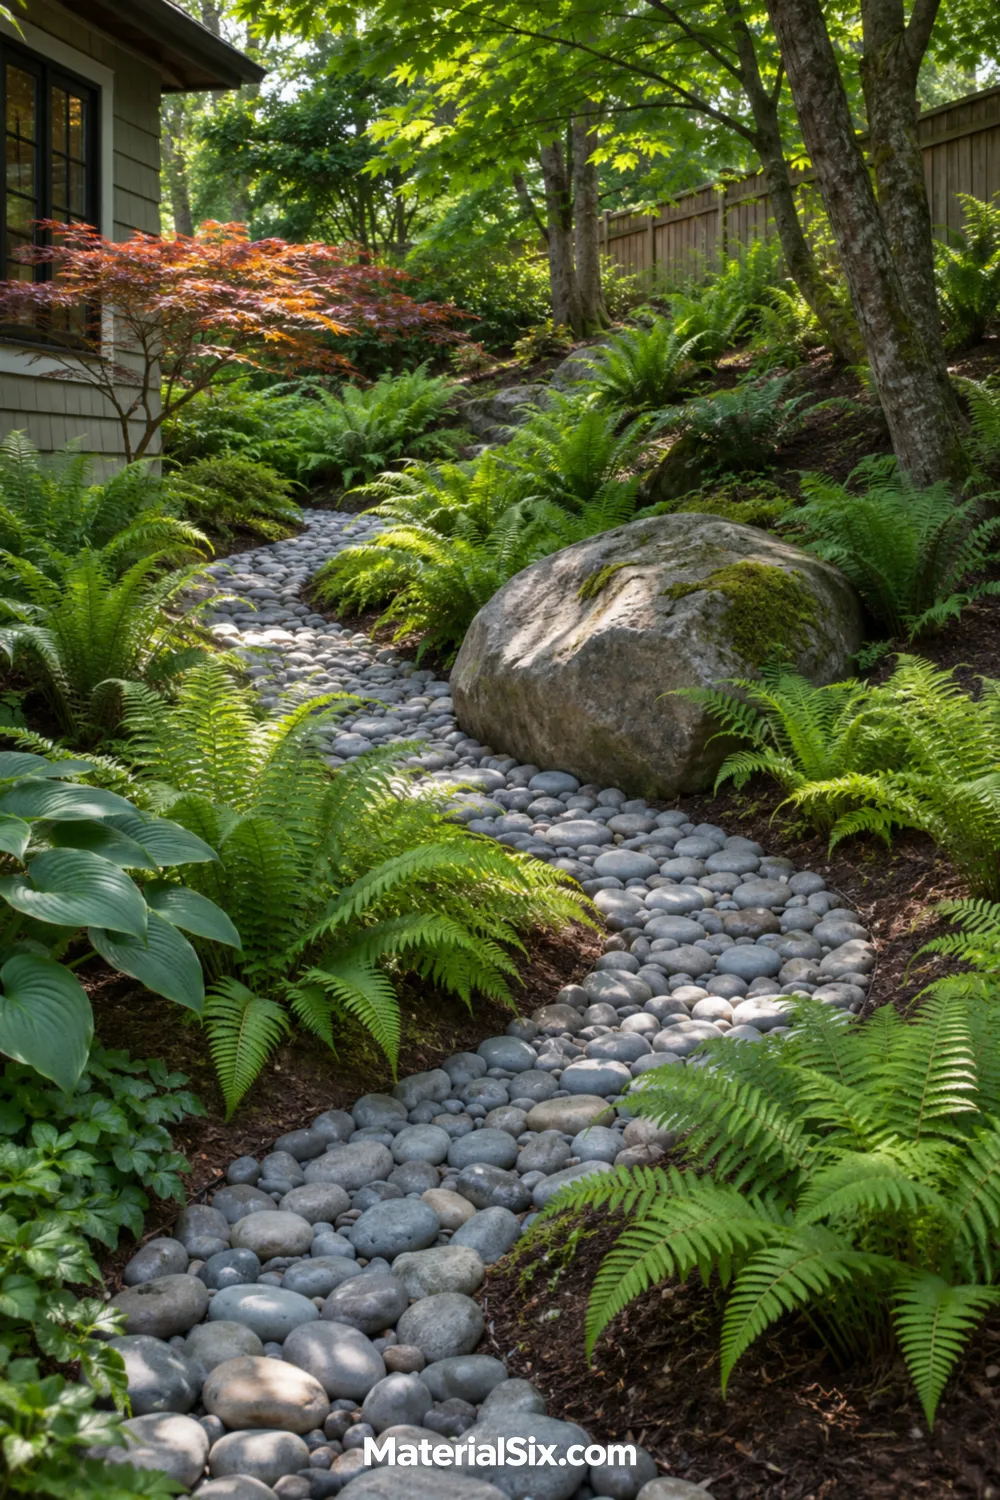
If you have a shallow dip that already carries occasional rainwater through the yard, follow its shape with rounded stone and leave the edges soft with ferns suited to the site’s moisture. A slight bend makes the channel feel like part of the bed, and one larger stone at the bend helps draw the eye along it.
Start by observing how water moves in an ordinary rain. Keep access clear around outlets and choose plants for the conditions you see there. Persistent pooling near the house calls for a separate drainage assessment before you design a planting around it.
7. Layer Large and Fine Leaves in Deep Shade
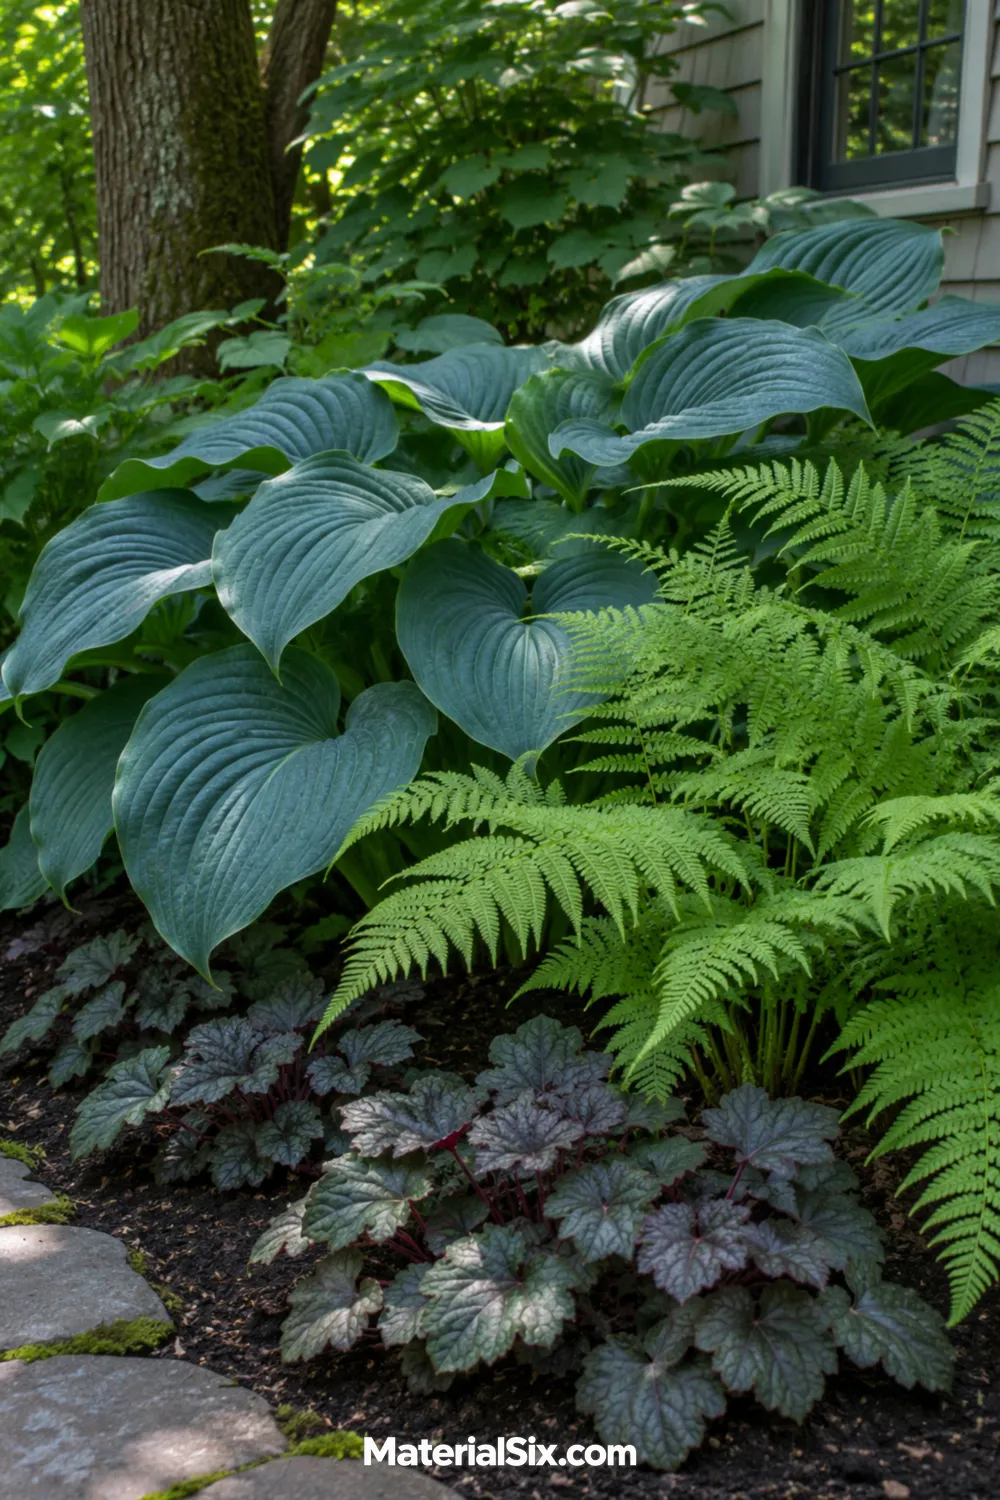
Where flowers are sparse, leaf scale can give a shaded bed depth. Put a few bold, broad-leaved plants beside airy ferns and use a lower, quieter layer at the front. Leave a little ground visible around each group so you can see where one texture ends and the next begins.
Shop for the light and moisture your bed actually receives. A deeply shaded spot beneath a roof edge can be dry, while a similarly dim border at the bottom of a slope can stay moist. Use those conditions to narrow the plant list before choosing colors.
8. Use Pale Blooms to Define a Part-Shade Bed
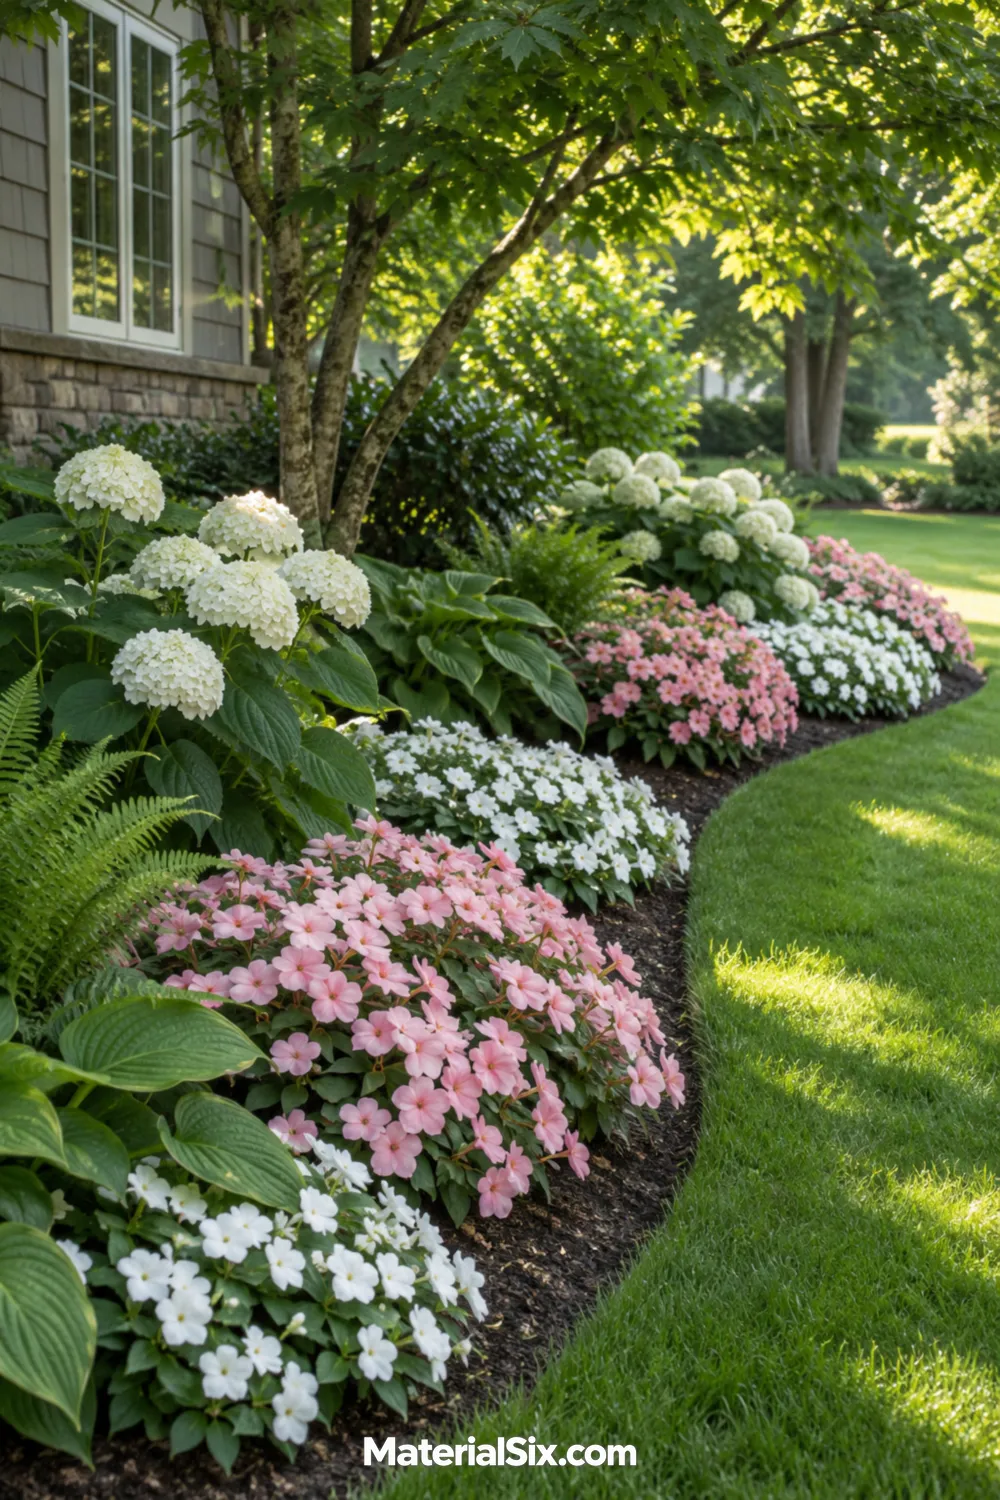
A patch that gets morning light can carry a softer flower palette than the exposed parts of your yard. Group white or pale pink flowers toward the front of a part-shade border and use a darker foliage backdrop to make the blooms easier to see. Repeat each color in a second spot so the planting feels connected across the bed.
Check the light at different times before you shop, especially if a nearby tree leafs out late. Choose flowering plants for the hours of sun the bed actually receives, then build the rest of the arrangement around their mature size.
9. Stagger Planters Along a Shaded Patio Edge
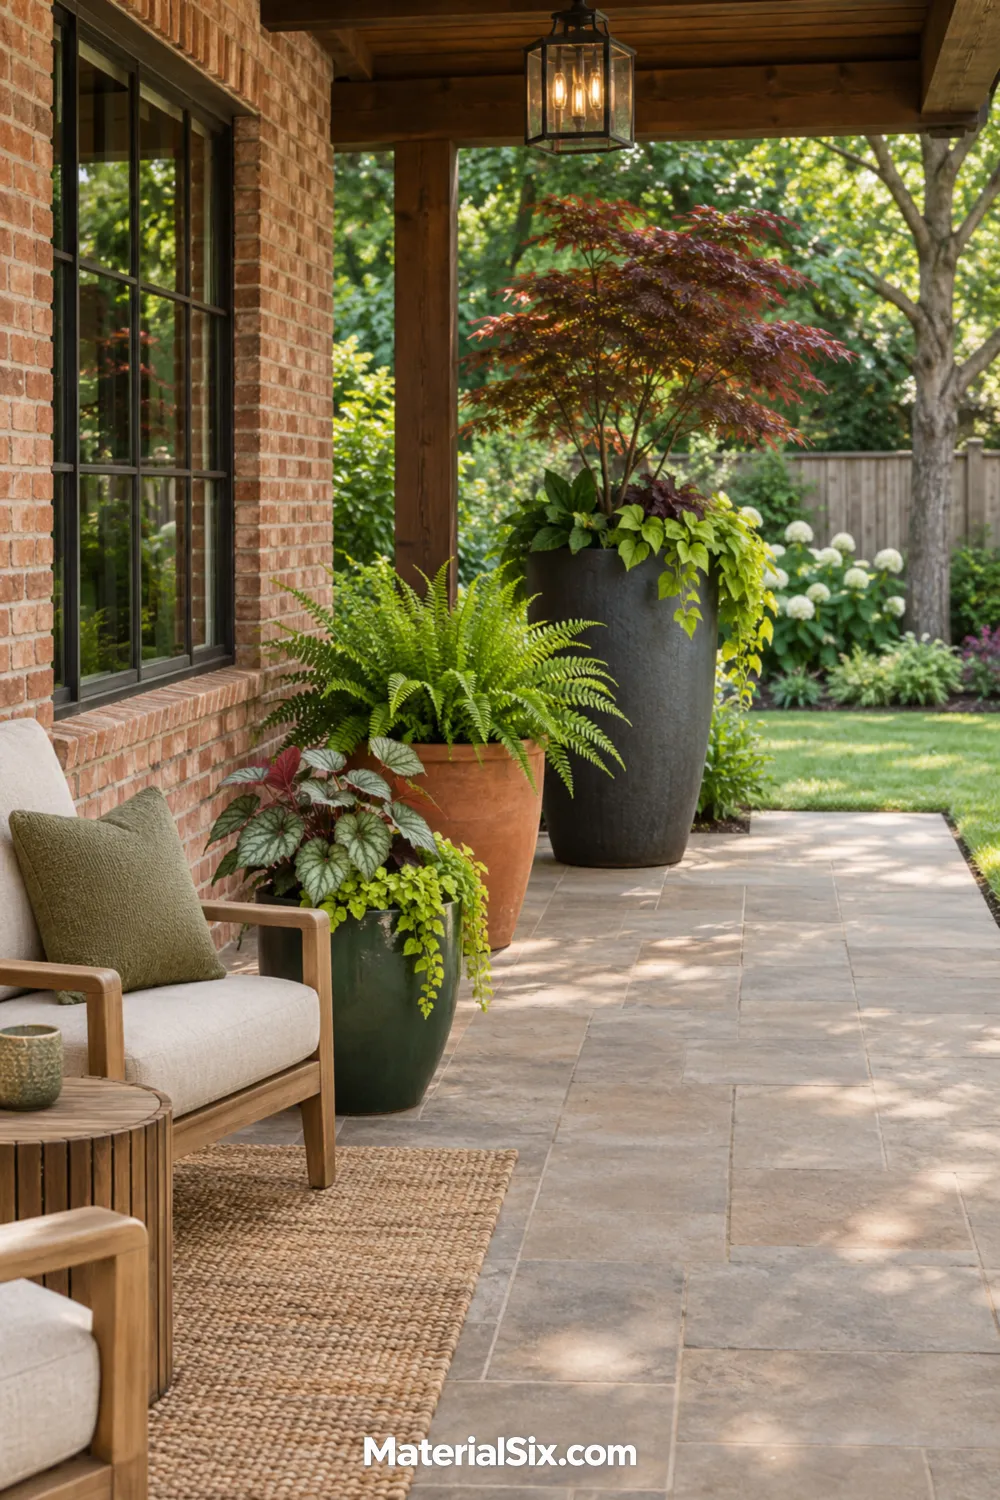
When paving takes up most of the shady area, pots let you plant where there’s no open soil. Put the tallest container at the far end of the patio and step down to smaller pots near the seating. Leaves in different greens can tie the grouping together even when the containers have different finishes.
Keep the pots out of the route between the door and the chairs. A spot beneath a roof overhang may receive very little rain, so check those containers individually as you water. Choose pots with drainage holes and move the group if the foliage starts crowding the usable patio.
10. Tuck Small Planting Pockets Along a Stone Wall
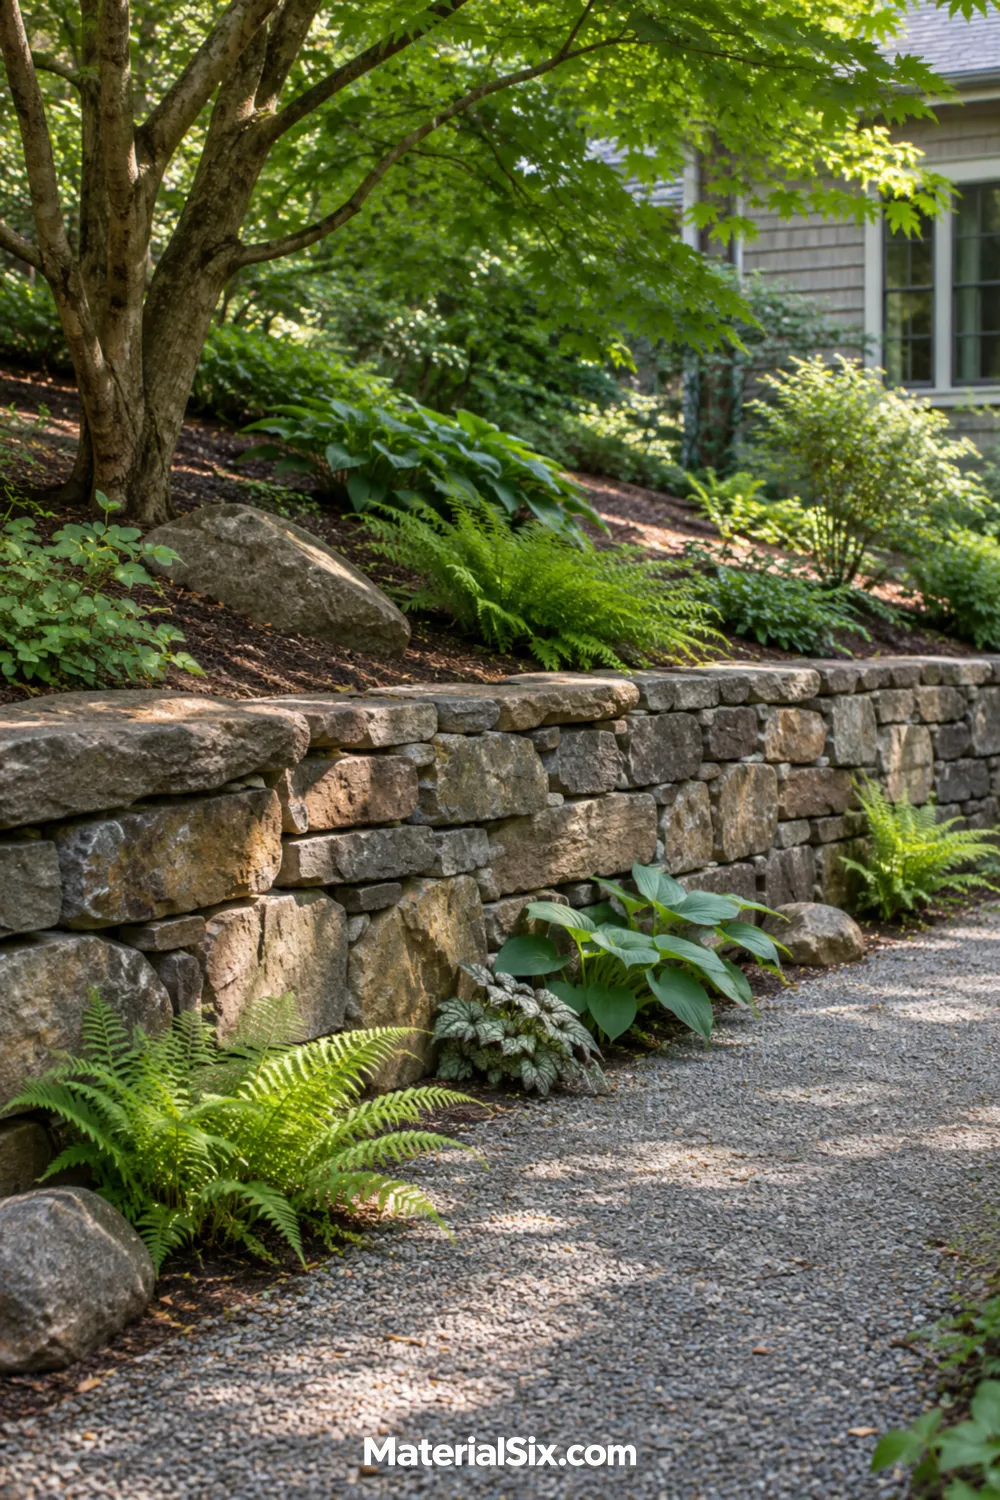
A low stone wall can give a shaded slope a strong shape. At the base, use separate pockets of foliage to soften the transition to the path or lawn. Leave some stone exposed between groups. From a few steps back, the gaps make the leaf shapes easier to read and keep the wall visible.
Treat an existing wall as a fixed part of the layout and work in the soil beside it. Look for short plants that fit the available depth at maturity, and keep drainage openings clear. A few well-spaced clumps go a long way along a short wall.
11. Replace a Thin Strip of Lawn With Ground Cover
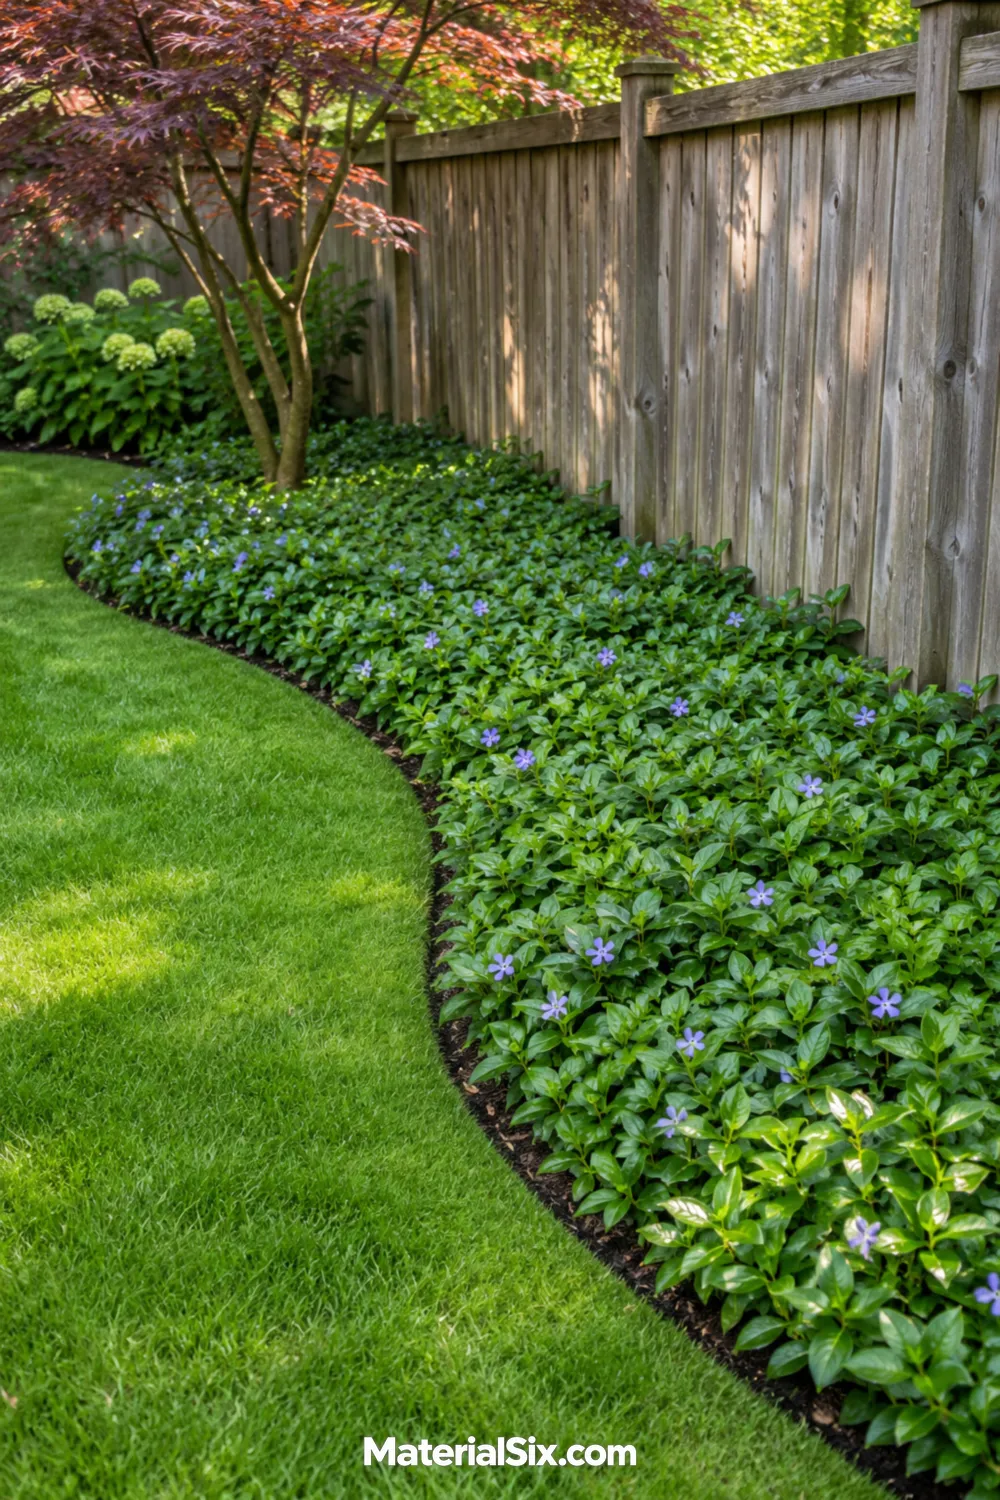
When the grass along a shaded fence keeps thinning, consider making that strip a planting bed. A low ground cover gives the edge a more deliberate shape, especially when you can keep the remaining lawn or path line smooth. Plant in small groups first so you can see how the foliage looks from the main part of the yard.
Check regional guidance for ground covers that suit your light and soil and won’t spread into nearby natural areas. If the strip doubles as a shortcut, give people a paved route through it so the plants can fill in around the traffic.
12. Use a Large Pot as a Focal Point in Dry Shade
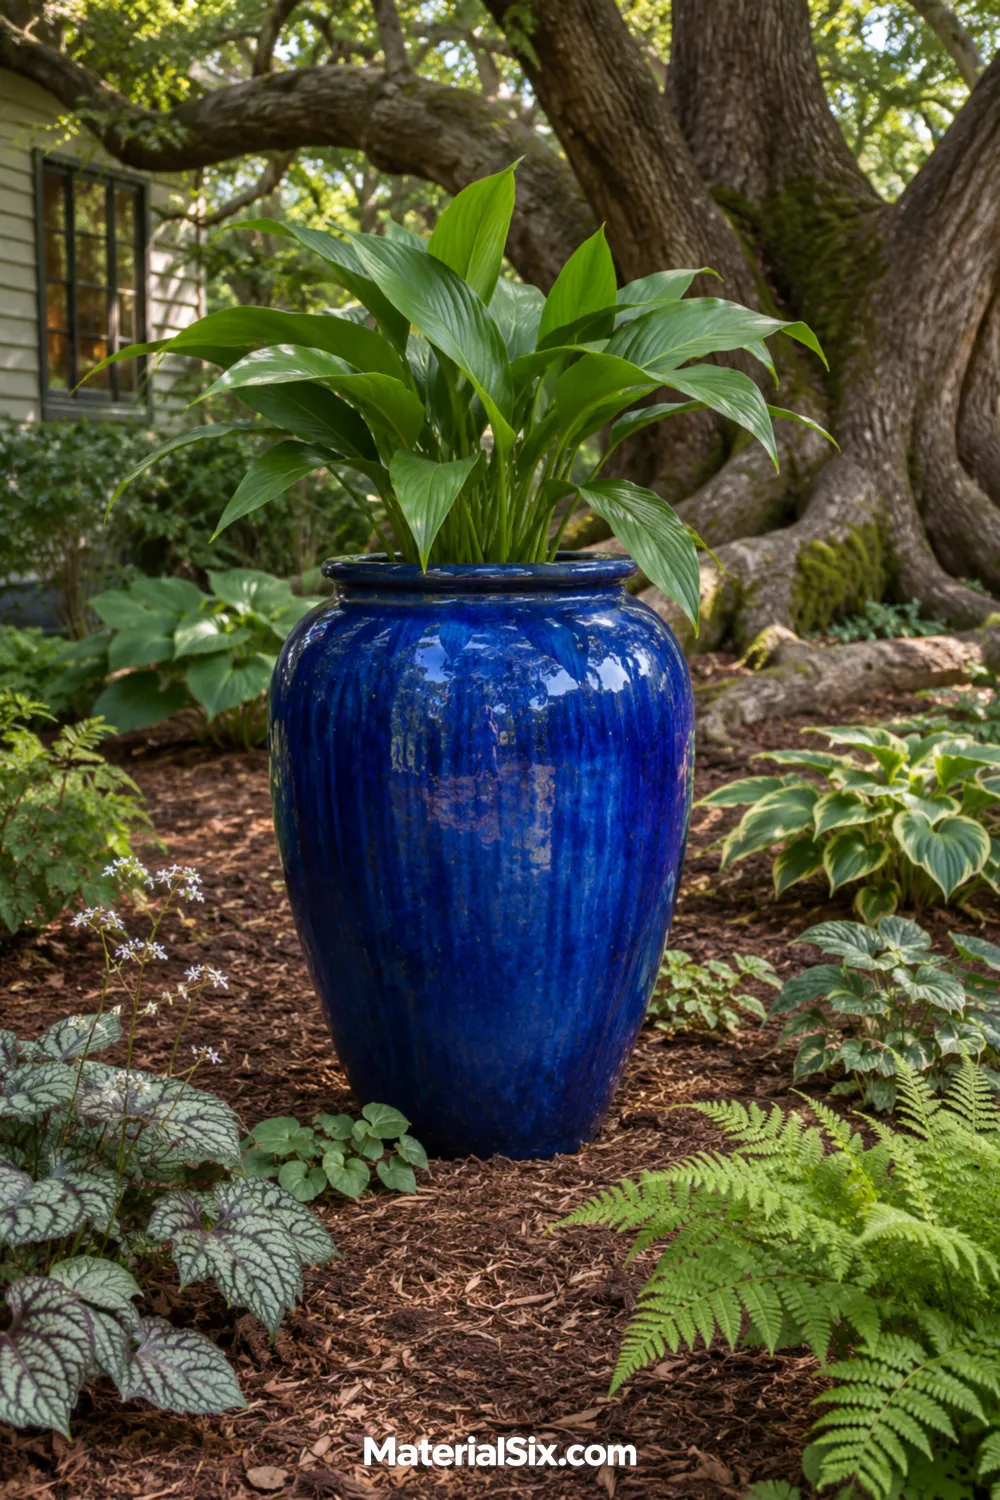
A large glazed pot can anchor a dim planting bed when the soil around it is full of roots. Set it where the color will catch your eye from the house, then repeat one foliage tone around the base to tie it into the planting. A blue or warm clay finish can stand out among greens without competing with every leaf.
Use a stable spot outside the main footpath and leave room to reach the container with a watering can. The pot gives you an individual planting pocket you can water separately from the ground around it.
13. Plant a Loose Screen With Shrubs of Different Heights
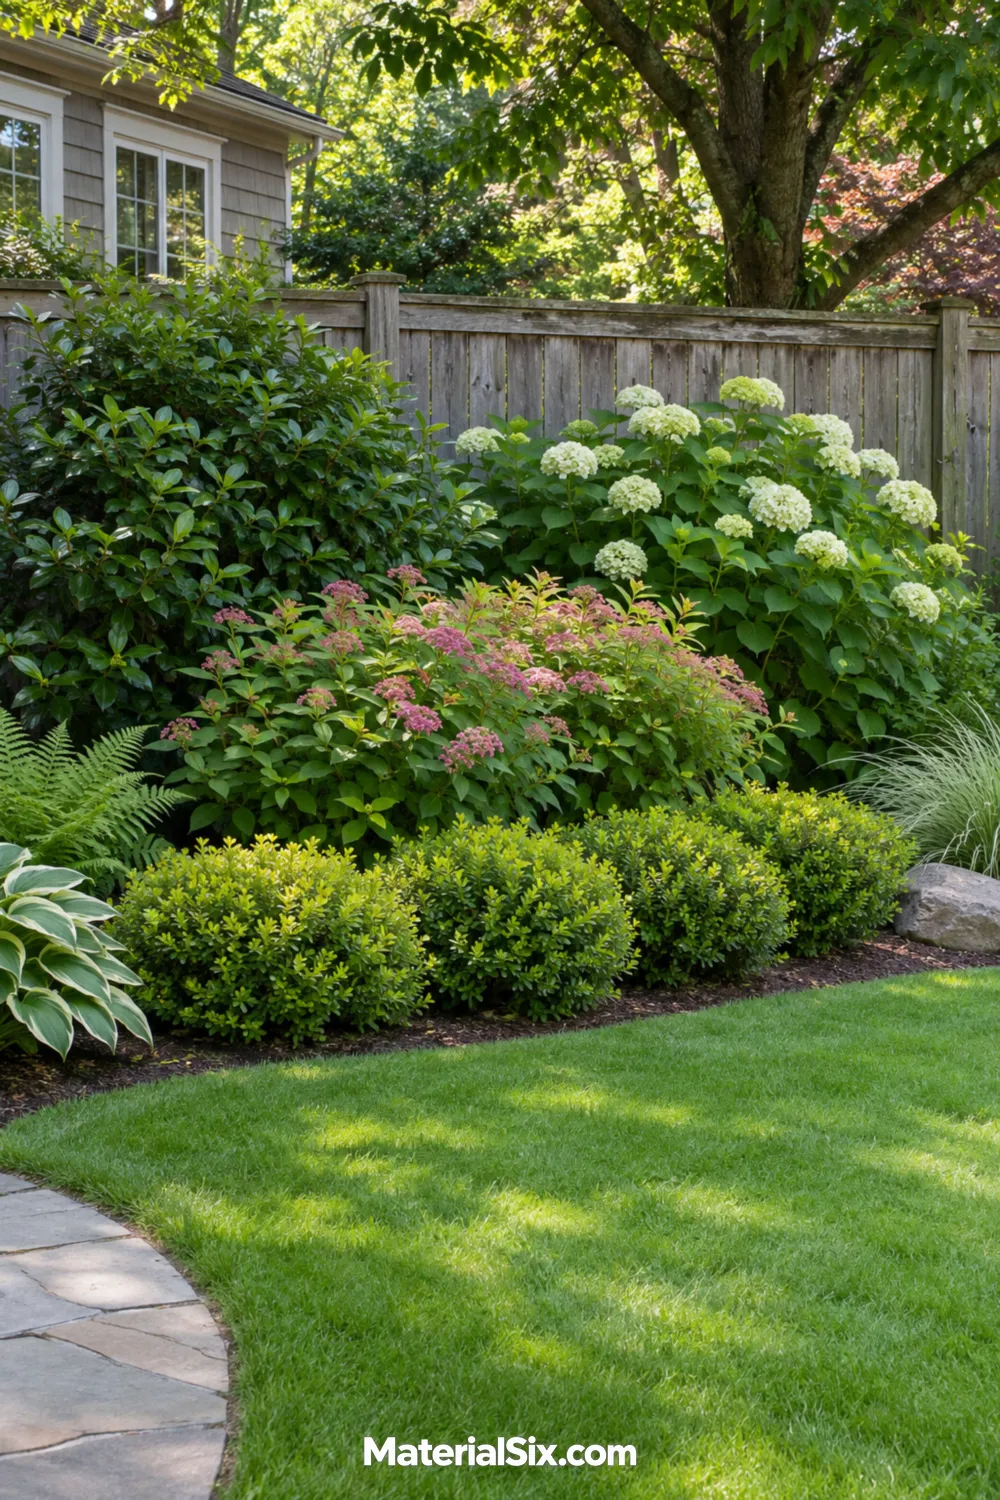
A shaded boundary can feel more sheltered with a staggered group of shrubs than with a bed of small plants lined up against the fence. Bring a shorter shrub forward where the bed has extra depth and position taller ones behind it. The offset layers make the boundary feel less flat and give individual plants room to show their shape.
Plan the spacing using mature widths and account for any gate swing or fence access. A gap near the path can make a tight corner feel more open while keeping the view from the seating area framed.
Choose the Spot You Use Most
Start with the shady area you pass or look at every day. Save the ideas that match its light, moisture, and available space, then mark out the path, seating, or bed shape before you choose plants. Getting that first decision right makes the rest of the planting easier to picture.