
A shed can feel roomy when it’s empty and surprisingly tight once a workbench, a shop vacuum, and a stack of project lumber move in. The awkward part is often what happens between tasks. You need somewhere to put the cabinet door you just took off its hinges, enough room to turn a long board, and a bench you can sit or stand at without shifting a pile of supplies first.
The layout matters as much as what you store in it. Some of these shed workshop ideas give you room to work around a project, while others make it easier to set a job aside and pick it up again. Picture the last thing you made or fixed and where each step would have happened.
1. Run a Workbench Along One Wall
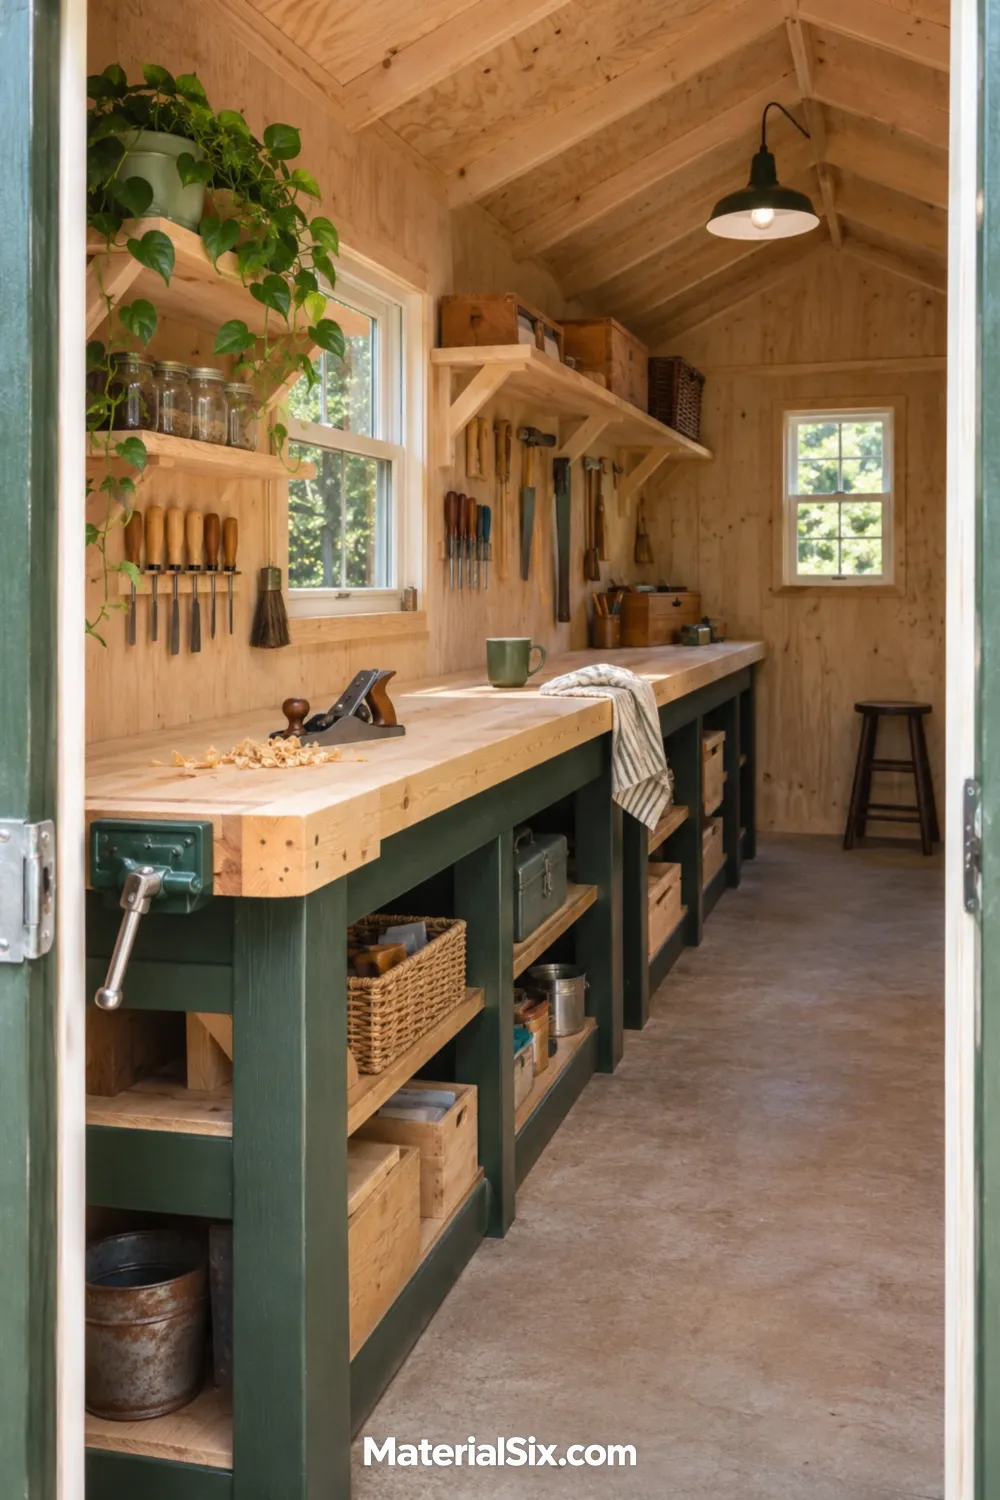
In a narrow shed, a bench along the longest uninterrupted wall keeps the route from the door simple. Put your main work surface where you can approach it without walking around a stool, storage tote, or machine. A shallow shelf on the opposite wall can hold items you grab on your way in.
If your bench doubles as your only flat surface, reserve one end for parts and tools you’re using today. The rest can stay clear enough to lay out a project.
2. Give Two Tasks an L-Shaped Bench
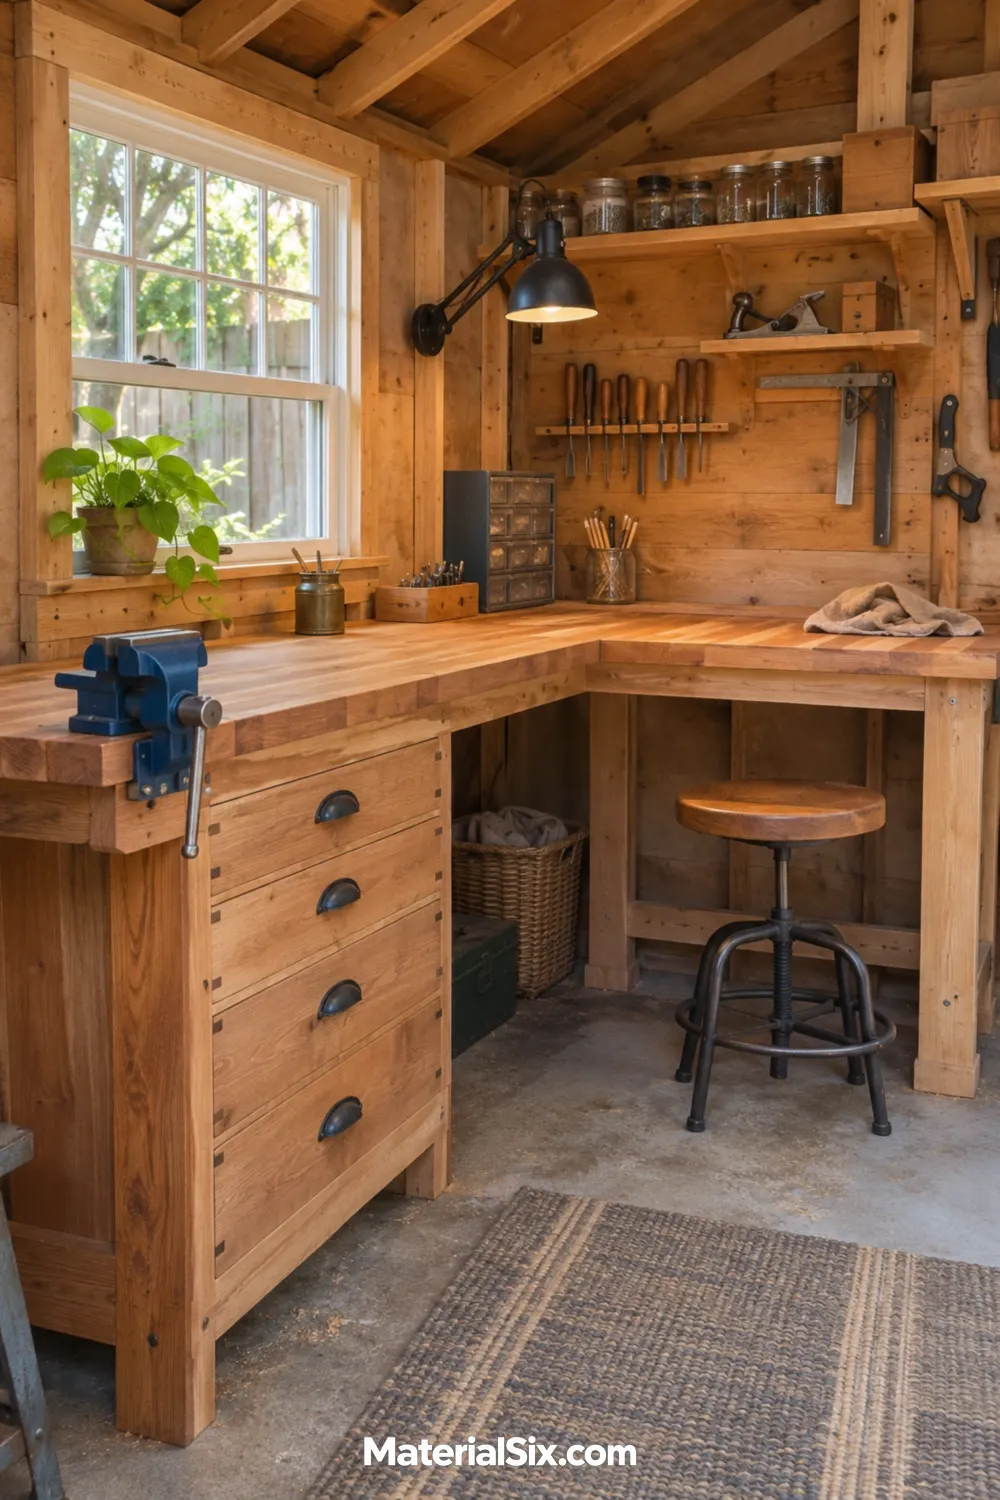
A corner bench gives you two work surfaces within arm’s reach. Give the deeper leg to assembly or a bench vise and use the shorter return for seated detail work. An open spot beneath the return lets you tuck your stool away and still leaves knee room when you sit.
Set the tools for each task near the leg where you use them. The inside corner can hold a shallow parts tray you can reach from either side.
3. Put Your Assembly Table on Casters
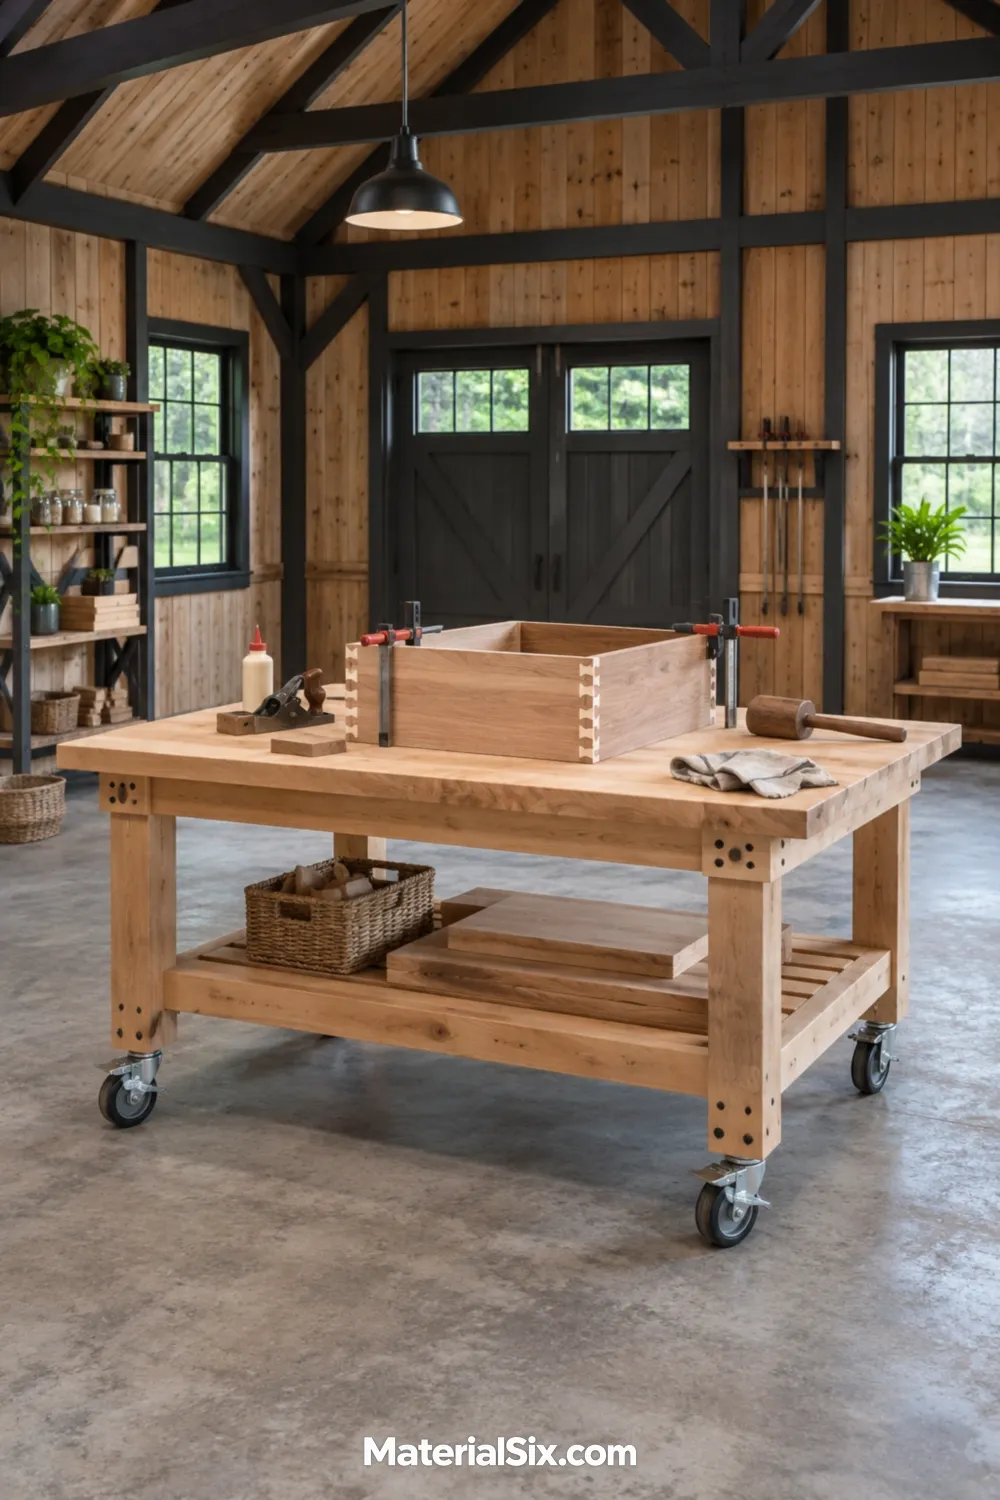
A freestanding table lets you reach a project from all sides. That comes in handy when you need to line up the back of a cabinet or clamp a frame from opposite edges. A table with locking casters lets you bring your work into the center and park the surface along the wall afterward.
Before you buy or build one, mock up its footprint with cardboard and find a parking spot. Make sure you can still get to the tools and drawers behind it.
4. Reclaim the Floor With a Fold-Down Bench
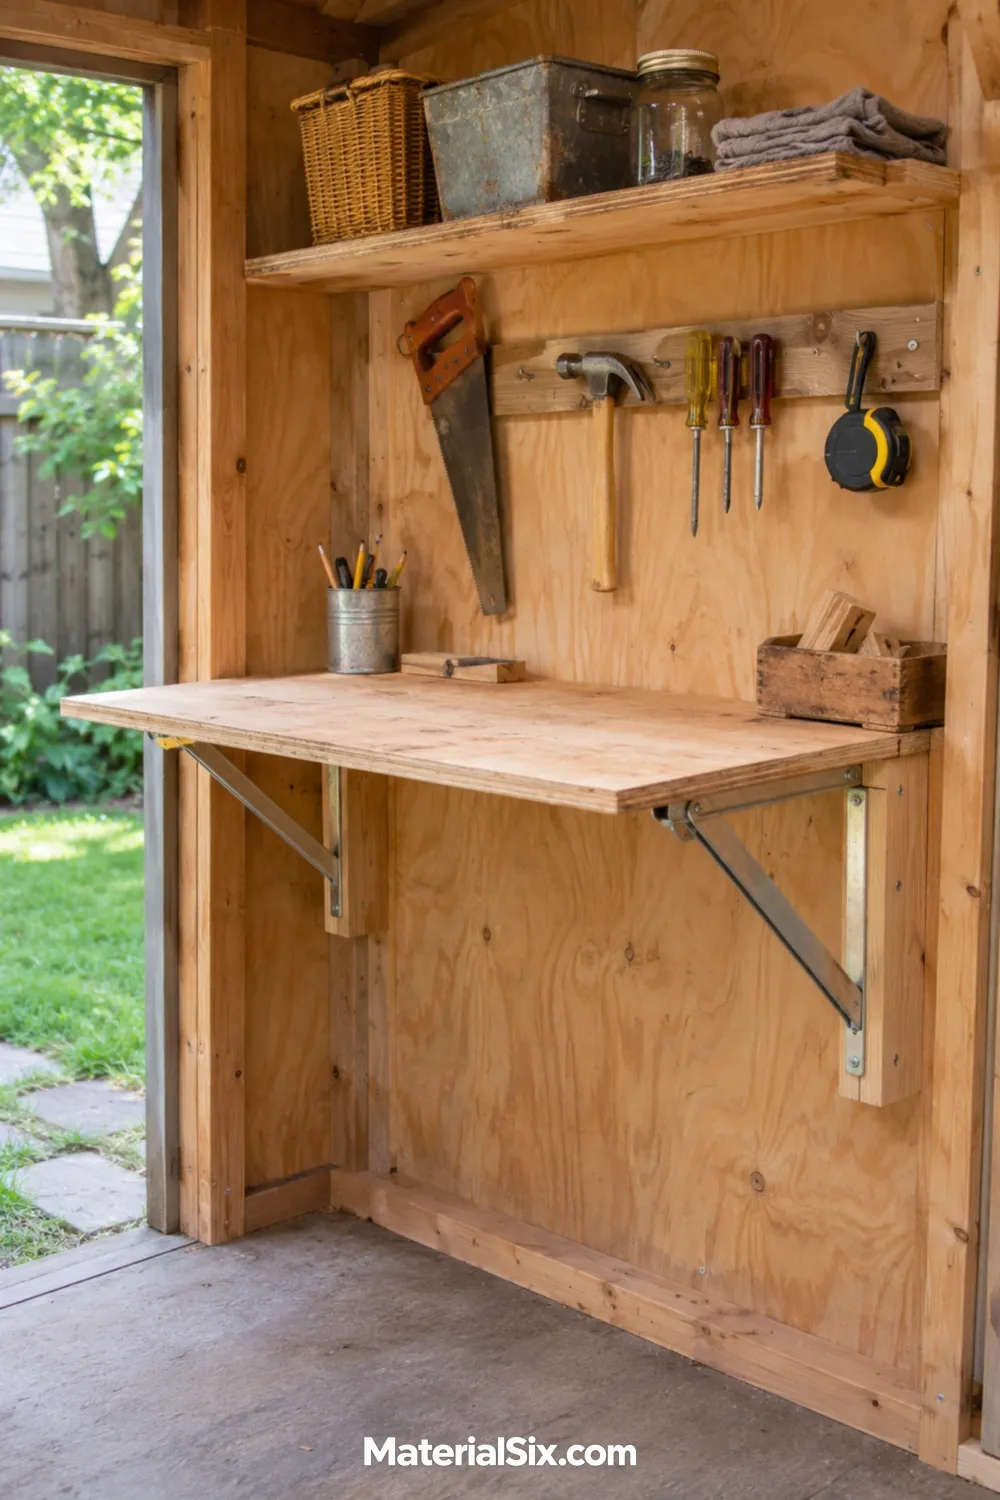
A wall-mounted worktop makes sense when the shed also stores bikes or yard equipment. Leave the area underneath open and hang frequently used tools beside it so they’re accessible with the bench folded. Choose a worktop and supports intended for the kinds of tasks you do there.
5. Use the Double Doors as a Material Lane
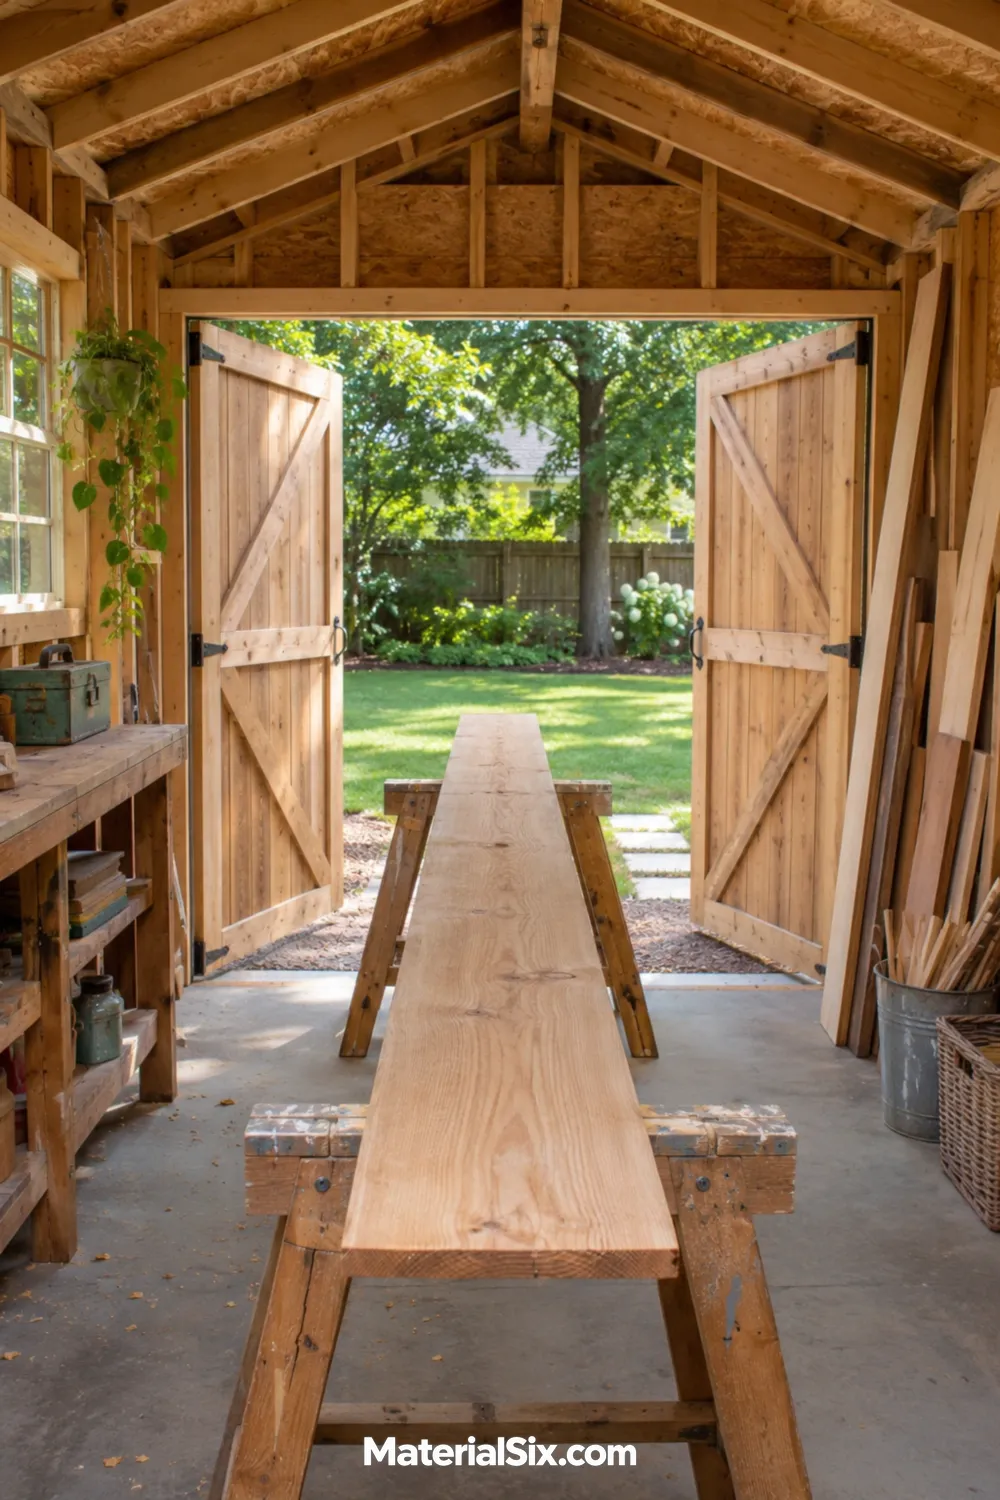
Give long boards a straight path through the widest opening. Sawhorses set in line with the doors let you lay out stock and check pieces without angling every board around furniture. Try carrying a board you commonly use into the empty shed before deciding where benches belong. The spot where you naturally turn tells you which corner to keep clear.
6. Give the Miter Saw Its Own Counter
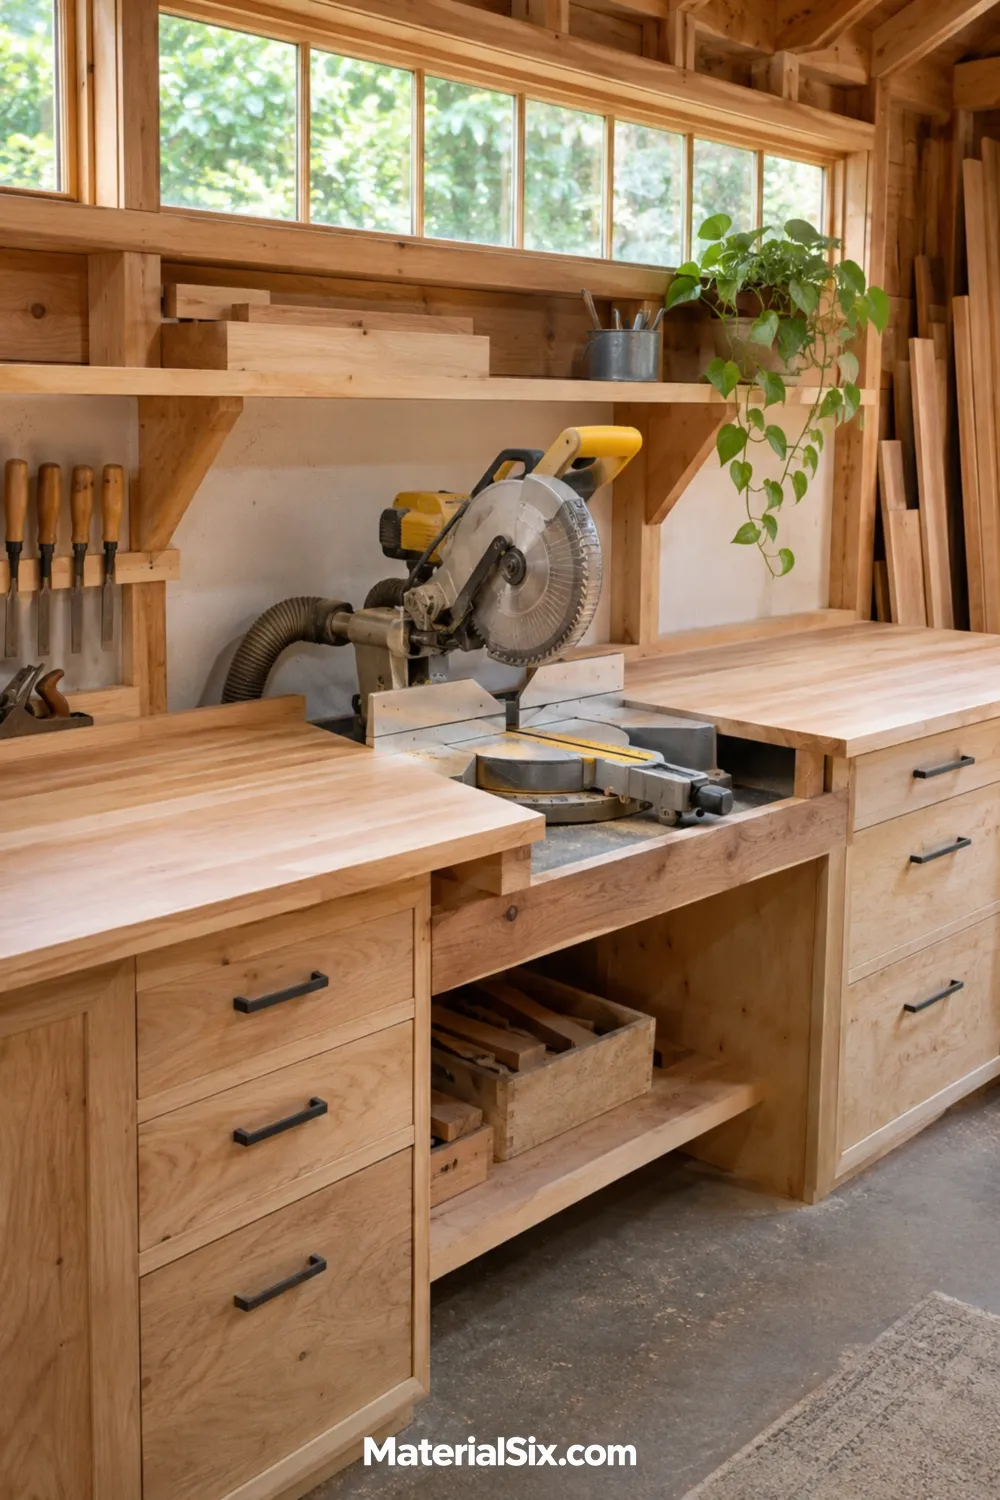
A dedicated miter saw station earns its footprint when you regularly cut trim or repeat crosscuts. A recessed spot for the saw brings its working surface level with the surrounding counter so long pieces have somewhere to rest on either side. Plan the recess around your actual saw and check how much space its full range of motion takes up, including behind the fence.
If most of your cuts happen outdoors and your shed works harder as an assembly space, the length of counter this layout takes up can help you decide whether it’s worth giving the saw a permanent home.
7. Put Everyday Hand Tools on Pegboard
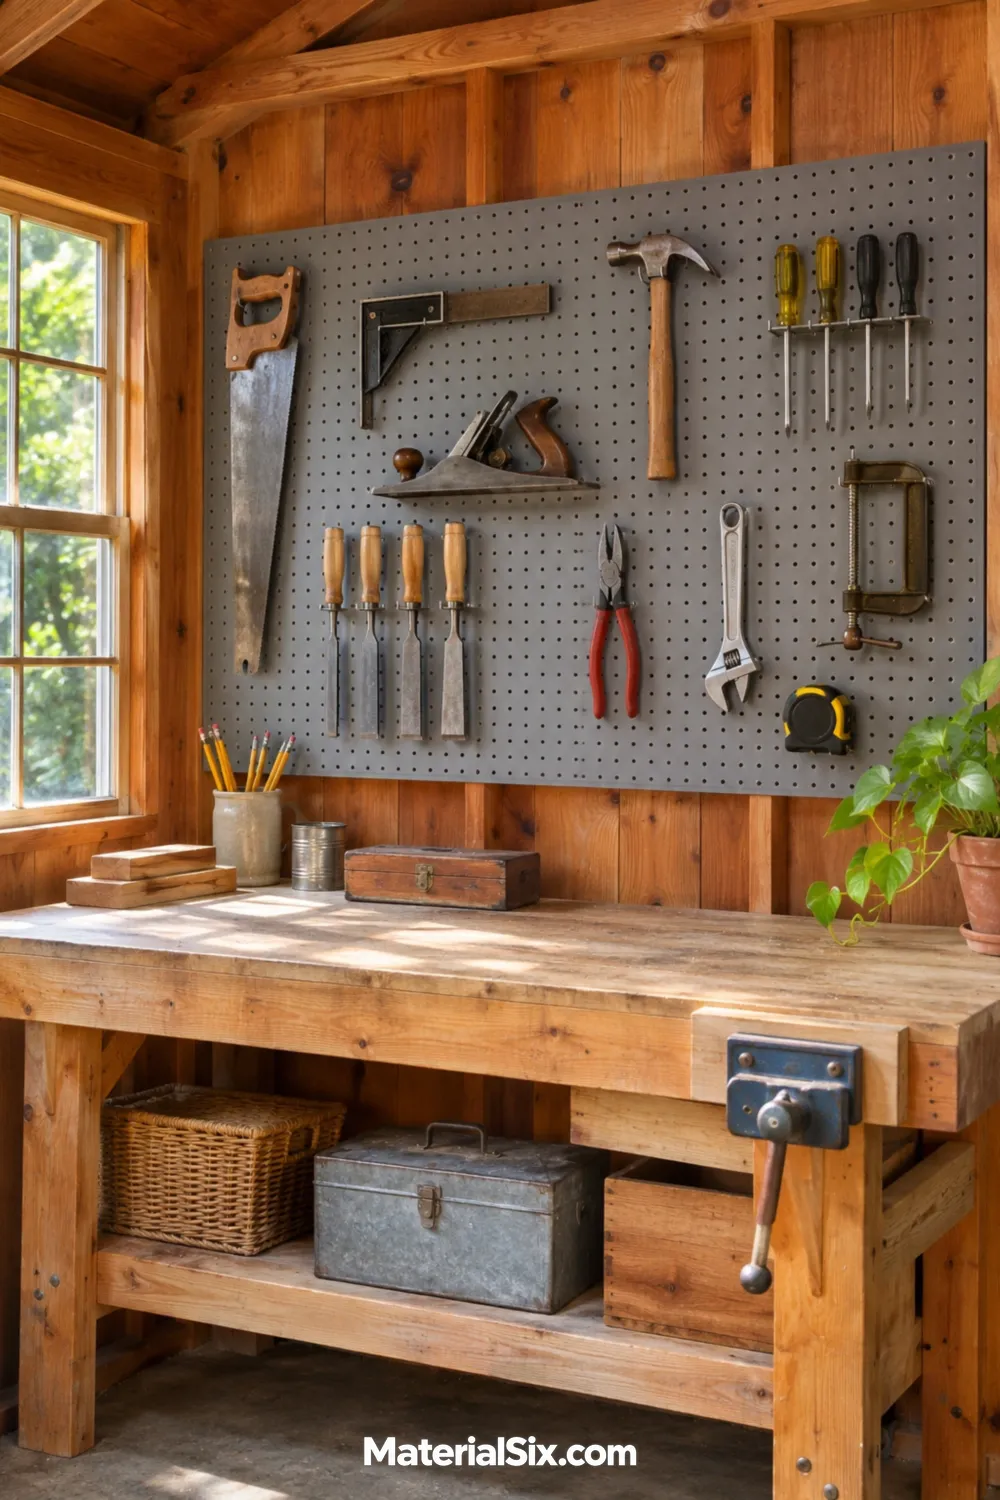
Hang the hammer, square, tape measure, and screwdrivers you reach for most just above the bench. Leave room between hooks so you can lift out a tool without catching its neighbor. Empty space on the board gives a new favorite tool a place to land later.
8. Use French Cleats for Moveable Tool Holders
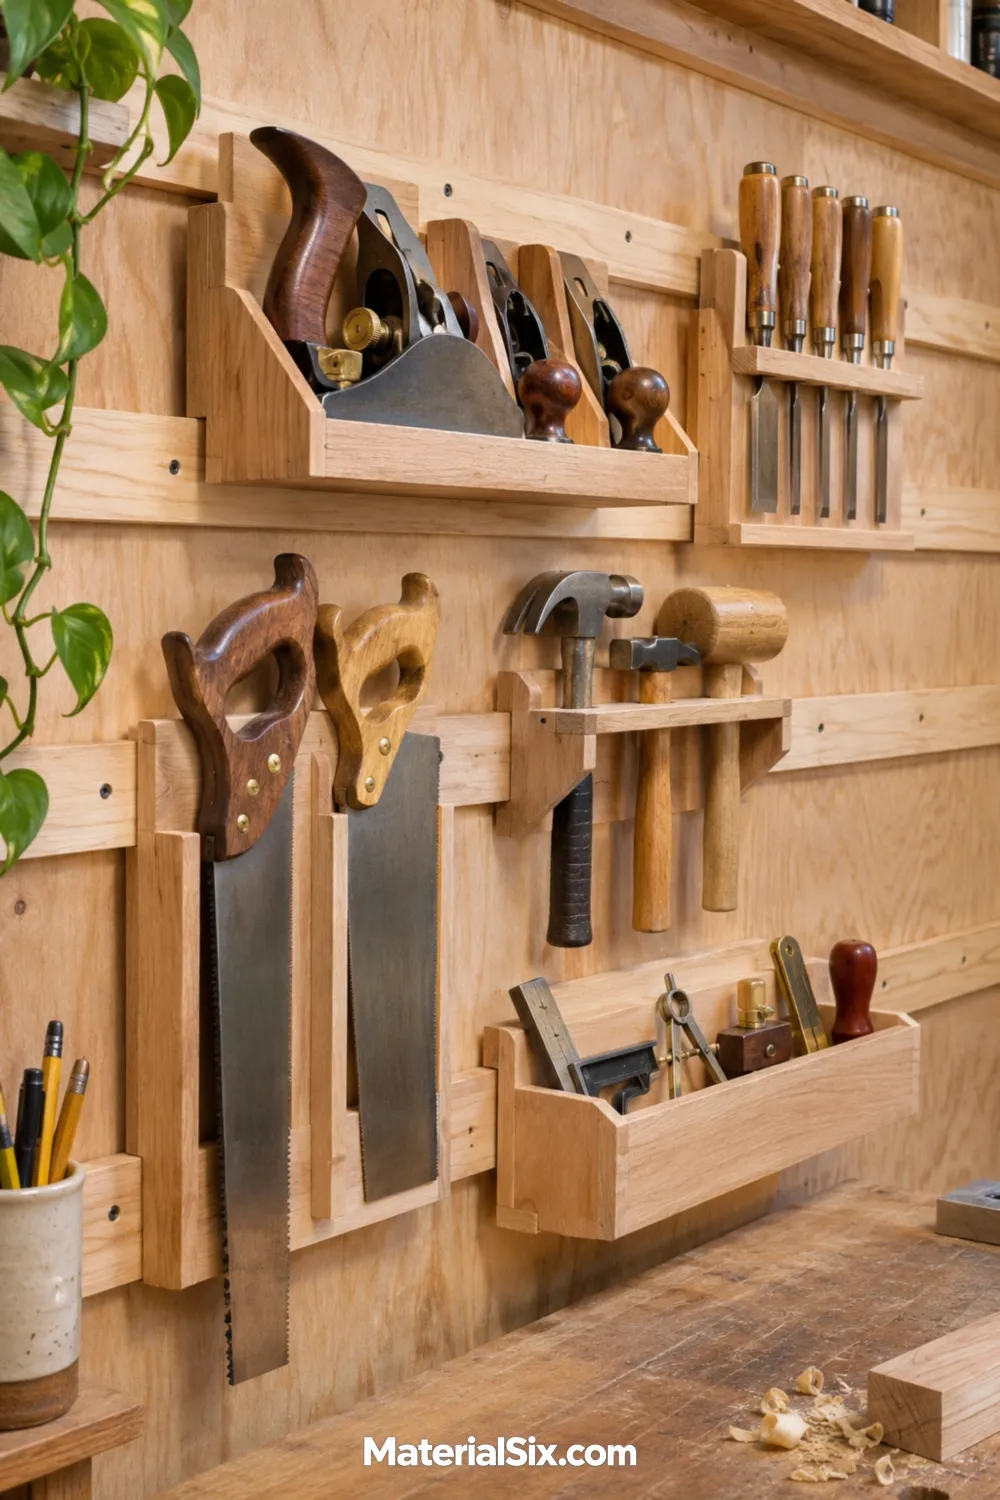
A French cleat wall uses horizontal strips with angled edges and matching holders that hang from them. Try it where your tool setup changes regularly. A chisel rack can move closer to the bench when you’re working with wood, and a shallow tray can take its place for repair parts.
Start with a few holders designed for tools you already own. That gives you time to work out the spacing before you fill the wall.
9. Make One Spot for Cordless Tools and Chargers
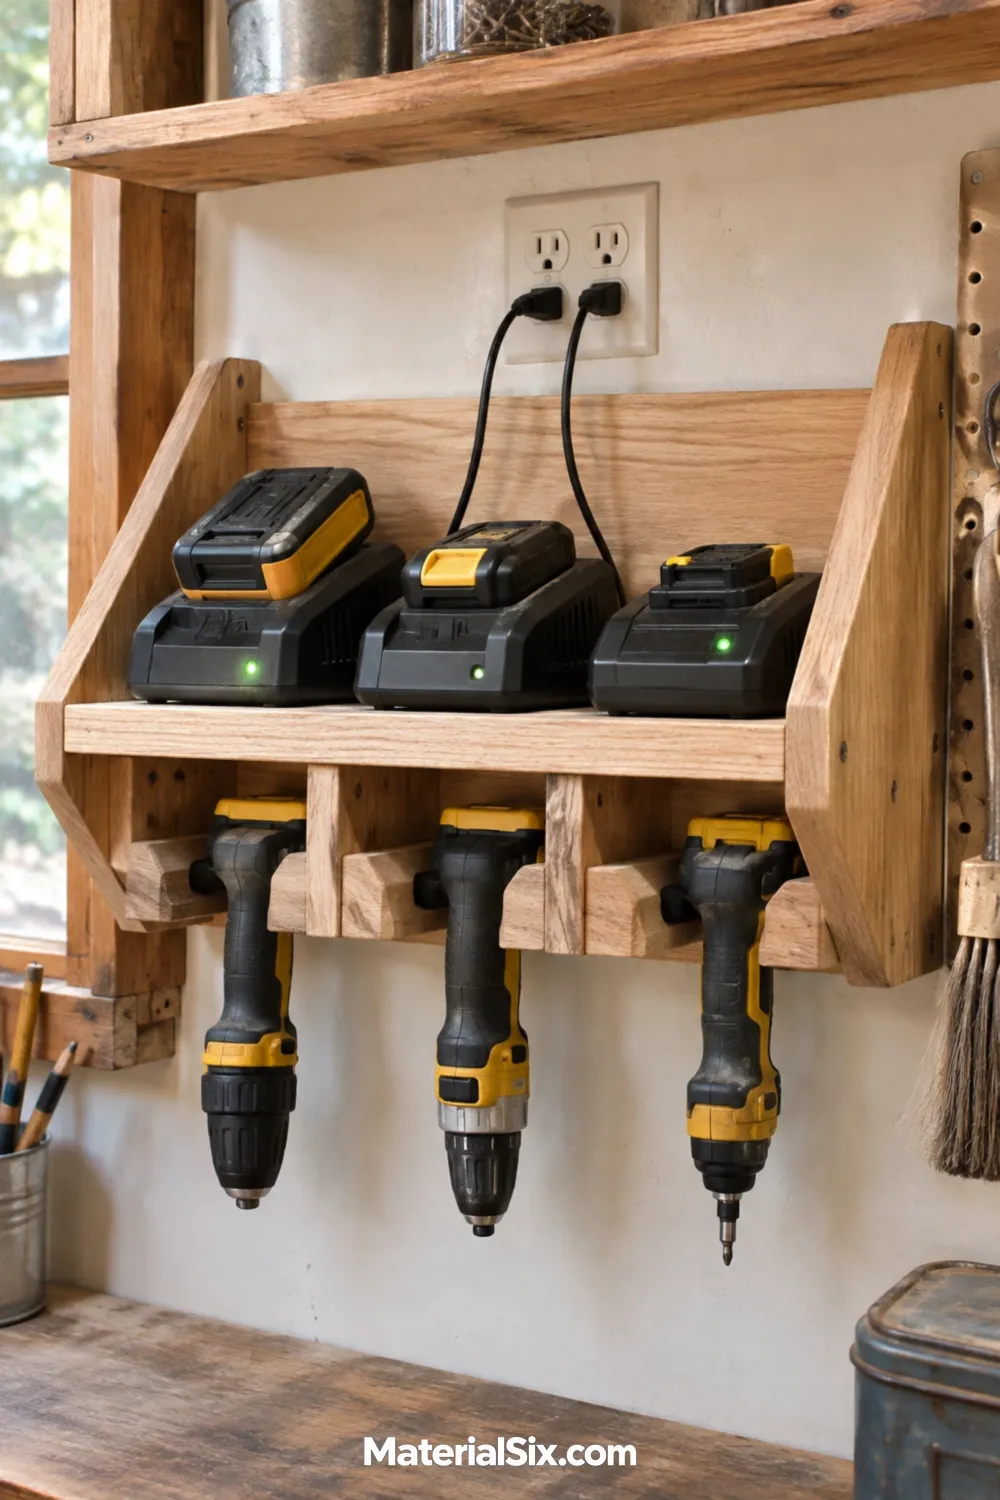
Give chargers a shallow shelf and hang the corresponding tools within reach. Leave space around the chargers so you can slide batteries out without shifting another charger. Keep the shelf clear enough to see which batteries are ready when you walk in.
10. Bring Fasteners Into View With Clear Drawers
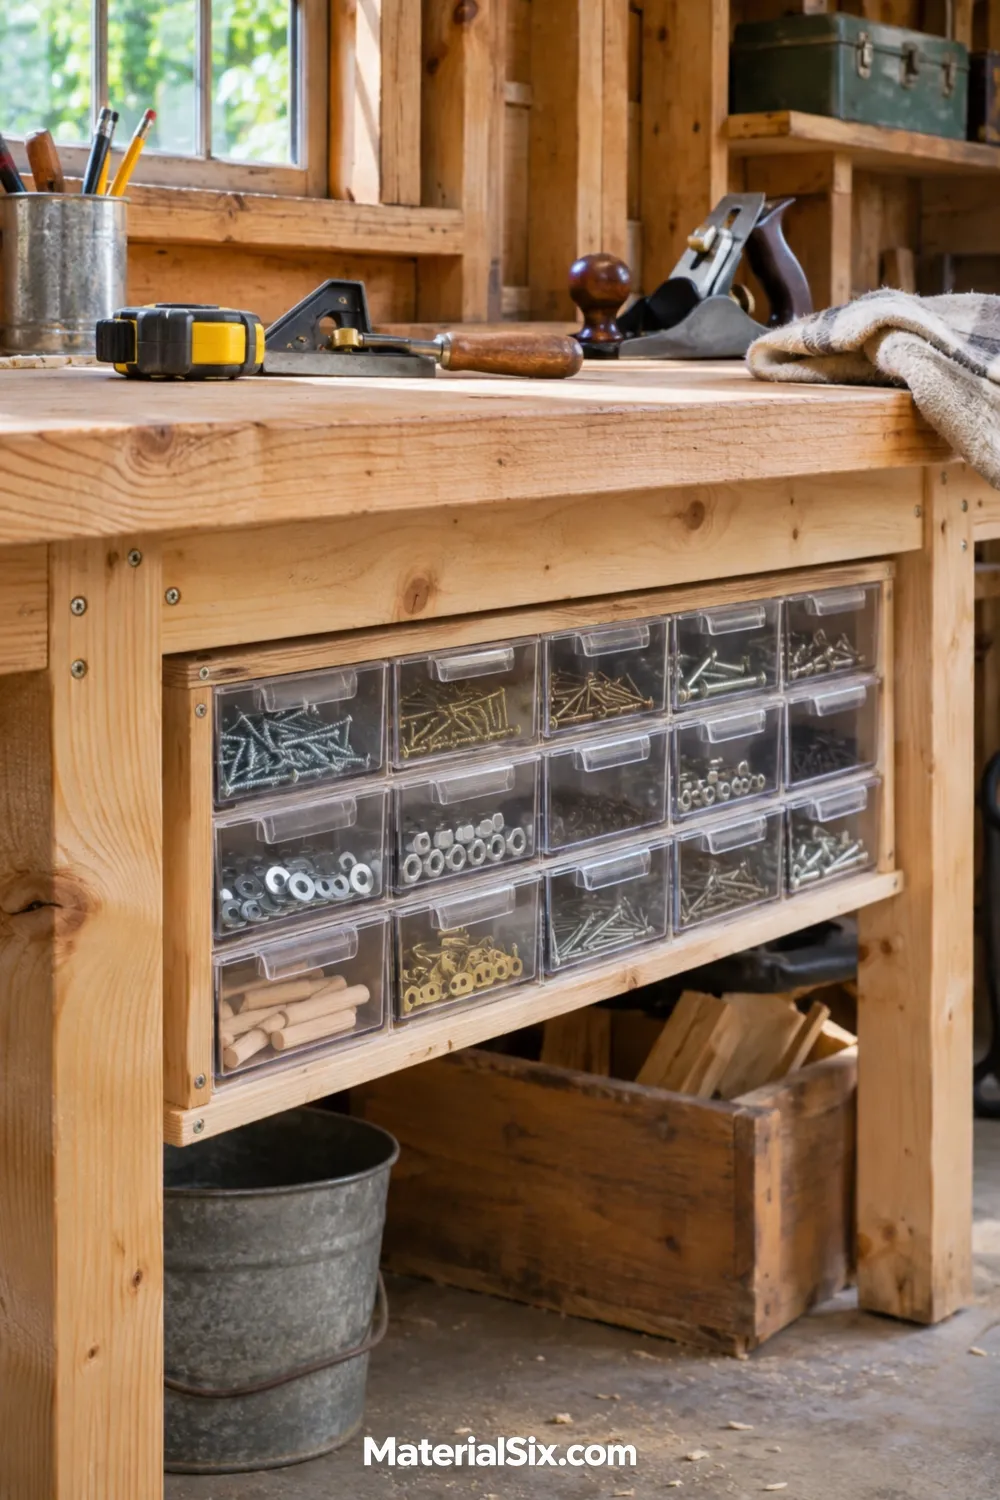
Shallow, clear-front drawers near the worktop let you spot washers and screws at a glance. Give each drawer a single size or task, such as cabinet pulls and their mounting screws. Keep a separate cup for the leftovers you still need to identify.
11. Store Long Boards and Offcuts Side by Side
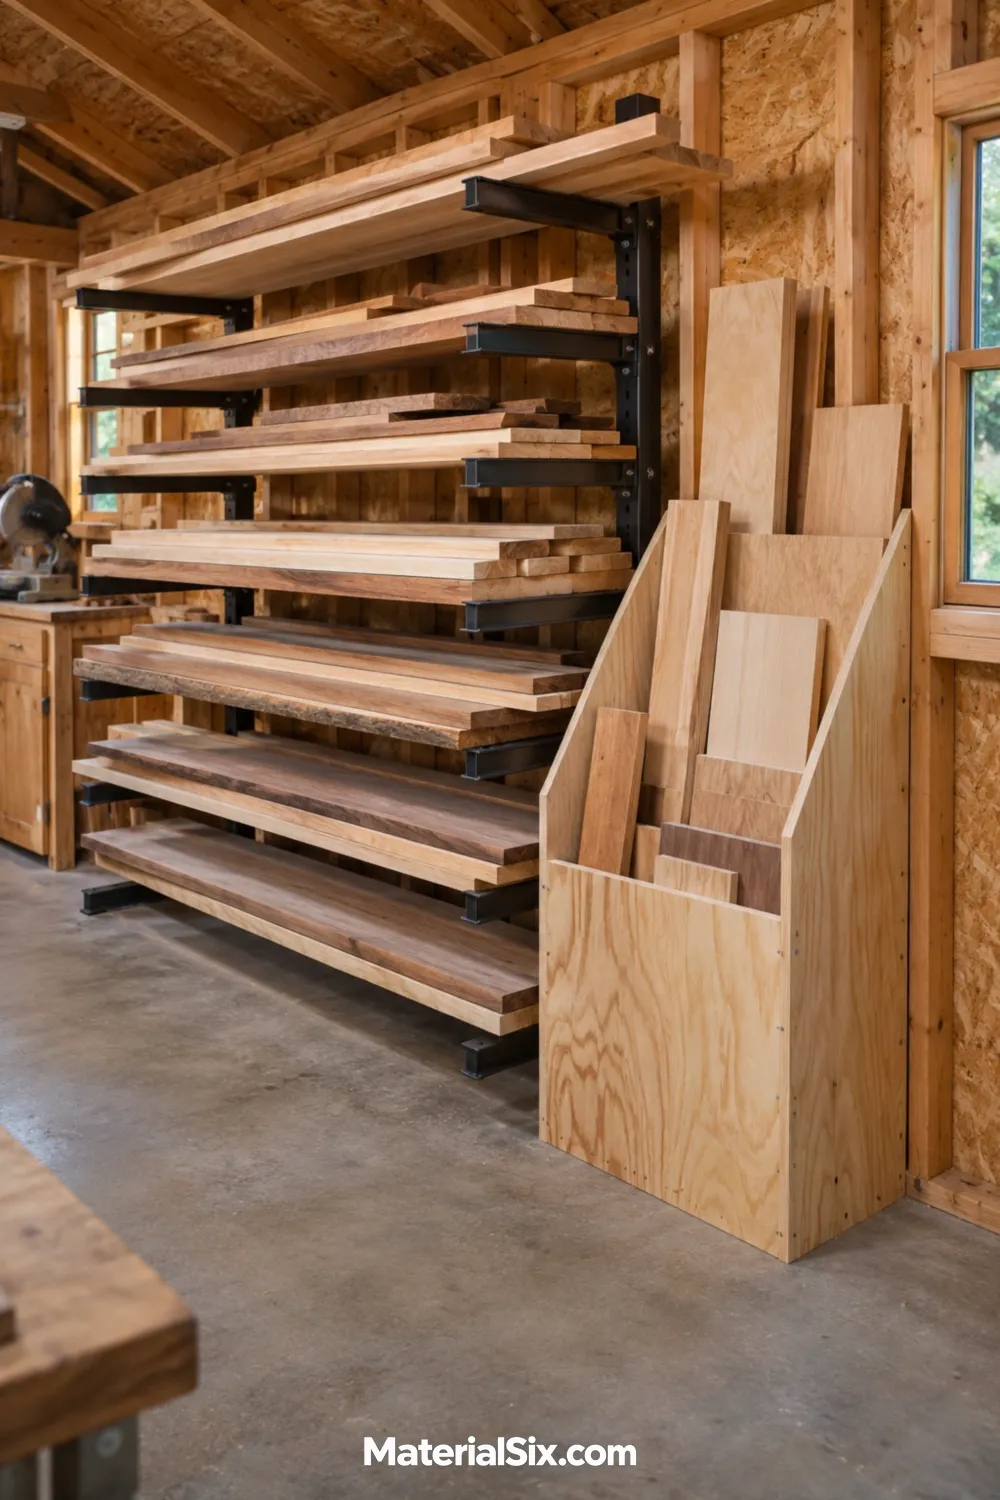
Reserve horizontal rack space for intact boards and give shorter pieces a standing bin nearby. A divider makes it easier to see useful narrow strips without lifting heavier scraps. Decide what sizes you regularly reuse, then give those pieces the easiest places to reach.
For bulky sheet goods, figure out where you have enough room to bring a panel in and turn it before committing to a storage location.
12. Make a Shelf for Projects in Progress
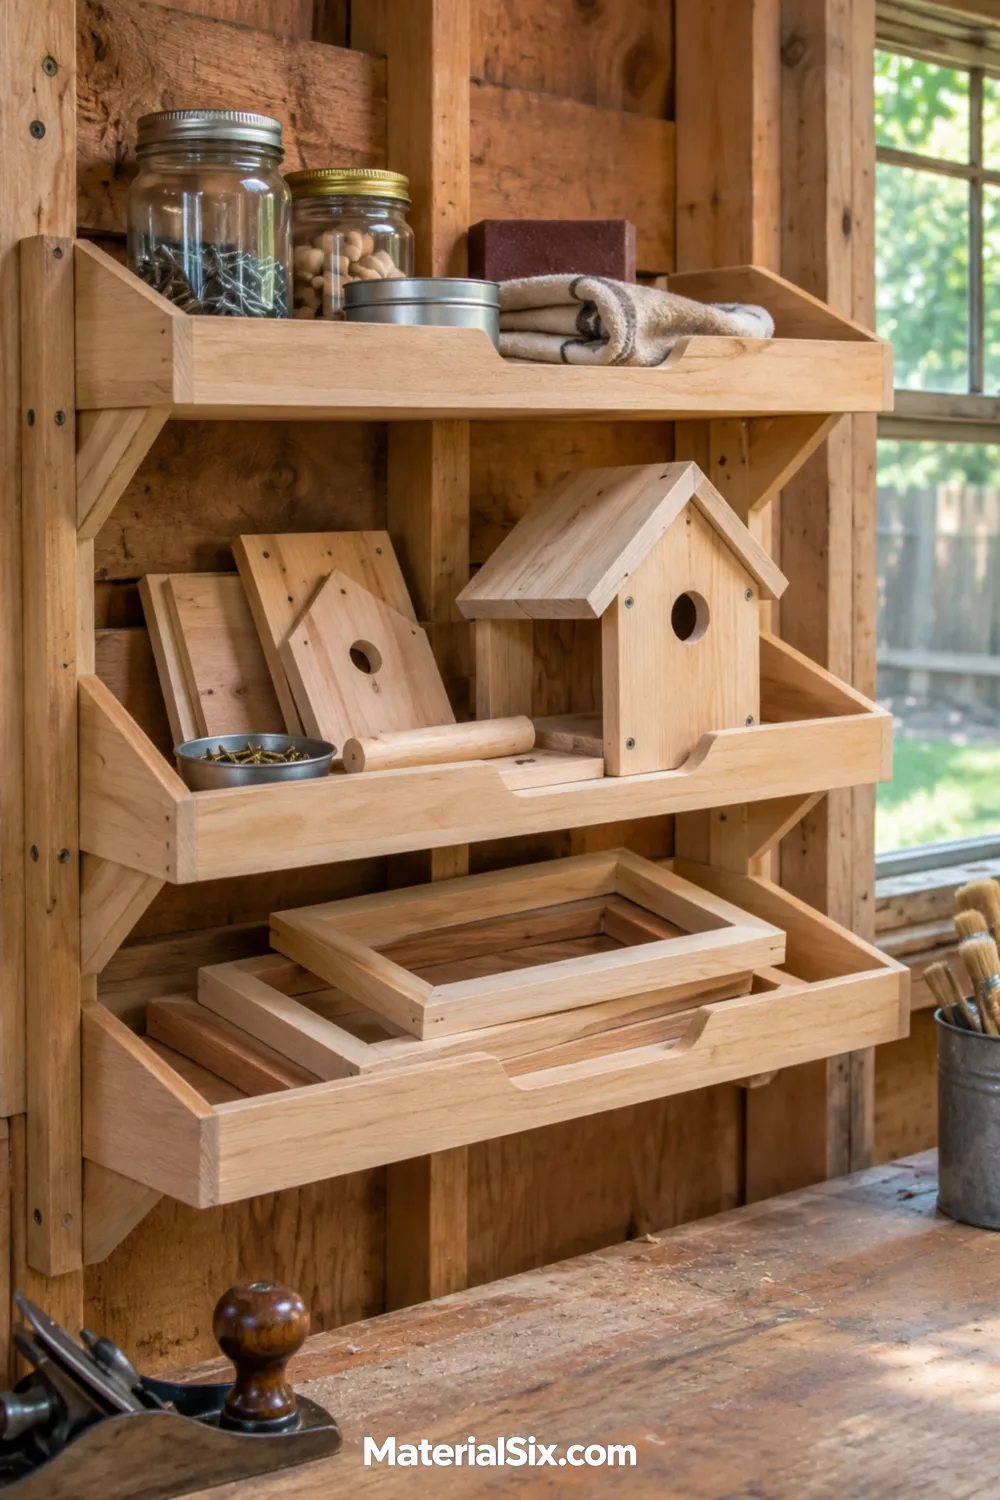
A shallow shelf with one tray per project keeps hardware, cut parts, and patterns together when you need the bench for something else. Give the tray enough room for your typical project and use a small container for the loose pieces you’ll need the next time you pick it up.
13. Set Up a Garden Workshop by the Door
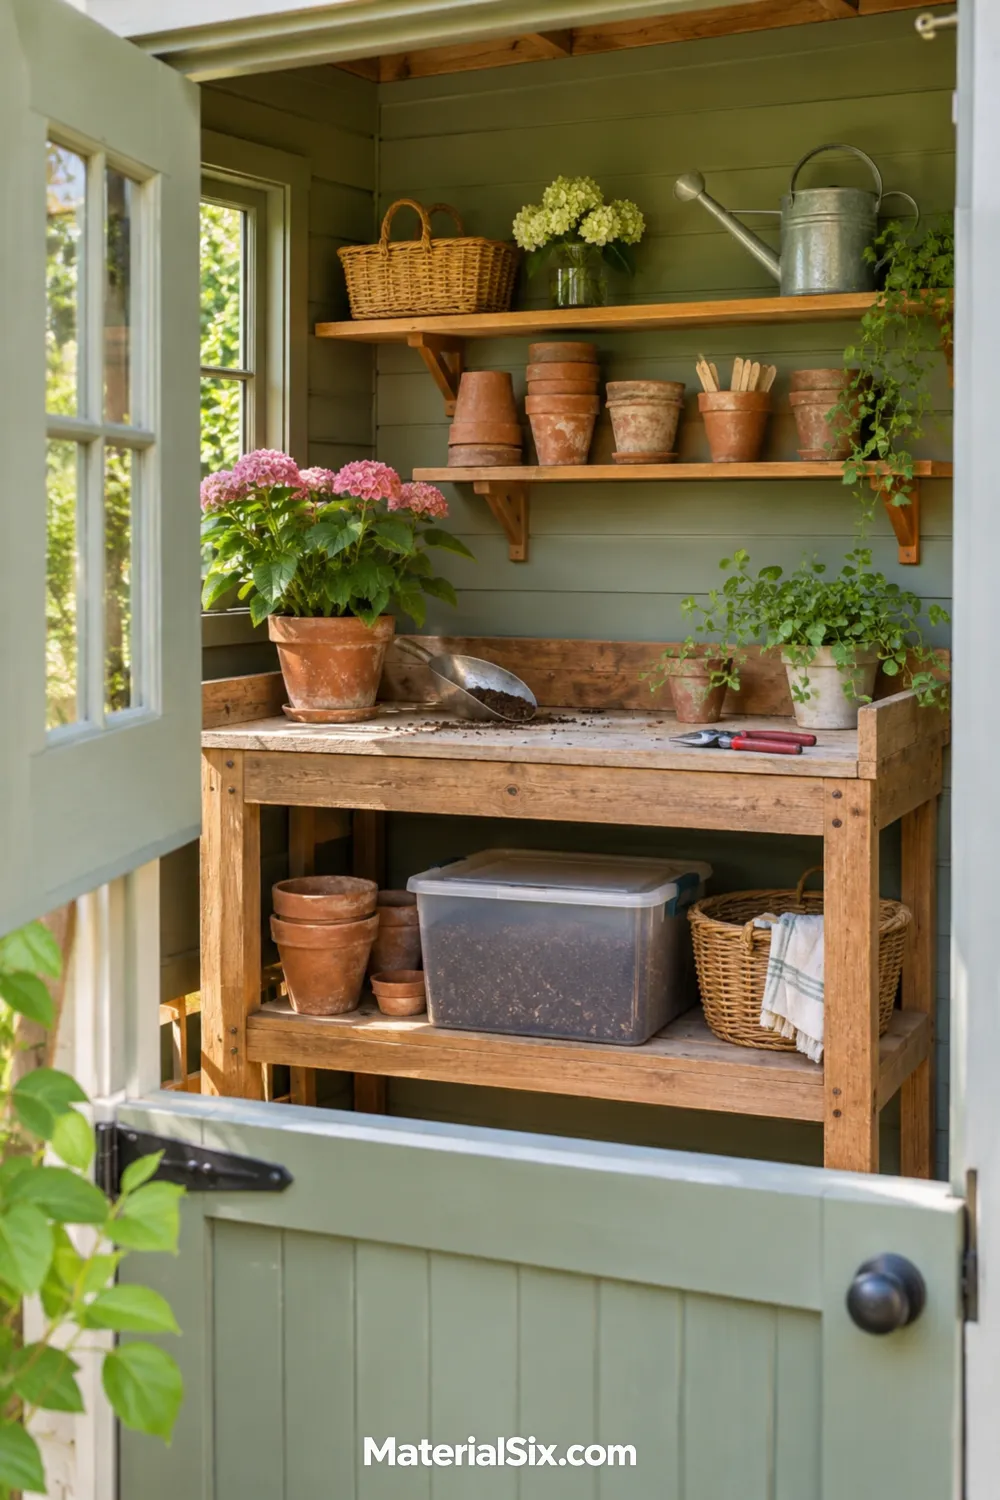
A potting bench close to the opening gives bags of soil and pots a short trip in from the yard. Keep the soil tote below the worktop, where it won’t take up the space you need for a tray of seedlings. Use hooks for hand tools and leave an open spot to set down anything that needs cleaning after a trip through the garden.
14. Set Aside a Bench for Small Repairs
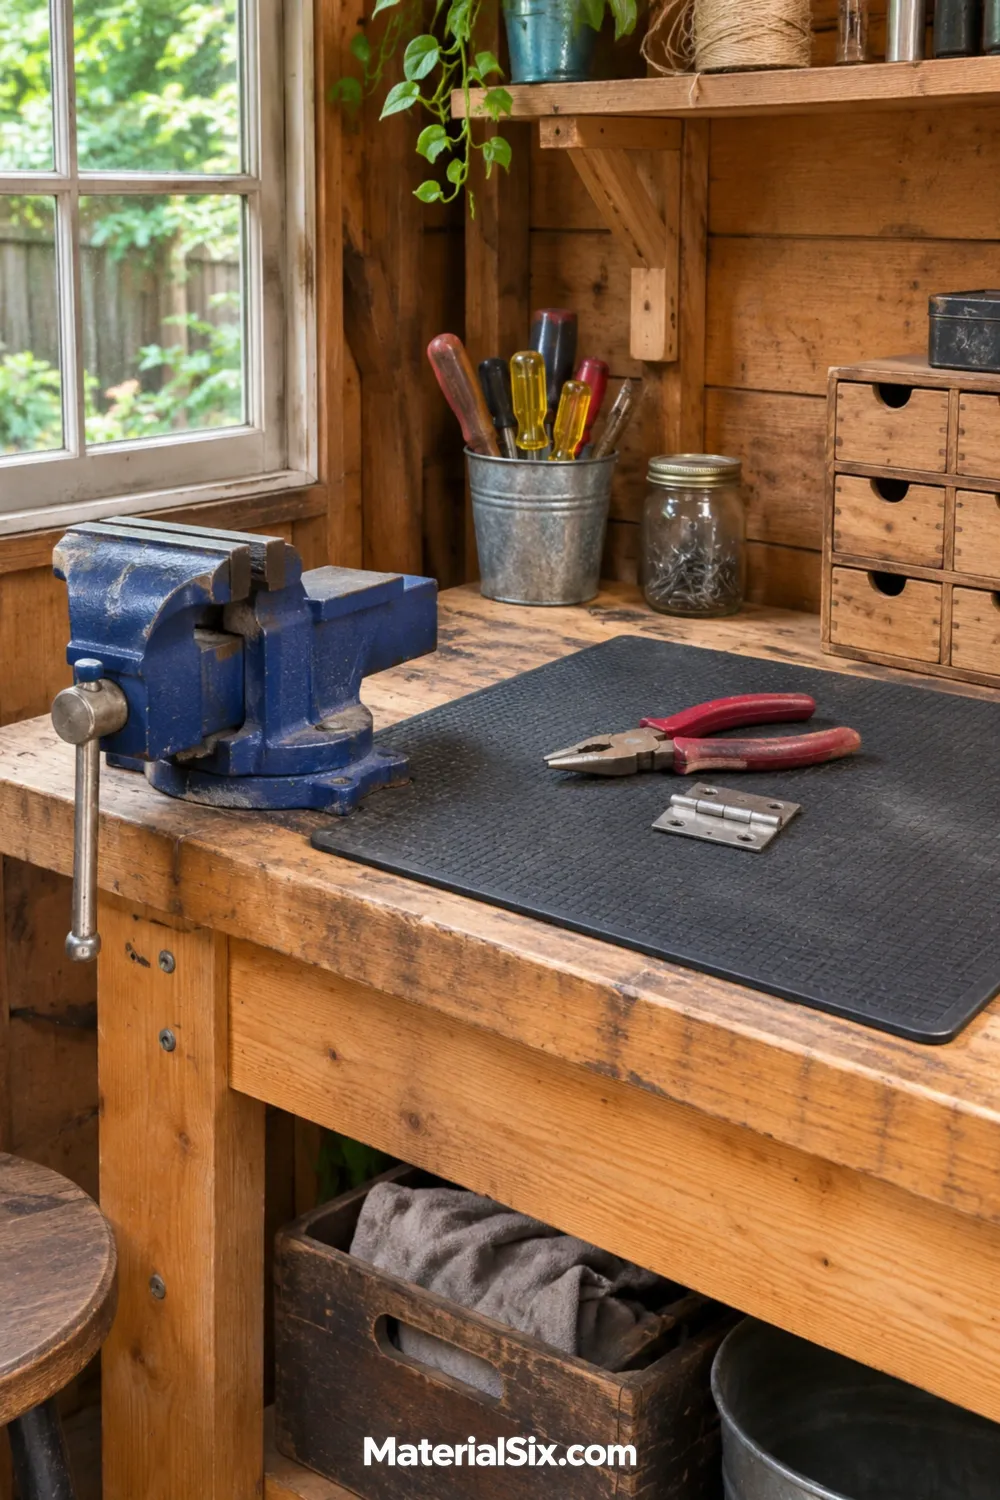
A vise at the end of a bench gives you room to hold a hinge, drawer pull, or loose handle while you work. Beside it, use a removable mat to keep tiny hardware from rolling across the bench. Try the vise position with something awkward like a long handle before choosing where it should sit. You’ll see which end leaves you space to move around the workpiece.
15. Put Adjustable Light Where Your Hands Work
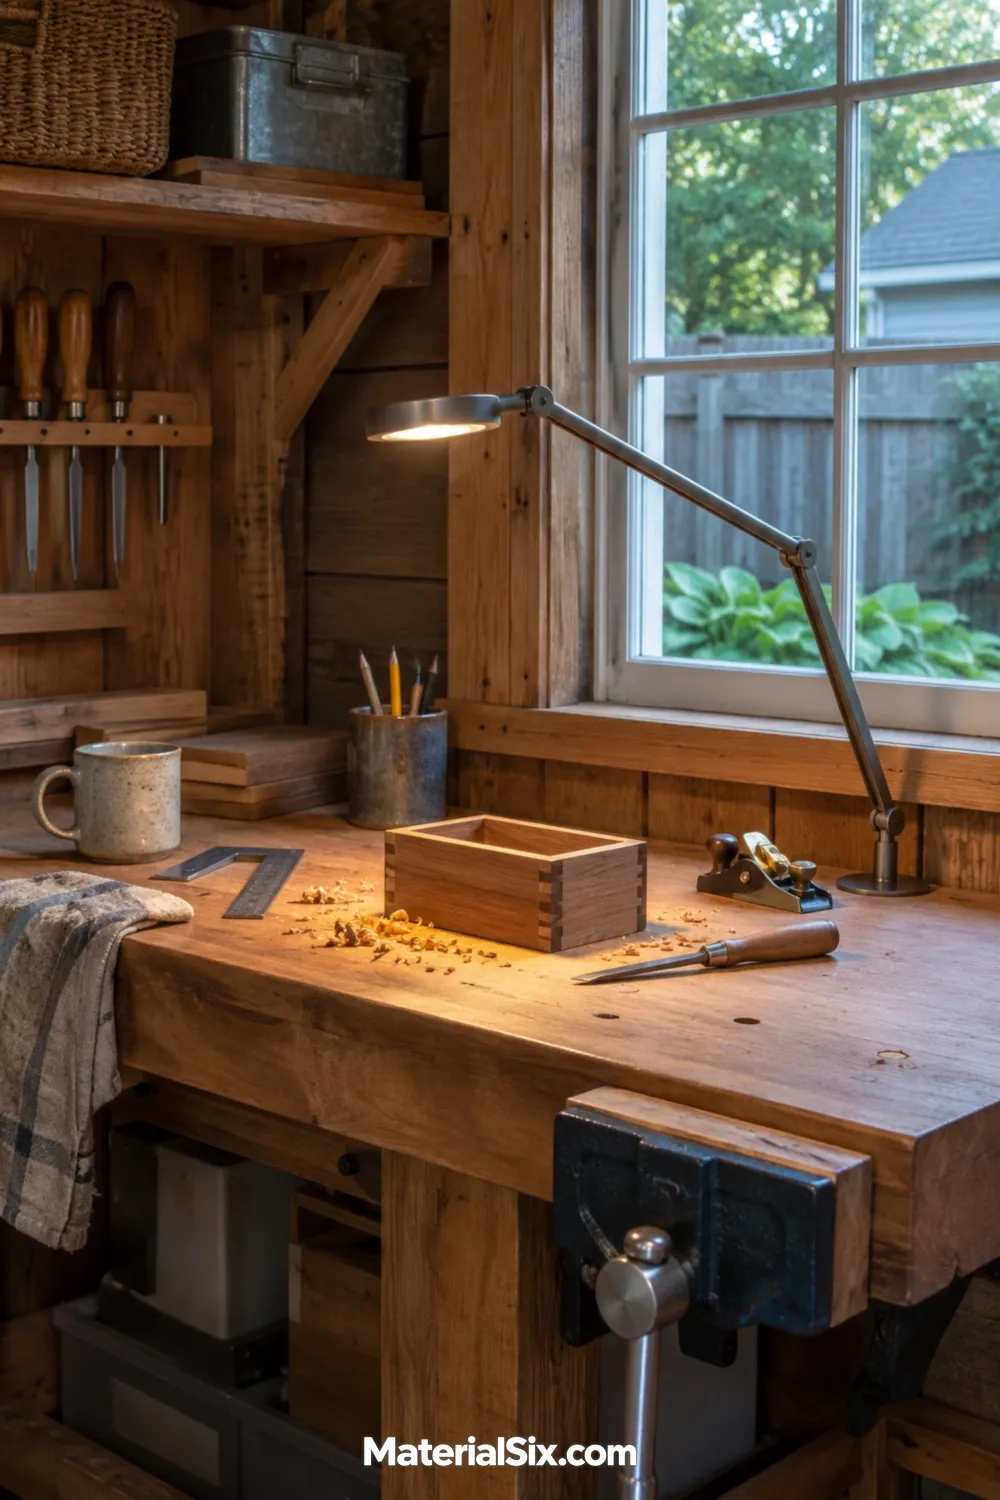
A side window and an adjustable lamp give you light from more than one direction. Move the lamp until your hand stops shadowing pencil marks or the screw you’re trying to line up. Try your usual working position to find a spot for the lamp where you can reach it without stretching across the project.
16. Park the Shop Vacuum Under the Bench
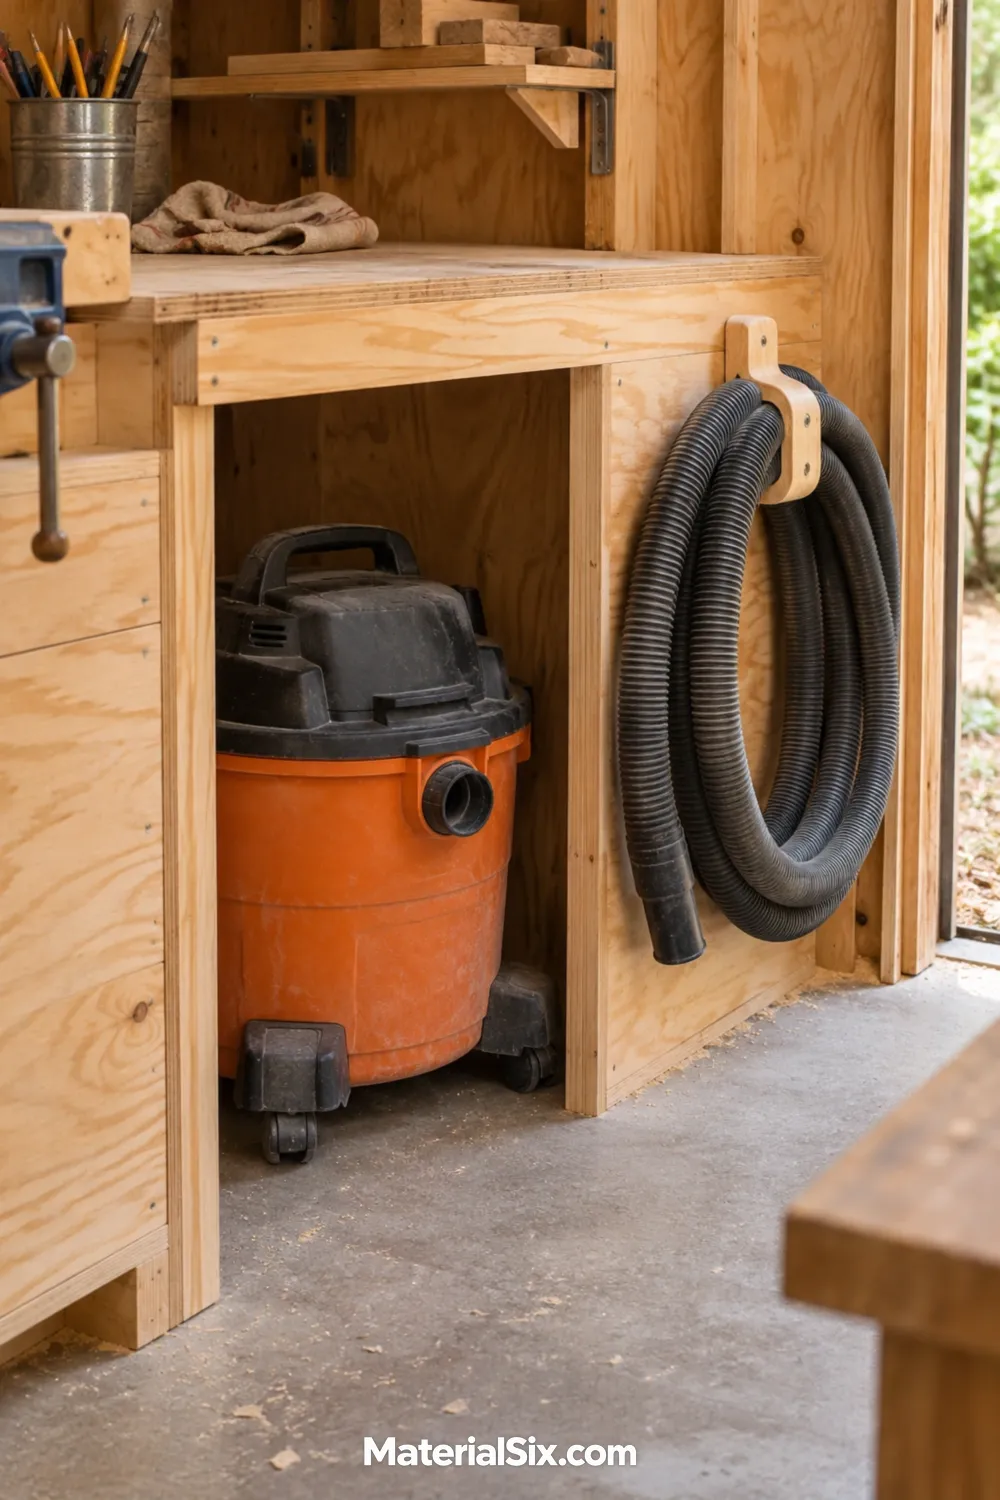
An open bay under the worktop gives the vacuum a regular parking spot. Hang the hose on a nearby hook where you can lift it off in one motion. Check that the vacuum can roll out with the hose attached and that you can reach the bin release when it’s time to empty it.
17. Add a Landing Shelf Inside the Door
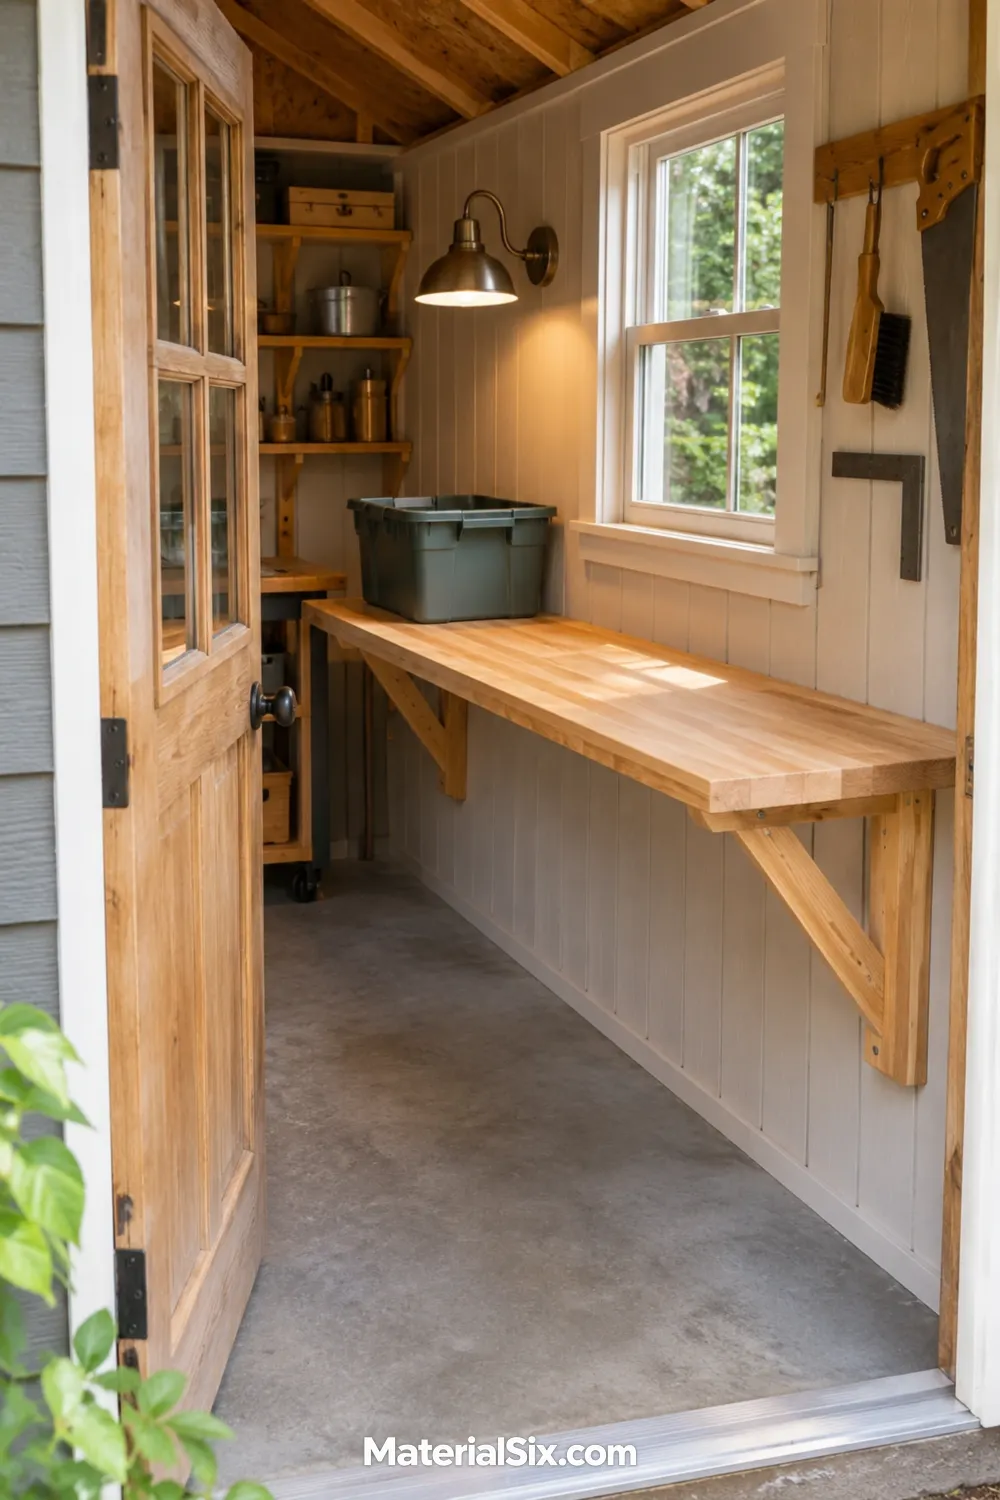
A shallow shelf inside the shed gives you a place to set a toolbox, a project tote, or the parts you just carried in. Pick a spot outside the door’s swing and leave some shelf space open. When you bring in a project with both hands full, you’ll want a clear place to put it down.
Walk a Project Through the Shed Before You Commit
Pick one typical job, such as repairing a wobbly chair. Carry it through the door, set it down, and see whether there’s room to walk around it. Open any drawers you expect to use during the repair and figure out where the removed parts will go. If somebody else uses the shed, check whether they can reach what they need while you’re working.
Repeat the exercise with the longest or bulkiest material you use regularly. Mark the bench depth and any cabinet doors on the floor with painter’s tape. If taking a long board in and retrieving a toolbox both send you through the same tight corner, move the storage before you commit to the bench position.
Give Your Most Common Job the Best Spot
If you repair something every weekend and cut trim once a year, put the repair bench where the light and access are best. Let your everyday work choose the layout. Occasional tools can come out when a project calls for them, and you’ll have a clear place to get to work the rest of the time.