
The lamp on your nightstand still casts the right light, but the shiny finish makes it look like it wandered in from a different room. Before you replace it, take a closer look at the base. A sculptural shape may need only a new color, while a broad, plain surface gives you room to try a pattern or add texture. The right lamp base makeover comes down to how much of the original finish you want to keep and what the base is made of. An old brass buffet lamp and a plain ceramic cylinder can both look out of place for completely different reasons.
1. Paint a Metal Base Matte Olive
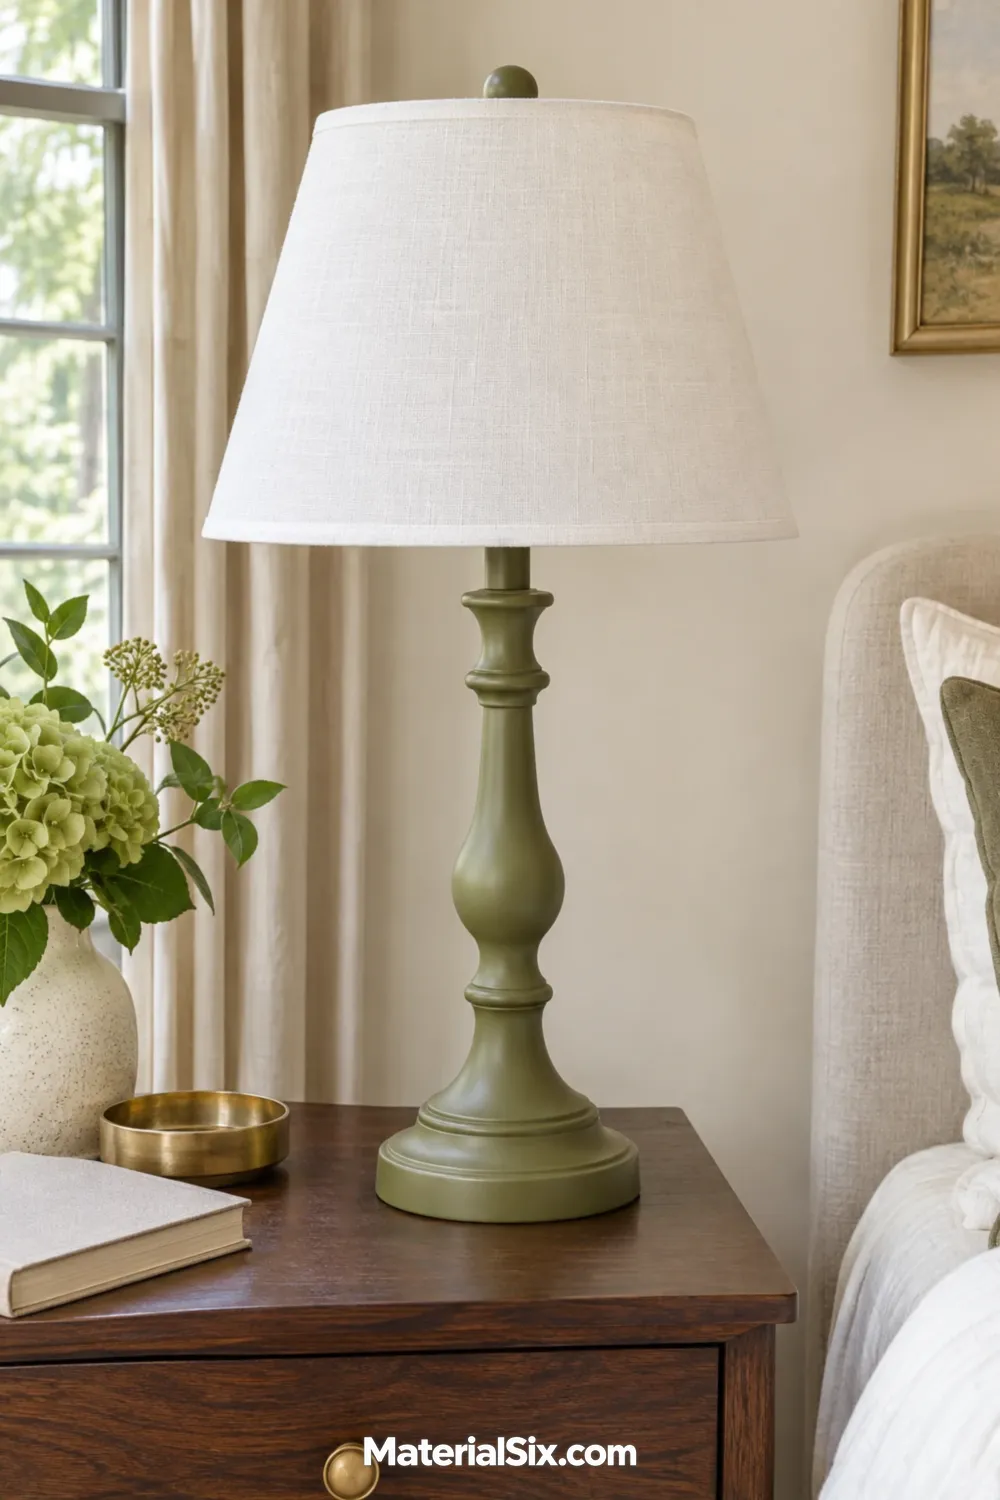
On a slim metal lamp, matte olive gives the silhouette more presence without adding another pattern beside the bed. Pair it with a white shade if you want the green to read clearly against a pale wall.
For a spray-paint redo, choose a coating labeled for the metal and follow its directions for surface prep and application. Keep paint off the switch, socket, and cord.
2. Give Ceramic a Chalky Stone Finish
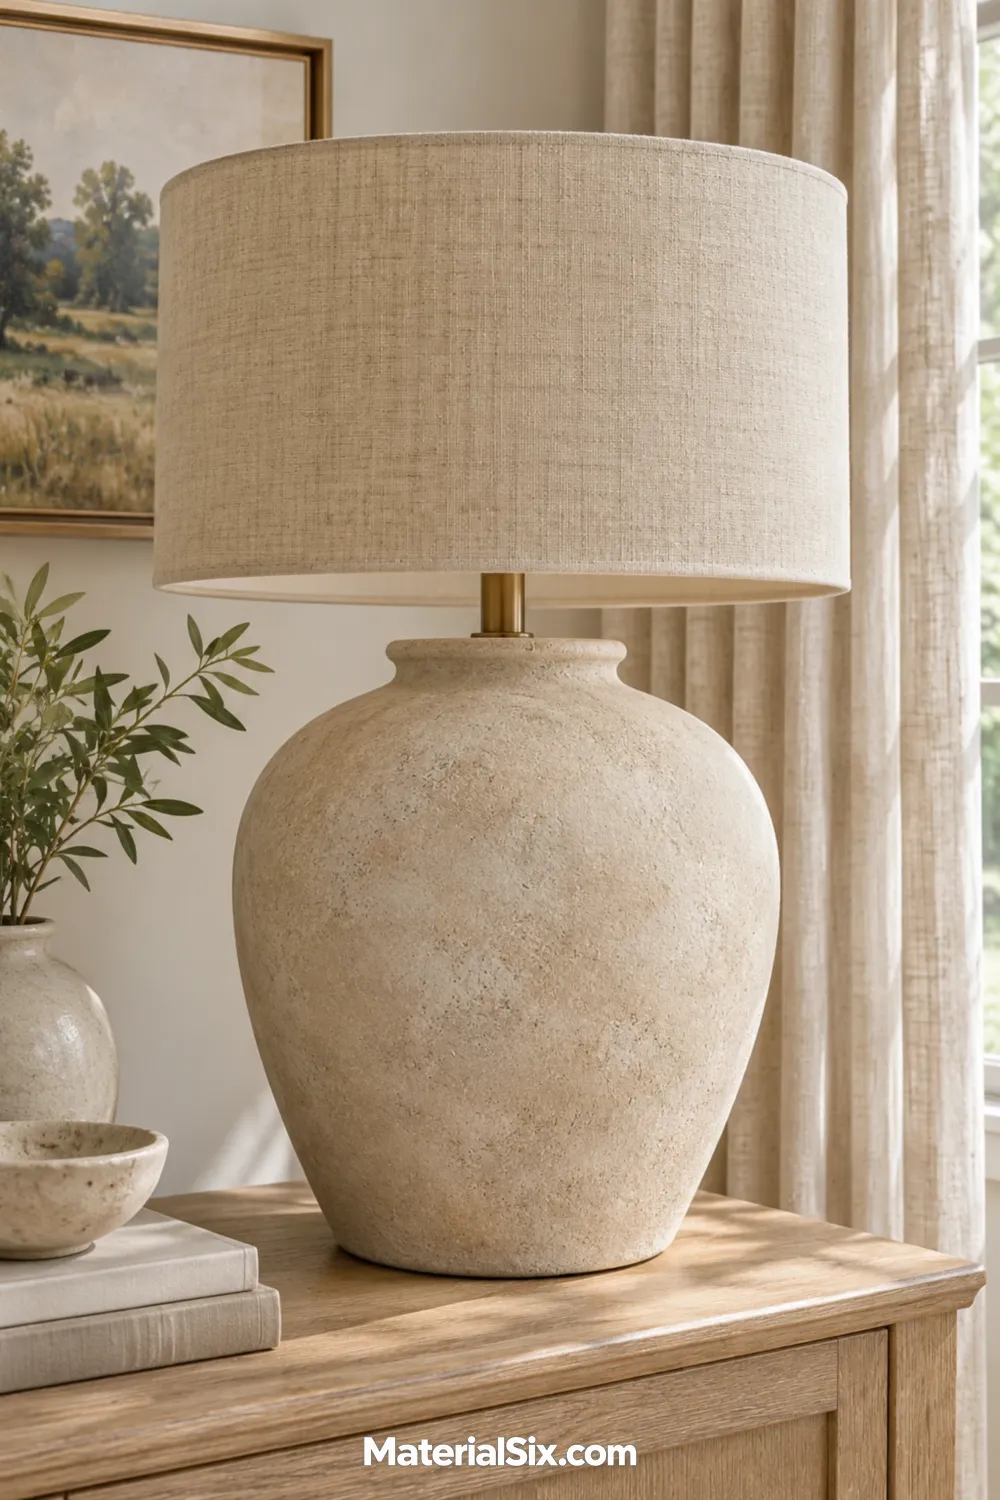
A rounded ceramic base takes on a softer look in warm limestone beige. A lightly stippled decorative finish adds dimension, especially on a console where daylight comes in from the side. Try a restrained texture first. Deep peaks can make a smooth vase shape look lumpy and leave more crevices to dust.
3. Decoupage a Ginger Jar in Blue and White
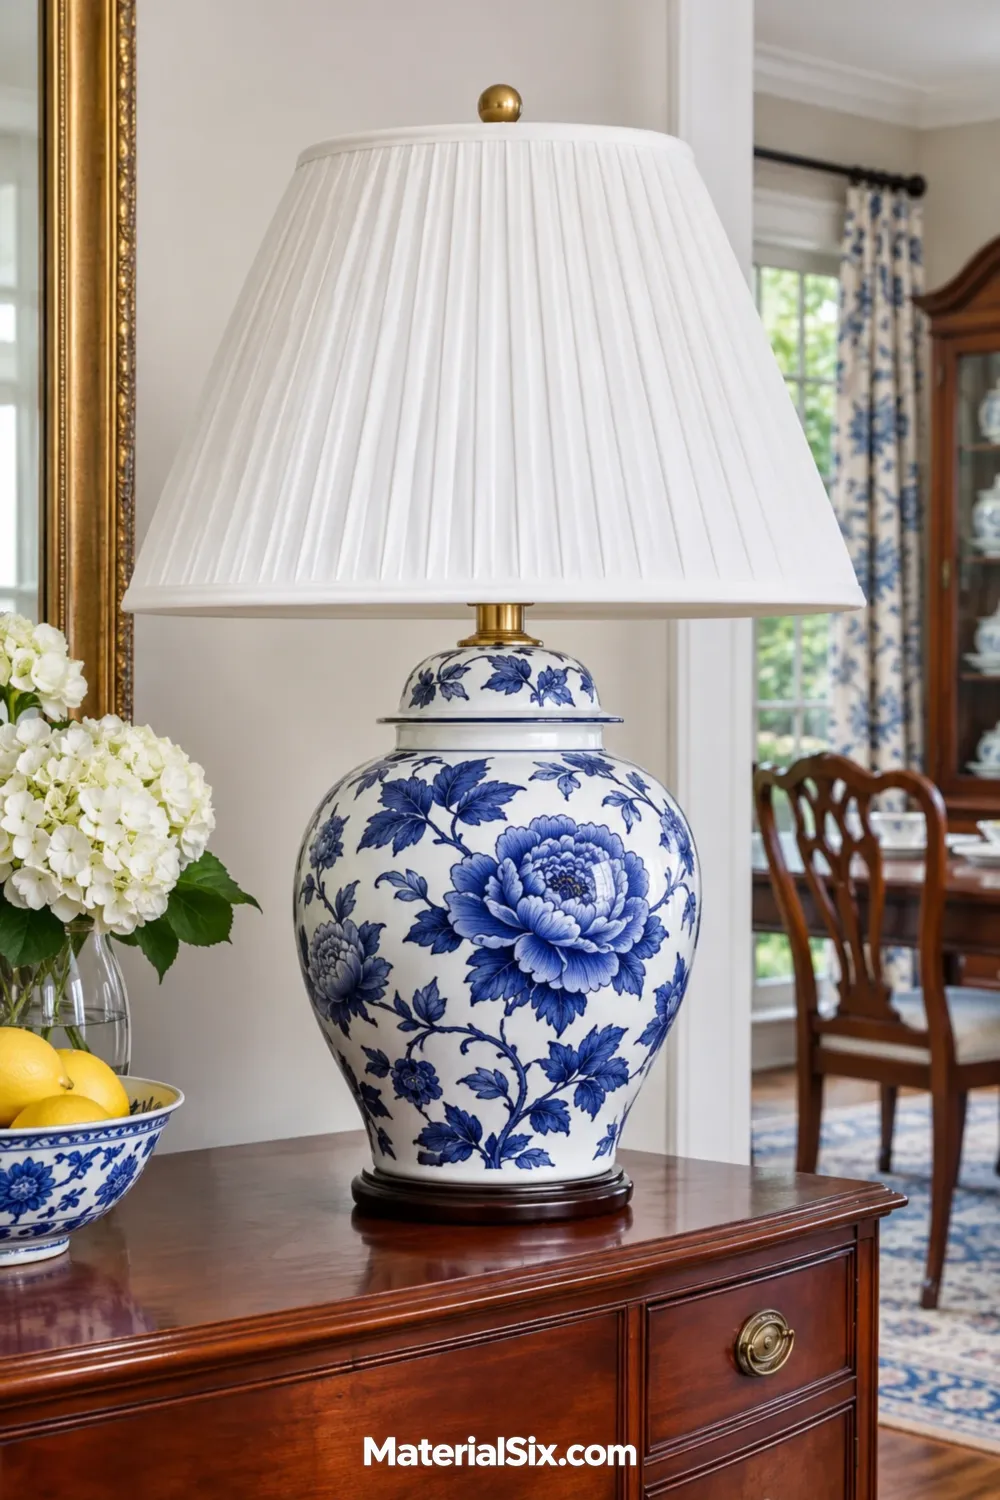
Use cobalt flowers and leaves on a white ginger jar base for a blue-and-white chinoiserie look. Smaller cutouts are easier to arrange around the shoulder of a bulbous base than a single broad sheet of paper. Lay the motifs out first and turn the lamp as you work so the pattern carries around the sides.
Leave a little white space between flowers to give the design room to breathe. A simple white or ivory shade lets the pattern show.
4. Tint Clear Glass Warm Amber
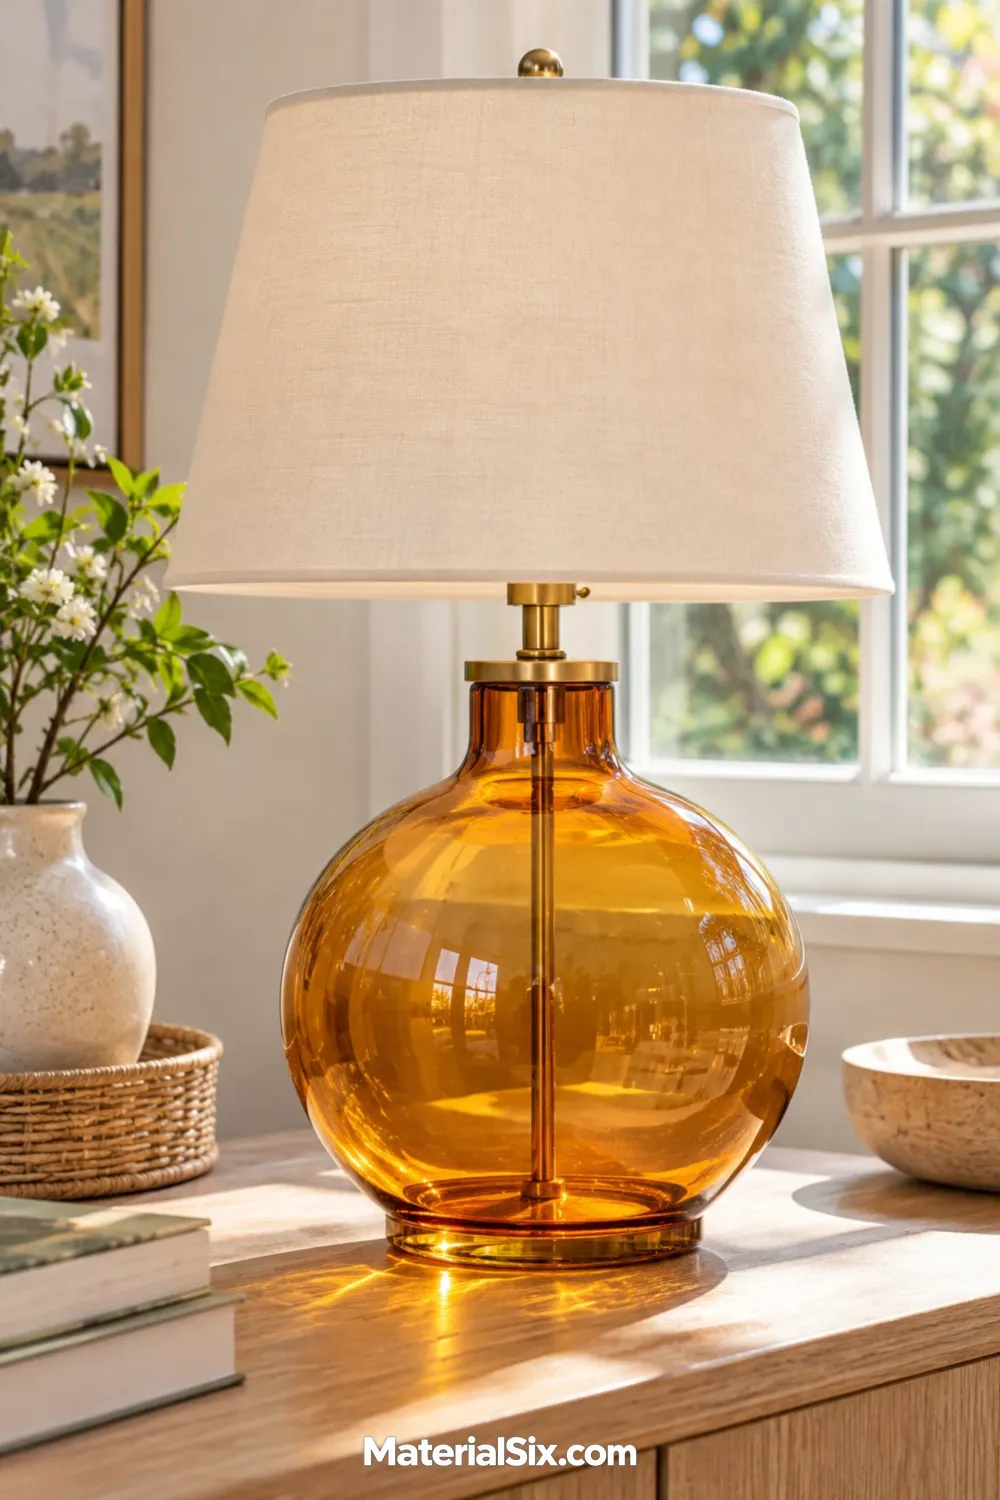
When you like the airy look of a clear glass lamp but want warmer color, try a translucent coating labeled for decorative glass. Amber looks especially different from one side of the room to the other as daylight passes through the base. Test the color on a separate clear glass piece and let it dry before committing. The wet color can give a different impression from the finished surface.
5. Stain a Turned Wood Base Walnut
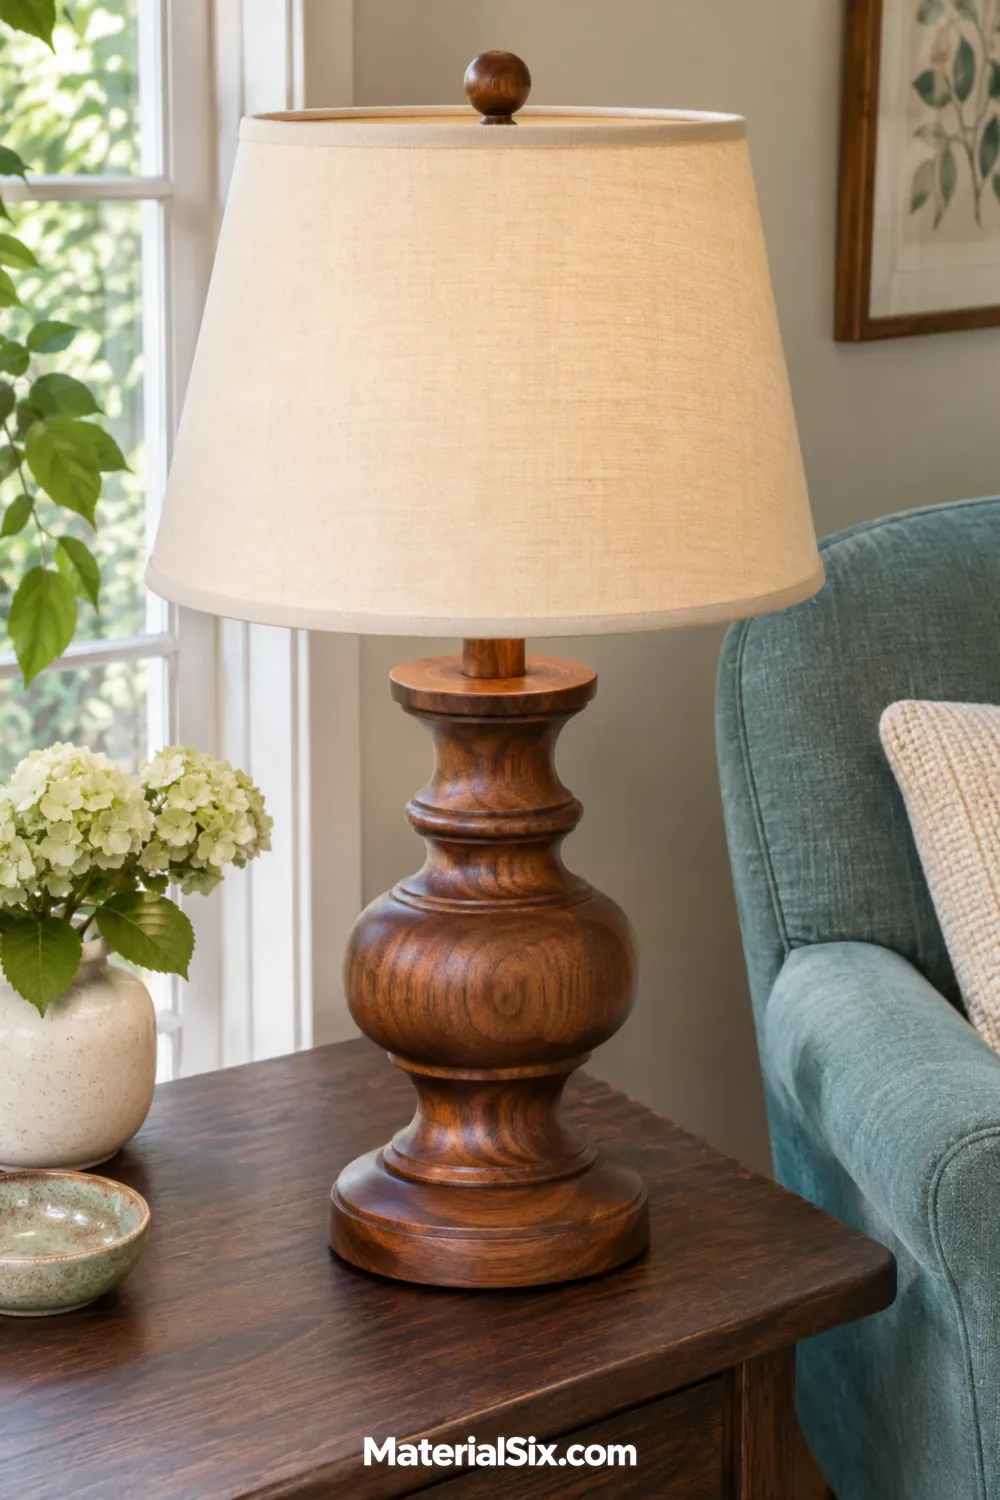
Turned wood already gives you curves and grain to work with. A walnut-toned stain can pull those details together if the base is solid wood and can be brought back to a stain-ready surface. On a painted or sealed base, check what the finish and material actually are before assuming stain will take.
The wood tone can echo a side table without matching it exactly. A cream shade and a cooler chair fabric give the warm brown room to stand out.
6. Add Antique Gold to Raised Trim
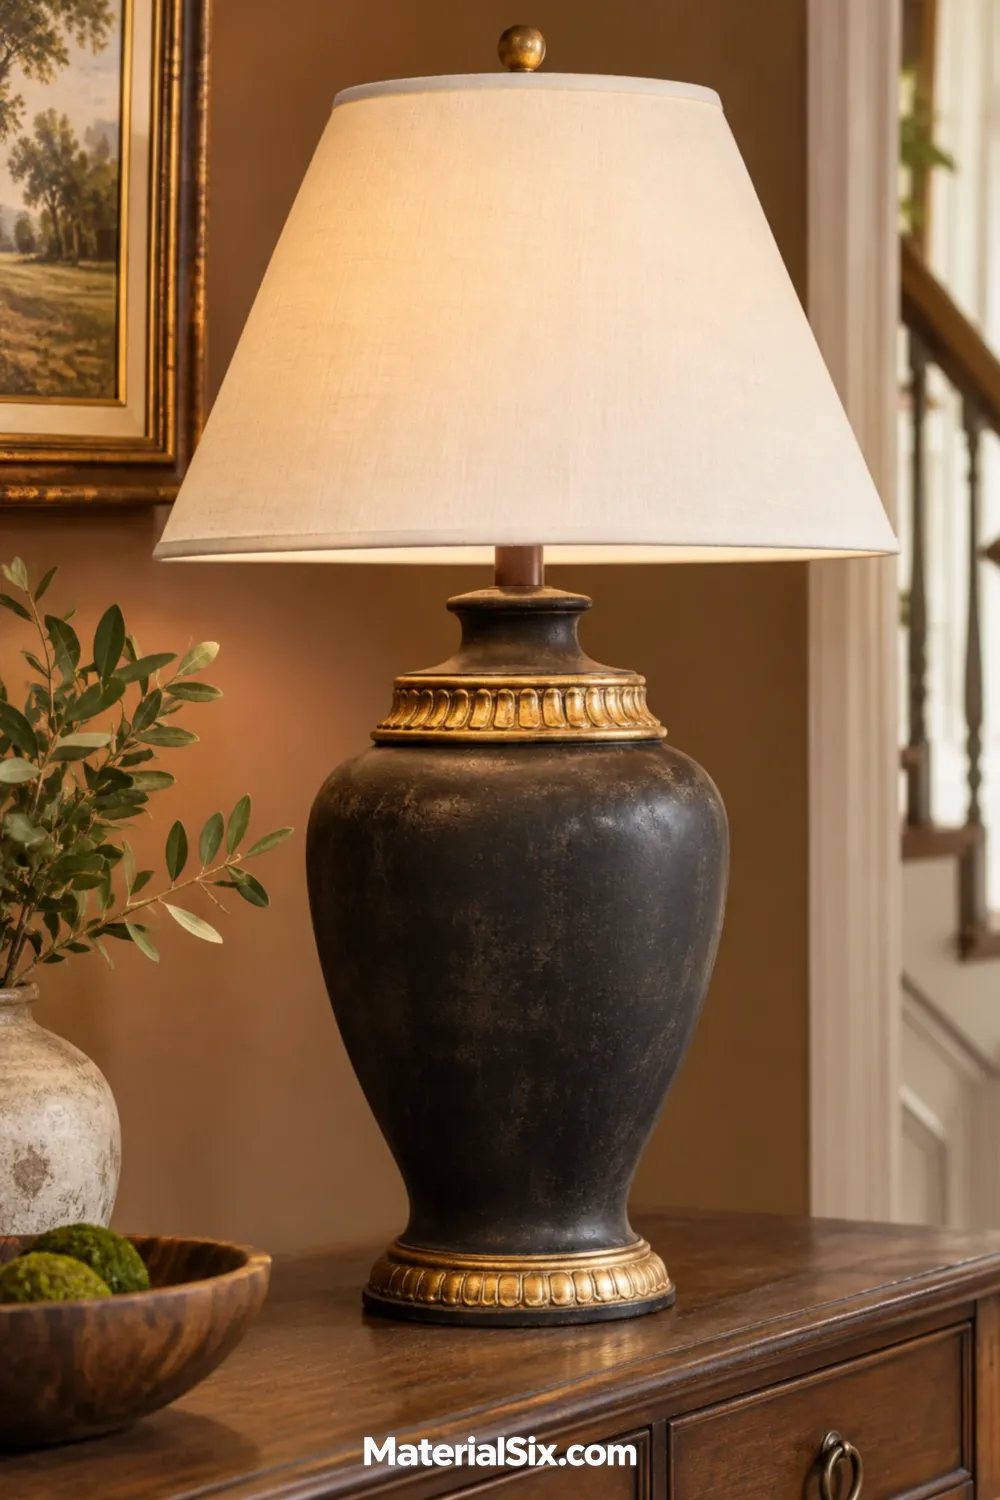
On a dark urn lamp, a thin band of gold leaf at the collar and foot draws attention to its shape. Keep the broad center dark and let the gold follow the raised details. An aged finish suits a base with ornamental edges, where the occasional break in the gilding can feel at home.
7. Cover a Rounded Base With Sea-Glass Mosaic
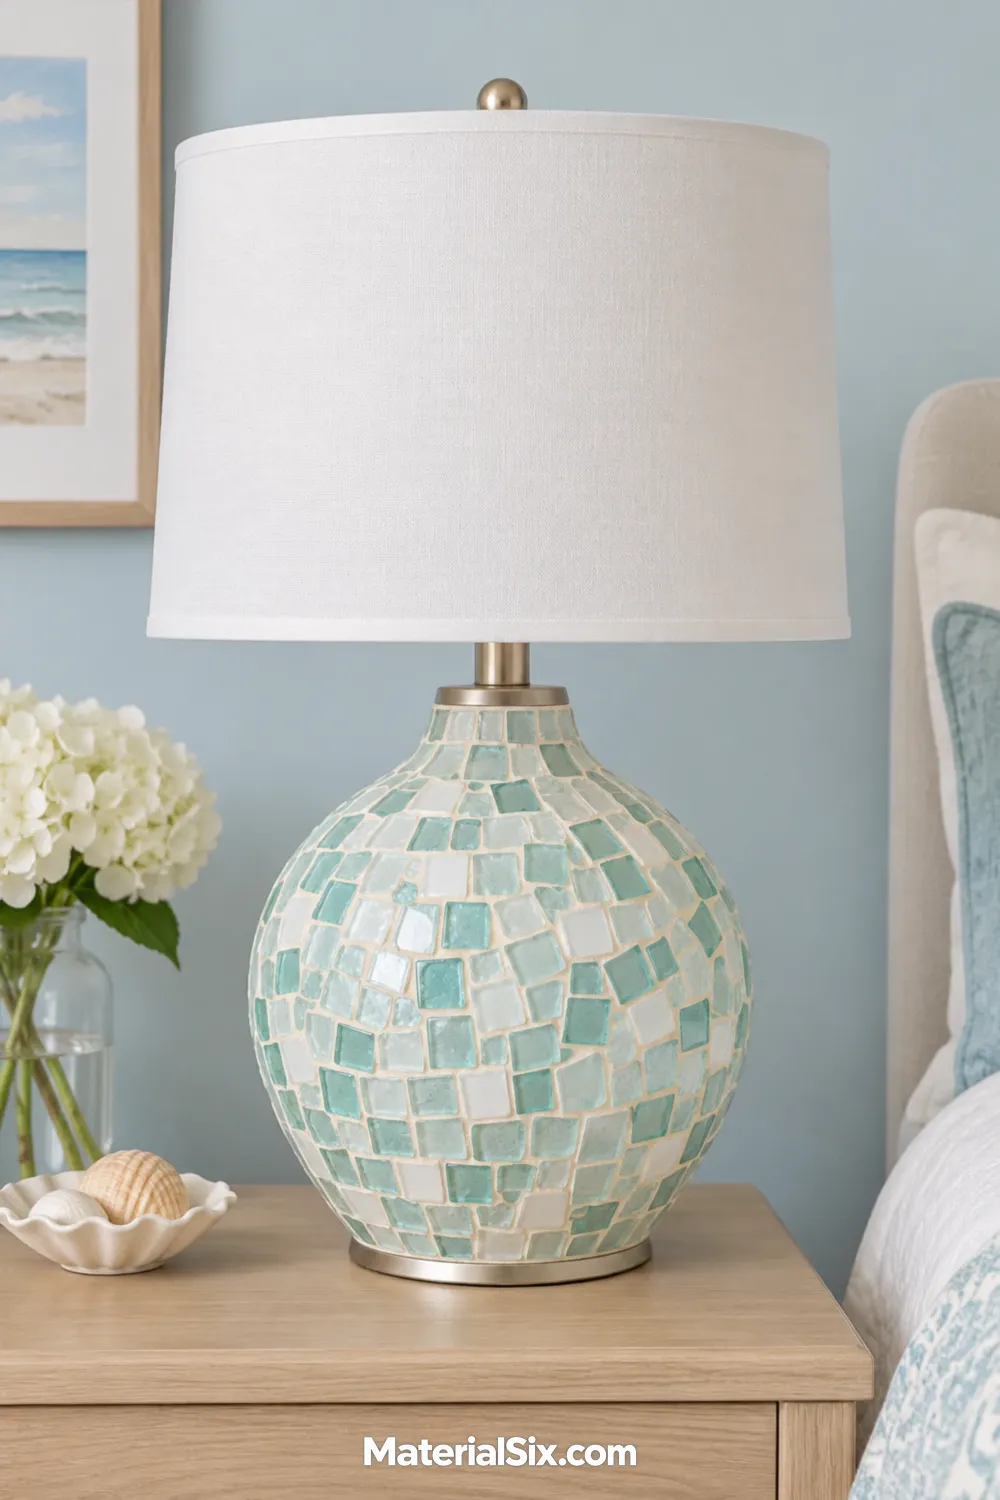
Small aqua and seafoam glass pieces can give a plain rounded base the color and texture of a mosaic. Sort the pieces by size before laying out the pattern. Smaller pieces make it easier to follow a tight curve, and a low-contrast grout color lets the glass carry the design.
Use smooth, rounded pieces and choose an adhesive and grout suited to the base and the glass. Consider the extra weight before choosing this approach. A lamp with a wide, steady foot is a better candidate than a narrow one that already feels top-heavy.
8. Wrap a Straight Base With Cane Webbing
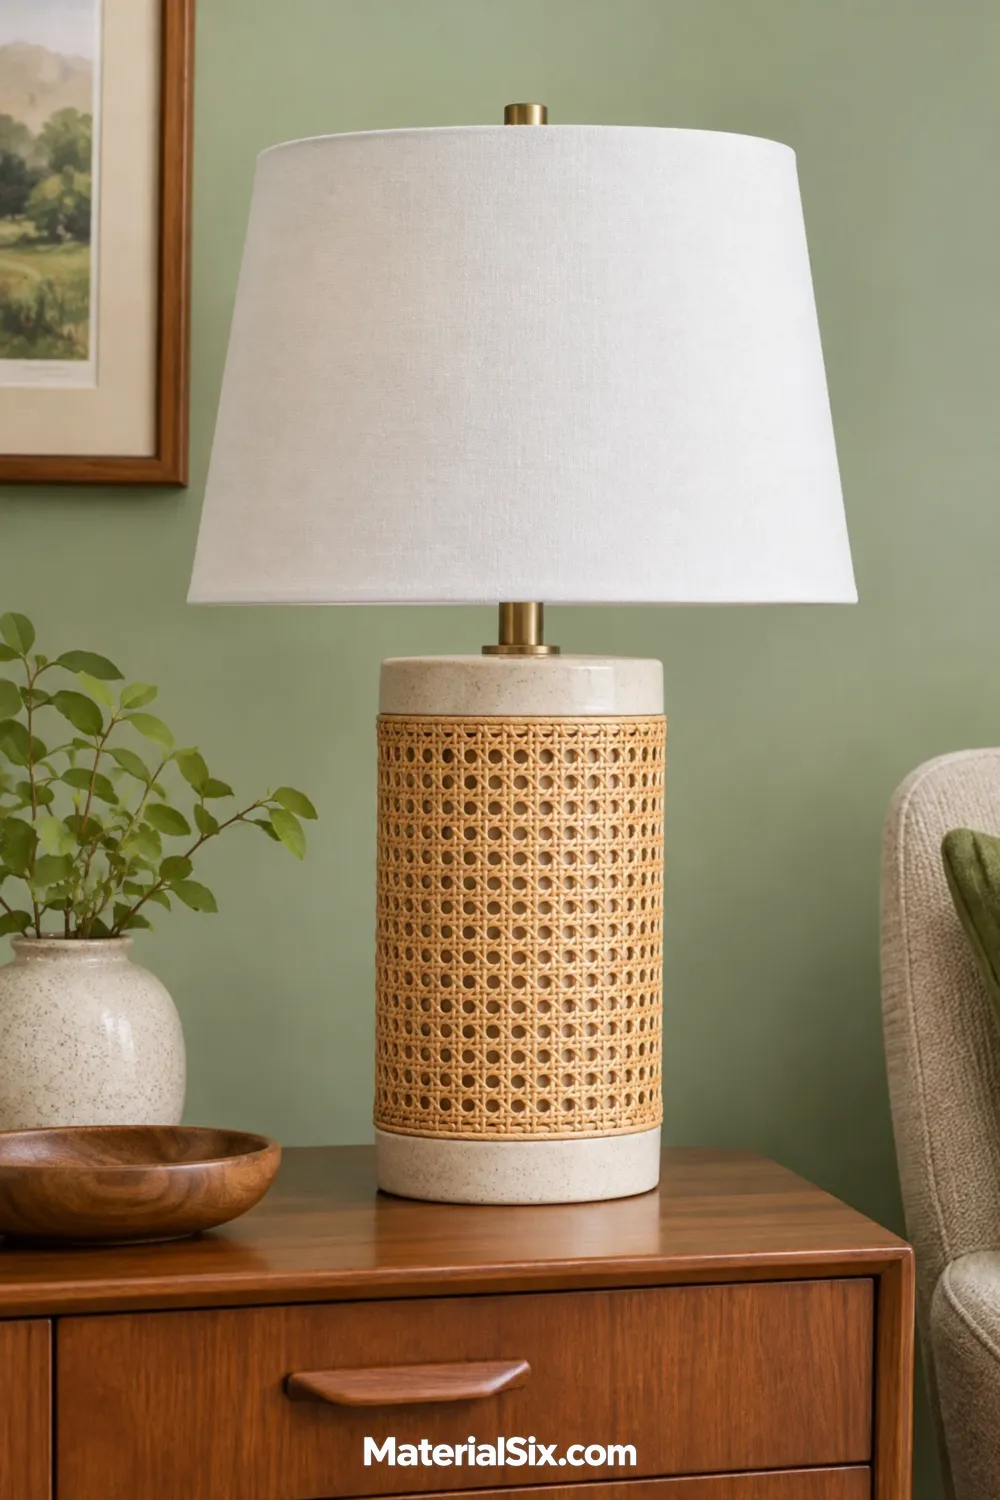
A straight-sided lamp gives you a surface where cane webbing can sit neatly. Keep a strip of the original base showing above and below the wrap to give the woven section a clean edge. Plan the seam toward the back and leave enough clearance around any switch, cord opening, or hardware.
9. Paint Bold Vertical Stripes
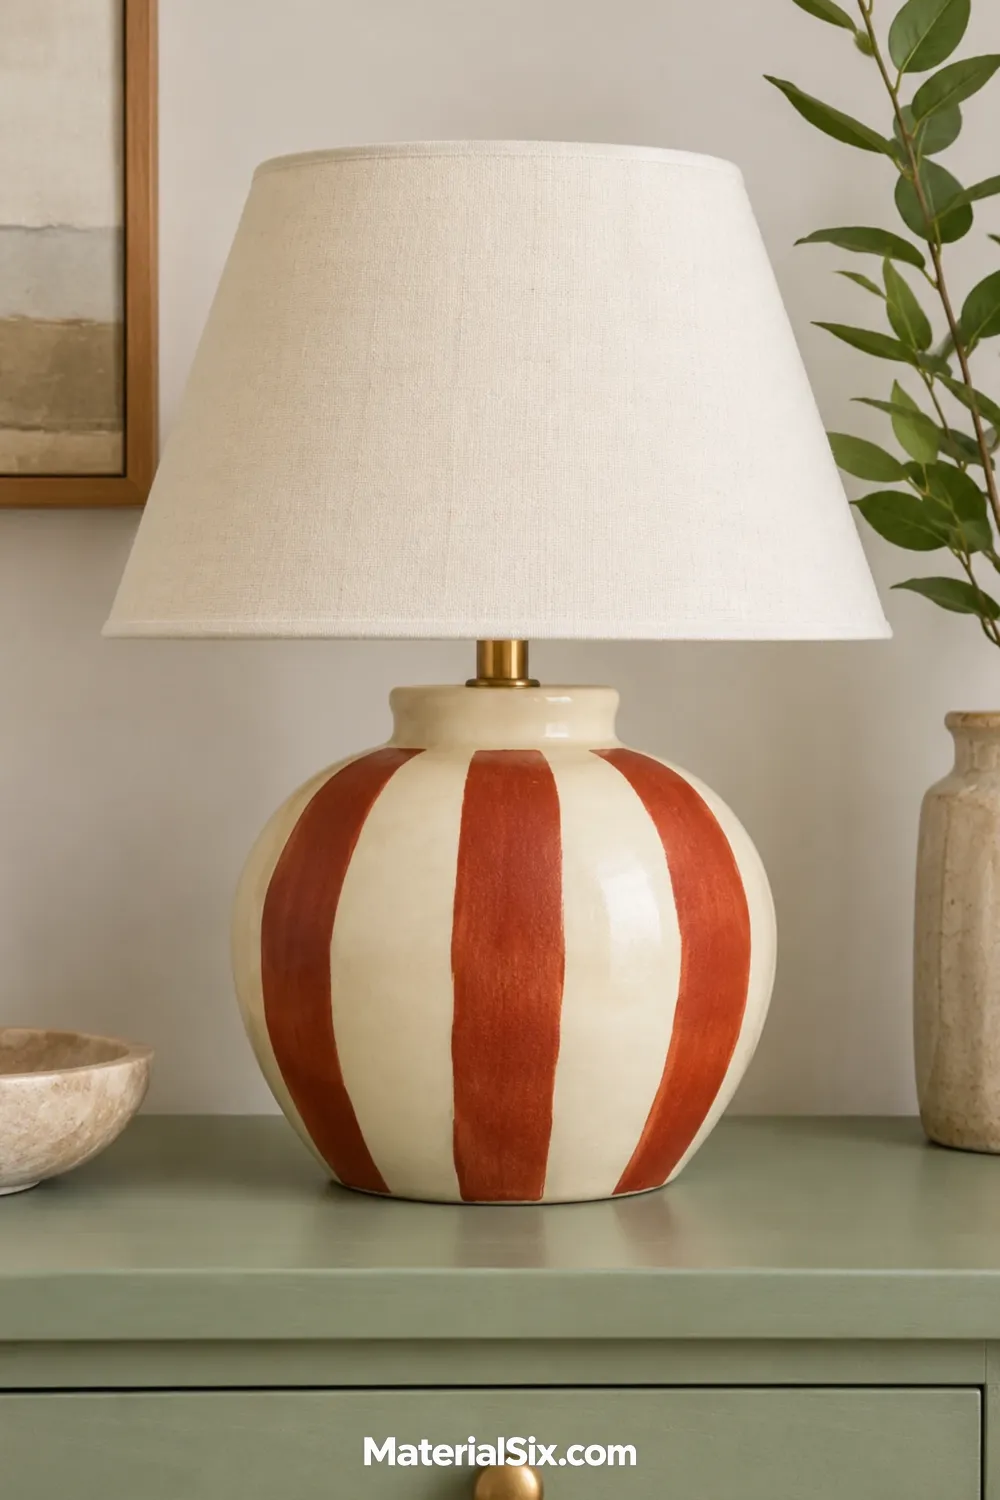
Broad rust-red stripes over cream can give a squat ceramic lamp the graphic punch of striped fabric. Use the front of the lamp to establish the spacing before carrying the pattern around the sides. Check how the lines look from a few feet away, where the curve can make a stripe appear narrower.
10. Stencil an Inlay-Inspired Border
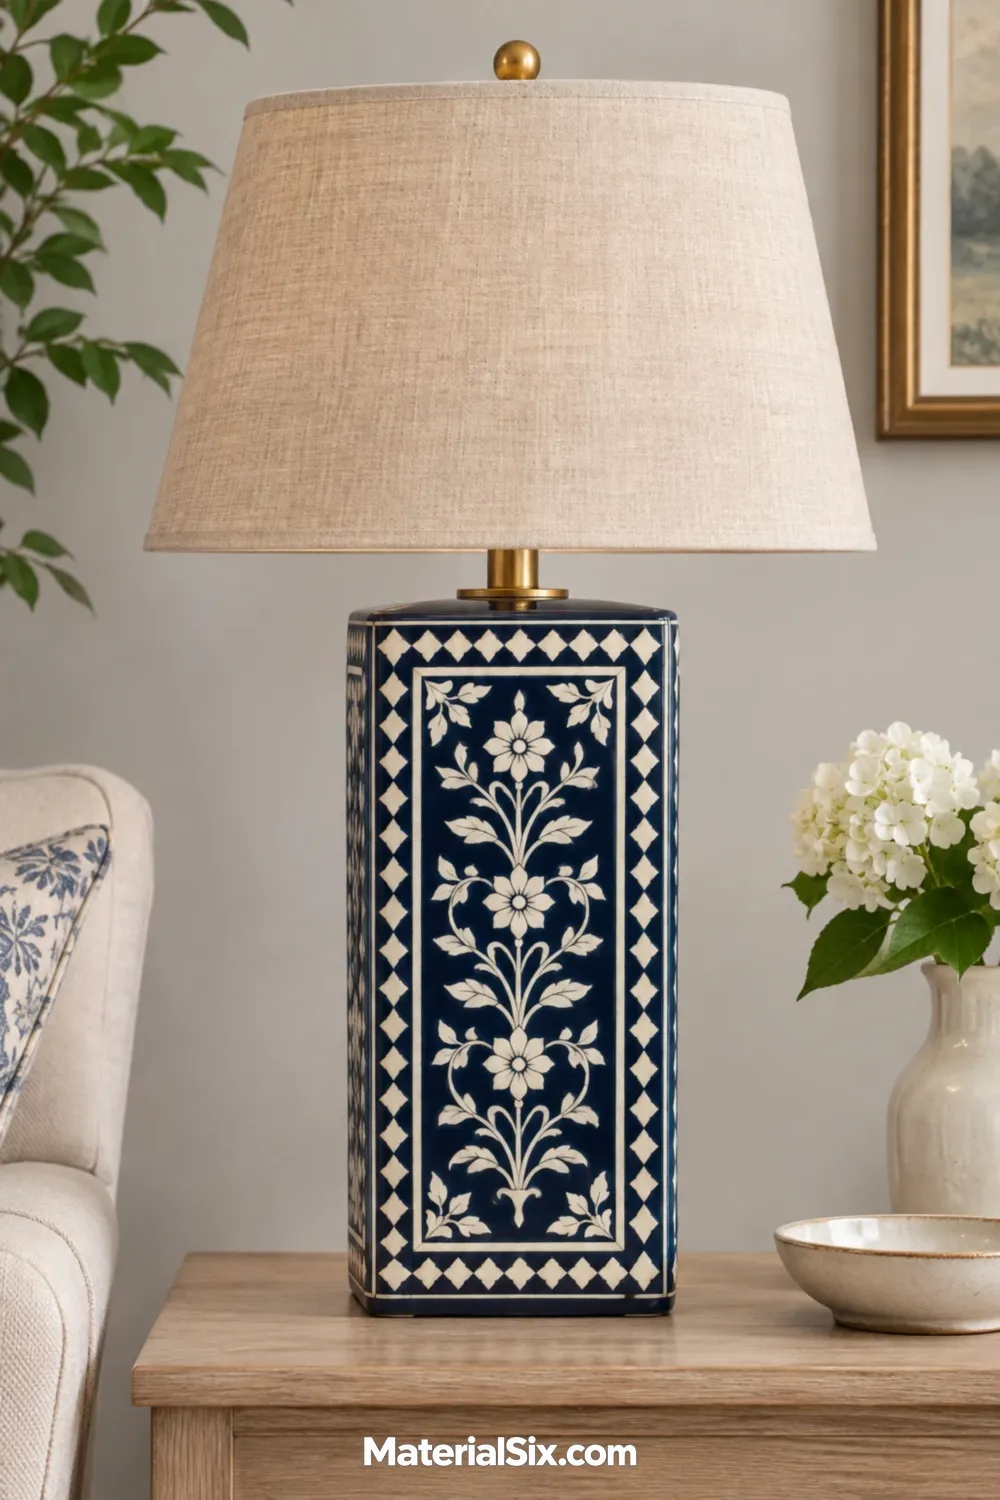
Try small ivory diamonds and floral details on a flat navy base for the look of patterned inlay. A rectangular base gives you corners to align the stencil with and space for an even margin. Begin with the border the eye will see first, then add smaller motifs where they fit. Leaving a little open space keeps the finished pattern legible beside the shade.
11. Bring Out the Warmth of Vintage Brass
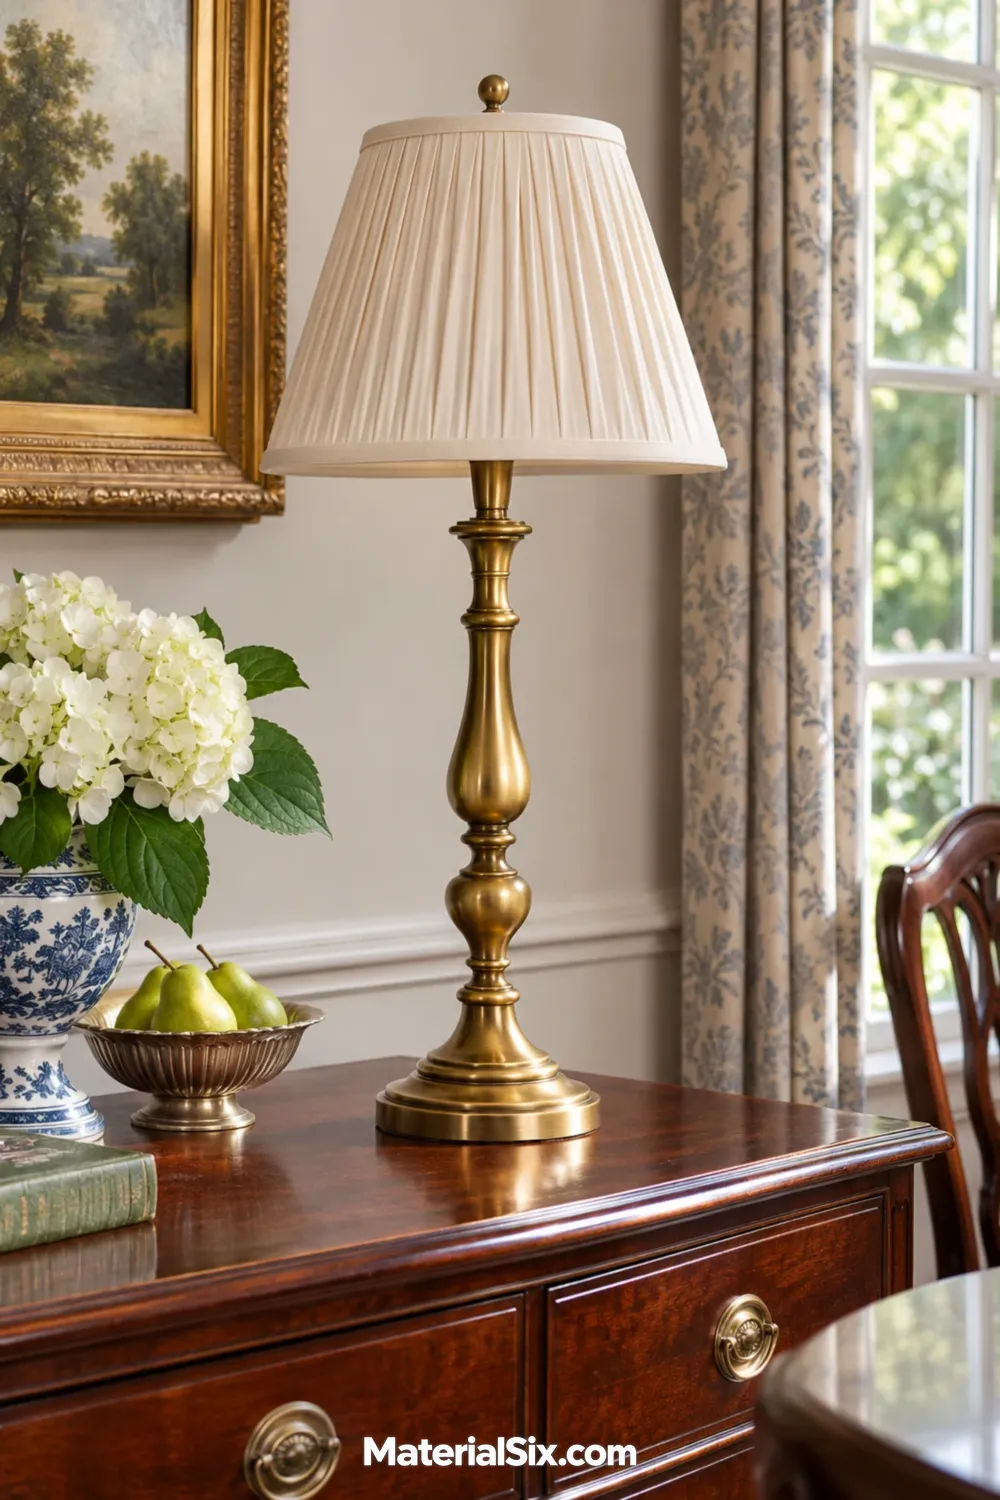
A slender buffet lamp may already have the finish you want beneath a layer of dust and dullness. Before reaching for polish, find out whether the base is solid brass, plated, or lacquered, since those finishes call for different care. Follow the maker’s cleaning guidance when you have it, and test any compatible product in a hidden spot.
Consider keeping some of the deeper tone in the recesses. Those darker areas can make the turned profile easier to see while the high points catch the light.
Match the Makeover to the Base You Have
Look first at shape and material. A smooth base with interesting curves can carry a solid color on its own. Flat sides give you more control over stencil placement, and a straight cylinder makes it easier to align a sleeve. For a clear base, decide whether you want light to pass through the glass before choosing an opaque finish.
Unplug the lamp while working and keep decorative materials away from the electrical components. A damaged cord, loose socket, or wobbly base calls for a repair assessment before you put time into the finish. For paint, coatings, or adhesives, follow the product directions for the surface, ventilation, and drying or curing before putting the lamp back into use.
Set the shade beside your finish sample and look at both in the room where the lamp will sit. A strong pattern can work beautifully with a plain shade, while an understated base gives you room for a pleat, a contrasting trim, or a shade you already love.
Let the Lamp Shape Lead
Set the lamp where you plan to use it and look at the outline from across the room. If the shape catches your eye first, a simple finish may give you all the change you want. If the shape is quiet, the base can take a stronger pattern or texture without the lamp feeling busy.