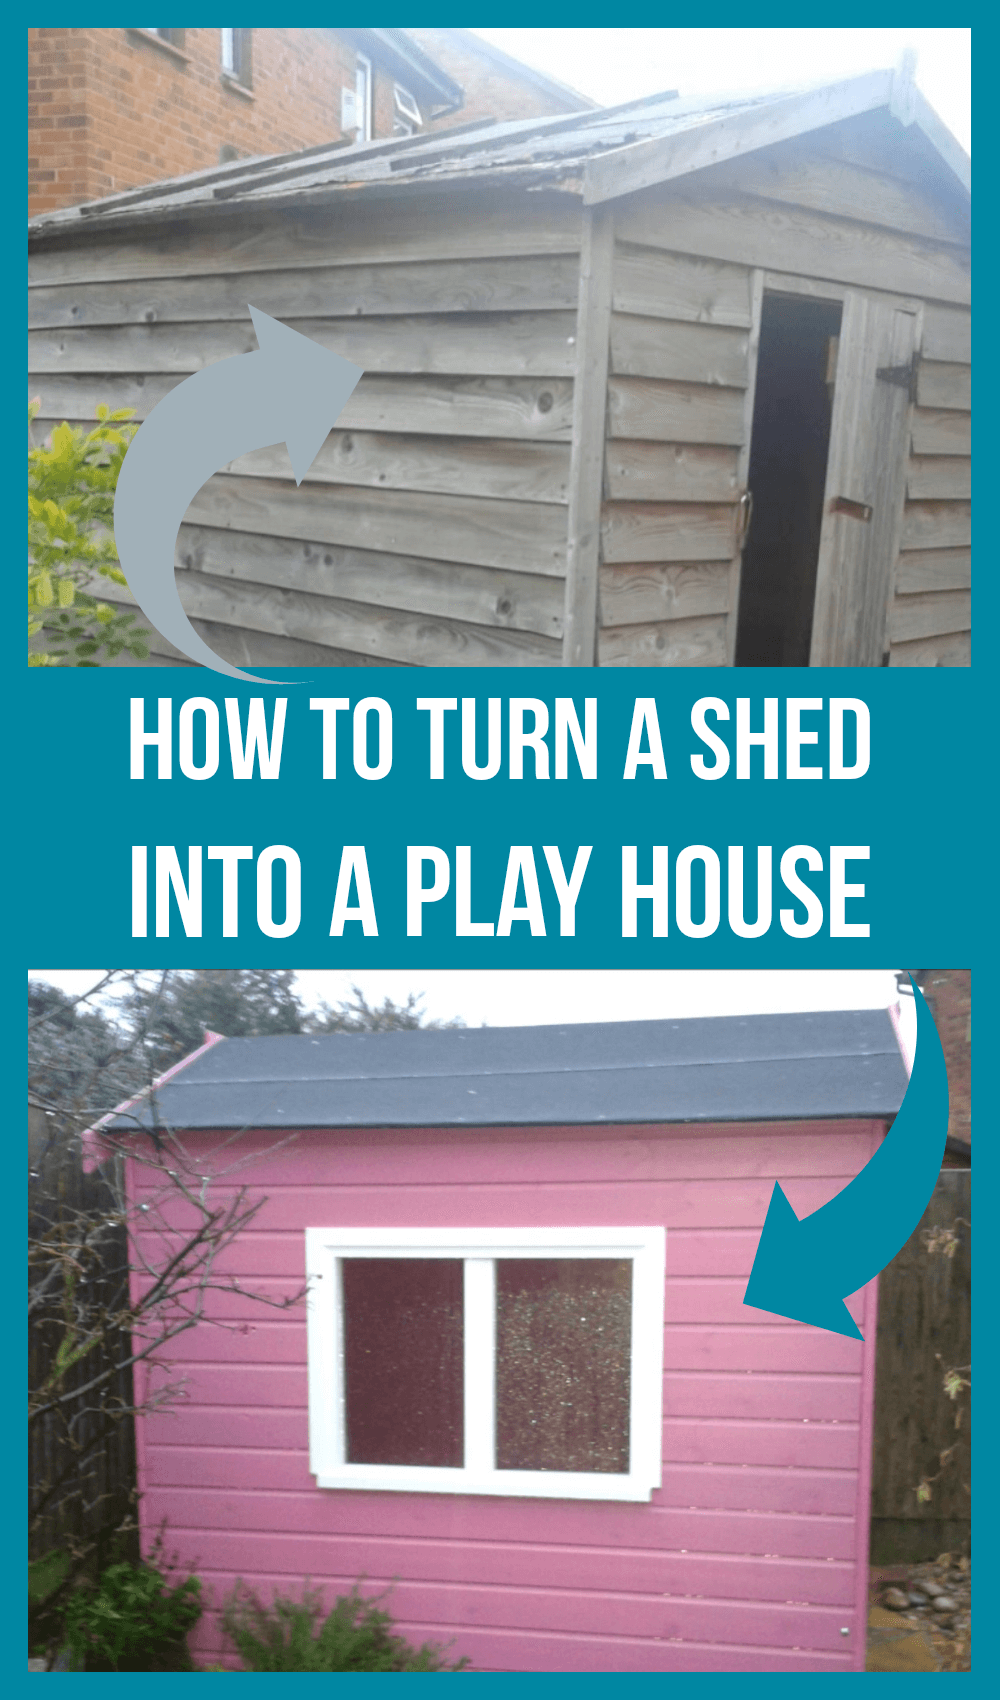
Filling the kids’ hearts with happiness is simple! Finding out how to turn your shed into a playhouse is a thing you can do to create heaven.
A shed is always described as a dull, unwanted, and spooky space. If you want to remove this negative vibe, the idea of how to turn your shed into a playhouse is going to be a savior.
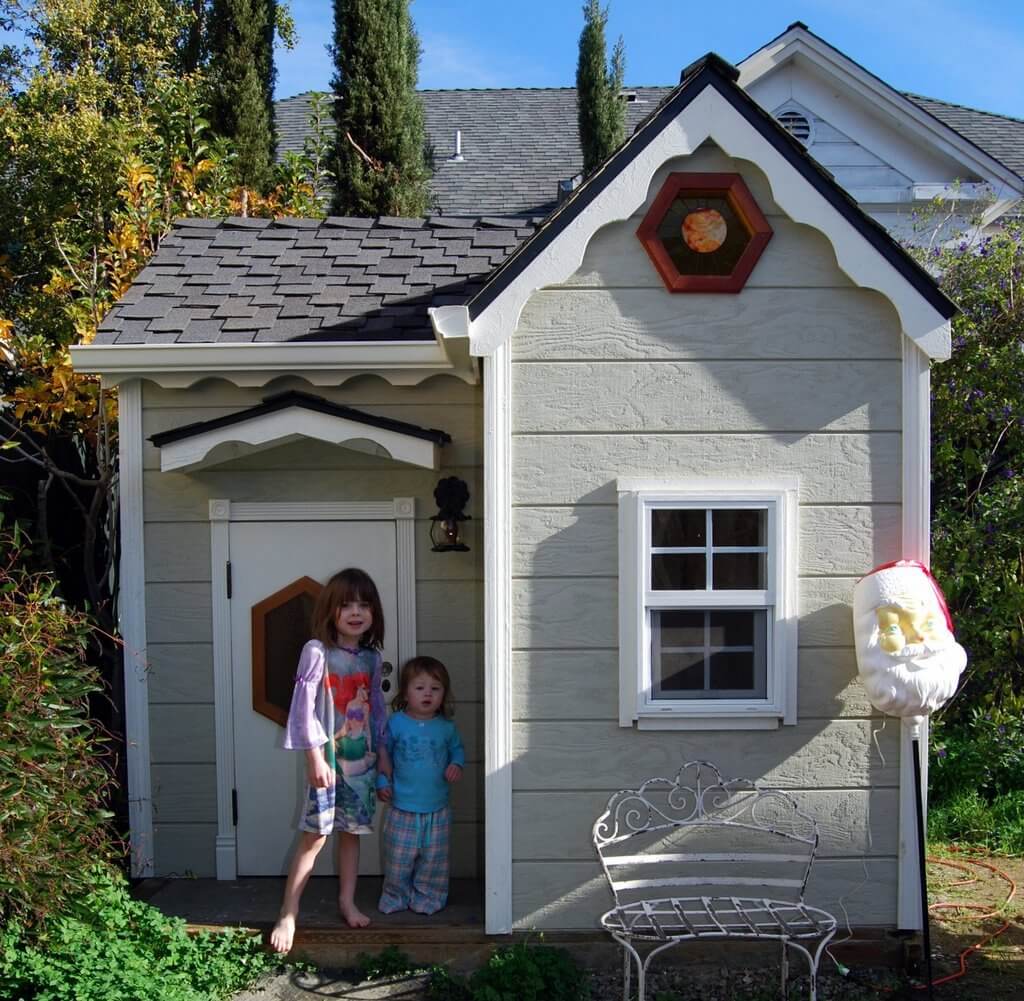
You are going to take a long journey before turning a shed into a children’s den. However, this DIY process is worth every minute. So, let us get started.
Read: How To Turn A Shed Into A Tiny House
What You Need to Prepare
It depends on the type of playhouse you would love to plan. Hence, the first thing we need to prepare is a simple blueprint!
It is good news if you have great design skills, but no worry for those who do not own it on how to turn a shed into a playroom.
You can start to seek inspiration on the Internet. A bunch of DIY ideas suits both the garden shed playhouse and those that are located inside the house.
Find the right inspiration that suits your shed and then print it so you can have a picture of where this DIY project will go.
Consider modifying all the ideas on the Internet. Change the tone into your preferred one; add the characters the children love to have. That is all yours to pick!
After you get to stick to an idea, let’s make it true. Prepare the material we need to make a wonderful shed.
1. Paint

This is the must-have item –no matter what kind of concept you are going to pick–. The color of the children’s playhouse is usually bright.
However, there is some wooden playhouse concept featuring dark colors. Usually, it is inspired by the superhero concept – which usually comes in the bold shade.
Consider opting for the child-friendly and washable wall paint. The children love to draw many things there and you need the magical one.
Instead of repainting it in a short period, you should pick the washable wall paint. Every time the children draw everything on it, we can always remove them using soap and water.
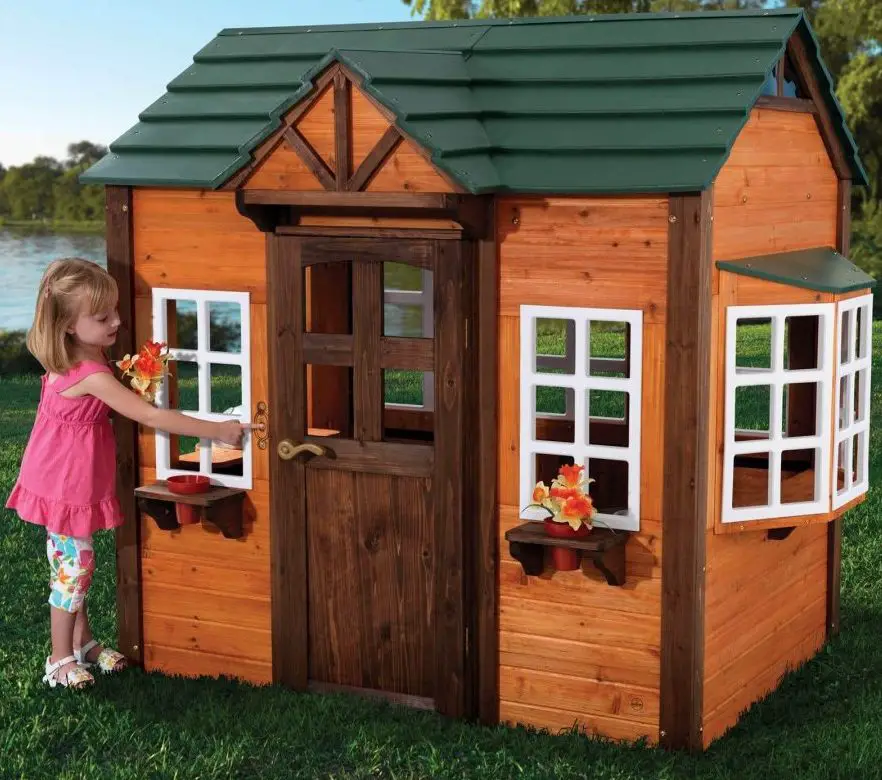
2. Wall Decal and Wood for Wooden Playhouse
The most essential element to turn your shed into a playhouse is wall decal and wood.
They are going to let the kids move away to a new, magical world children never find outside the playhouse.
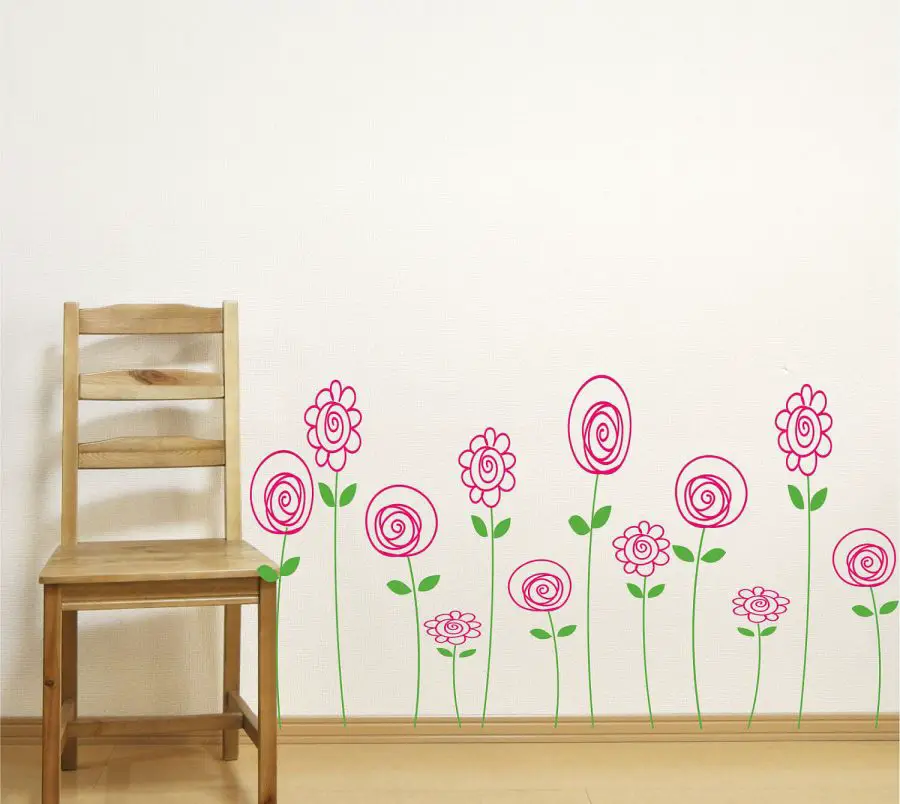
Some parents think that serious renovation requires a pricey wall ornament. It is okay if you would love to do that, however, we can also save some bucks with a more affordable wall decal.
The wall decal is a most favorite ornament due to its low price and since you can easily install and remove them.
There are so many wall decal options to create a nice playhouse or amicable room for kids. You can pick those with forest themes, cartoons, or even spaceships!
The wood is a more durable material on how to turn your shed into a playhouse. It can be used to create a tiny house or an additional wall element that you will not remove.
You can do the DIY project to turn the woods into wall decoration or additional elements. However, this activity is not for everyone.
The DIY project utilizing wood requires some tools and a high level of construction skill.
If you feel so burden making a DIY project using wood, then consider buying the wooden ornament for the playhouse in the online stores.
You can pick the wood wall decal, the wooden toys, and even slide for kids. It is both eco-friendly and safe.
Flooring
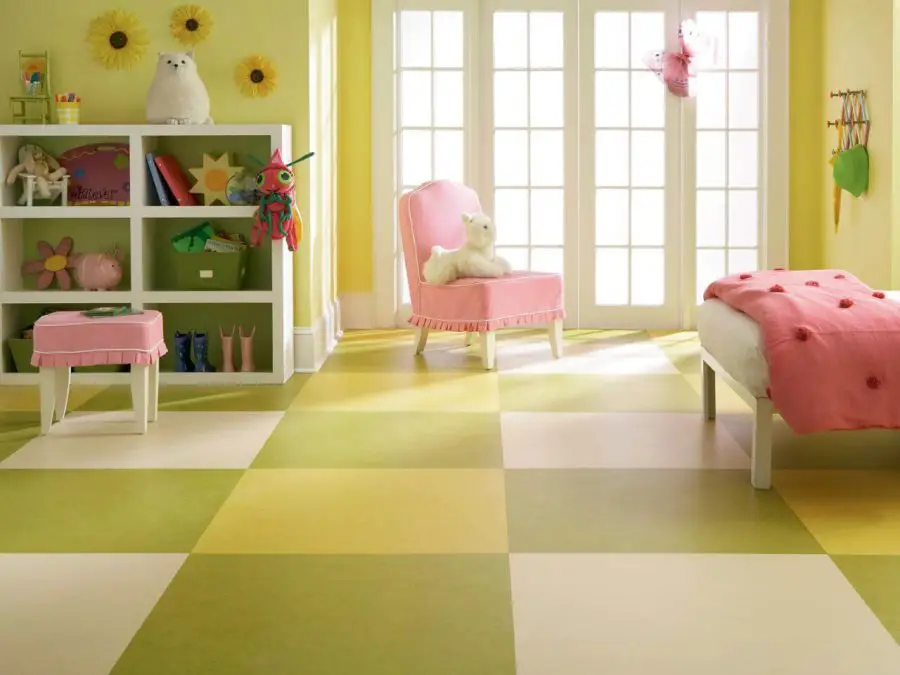
Installing the tile floorings can weigh your amount of big budget and time. Instead of dealing with them, consider buying vinyl or foam mat
Like wallpaper, the vinyl and foam mat is more affordable, comes in various themes, and is easy to apply to turn your shed into a playhouse.
How to Turn Your Shed into a Playhouse
Check out the concept of the playhouse you have done and see if there is anything we would love to add up or remove.
Start by cleaning the shed. Use not only specific soap but also hydrogen peroxide as well. Make the place clean and sterile.
Paint the wall with the preferred shade your kids choose. Moving to the next step can be done only after it dries.
After that, you can install the additional wall decorations or the decal. Then, move to the flooring parts.
Before installing the vinyl, give the concrete to the floor (if there is not any), let it dry, and add the lacquer.
To make the playhouse friendlier, add a bright lamp. A white or yellowish one is good for the kids.
Now, you have done turning your shed into a playhouse. The other thing to do is just installing some additional elements, such as tiny fences and slides.
You can also opt for the bookshelf. It will help the children to learn in the playhouse.
It is nice to learn about how to turn a shed into a playhouse! Let the kids explore their imagination and help them grow better!
Video: Converting an Old Shed into a Playhouse

More from Materialsix.com: