Are you thinking about raising chickens in your backyard to get an adequate supply of fresh eggs, so you don’t have to run to the grocery store every time you need them? Well, we can totally relate!
Raising chicken has become one of the most followed hobbies for various people in recent times. Not only do these feathered creatures become your friends, but they also provide you with eggs, so you don’t have to invest any more in buying them for your daily use.
However, when you bring little chicks home, it is pretty essential to know where you would keep them so that they don’t outgrow the place quickly. This is where converting a shed into a chicken coop can save you all the trouble.
If you want to know more about turning a shed into a chicken coop, look no more as you have landed precisely on the right page.
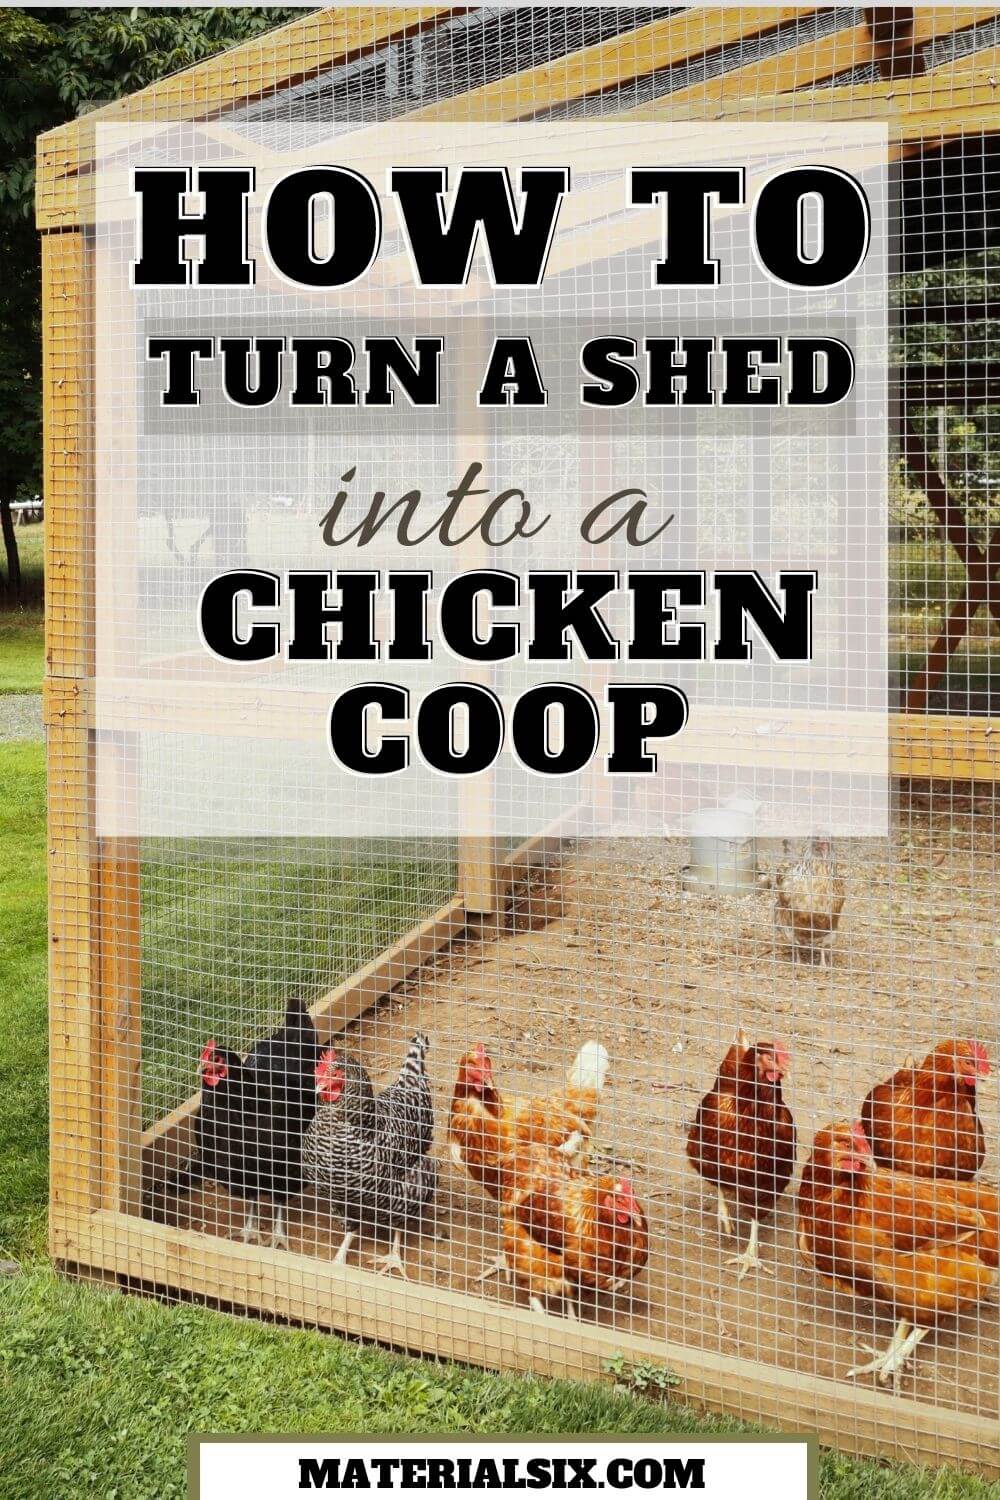
Steps for Converting Shed into a Chicken Coop
Here is how to turn a shed into a chicken coop following these easy steps:
1. Decide a suitable location
Location matters quite a lot when it comes to providing a coop to your chickens because building a coop is a one-time job. There are a few things that you need to remember:
- Ensure the place doesn’t have plants or flowers around since chickens won’t even care about them. Your fluffy friends can eat your flowers and plants without worrying about what they destroyed in the process.
- Chickens are known for scratching, and they like to scrape at the ground. Select a place that doesn’t get destroyed with their scratching actions.
- Chickens are pretty helpful to be placed on areas that you want to be cleared out and cleaned. You can use their scratching hobby as a benefit.
2. Clean the area
Before building the chicken coop, you need to start cleaning from the ground. Clean the floor and make sure there are no hazardous substances present on the ground like loose screws, strings, rubber, wires, debris, nails, etc. Also, check the area outside the building to ensure there is nothing dangerous present for the chickens since they can eat absolutely anything.
3. Level the ground
The next step is to level the ground where you plan to keep your coop. You can use sand to level the ground as much as possible and start putting blocks around the corners and middle of the shed, which will work as risers. These risers can keep the shed off the ground and, as a result, protect the floor from deteriorating.
4. Get desired stuff
To make the desired chicken coop, here are the things that you need to have:
- A doggie door allows the chickens in and out of the coop easily.
- Chicken feeder to fill it with chicken food.
- Plastic chicken water container for mild weather.
- Metal chicken water container for cold weather.
- Bedding of any material depending on your choice. Wood shaving works the best for humidity areas since it can soak up the moisture quite well.
- Chicken wire covers your doors and windows to keep your chickens safe from predators.
5. Move the shed
Once you have finally decided on the place and have made all the necessary preparations, it is time that you start moving the shed where you are deciding to keep the coop. Since quite much of the shed is needed, it can turn out to be a slow process, but the results are going to be definitely worth all the time and effort.
6. Work on Interior
Your chickens will be concerned about the interior of their coops as much as you are concerned about the interior of your home. They need all the comfort and necessities like us humans do. Therefore, there are certain things like feeder, roost, water, and nesting boxes that are necessary to be incorporated into the interior of the chicken coop. Here are a few of the essential things you need to look after:
- You need to build roosts for the chickens to sleep on. Make sure that you keep the roosting bars higher than the nesting boxes since chickens look for the highest heights to sleep on.
- Nesting boxes are specifically designed for the chickens to have a place to lay their eggs. You need to build a nesting box of around 12 x 12 inches in size so that your chicken can sit with comfort and do the job. These boxes need to be filled with some soft material like nesting pads, pine shavings, straws, etc. To make your chicken know that she needs to lay her eggs there, you can keep some fake eggs or even stones to convey the message.
- Build a door covered with the chicken wire to make sure your chicken is safe inside the coop and doesn’t move out when you are not around. The door should be tall enough to let you in and out of the coop without any difficulty.
- You should hang the feeder and water container rather than keep them on the ground. This is because since chickens scratch the ground all the time, the water container and feeder can end up having scratched bedding.
- The coop needs to have good ventilation, and therefore you need to build some windows and vents. Make sure to cover the windows with ½” or ¼” of the worn net to keep your chickens protected from ay predators.
- Once you are done with everything for your interior, the last thing to check is that the coop doesn’t have any kind of hole larger than one inch. If you find any, make sure to cover it up with a suitable material. This is done to make sure that the chickens inside are safe from any kind of danger or hazards.
7. Bring in your chicken.
Once you are done with building the chicken coop and filling it with the desired bedding and designing the interior with all the wanted chicken stuff, it is time to bring your fluffy friends inside and give them a new place.
More from Materialsix
- How to turn a shed into a tiny house
-
The 6 Tips to Build A Perfect Shed In Your Backyard
- How to Turn Your Shed into a Playhouse
- How Much Does It Cost To Build A Covered Patio?