Designing your raised bed layout is the fun part where your garden starts to feel real. A smart plan saves your back, keeps plants healthy, and makes watering and harvesting simple instead of stressful.
You get tidy beds that fit your space, look good from the house, and actually match how you like to garden. With a few layout tricks, you’ll know where every tomato, herb, and flower belongs before you lift a shovel.
That means fewer changes later and more time enjoying the space. Use these ideas to sketch a layout that works hard for you and still feels calm and welcoming.
If you want to compare raised bed layouts with other garden structures, check out these garden layout ideas and designs for more path and zone inspiration.
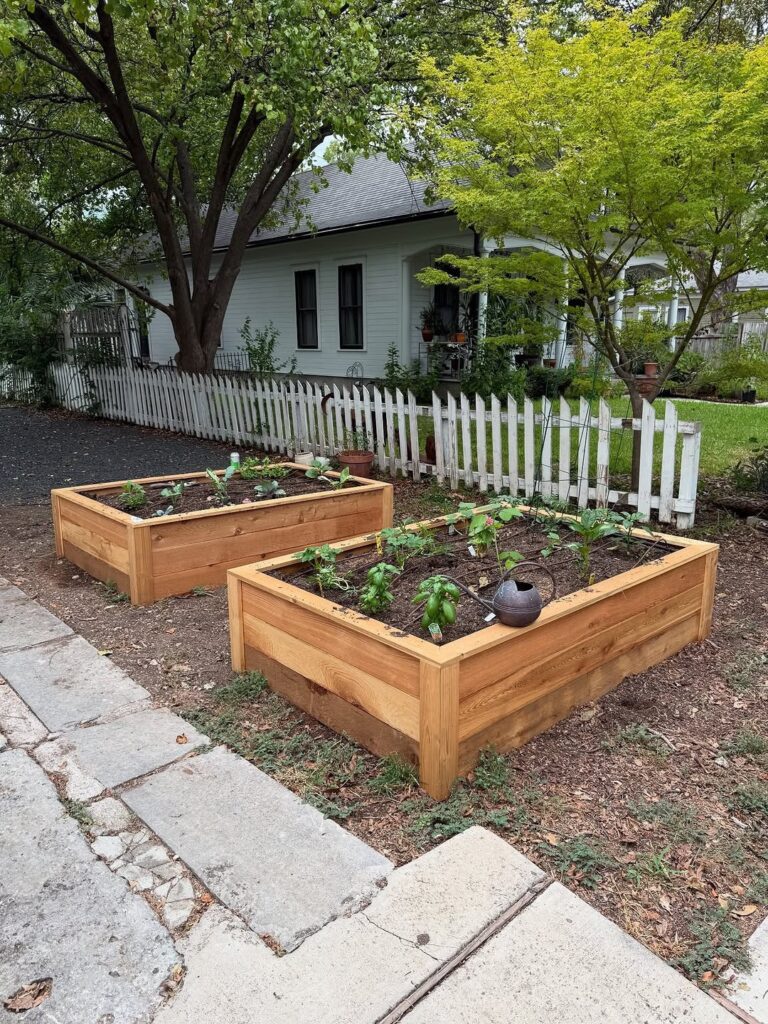
1. Start With Sun And Access
Credit to @lettucegrowsomething on Instagram
Before you imagine pretty rows of greens, look at how the sun moves across your yard. Most vegetables want six to eight hours of direct light, so placing beds in the brightest zone is essential. Stand in the space morning, midday, and late afternoon to see where shadows fall from trees, sheds, or fences.
Next, think about how you walk through the area. Leave wide paths where you push a wheelbarrow or roll a hose. Set beds so you can reach the center from both sides without stepping on the soil. If you have a focal view from a window or patio, angle the beds to frame it and make the garden feel inviting from inside.
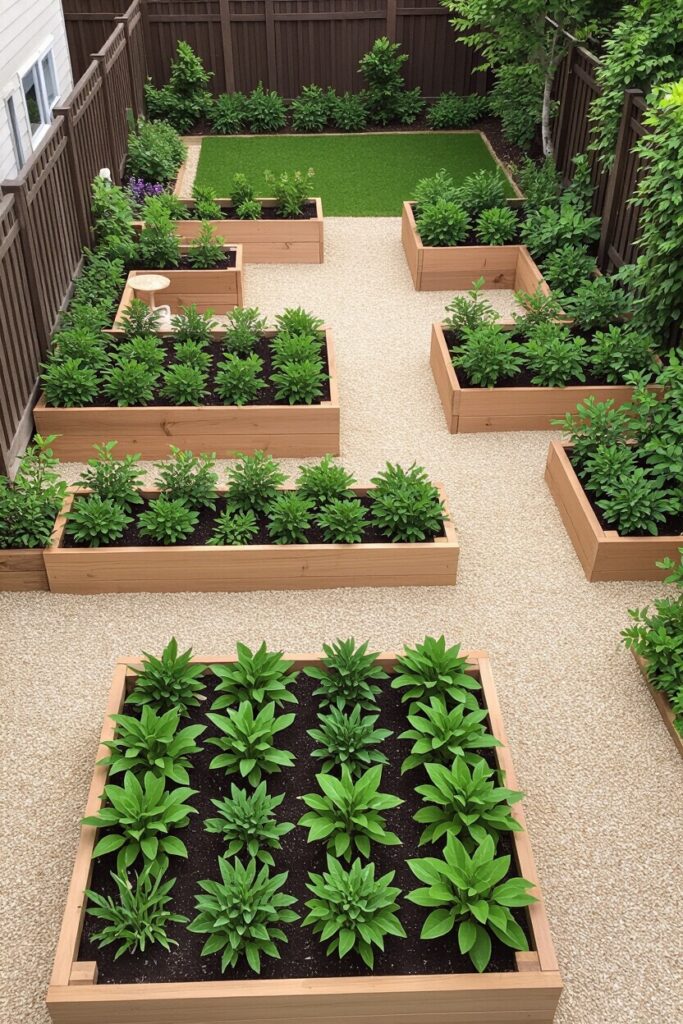
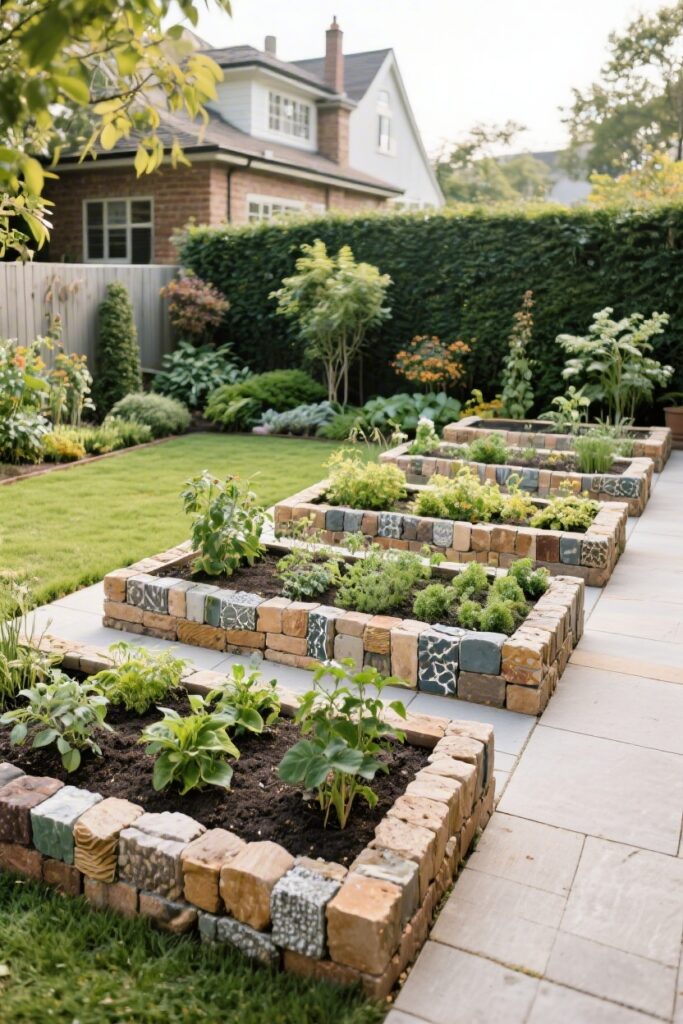
2. Choose Bed Shapes That Fit The Space
Credit to @secretgarden_landscapes on Instagram
Rectangles are easy to build, but your layout does not have to be a strict grid. Long narrow beds work well along fences or driveways, while chunky boxes feel right in a central garden room. Curved beds soften sharp corners and can guide the eye toward a seating area or arbor.
Sketch a few shapes on paper before you commit. Keep width to about four feet so you can reach the middle without stretching. In a tight yard, try L-shaped or U-shaped beds tucked around a small patio. You can even mix shapes, using straight beds for crops that need support and softer curves for herbs and flowers.
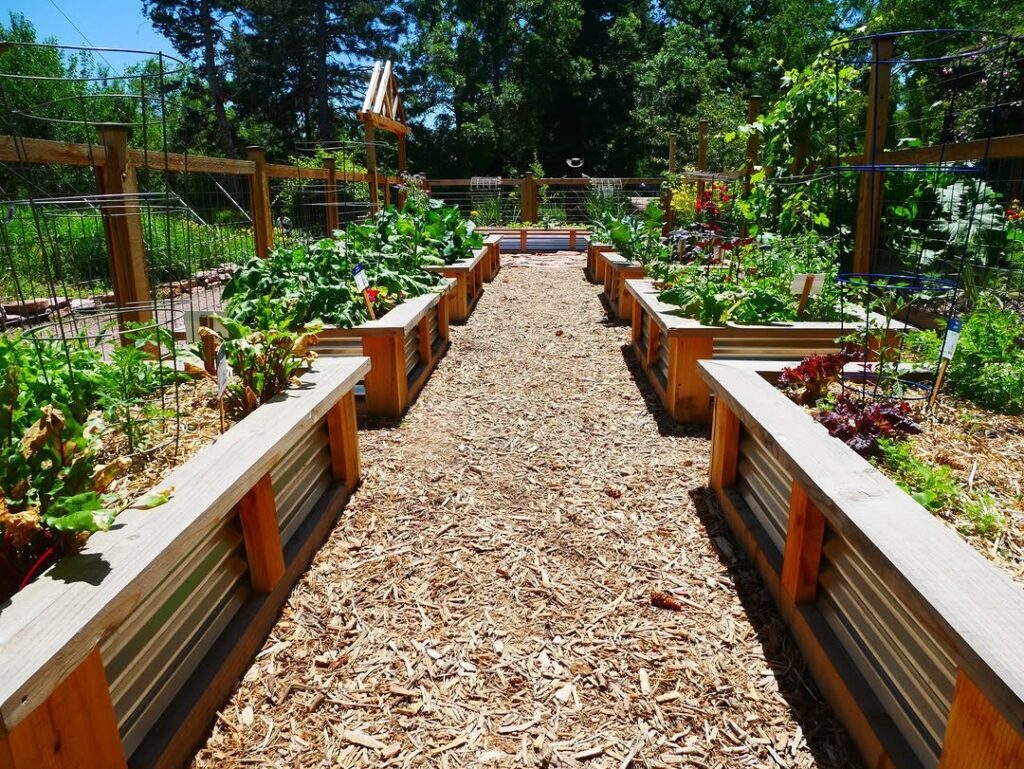
3. Set Comfortable Path Widths
Credit to @vvictorygardens on Instagram
Good paths keep your garden easy to work in, even when plants explode with growth. Decide early how wide you want them, then stick to that measurement as you mark out beds. Paths that are too narrow feel cramped and make it hard to weed or harvest without brushing against wet leaves.
For walking only, two feet often feels fine. If you move carts, kids’ bikes, or a mower through the area, stretch that to at least three feet. Lay out hoses, kneelers, or buckets to test the width before you dig. You can finish paths later with mulch, gravel, or stepping stones, but the spacing you choose now will shape how the whole garden works.
For edible garden planning ideas, these vegetable garden layout design ideas can help you choose bed arrangements that fit your space.
4. Group Plants By Height And Care
Credit to @joegardener on Instagram
Thinking about plant size early helps you avoid shading problems later in the season. Put tall crops like tomatoes, pole beans, or sunflowers on the north or west side of each bed so they won’t block daylight from shorter plants. Medium growers such as peppers and kale can fill the middle, with low herbs and lettuces near the paths.
Care needs matter too. Keep thirsty, fast-growing plants together so they enjoy the same watering schedule. Herbs that like drier soil can share a separate bed with strawberries or flowering perennials. When you group by both height and care, your beds stay easier to manage and look naturally layered from every angle.
5. Create Zones For Different Uses
Even in a small yard, breaking your raised beds into zones makes the space feel organized. You might have an everyday cooking zone close to the kitchen door, a kid-friendly snacking zone with berries and cherry tomatoes, and a cut-flower zone near a sunny fence. Each area can have its own mix of bed sizes and paths.
Mark these zones on your layout sketch, then arrange beds so high-traffic crops stay closest to where you stand most often. Place compost bins or rain barrels between zones that share them. A quiet corner can hold a bench or small table so you have a place to rest, plan, or just enjoy the view after a bit of weeding.
If you’re working with limited room, these small garden layout ideas include compact setups that work well with raised beds.
6. Plan Irrigation Lines Before You Build
Credit to @matsakeraymond on Instagram
Watering is easier when you design for it from the start. Instead of dragging hoses around beds, you can tuck soaker hoses or drip tubing into the layout. Think about where your outdoor faucet sits and sketch simple routes that reach every corner.
Run main lines along paths, then branch into each bed so nothing crosses where you walk. Leave a little room at bed ends for shutoff valves or hose connectors. If you like hand watering, create a central spot to coil a hose and stand comfortably. You’ll save time, protect soil structure, and keep foliage drier.
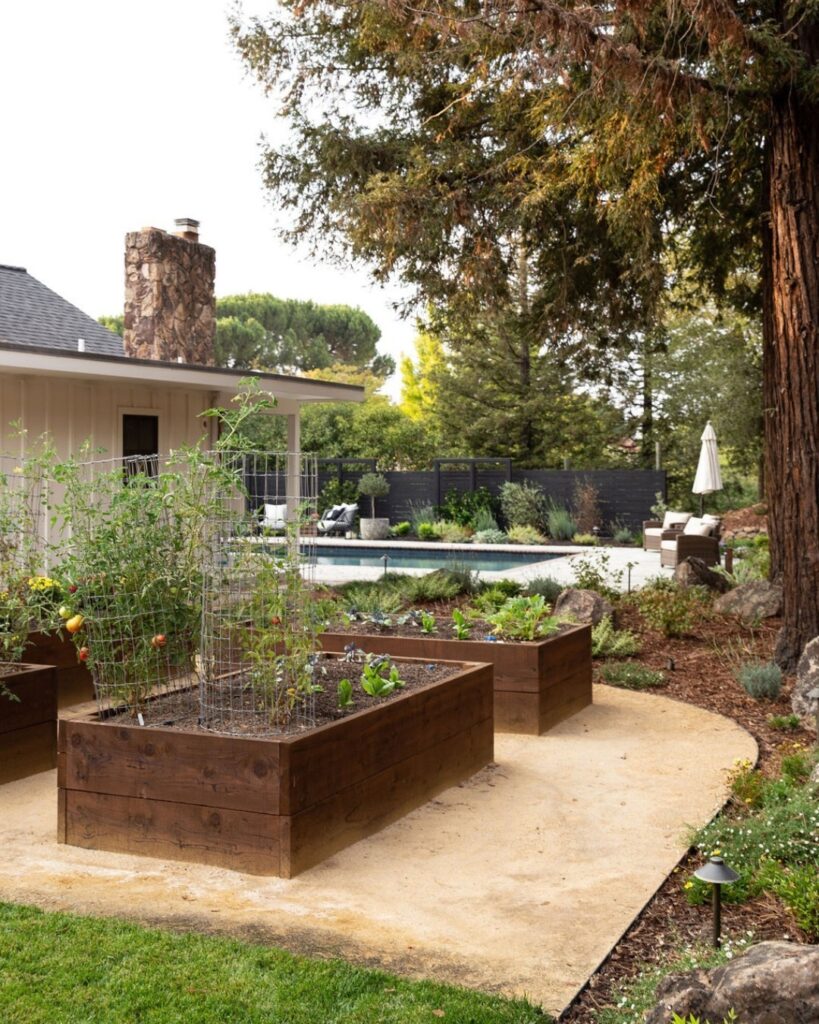
7. Choose Bed Heights For Comfort And Roots
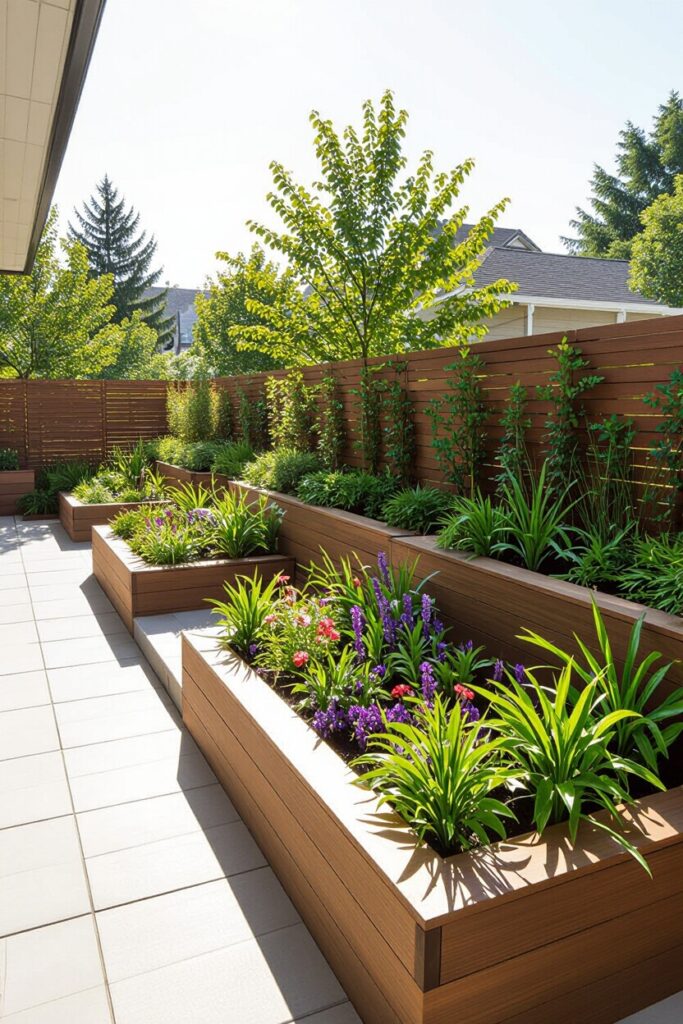
Bed height changes how your garden feels and how your plants grow. Taller beds are easier on your back and warm up faster in spring. Lower beds hold moisture longer and work well for deep-rooted crops that like to stretch down.
Mix heights across the layout so each area suits its crop. Place higher beds where you weed the most, like salad greens, so you bend less. Reserve deeper, lower beds for tomatoes, squash, and root vegetables. Keep the top edges level with each other where beds sit side by side, which creates a tidy, built-in look.
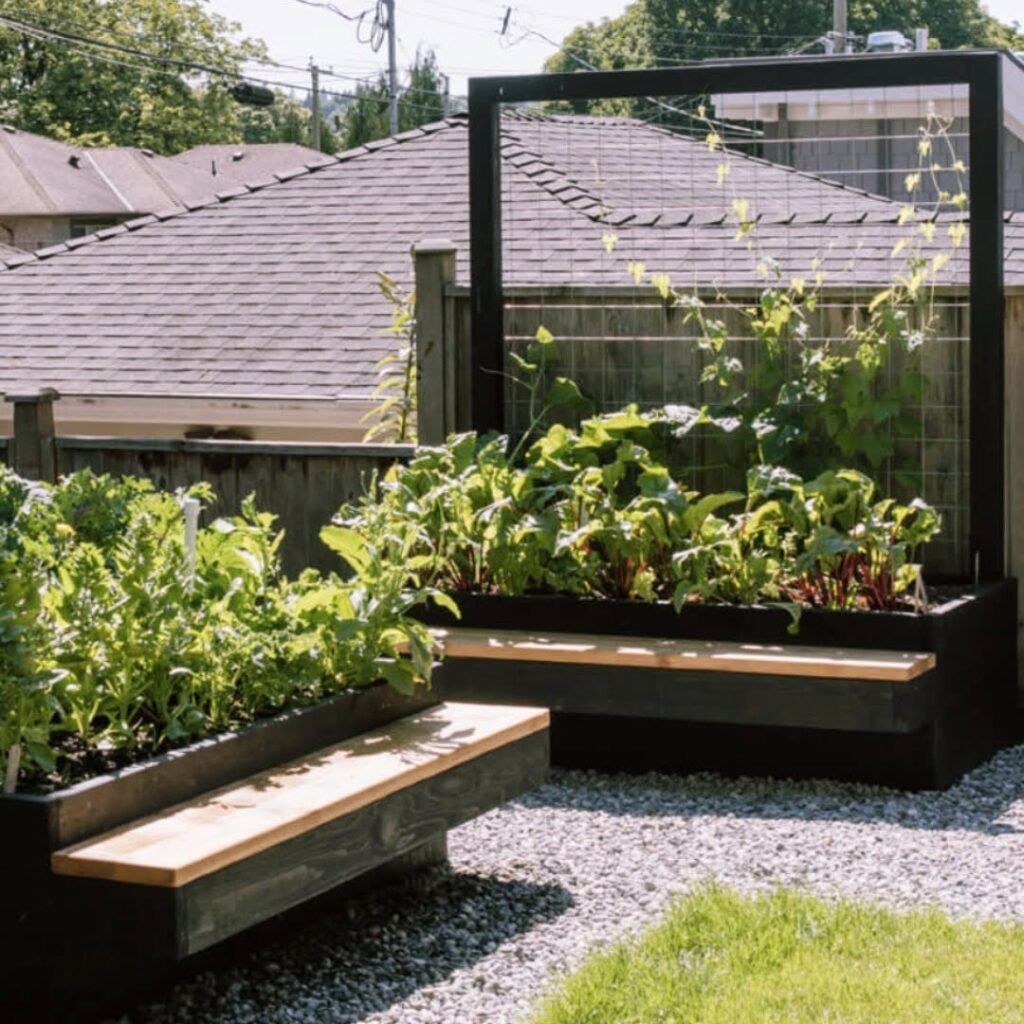
8. Use Vertical Structures To Save Ground Space
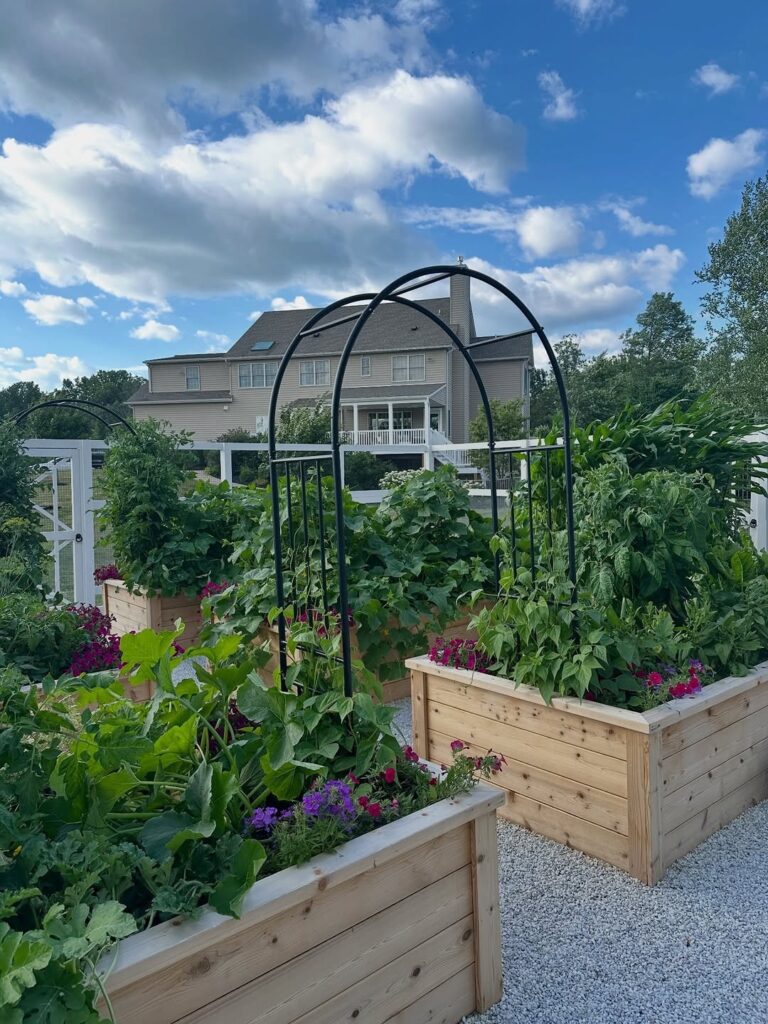
Credit to @hundredtomatoes on Instagram
Vertical elements turn a simple raised bed plan into a compact, productive plot. Trellises, arches, and obelisks let vining plants climb instead of sprawling over your paths. They also add a bit of privacy and make the garden feel like a cozy room.
Place taller supports on the north or west sides of beds so they do not shade smaller crops. Grow peas, beans, cucumbers, or small melons up sturdy mesh or cattle panels. You can even link two beds with an arch and plant flowers at the bases. This pulls your eye through the space and gives you extra growing area.
9. Plan Edging And Borders Around The Beds
The space around your raised beds matters as much as what is inside them. Neat borders keep weeds from creeping in and make the garden feel finished. You can match the edging to your home style or keep it simple and low cost.
Gravel, wood chips, or stepping stones all work well between and around beds. Leave a narrow strip at fence lines or walls for climbing plants or storage. If you like a softer look, plant low herbs or flowers along the outer edges. These borders guide your feet, frame each bed, and cut down on mowing near your vegetables.
10. Include Spots For Tools, Compost, And Rest
Credit to @floragardensdesign on Instagram
A raised bed layout that supports your routine will get used more often. Instead of tucking tools and compost far away, carve out space for them near the beds. A small bench or stump nearby gives you a place to pause and enjoy the view.
Reserve one corner for a compact compost bin or tumbler so you can toss trimmings quickly. Add a narrow pad for a storage box that holds gloves, trowels, and twine. If space allows, widen one path for a chair or crate. You’ll end up staying in the garden longer because everything you need is right there.
11. Layer Planting Times For Steady Harvests
When you plan your raised bed layout, think about when each crop will be ready. Staggering planting times keeps beds from sitting empty and gives you fresh food longer. You can map out spring, summer, and fall crops in the same space so every corner works hard.
Use quick growers like radishes or lettuce at the edges of slower crops such as tomatoes. Mark each section on your plan with dates so you remember when to replant. As one crop finishes, pull it, refresh the soil with compost, and tuck in the next round right away.
12. Mix Perennials With Annual Beds
Credit to @nikijabbour on Instagram
Annual vegetables change every year, but a few well-placed perennials help anchor your layout. Herbs, berries, and small fruit bushes can frame raised beds and make the garden feel finished. They also cut down on replanting work in busy seasons.
Try lining the sunny side of your paths with thyme, lavender, or chives so you brush past them and release fragrance. Tuck strawberries at the corners of beds where they can spill over the edges. Leave enough space around shrubs for pruning and harvest, and keep tall perennials to the north so they do not shade shorter crops.
13. Plan For Pollinators And Helpful Wildlife
Credit to @monarch_meadows_ on Instagram
A raised bed garden runs better when bees, butterflies, and other helpers visit often. You can plan small pockets of flowers and habitat right into your layout. This brings more fruit set, better pest control, and a garden that feels alive.
Dedicate one narrow bed or a few corners to nectar-rich flowers like calendula, zinnias, and bee balm. Add a shallow water dish with stones so insects can land safely. If you have room, place a small brush pile or insect hotel near the back fence so beneficial bugs have a home close to your crops.
14. Create Clear Harvest And Work Zones
Your layout should make it easy to reach everything without stepping in beds or stretching awkwardly. Thinking about harvest routes early keeps damage low and chores quick. You want to walk in, pick, and carry baskets out without weaving through obstacles.
Arrange heavier producers, like squash or potatoes, closer to the garden entrance so you do not haul full buckets far. Keep delicate greens and herbs close to the kitchen door for quick snips at dinner. Leave small standing spots at bed ends for turning around with tools, and avoid placing trellises where they block your natural walking path.
15. Use Covers And Shade For Weather Flexibility
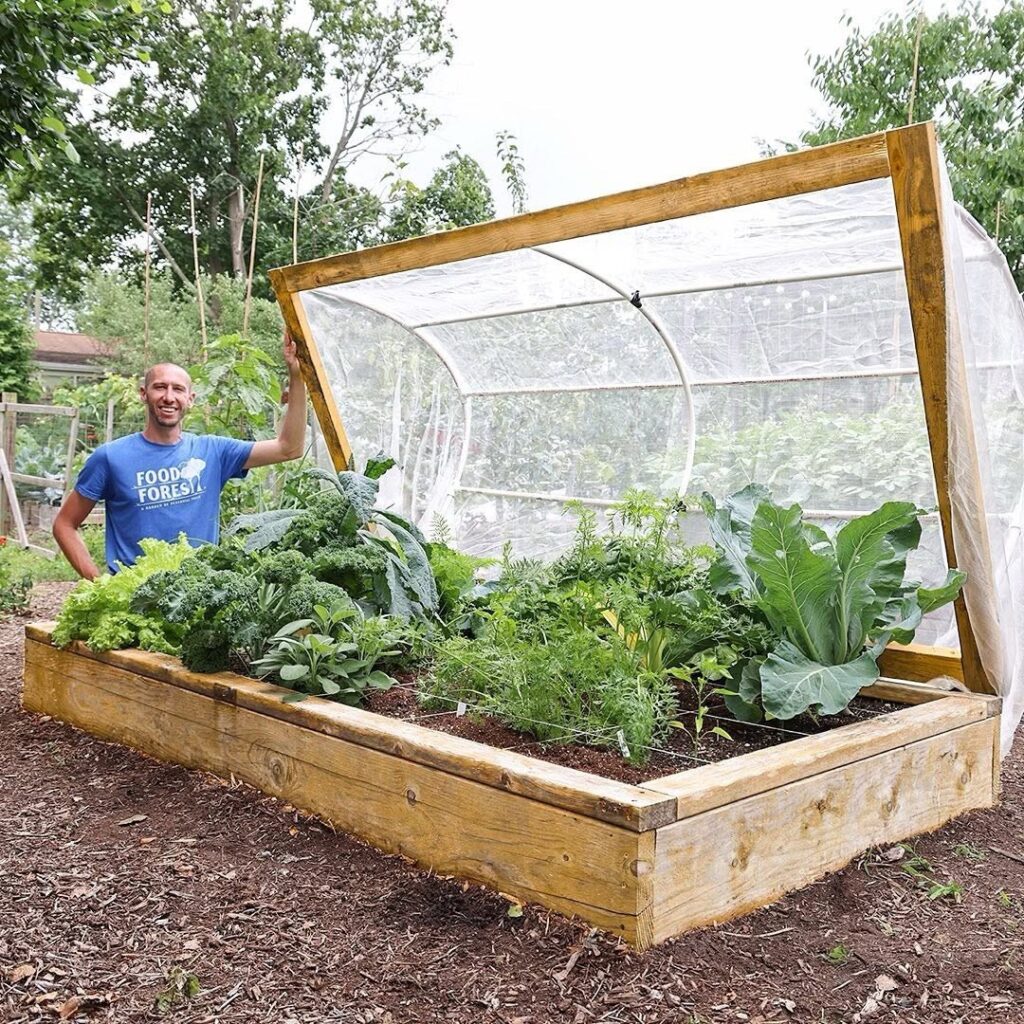
Credit to @jamesprigioni on Instagram
Gardens rarely get perfect weather all season, so it helps to design for quick protection. If you plan for covers when you set your layout, you can guard plants from cold snaps, harsh sun, or insects without scrambling later. Simple supports give you options all year.
Place beds you want to protect together so one row of hoops can span across them. Install sturdy corner stakes that can hold hoops, plastic, or shade cloth as needed. Keep a small storage spot nearby for clips and fabric so you can throw covers on fast when a late frost or heat wave shows up in the forecast.
Conclusion
Now that you have ideas for shaping paths, beds, and support areas, you can sketch a layout that truly fits your yard. Start with a rough drawing, then layer in zones, rotation plans, and protection points until the space feels easy to use.
Expect to change things after your first season, and treat each tweak as part of learning how you like to garden. Save notes, photos, and ideas that catch your eye so next year’s layout comes together even faster.
With each adjustment, your raised bed garden will feel more personal, productive, and fun to spend time in.