When it comes to kitchen cabinets, they experience a lot of wear and tear as the years pass by. This is especially true for the cabinets located beneath the sink or the refrigerator, or the ones made from certain materials that aren’t so strong, such as particleboard and MDF. Due to constantly coming in contact with water and moisture, cabinets can get greatly damaged.
Cabinets that get damaged due to water end up becoming swollen, which results in ruining the paint job and the finish of the cabinets. Sometimes the laminate surface completely pops off because of this water damage to the cabinets.
Therefore, it is highly important to repair the cabinets as soon as possible, or else there are chances of the damage getting worse. Even though wood is known to survive water damage of a certain amount; however, there is a high chance that some damage can’t be fixed.
In this article, you will learn how to repair your kitchen cabinets after they have been damaged by water. Plus, you will learn the different ways you can protect your kitchen cabinets from any type of water damage in the future. Continue reading to find out more.
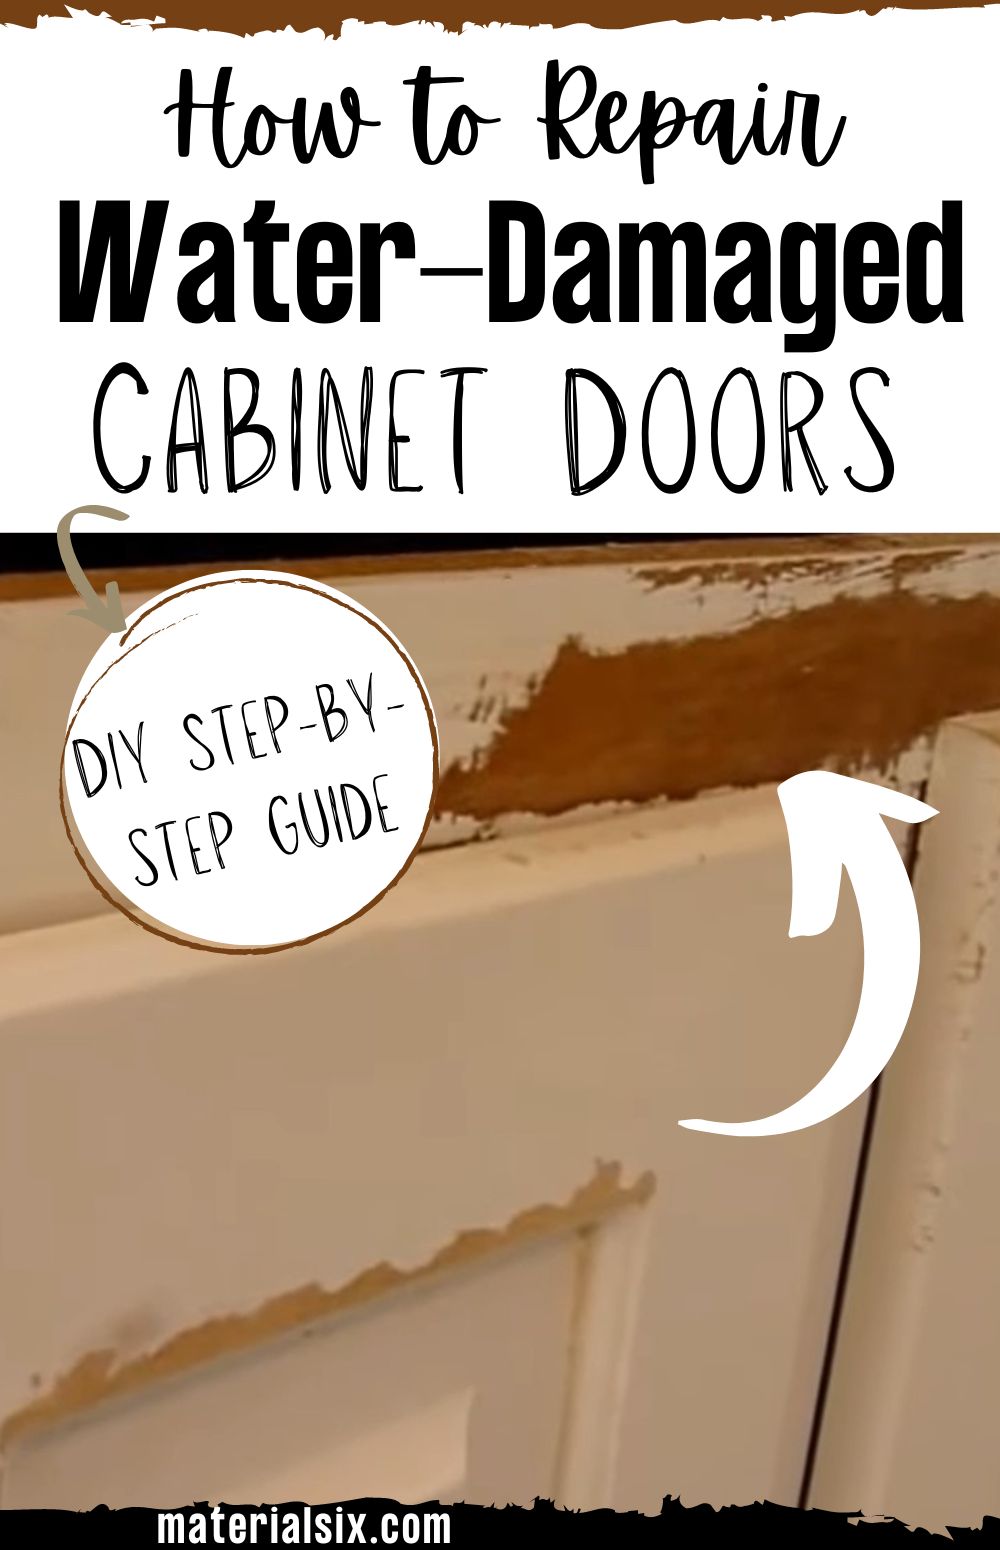
Repair Your Kitchen Cabinets That Have Been Damaged Due To Water
The steps mentioned here can be applied to a majority of situations for different cabinet styles and materials. However, it is important to observe the level of water damage that has been done.
Do check to see if it is even possible to save and repair the cabinets in the first place. The steps below can be used for repairing water-damaged cabinets that are made from particleboard, MDF, plywood, and the majority of other materials.
Follow the steps below to know how this can be done.
1. Get The Cabinets Ready For Repairs
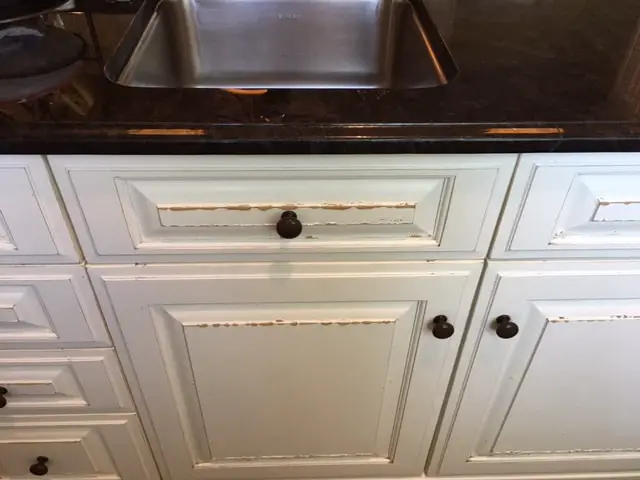
Before doing anything else, the cabinets should be prepared for repair work. The cabinet door must be removed from the hinges and placed on a protected work surface. It is recommended to move the cabinets into a shed or garage and place drop cloths around them to catch any paint.
Based on how severe the water damage is, you might have to remove the door handles, the hinges, and other pieces of hardware (if any) from your cabinet door. This will make the entire repairing process easier, no matter how badly the cabinets have been damaged.
Also, before you start to work on them, the doors should be dry. If they have been recently damaged by water, you might have to take them off a few days prior to your repair job and allow them to completely dry before you start working on them.
2. A Shellac-Based Primer Should Be Used On The Wood
You can find shellac-based primers in the majority of hardware stores. It helps with repairing small blemishes and other damage on furniture made from wood, which includes wooden cabinets as well. Generally, this primer comes inside a spray bottle, which makes it easy to use over damaged areas.
You can apply one to two coats of the primer over damaged areas, which will help in evening out the cabinet door’s surface. One great thing about this primer is that any kind of paint can be used over it.
In addition to evening out the surface, this primer also allows the paint to stick really well over it.
3. Use Plastic Wood Filler (If Needed)
For cabinets that have experienced damage in larger areas, plastic wood filler can be used in order to seal it up and fix the water damage. As compared to MDF, particleboard usually gets more bumps; hence, this step should be done thoroughly for cabinets made from particleboard.
You can directly apply your plastic wood filler onto the affected areas and use a small putty knife to smooth it over. The amount of filler used depends on the situation of the cabinets.
Before moving on to the next step, ensure that the surface of the cabinets is as flat as possible.
4. Sand Your Cabinet Door
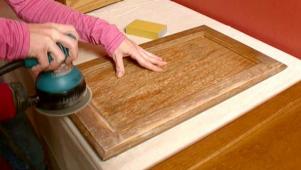
Cabinets that have been damaged due to water will require sanding down in order to even out the surface of the wood once again, without the presence of any swollen or bubbling areas.
Experts recommend using 120-grit sandpaper, but any similar coarse grit can be used. You can either perform this step by hand or use an electric sander to complete the job. If you plan on using an electric sander, make sure it is of high quality and manufactured by a well-known home design company.
Do not sand the wood too much, since you will probably have to do it again. The cabinet might not look good right away, but make sure that it at least looks less damaged and smoother once you have sanded it down.
Read: How to Paint Kitchen Cabinets without Sanding
5. Repeat If Needed
For cabinets that were badly damaged by water, it might be required to repeat the steps mentioned above at least one to two times again, so that the repair work looks adequate. This means you might have to use the shellac primer and the plastic wood filler again. Plus, you might have to sand down the cabinets again based on how badly damaged the door of the cabinet is.
You can ask a friend who knows more about this or use your best judgment. You might have to repeat steps two to four until your wood looks relatively smooth and flat. Also, don’t think about the color now, keep your focus on the repair work.
6. Paint The Kitchen Cabinet
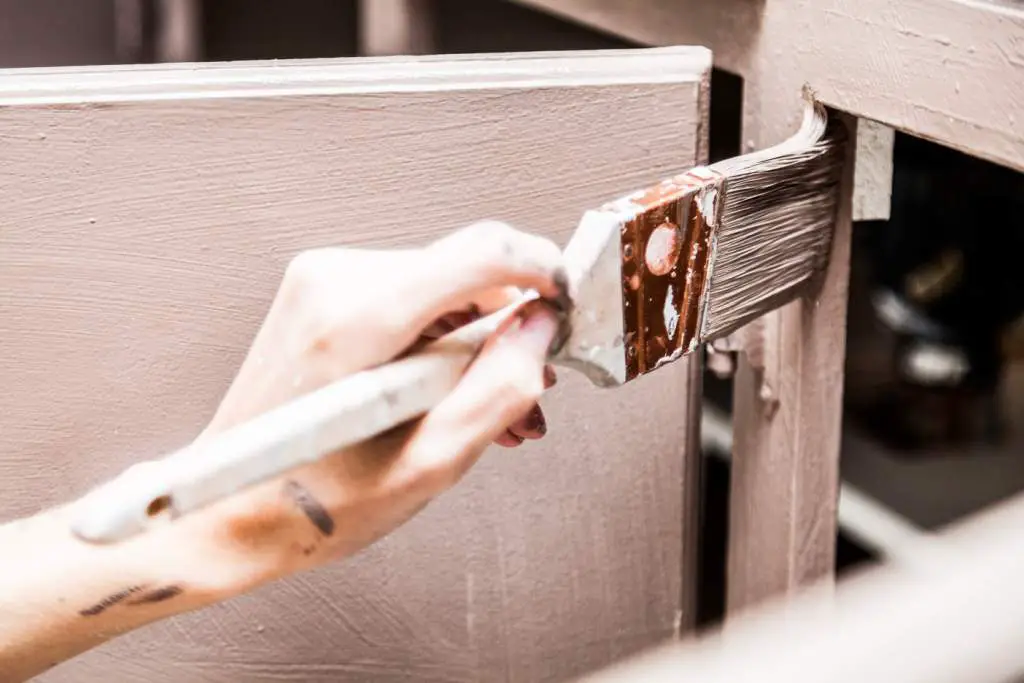
Once you are sure your cabinet door is as smooth and as flat as it could be and the water damage can barely be seen, it is time to paint it back to how it used to look.
Try to use the same paint as the original design of the cabinet. The shellac primer will make the painting process easier by allowing the paint to nicely stick to the cabinet.
Also, you can use a paint roller for a larger door and finish the rest using a small paintbrush. Certain individuals prefer to use paintbrushes for the entire painting process. At the end of the day, it depends on your preference and how well you paint.
It is recommended to paint your entire cabinet door and not only the areas that were damaged by water, or else the paint might appear to be uneven and patchy.
After you are done painting, let it dry for however long it takes, depending on the paint you used. It should be noted that wood paints that are oil-based will require several hours to dry between coats; hence, allow it to dry for as much time as you need.
7. Use Sandpaper On The Painted Cabinet Doors
After the paint has completely dried, use finer sandpaper to sand it down once again. The goal is to make the paint look more seamless, rather than trying to reshape or flatten the wood. Plus, sanding it down will create tiny grooves and holes within the cabinet door’s surface, helping any future coats of paint to properly stick.
It is recommended to use 220-grit sandpaper in this step. Once again, you can do it by hand or use a high-quality electric sander. But, it is recommended to do this step by hand, since it requires more attention and you have to be careful with the new paint job.
8. Paint It Again, Sand It Again
In this step, paint the cabinet again in a final coat, let it dry, and then use fine 220-grit sandpaper to carefully sand it down once again. It might be required to repeat this process once or twice, depending on how repaired the cabinet door looks.
By this point, any paint chipping or water damage should not be visible. Your cabinet door will look practically new and your repair job is almost completed.
9. Use A Water-Proofing Seal Or Varnish
In order to stop the water from damaging the kitchen cabinets, it is suggested to apply a final clear coat or topcoat in order to help in keeping the water out in the future.
There are numerous different waterproof clear coats, varnishes, and seals available for kitchen cabinets made from wood. You should get one that is suitable for the wood your cabinet is made from and compatible with the paint you used.
Moreover, know what the finish of your clear coat will be. If you want a flat matte paint finish, then you would want your clear coat to not look glossy after it has dried.
Also, waterproof varnishes and paints will not make the cabinets completely resistant to water; however, they will make it harder for any future moisture to break through the wood.
Different Ways To Protect Your Kitchen Cabinets From Water Damage
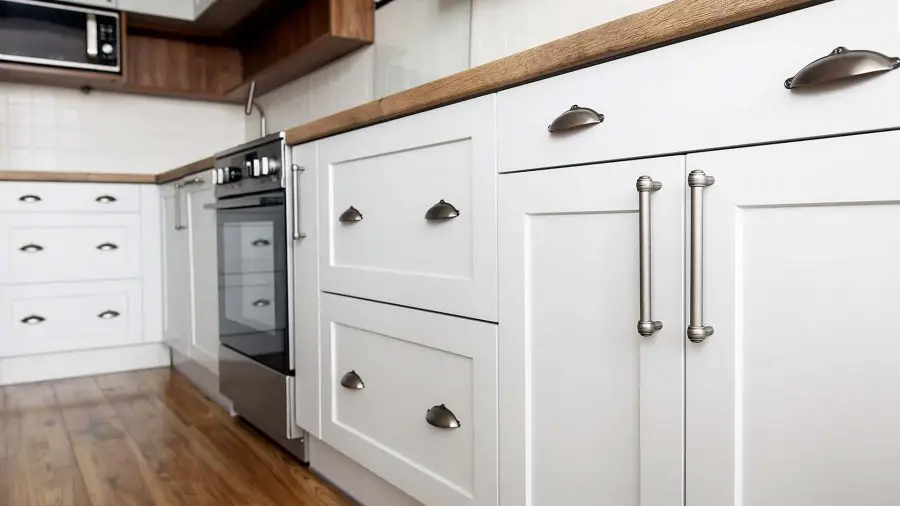
After you have worked hard on repairing your kitchen cabinets, you would want them to last long and stay safe from any future damage.
Protecting your cabinets is much better than constantly having to repair them. Listed below are five different ways you can do this.
1. Laminate Your Cabinets
Laminating your cabinets will protect them from any further water damage. The laminate layer is usually made of plastic or other similar water-resistant material. It looks shiny and smooth on the cabinets, once applied.
Kitchen cabinets that are laminated aren’t waterproof, but because of this smooth outer layer, water droplets won’t penetrate the wooden core of the cabinets.
Although laminated kitchen cabinets are more on the glossier side, you can still paint laminate kitchen cabinets to match one’s intended kitchen style.
2. Try A Water-Proofing Seal, Clear Coat, Or Varnish
There are different clear coats available for kitchen cabinets in order to make them waterproof. This method will easily prevent the absorption of water, even if the cabinets are made using cheaper wood. Waterproof varnishes, clear coats, and seals are available in a variety of formulas.
Plus, they can be applied to various types of kitchen cabinets, based on the wood type and the paint that’s used. When you pick a waterproofing clear coat, make sure that the final finish matches the finish of the new kitchen cabinet design you are aiming for.
3. Find A Sink With A Deeper Style
If water keeps dripping down the cabinet doors in your kitchen, then it might be time to get a new design for your kitchen. Changing your kitchen sink can make a drastic difference in the longevity of your kitchen cabinets.
A deeper sink style will stop water from splashing around easily. Or, you might need a sink with a better seal around its edges that will prevent leakage of water. Getting a new style of sink can prevent water spillages from happening in the first place.
4. Switch To a New Style Of Countertop Edges
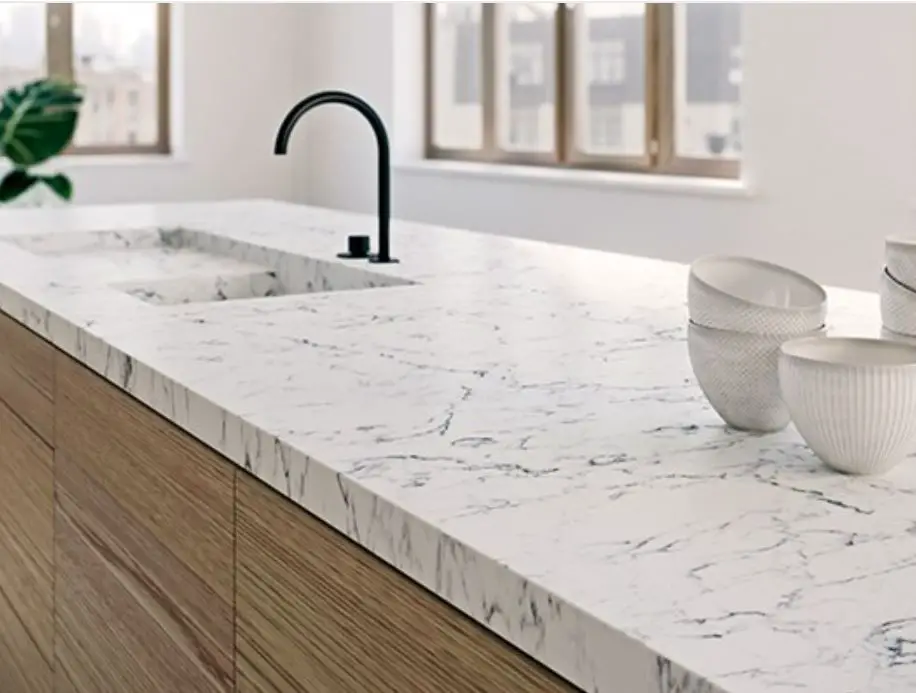
It will help to change the countertop edges’ design. It might not be that obvious, but the design of the kitchen countertop edges greatly impacts how often water drips onto your cabinets.
For instance, bullnose edge countertops consist of a completely curved edge that can easily carry spilled water and drip it over the edge and into the cabinets.
But, countertops with beveled edges will make the water drip directly onto the floor and not the cabinets. A home that is more prone to cabinet damage will benefit from a beveled edge or square edge countertop if there aren’t any children present because these edges can be sharp.
5. Opt For A High-Quality Dehumidification Or Ventilation System
If your kitchen cabinets get damaged due to moisture, then it is recommended to invest in a better ventilation system for the kitchen. Steam tends to accumulate in a kitchen due to cooking and there needs to be a system to get that steam out.
You can open windows to allow the steam and moisture to dissipate. However, certain products can also help with soaking up the excess moisture, such as kitchen dehumidifiers and extractor fans.
Conclusion
Repairing kitchen cabinets is not an easy process; however, it is absolutely possible when you put in the effort, time, and materials. Keep in mind that this entire process could either take a couple of hours or several days, depending on how severe the damage is and the paint that is being used.
It will greatly help to take preventative measures by investing in a high-quality deep sink, good sealing, and countertop edges that roll off spilled water on the floor instead of the cabinets.
When it comes to using the repairing steps mentioned here, remember to go slowly and carefully, take all the time you require, and repeat the steps where necessary. Soon enough, your cabinets will look brand new once again!
More from Materialsix:


