
The night before guests arrive is a bad time to find out your half-finished quilt has nowhere to go. So is the morning they leave, when getting back to sewing means hauling the machine out of a closet and setting up from scratch. A good craft room guest room combo makes both handoffs easier.
The best layout depends on what tends to stay out between sessions. A watercolor setup might fit on a cart, while a quilt in progress needs flat storage and a place to cut fabric. Give the activity that’s hardest to move a fixed spot, then build the rest of the room around it.
1. Put a Murphy Bed Across From a Permanent Workbench
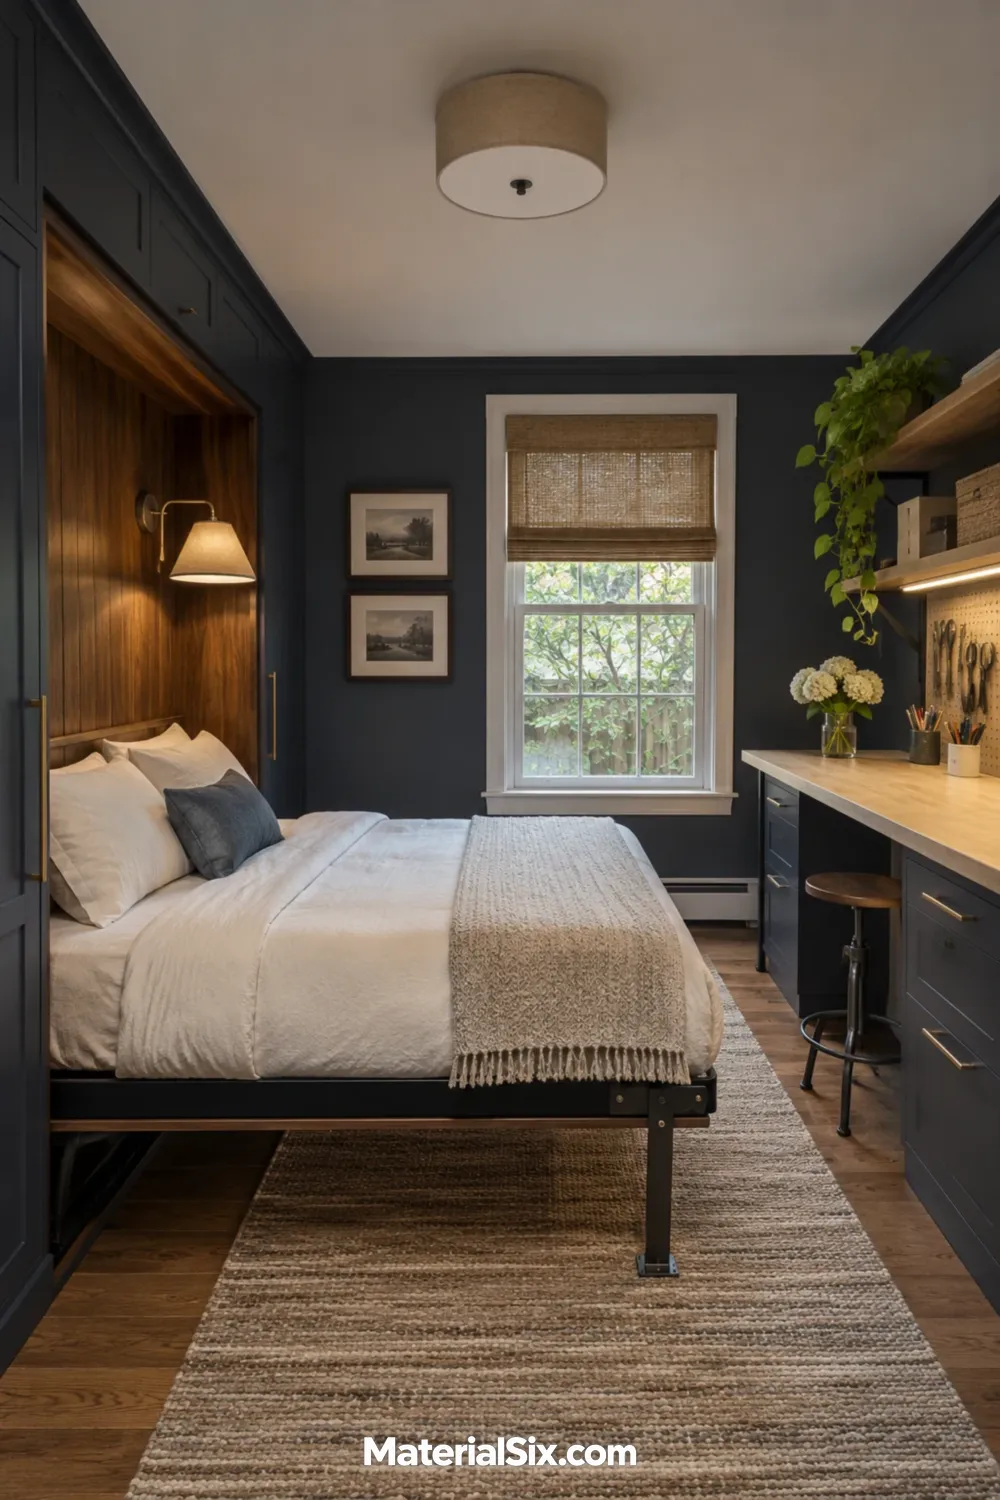
A wall bed can give you an open work area most days and a regular bed when company stays over. Putting your workbench on the opposite wall lets you leave a sewing machine or task lamp in place. The part to plan carefully is the space between the two when the bed is open, especially if the bench has deep drawers or a chair that sticks out.
Before picking the unit, map the footprint using the manufacturer’s open dimensions. Mark the bed’s footprint with painter’s tape, set your chair where it usually sits, and walk from the door to the bed and closet. If you need to move the chair, give it a parking spot you can actually leave empty.
2. Use a Daybed to Keep the Floor Open
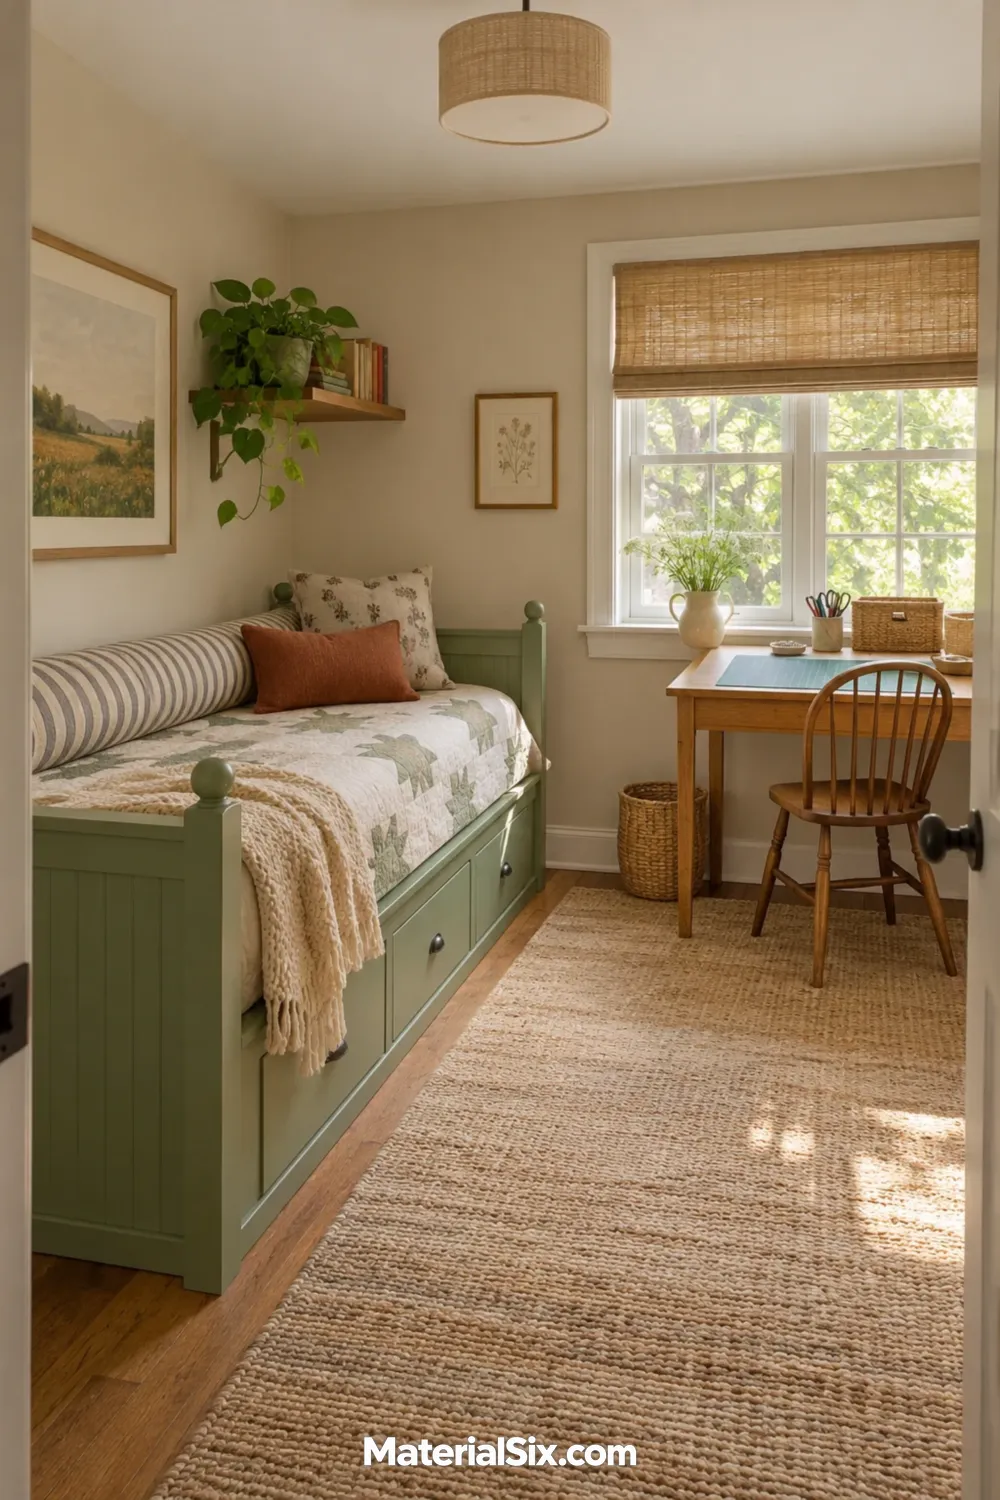
Run a twin daybed lengthwise along the wall and put your craft table where daylight hits it from the side. When you’re working, a long bolster makes the bed feel like a seat for browsing patterns or taking a break. For company, tuck the bolster away and set out a regular pillow and guest bedding.
Think about who usually visits. A single twin is useful for solo guests, while a pullout trundle only helps if there’s enough room to extend it without blocking the way to the door. The open floor strip is the main advantage here, so keep it clear of supply totes and extra seating.
3. Pair a Sleeper Sofa With a Window Worktable
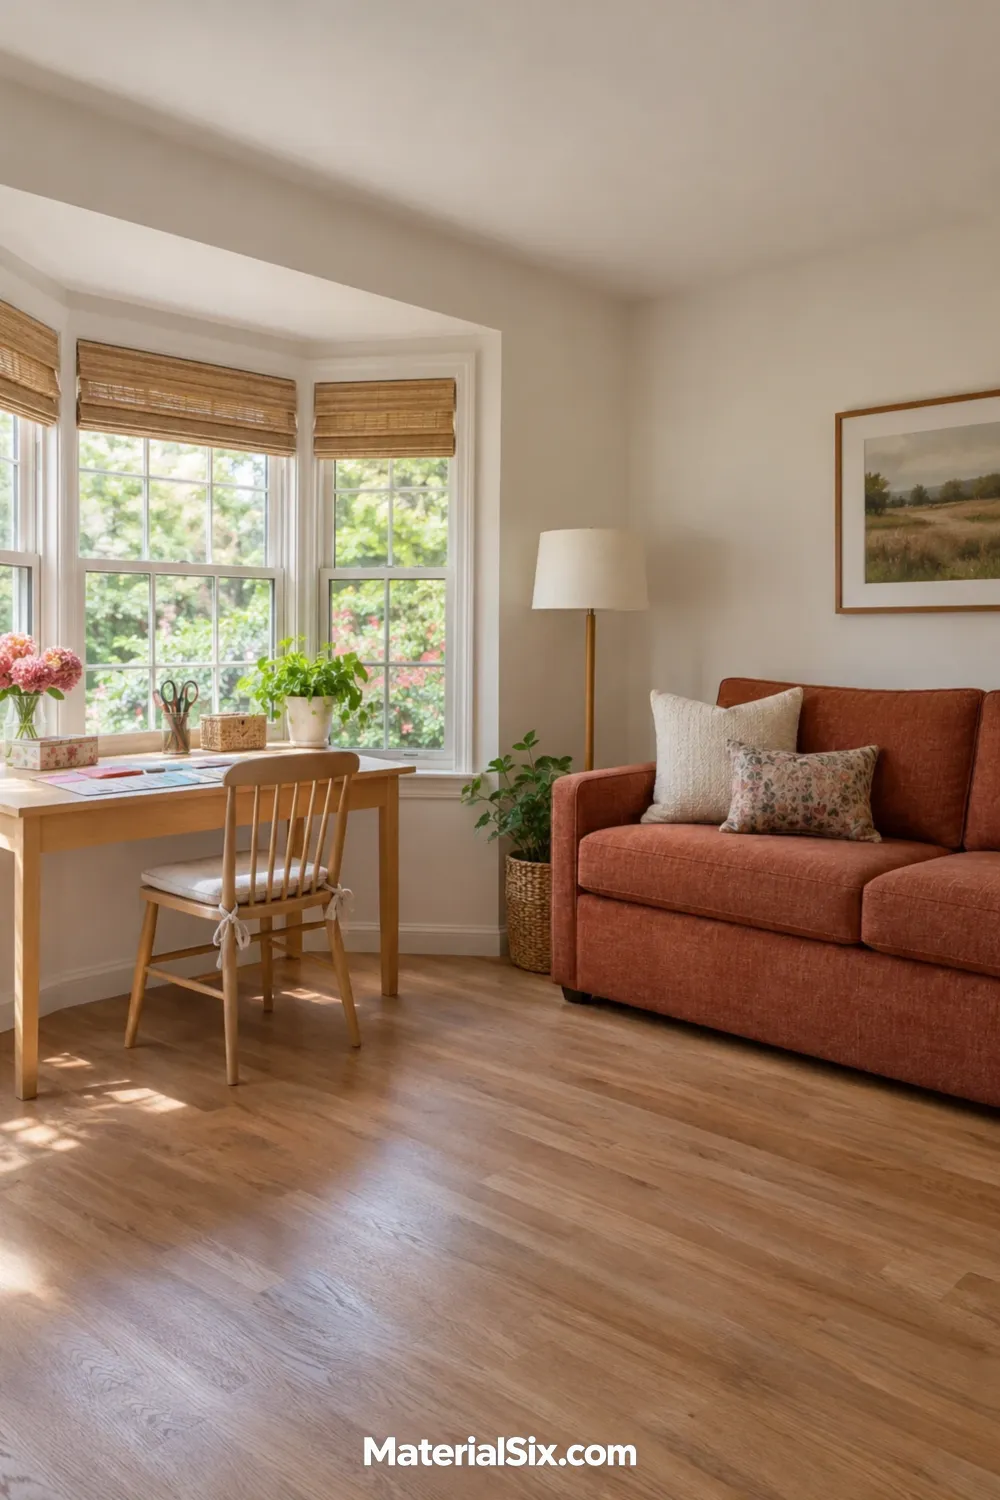
A sleeper sofa makes a spare bedroom feel like a small studio between visits. Place your table in the window recess or along a side wall outside the bed’s open footprint. You can work in daylight and keep your supplies where they are when you pull out the mattress.
Take the sofa’s open depth into account when you pick the chair and rug. A light chair that tucks fully under the table is easier to deal with than one you have to haul into another room. Leave a simple path around the open bed from the door.
4. Fold the Craft Table Against the Wall
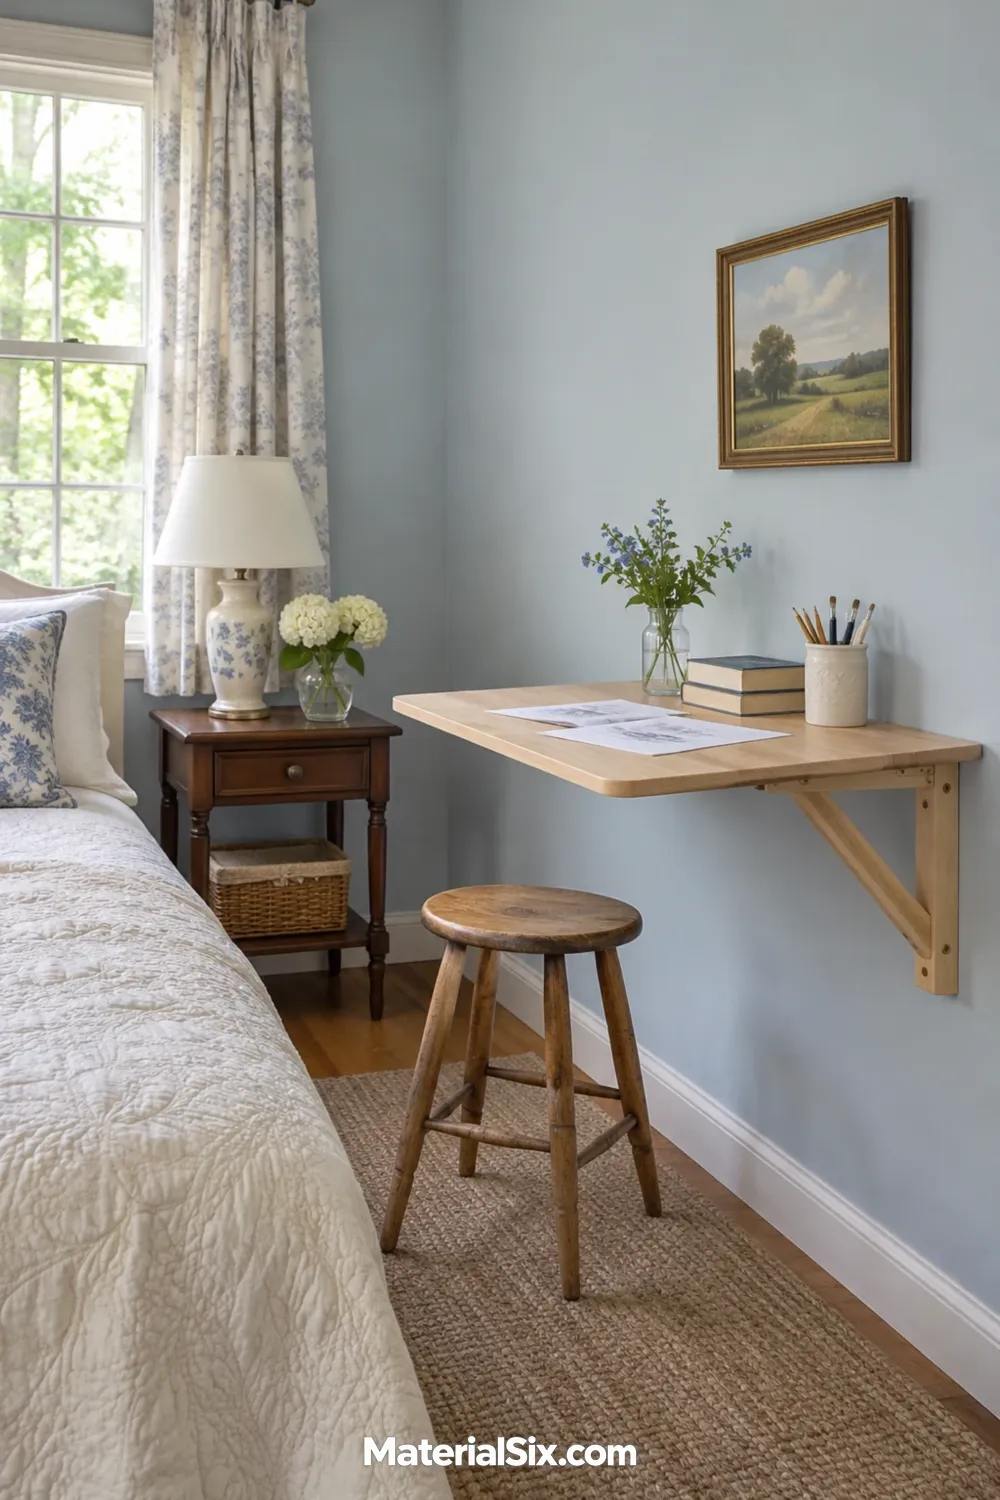
A fold-down table suits paper crafts, hand sewing, and other work you can put away in a few minutes. Mount it where sitting at the open table still gives you room to stand up and move around the bed. Park a stool nearby and keep a slim folder within reach so clearing the surface takes one trip.
Before choosing a table for a sewing machine or another heavy tool, check its rated load and mounting requirements. The everyday routine matters too. If you need to carry the tool out every time you open the table, a fixed desk may suit your hobby better.
5. Build a Craft Station Inside the Closet
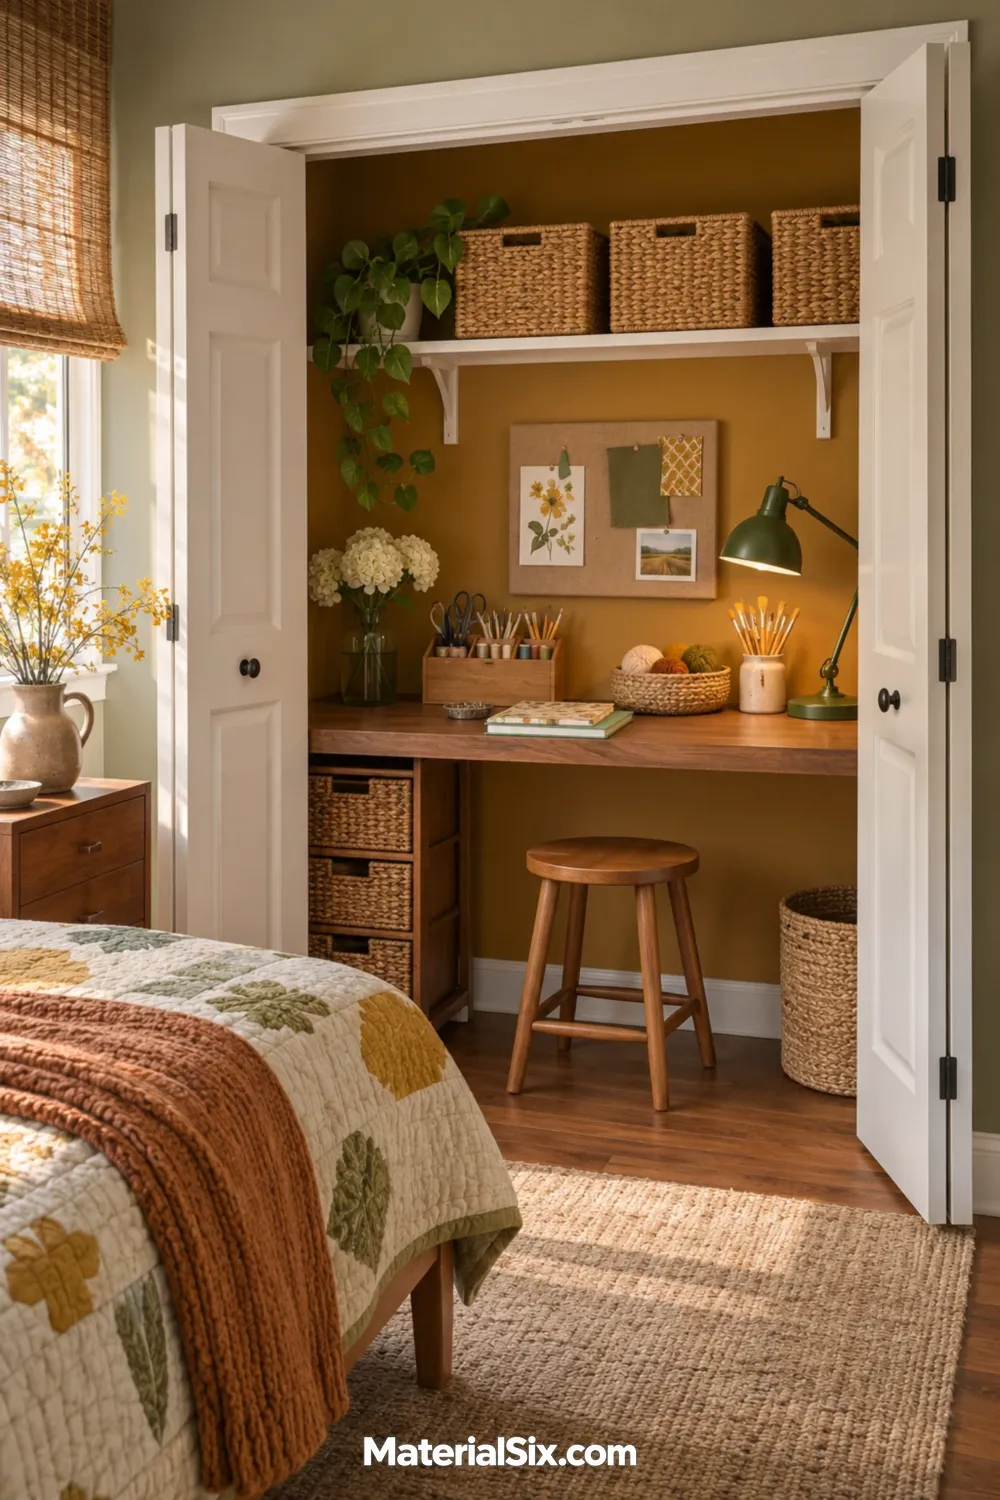
A reach-in closet can hold a shallow work surface, a task lamp, and a shelf of the supplies you reach for every week. Size the counter for your actual work. A mat and a small set of paper tools take less depth than an open sketchbook and a tray of paints.
Try the chair or stool in the opening before committing. You want room for your knees and a seat that can tuck away far enough for the doors to close. Work out where the light will plug in and where guests can hang a coat or dress. A few hooks or a short garment rail elsewhere in the room can supply the hanging space you give up.
6. Set Up a Sewing Desk Beside the Bed
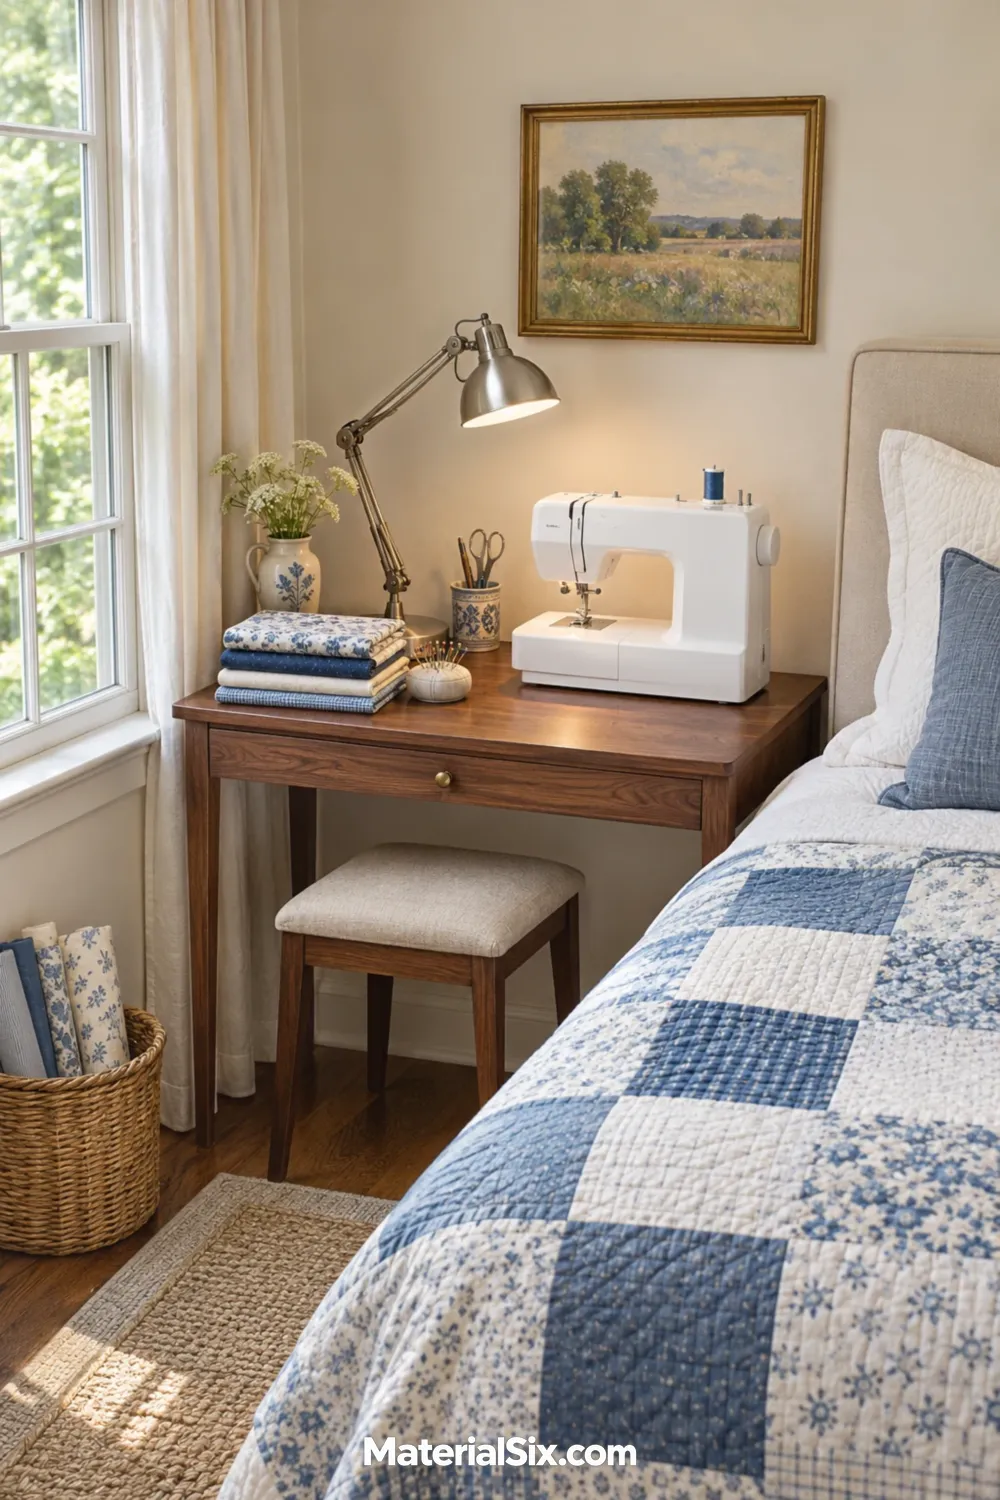
In a bedroom with room on one side of the bed, a compact sewing desk can occupy the space where a second nightstand might go. Give the machine enough room behind the needle for fabric to feed through, and use a lamp you can aim at the stitching line. Store the pedal and cord on the desk side of the setup so the bedside path stays clear.
If you sew large pieces, sit down and try guiding a folded length of fabric before choosing the desk. A shallow top that works well for hemming might feel cramped with a quilt bunched around the machine.
7. Roll a Cutting Table Clear of the Bed
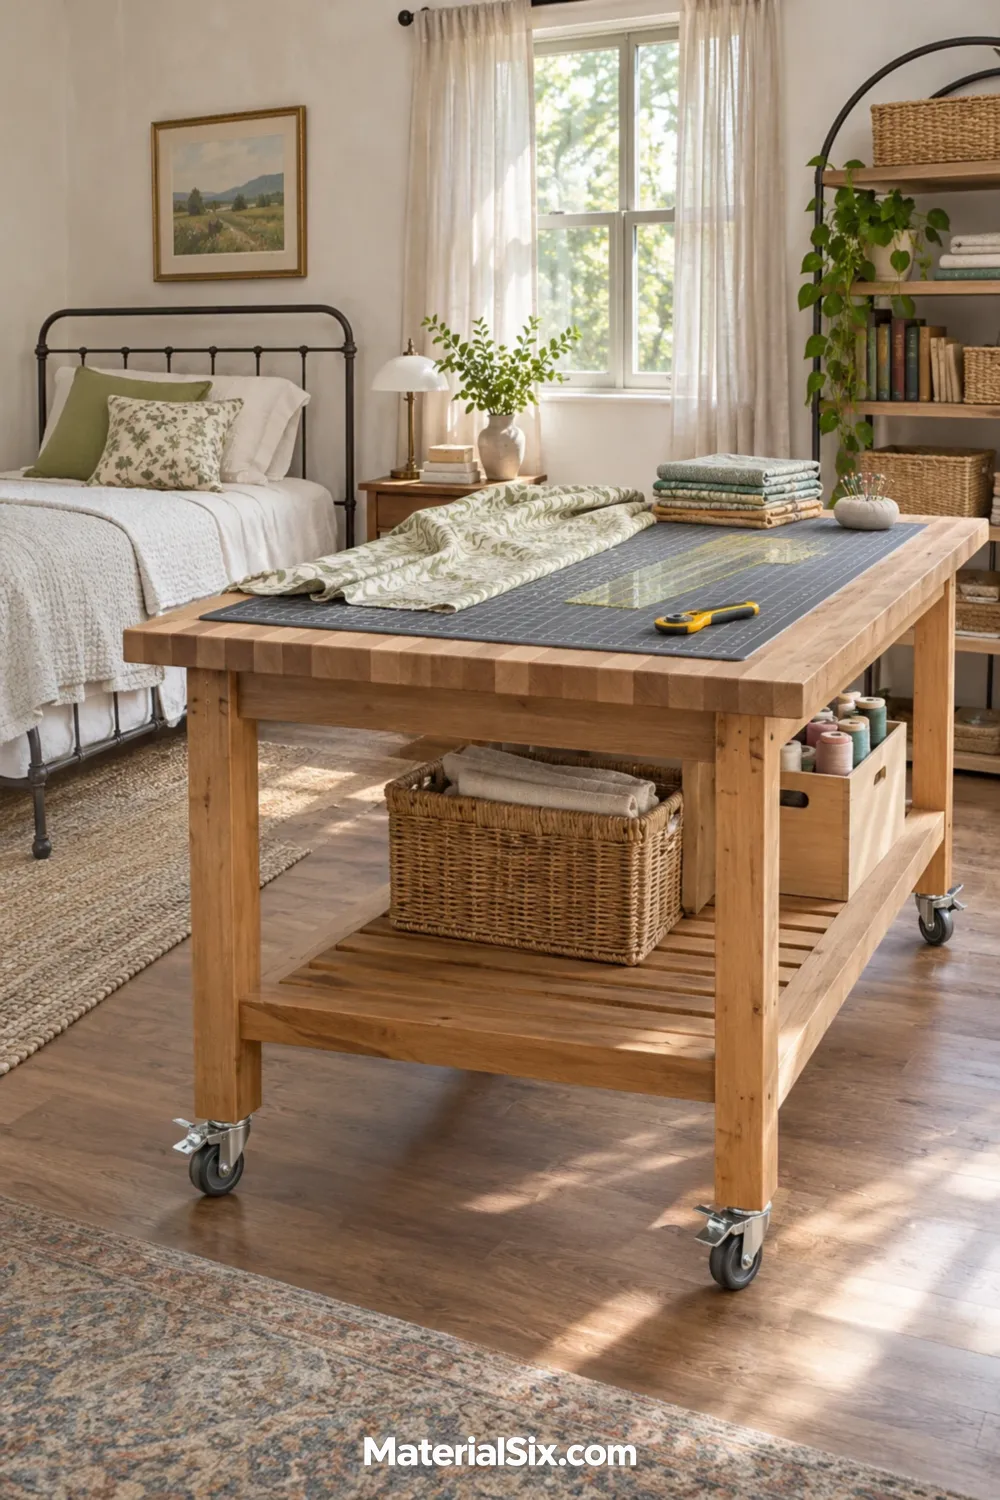
Cutting fabric calls for room to spread out and approach the work from more than one side. A freestanding rolling table lets you use the center of the room for those sessions, then return the table to a wall or alcove before guests arrive.
Pick the parking spot first. Measure the table with any handles or overhanging top included, and check whether its wheels will roll over the edge of your rug. Look for a work surface that stays steady with the casters locked. If the table still shifts when you lean into a cut, a fixed bench is a better fit for that task.
8. Divide a Cabinet Wall Between Crafts and Guests
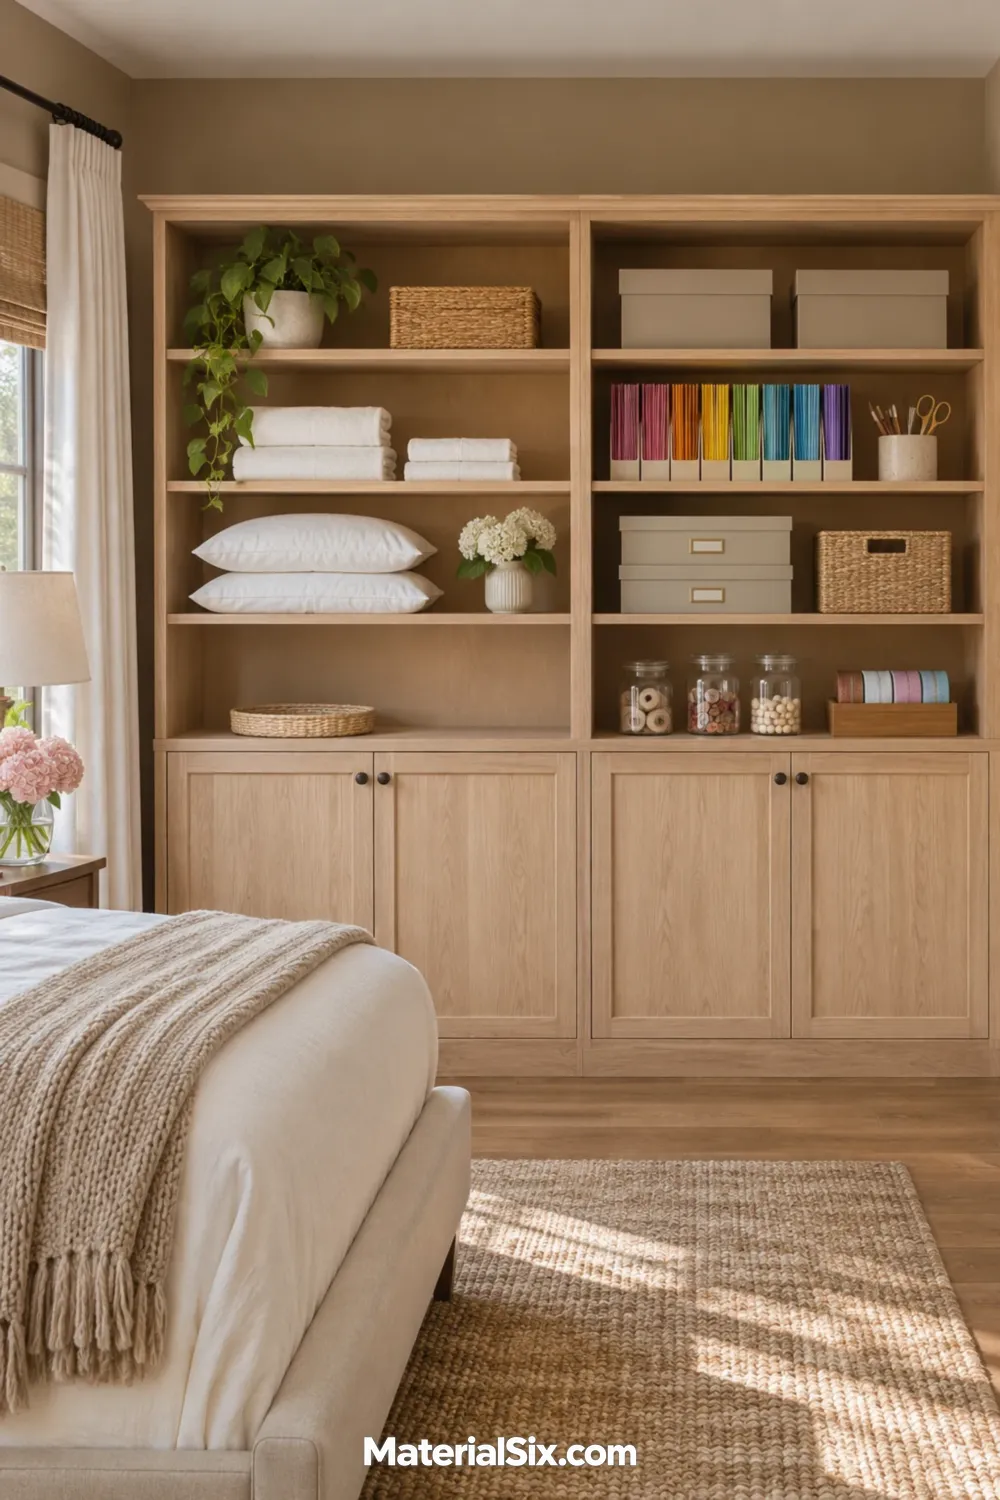
Group two jobs in one storage run. Use closed lower cabinets for loose materials, and give guests a reachable shelf for towels and the things they unpack. Stand cardstock upright on the craft side so you can pull one color without lifting a whole stack. Keep the linen shelf easy to spot and leave part of it empty.
Put the supplies you use often near the work surface. Deep storage is handy for backing fabric and extra paper, while small tools are easier to grab from a shallow drawer or shelf.
9. Slide Unfinished Projects Under the Guest Bed
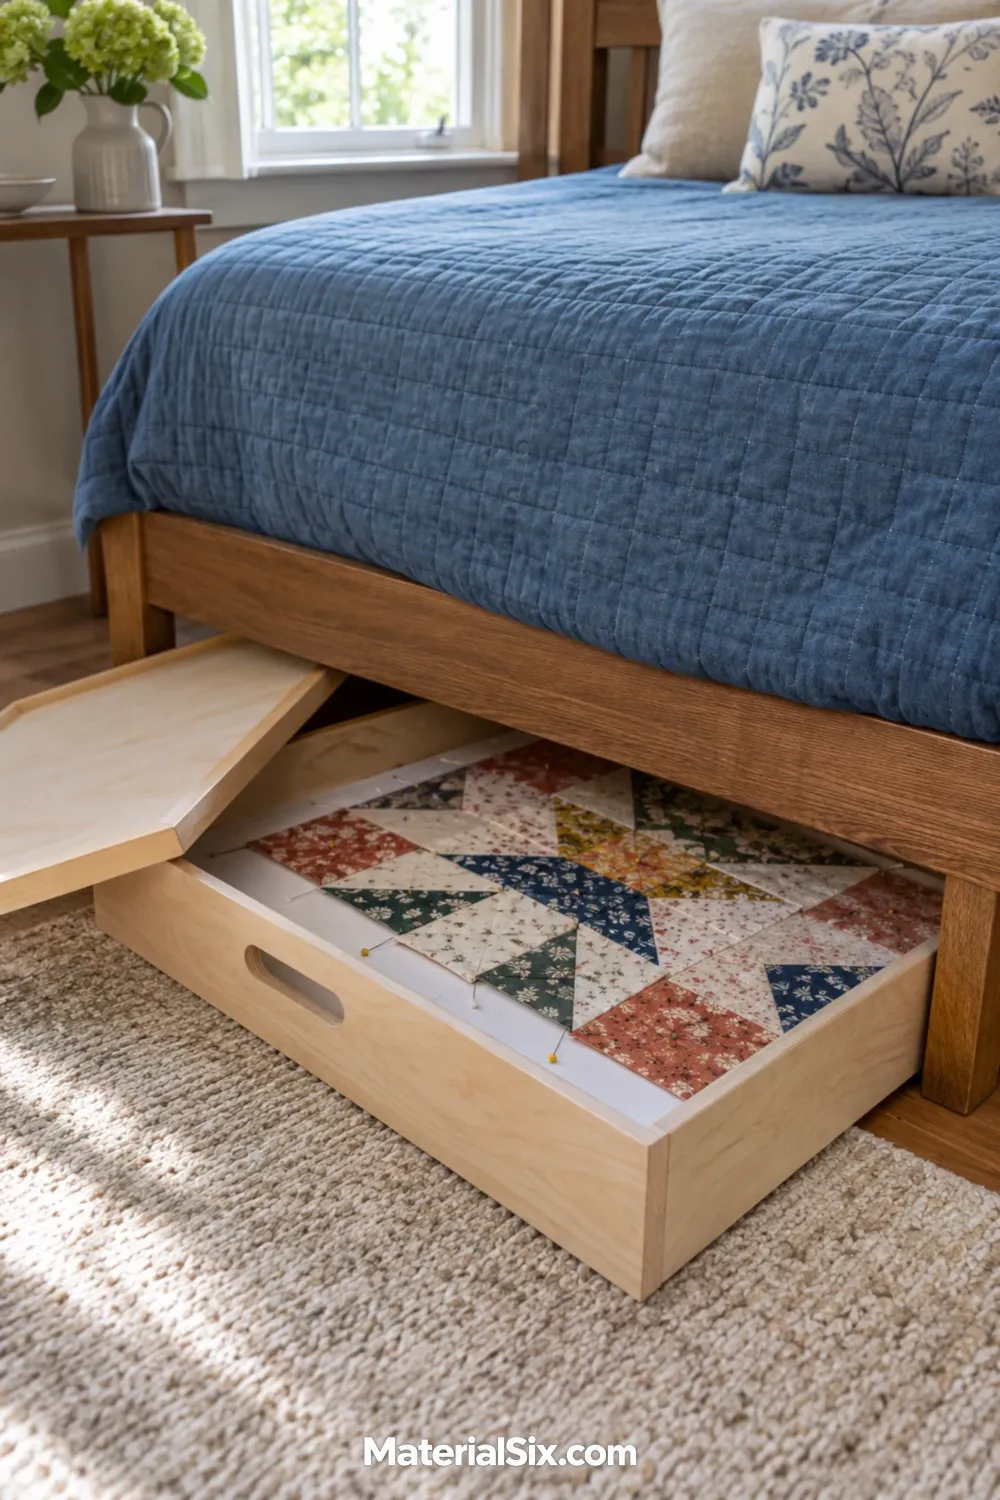
Reserve one shallow lidded tray for work in progress. Arrange quilt blocks on a removable board inside it so you can move the layout in one piece and pick up where you left off. Check the lowest point under the frame, including any center legs, before buying the tray.
10. Make a Rolling Cart Your Art Studio
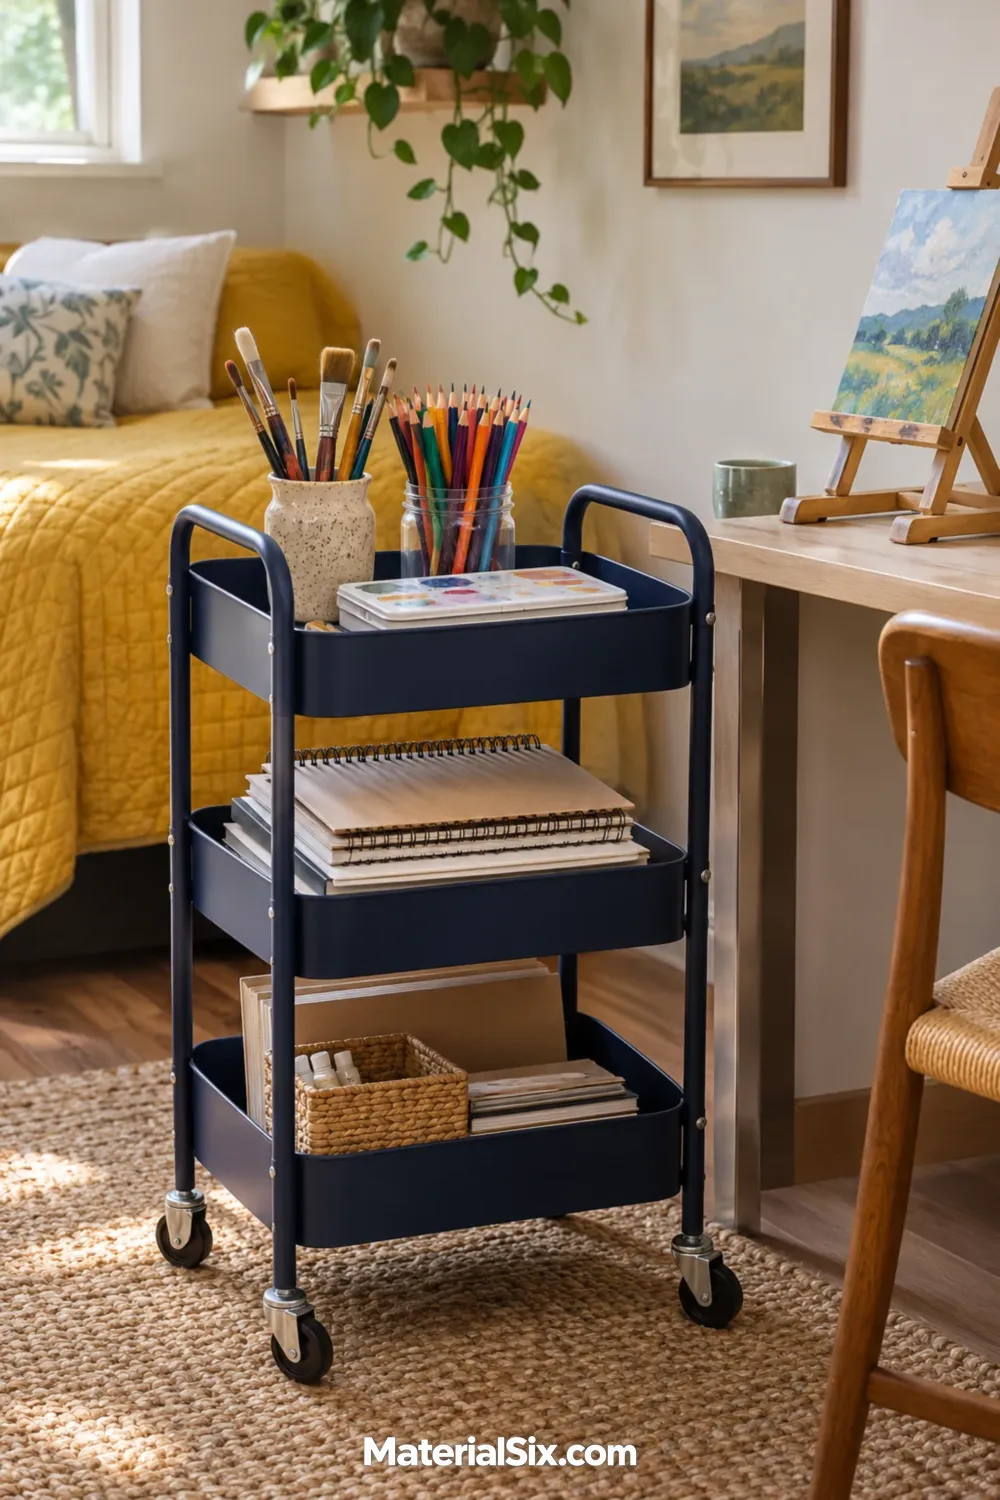
Keep a small set of art supplies together on a three-tier cart. Put your current brushes and palette near the top, paper on the middle tier, and heavier supplies below. Roll it up to a table when you want to paint and give it a spot to park out of the guest’s path. Let wet pieces dry on a level surface before you put the supplies away.
11. Screen Off the Craft Zone With a Curtain
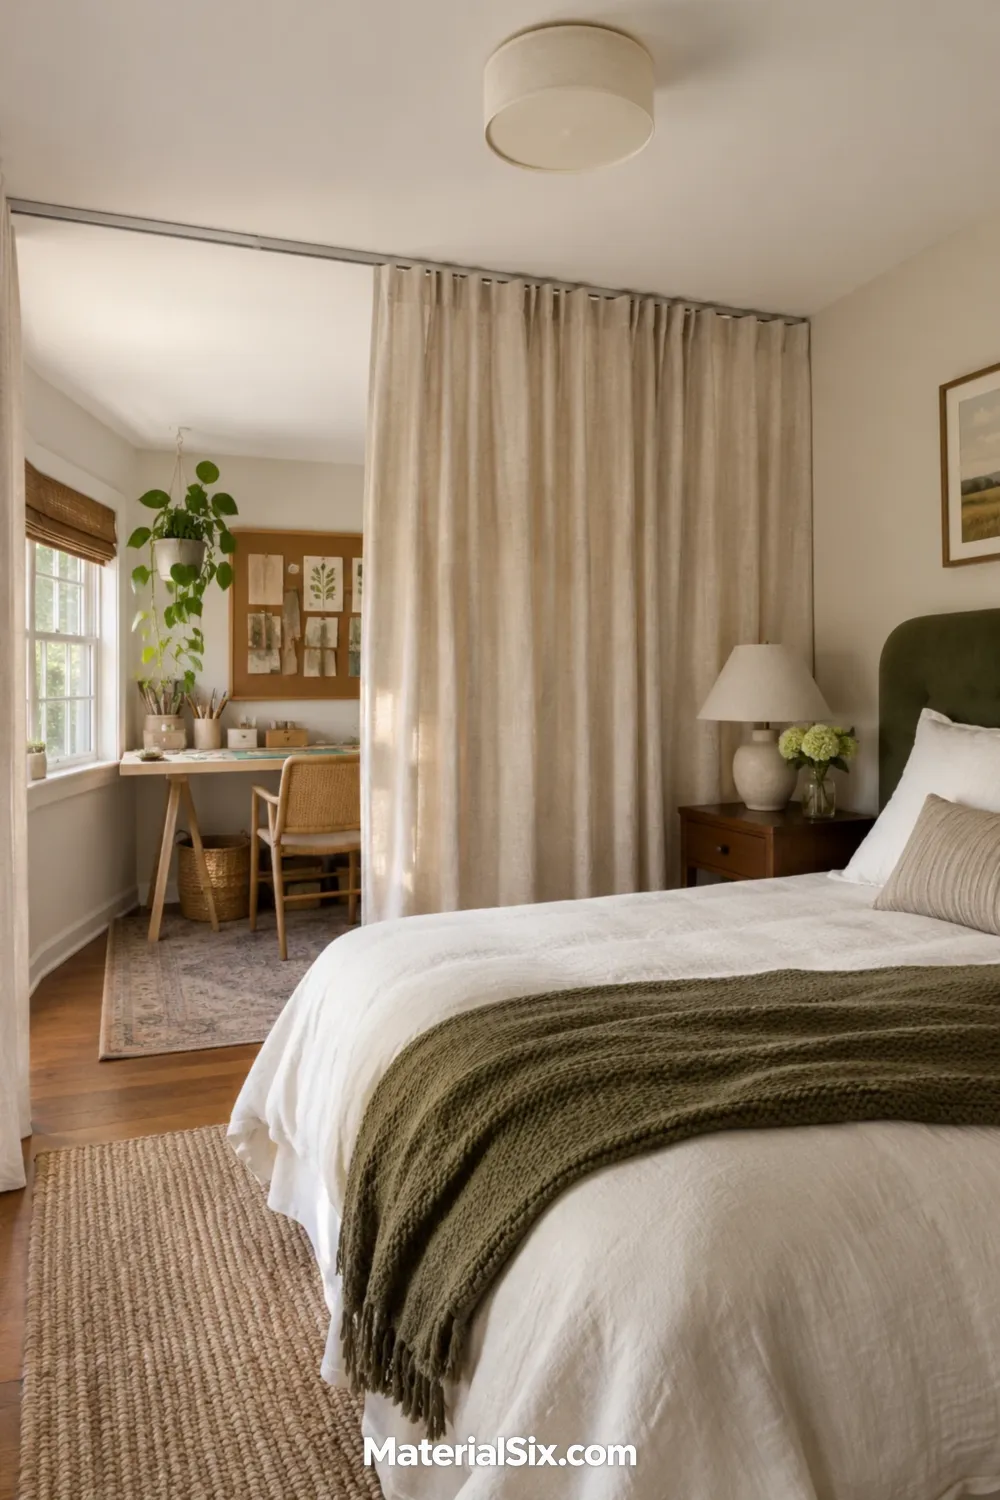
A ceiling-track curtain can hide the view of a working desk from the bed. Put the track where the open curtain can gather at one side without covering a window or narrowing the entry. Leave enough depth behind the fabric that it hangs clear of your chair and desk, and keep the fabric away from lamps and heat-producing tools.
Try the placement with a temporary sight line first. Stand where a guest would enter and note what stays visible past the curtain edge. That quick check can help you decide how wide the screen needs to be and where you want it to open.
12. Move Your Most-Used Tools to a Pegboard
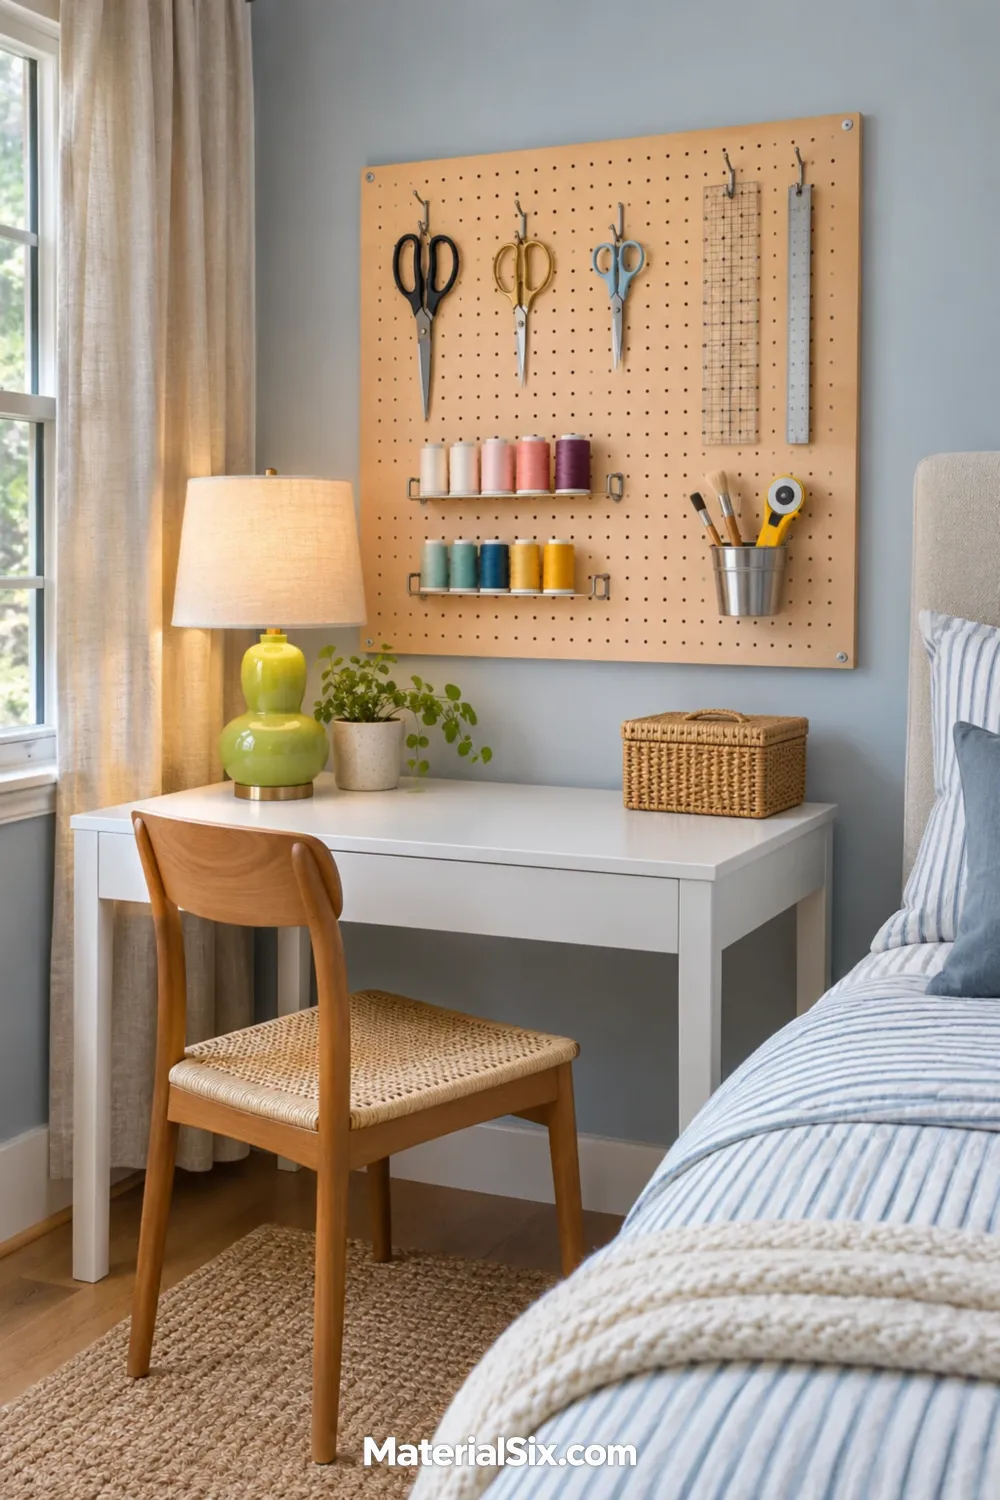
Save a small section of wall above the desk for the tools you would otherwise set down mid-project. Keep scissors and a ruler close to your working hand, with the tools you use less often a little higher. Leave enough space between hooks to lift a tool free without taking its neighbors with it.
13. Leave Guests a Bedside Landing Spot
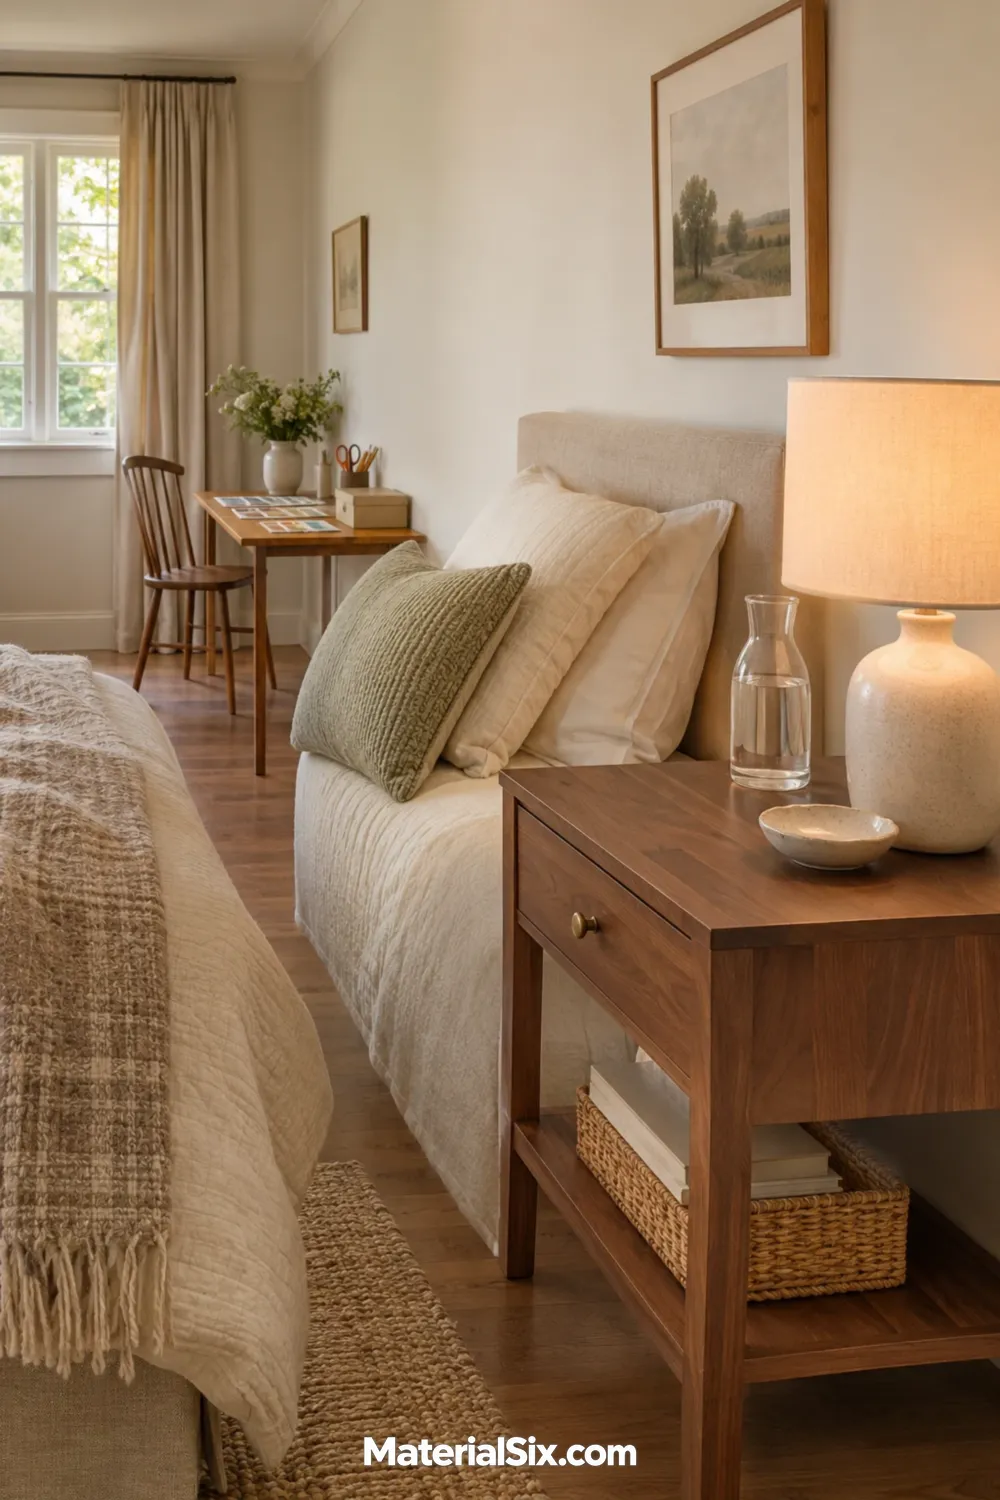
Set aside one small bedside surface for a glass of water, a phone, and a place to put glasses. If that spot currently catches your swatches and scraps, move them to a tray at the craft desk. The difference is most noticeable on arrival night, when a guest can get settled without wondering which supplies are safe to move.
Test the Room in Workshop Mode and Guest Mode
Use the same floor plan twice. First, mark where the craft chair sits when you’re working and where the biggest project you make needs to spread out. Then mark the open outline of the bed, plus the room needed to make it up. If those footprints overlap, decide what you’re willing to move and sketch where it will go. A wheeled table is only convenient when it has somewhere to park.
Walk the route from the bed to the door in your guest layout. Try it again with the closet open and a bag where a visitor would set it down. Then run through your changeover once with the supplies you actually use. A stack that can be put away in one trip and a large in-progress project that needs a flat place to rest call for different storage.
Make the Switch Easy to Repeat
Pick one thing you most want to leave set up, whether it’s a sewing machine or an unfinished layout. Give it a permanent spot or a dedicated place to go during visits. When that part of the handoff is easy, the room stays useful between guests and takes less work to get ready when they arrive.