
The sewing machine fits on your desk. The fabric fits in a bin. But once you pull out both, there’s nowhere left to lay a pattern flat. In a small craft room, everything can technically fit while the room still feels awkward to use.
A better layout starts with the part of your craft that takes the most space. Maybe you spread out cardstock, turn a quilt as you sew, or keep a half-finished project nearby for a few evenings. These small craft room ideas give those habits a place, whether you have a narrow spare room, a reach-in closet, or a corner of your living room.
1. Turn a Reach-In Closet Into a Craft Station
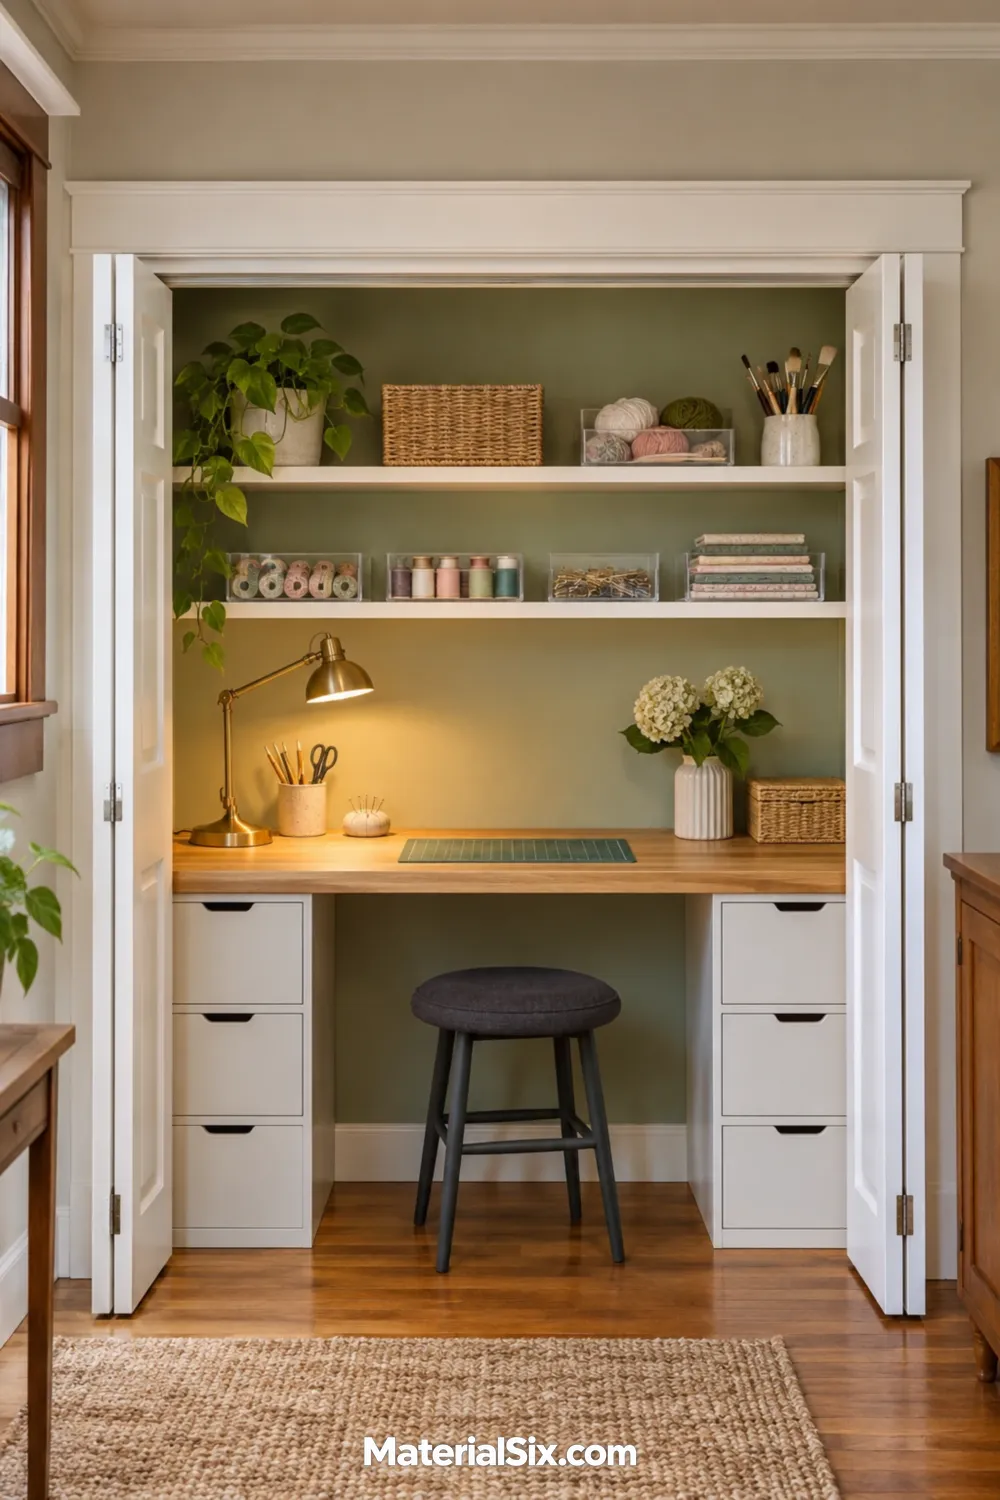
A closet can hold a whole station when most of your work happens seated. Use the back wall for a work surface and the upper half for supplies, then reserve an open spot below for your knees. A shallow tray on the first shelf gives you a place to move a project when you need the worktop back.
Before you pick a chair or a worktop, measure the clear opening with the doors fully open. Bifold panels can take up some of that width and make a roomy-looking closet feel cramped at the front edge. Sit at a temporary table in the opening to see what you can reach comfortably. If you regularly feed wide pieces of fabric through a machine, the open-sided setup in idea 5 may suit you better.
2. Give a Narrow Room One Continuous Workbench
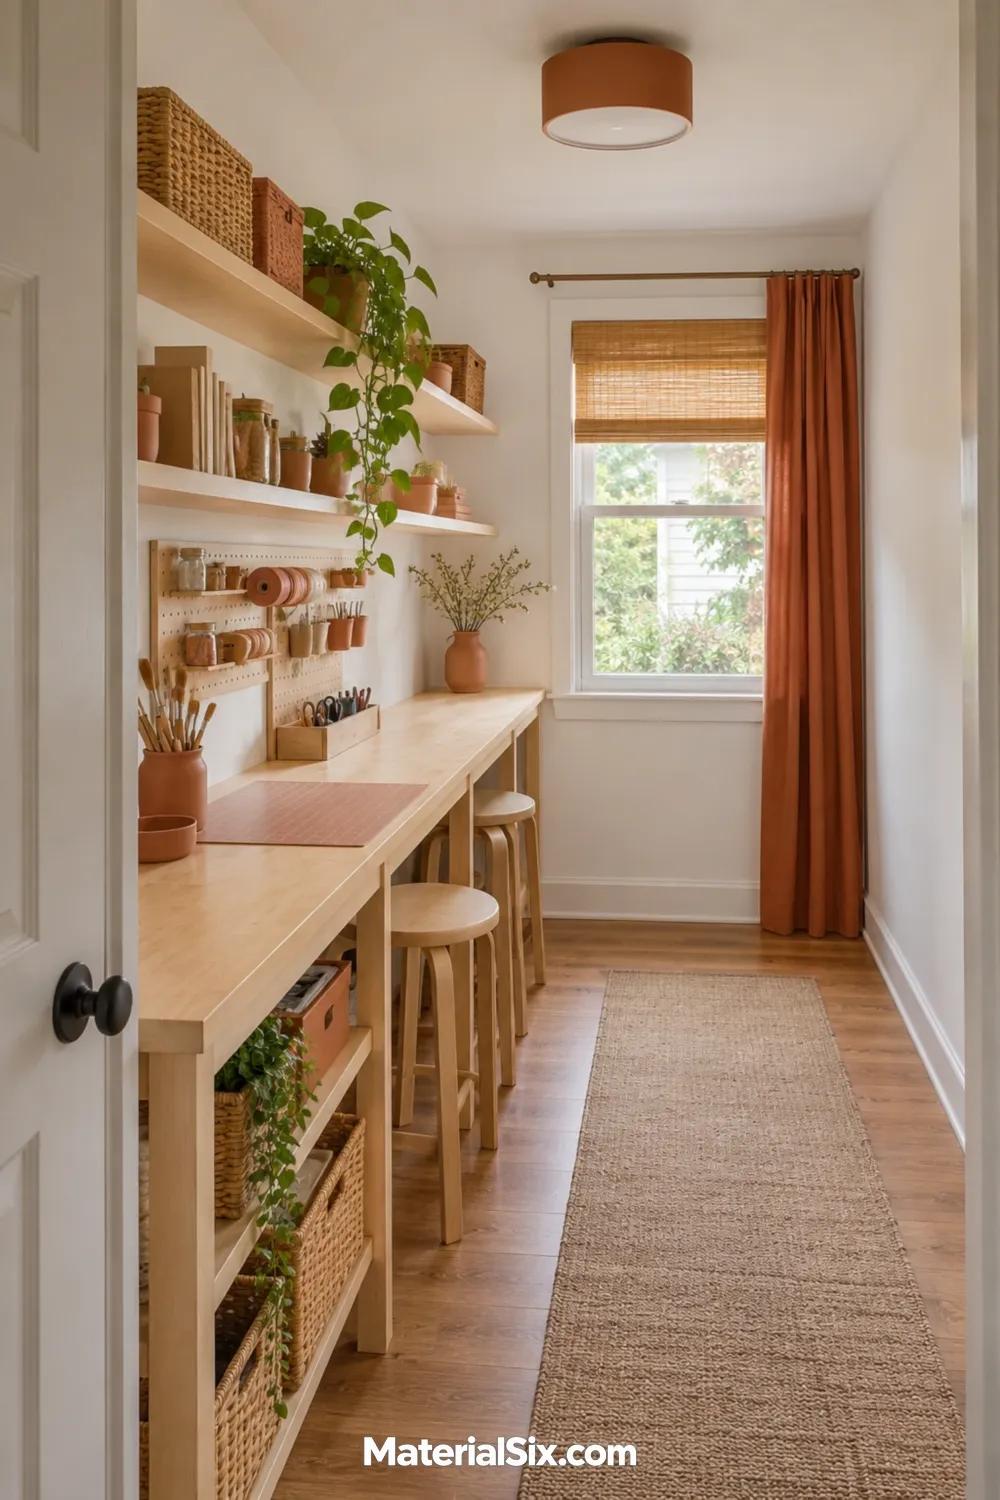
Running one workbench along the longer wall lets you move down the room as your project changes. Leave one stretch clear for assembling pieces and keep tools or the sewing machine toward the far end. In a shallow room, even a second modest table on the opposite wall can crowd the aisle once you pull a chair out. Tape the bench footprint on the floor and walk through with a tray or a stack of fabric in your hands before settling on the depth.
3. Open a Fold-Down Desk for Short Craft Sessions
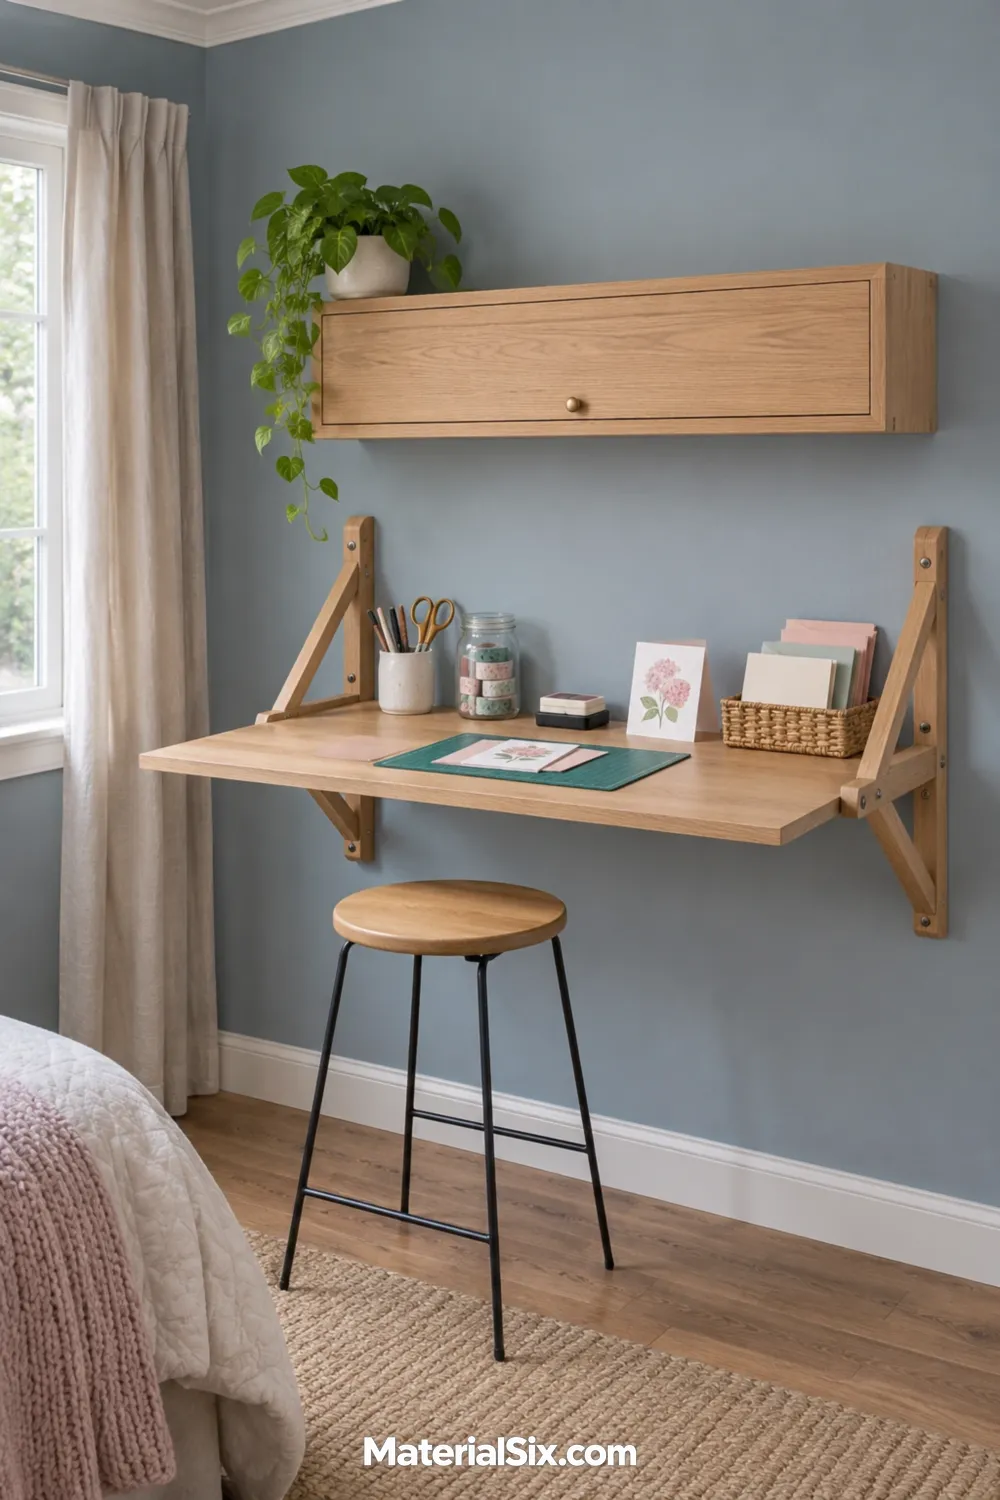
A wall-mounted fold-down desk makes sense for cardmaking or sketching when the same corner needs to serve another purpose later. Choose a model with usable depth and check the manufacturer’s installation and load instructions. Keep a shallow project box nearby, since the top has to be cleared every time you close it.
4. Roll Your Cutting Table Into Position
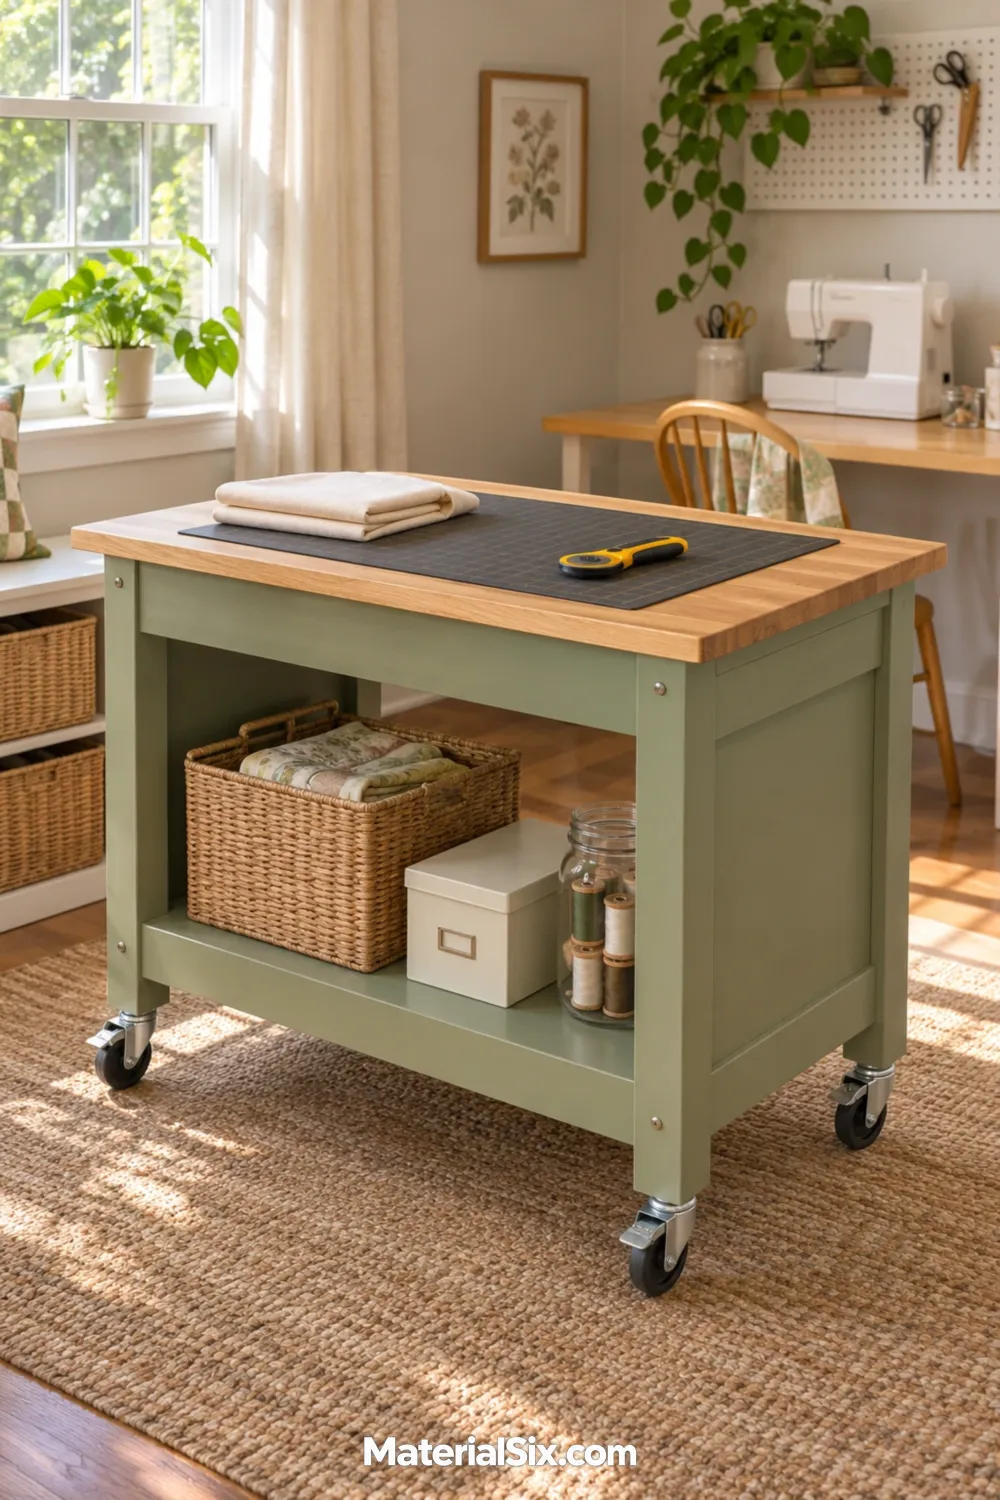
When you cut fabric, you may want to walk around the piece instead of reaching across it. A compact cutting island can live by the wall and roll into the open floor when you need access from another side. Look for a stable table with locking casters and check the working height with the mat in place. Test where you’ll park it afterward, including whether the wheels, handles, or shelf contents stick out far enough to block the door.
5. Set Up Sewing Beside a Window
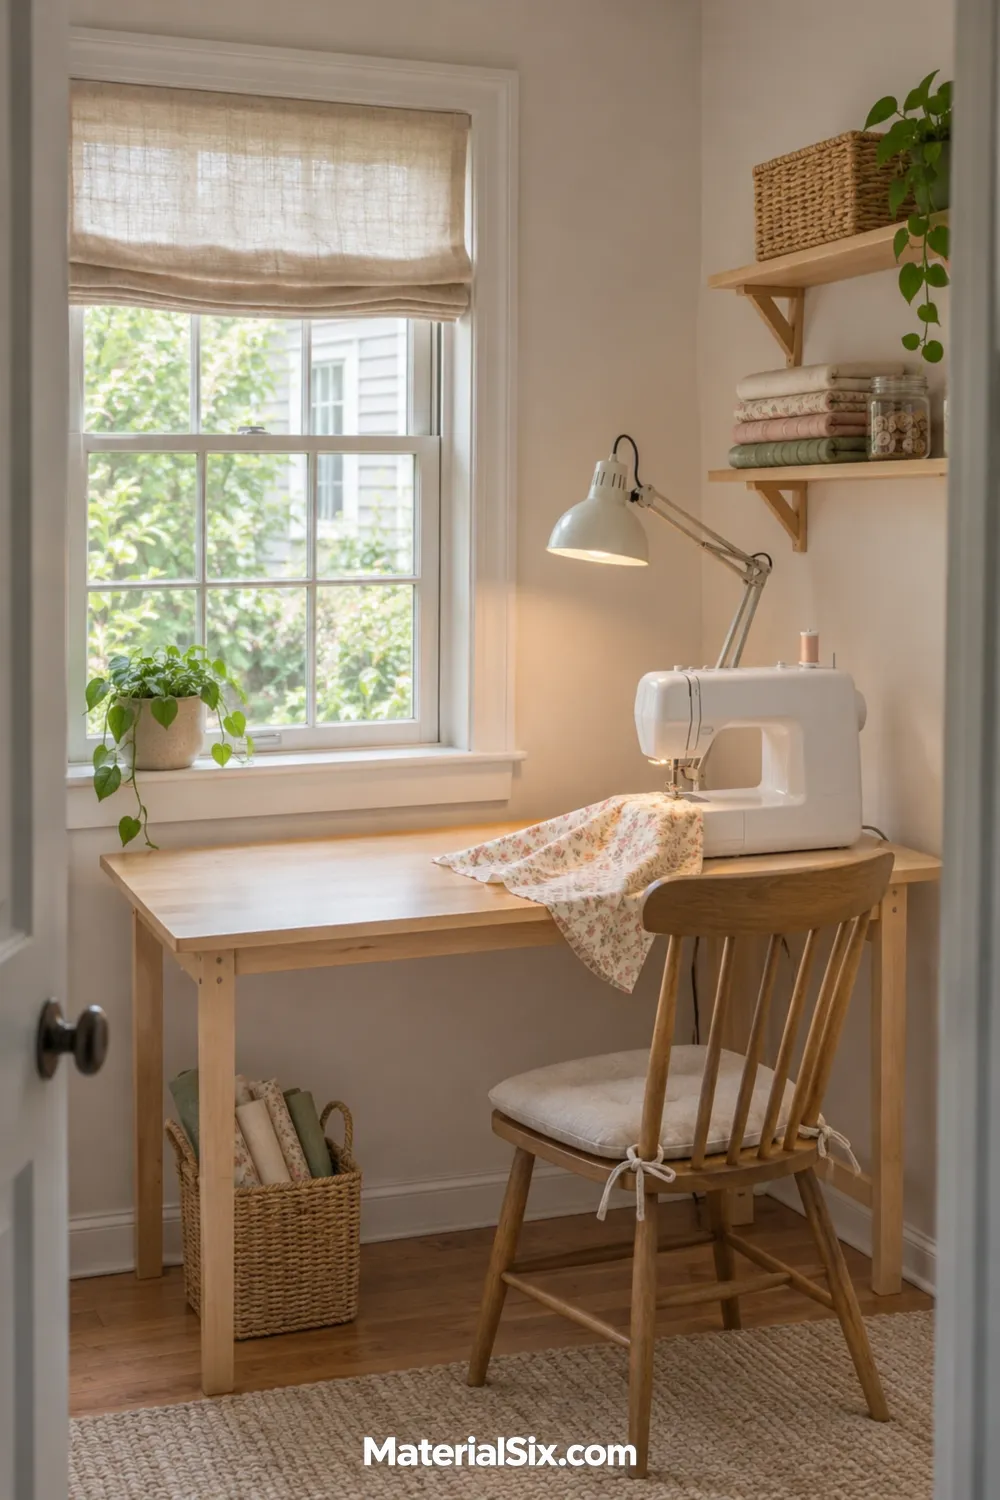
Leave the biggest stretch of tabletop where your fabric naturally spreads as you sew. If your machine sits toward the right, take a test run to see how far the material extends on the left. Even a small table can feel more useful when that side stays clear of a thread rack or supply caddy.
Place the station near a window if you have the option. A movable lamp is still handy when the machine casts a shadow over the needle or you sew after dark.
6. Hang Your Everyday Tools on a Pegboard
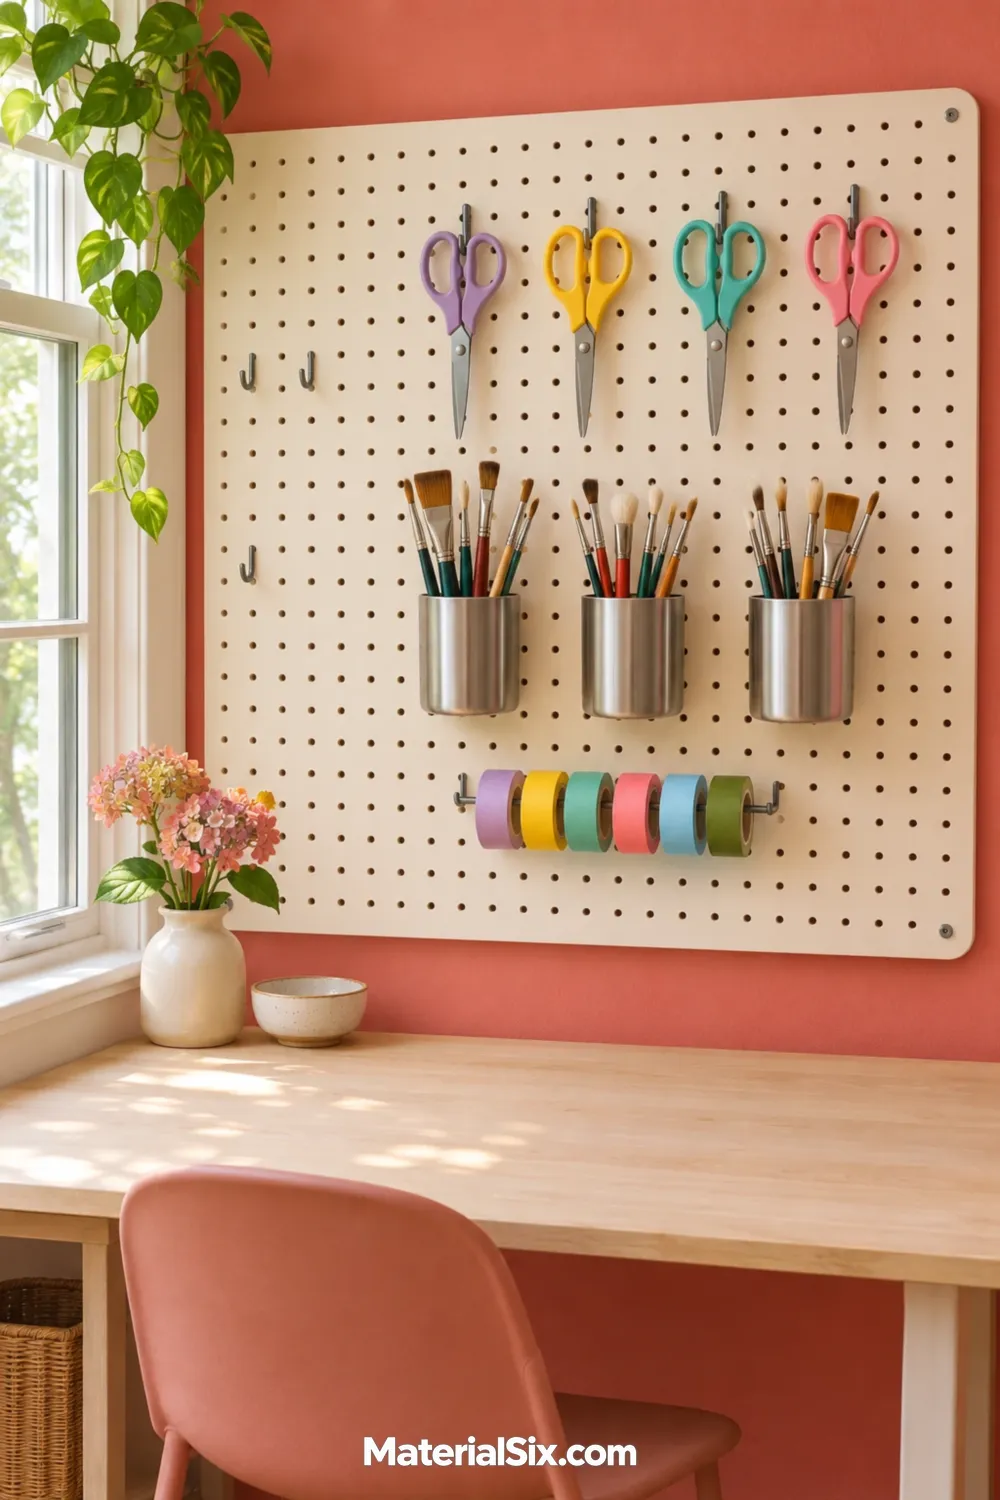
Make a pegboard earn its spot by hanging the tools you reach for mid-project. Try placing scissors and snips within easy reach from your chair, then use cups or hooks for tools you grab less often. Leave a little room around long handles so you can lift one tool off without knocking its neighbor loose.
7. Reserve Shallow Shelves for Project Trays
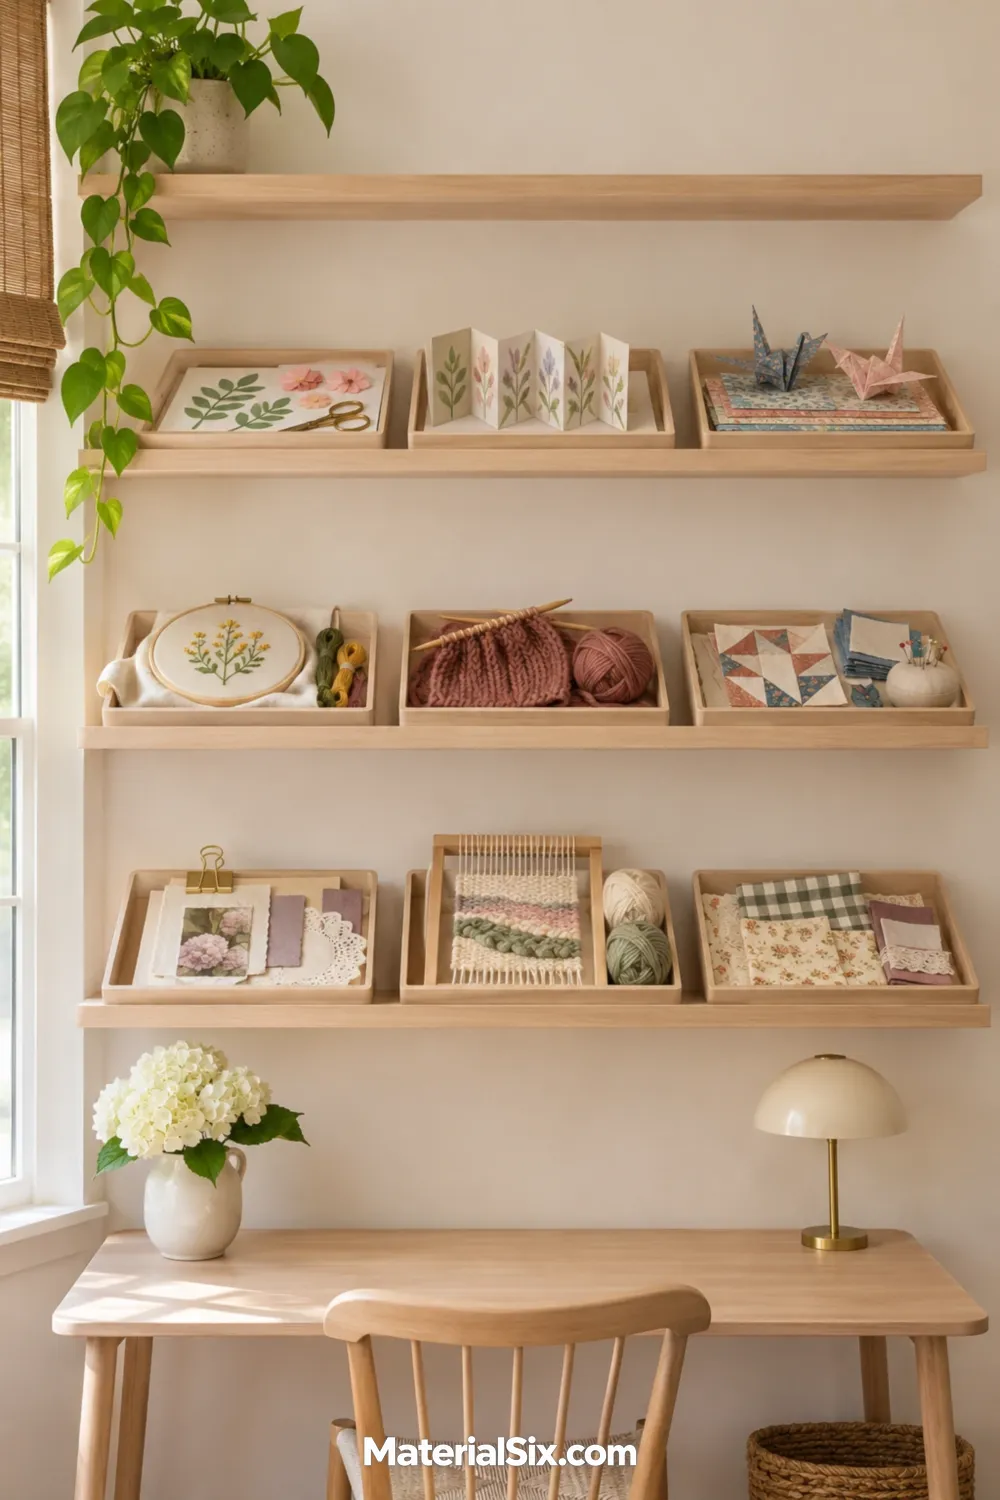
A half-finished project tends to take over the desk when it has nowhere else to go. Give each active project its own shallow tray, so you can shelf loose pieces in the order you’re using them. Allow enough space between shelves to get your fingers around the tray and lift it past the edge. Open trays suit larger pieces you want to see at a glance. Lidded ones are easier to move when they contain tiny parts.
8. File Fabric Upright in a Cubby
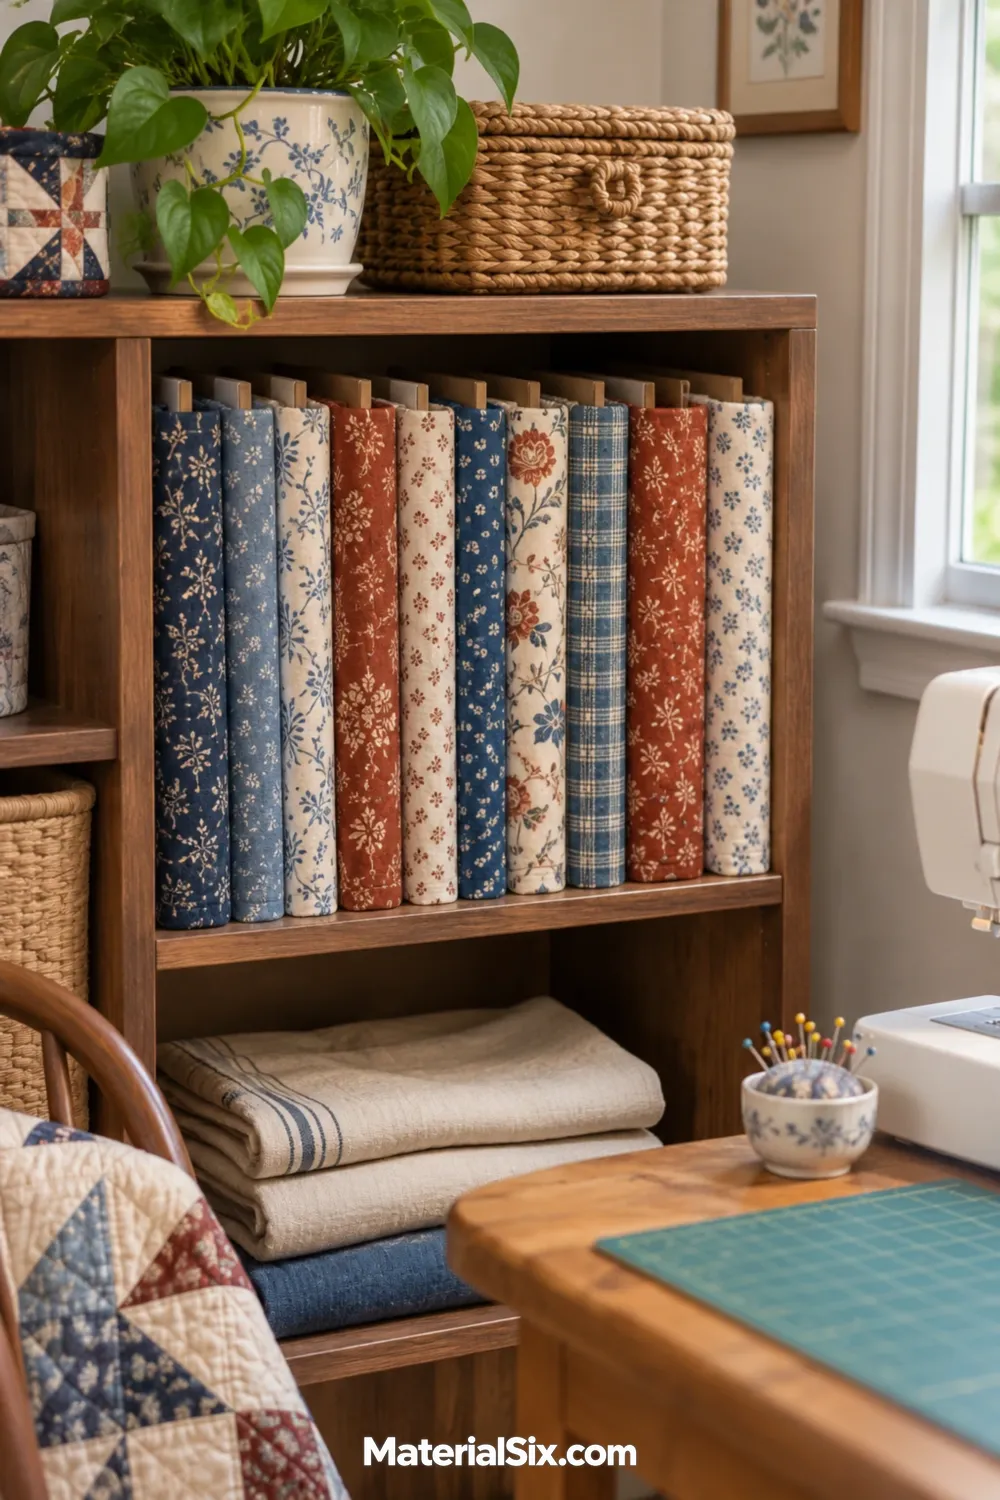
Wrap quilting cotton around small boards and place them upright in a cubby so you can compare prints side by side. Leave enough room to slide out one bundle without pulling its neighbors forward. Keep bulky or slippery fabric folded on a separate shelf where it has room to settle.
9. Give Cardstock a Vertical Sorter
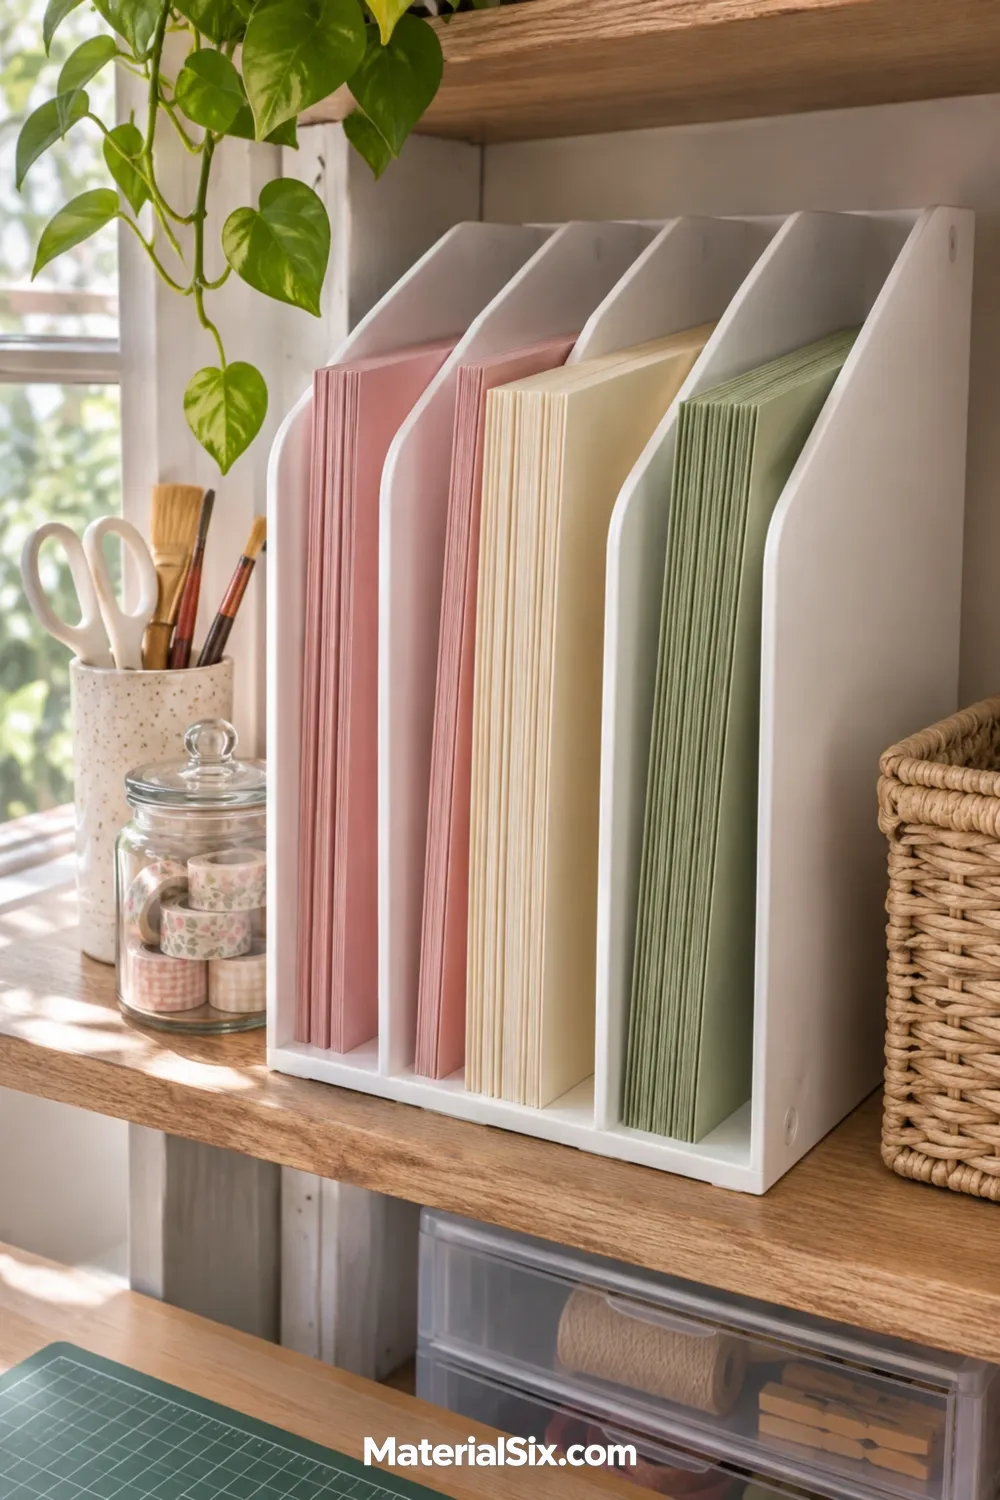
Use supported vertical slots to separate full sheets by color or paper type. Check that the sorter supports the height and width of your largest paper before you buy it. Give scraps a shallow box nearby so small pieces stay visible instead of slipping below the full sheets.
10. Keep One Active Project on a Rolling Cart
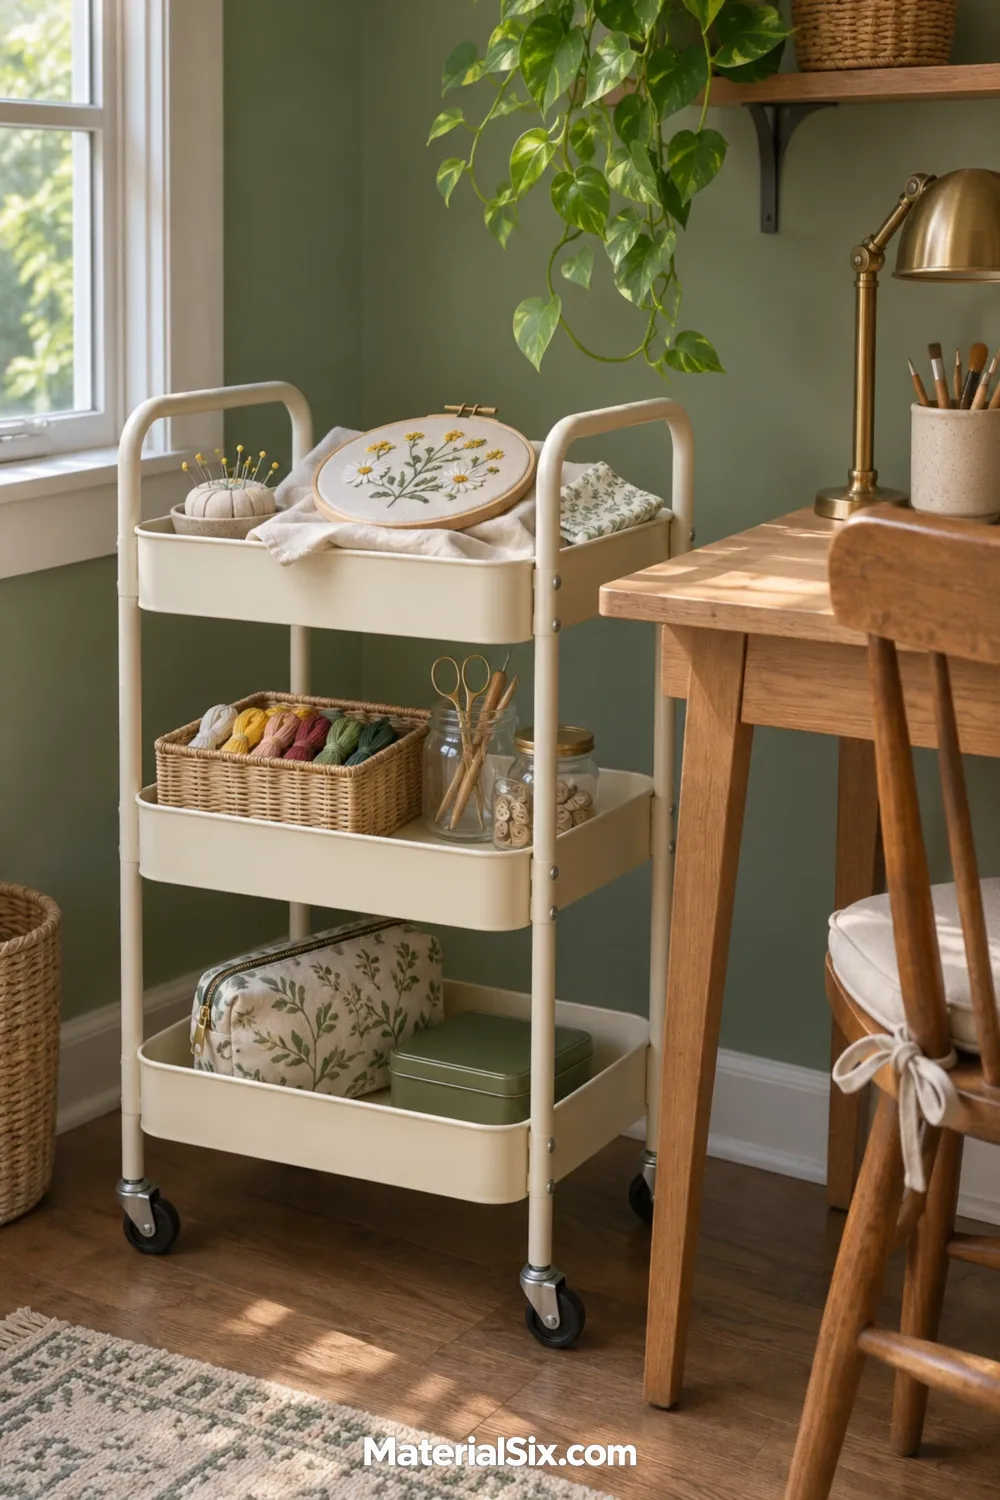
Think of the cart as a kit you can wheel to your chair. For embroidery, put the hoop and cloth on the top tier, keep floss where you can see it, and store your pouch below. When the project is done, clear it out before you load the next one. A cart earns its floor space when it’s easy to move and you can finish a session without taking several trips between rooms.
11. Sort Tiny Supplies in Shallow Drawers
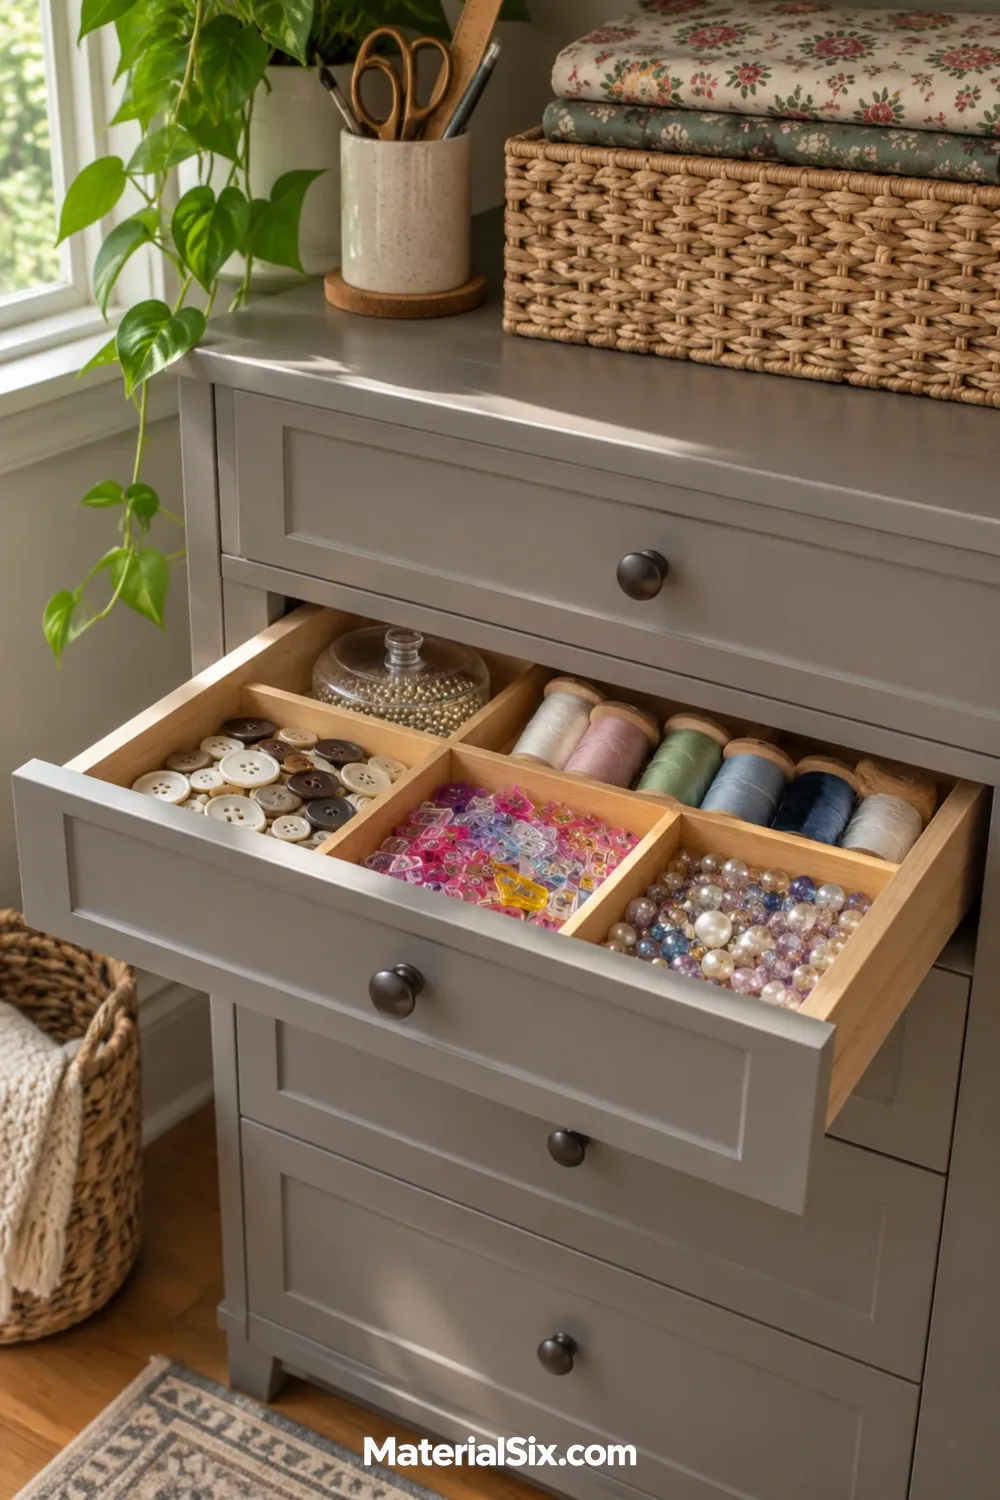
Give buttons, sewing clips, and small spools one visible layer in a divided drawer. Set the inserts in the drawer before filling them so you can check whether taller supplies catch as it closes. Leave one compartment open for loose pieces you need to put away at the end of a session.
12. Use the Inside of the Closet Door for Light Supplies
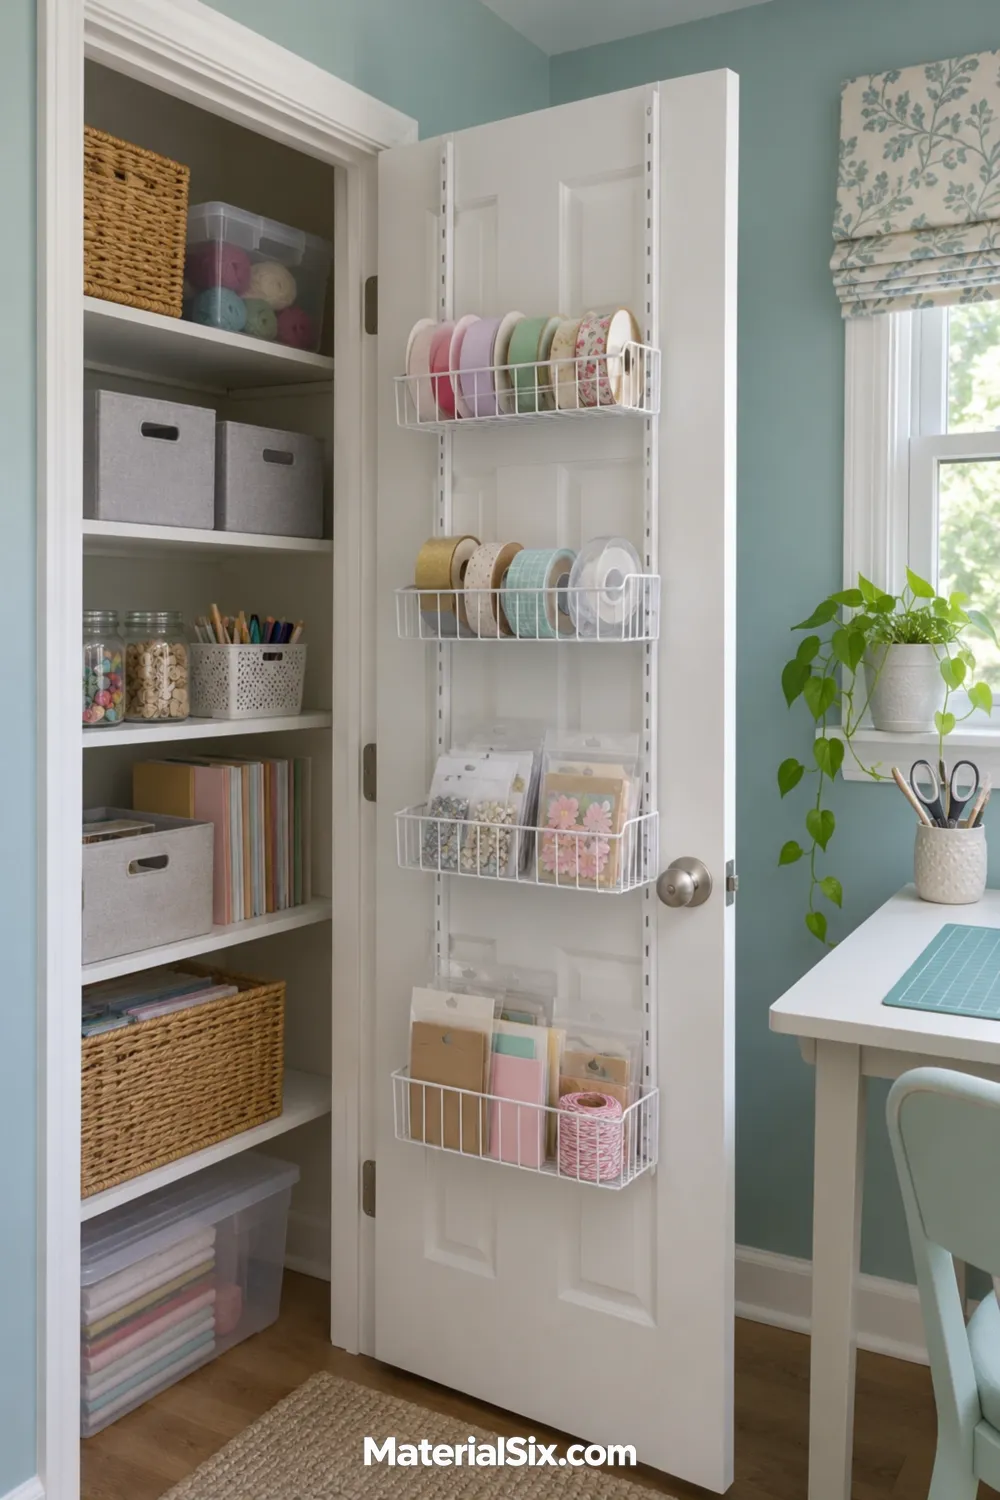
Slim wire pockets give ribbon and tape a place where you can see them without moving a stack of boxes. Check the space behind the closed door first, including the depth of anything that sticks out of a pocket. Open it through its full swing as well to see whether the rack will meet nearby furniture. Choose hardware suited to the door and follow the rack’s load instructions.
13. Tuck Craft Supplies Into a Living Room Cabinet
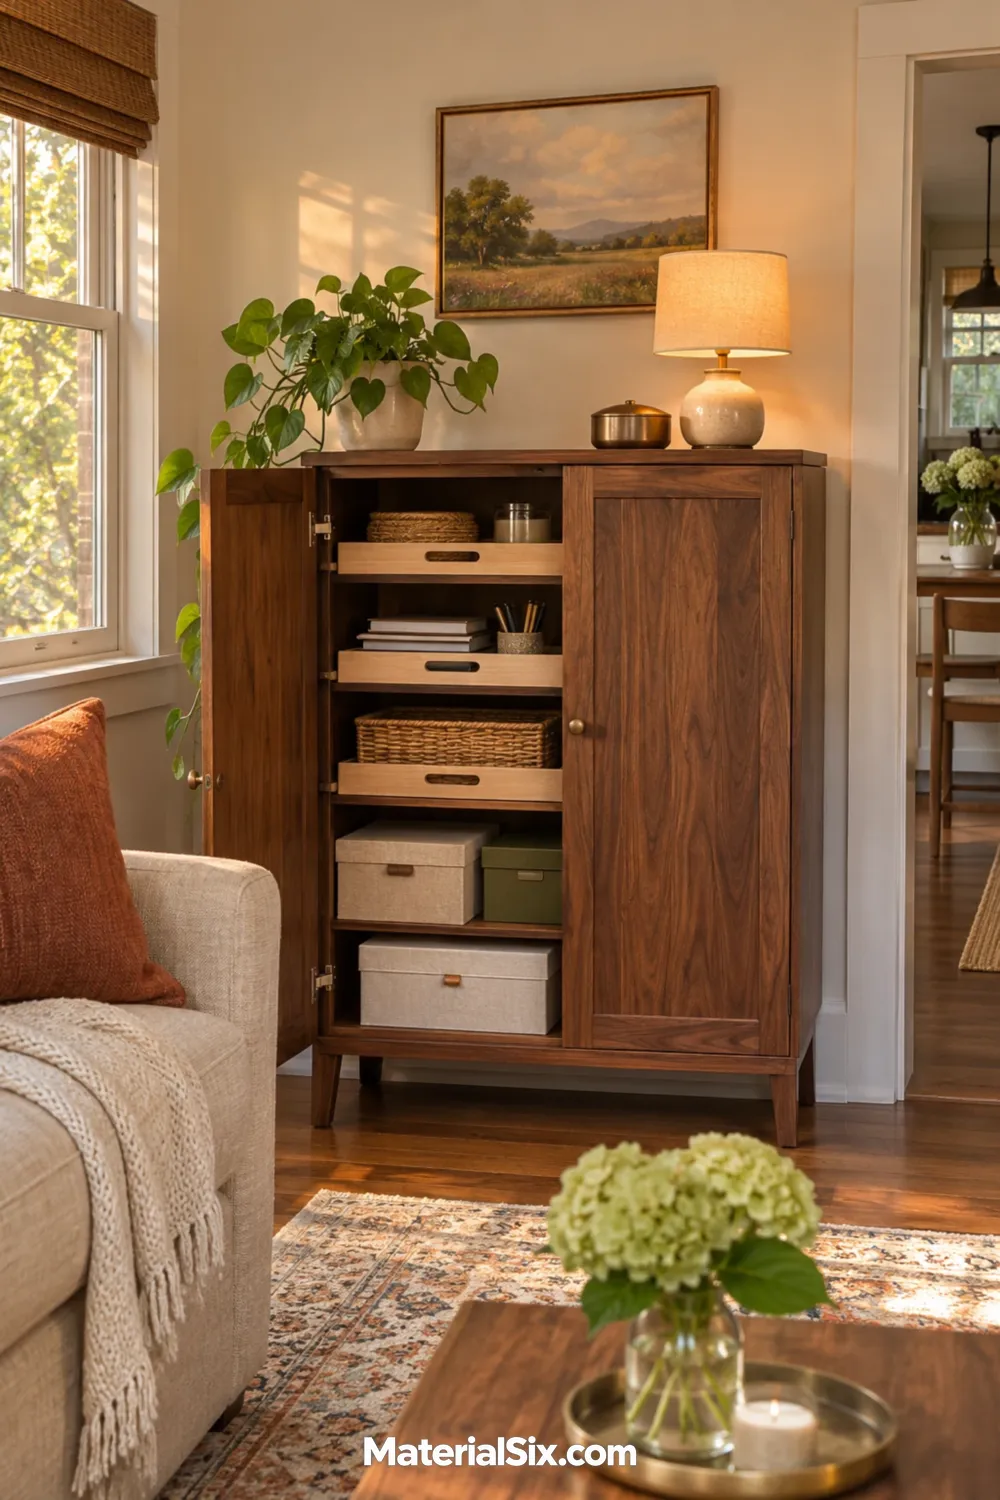
A furniture-style cabinet gives you a craft corner when your work surface is shared with the rest of the household. Store supplies in carryable groups, such as a mending box, a tray for paper tools, or a pouch for a current needlework project. Check the depth against the biggest item you intend to store. Its handle or lid can make a difference when you shut the door.
14. Add Table Space With a Drop Leaf
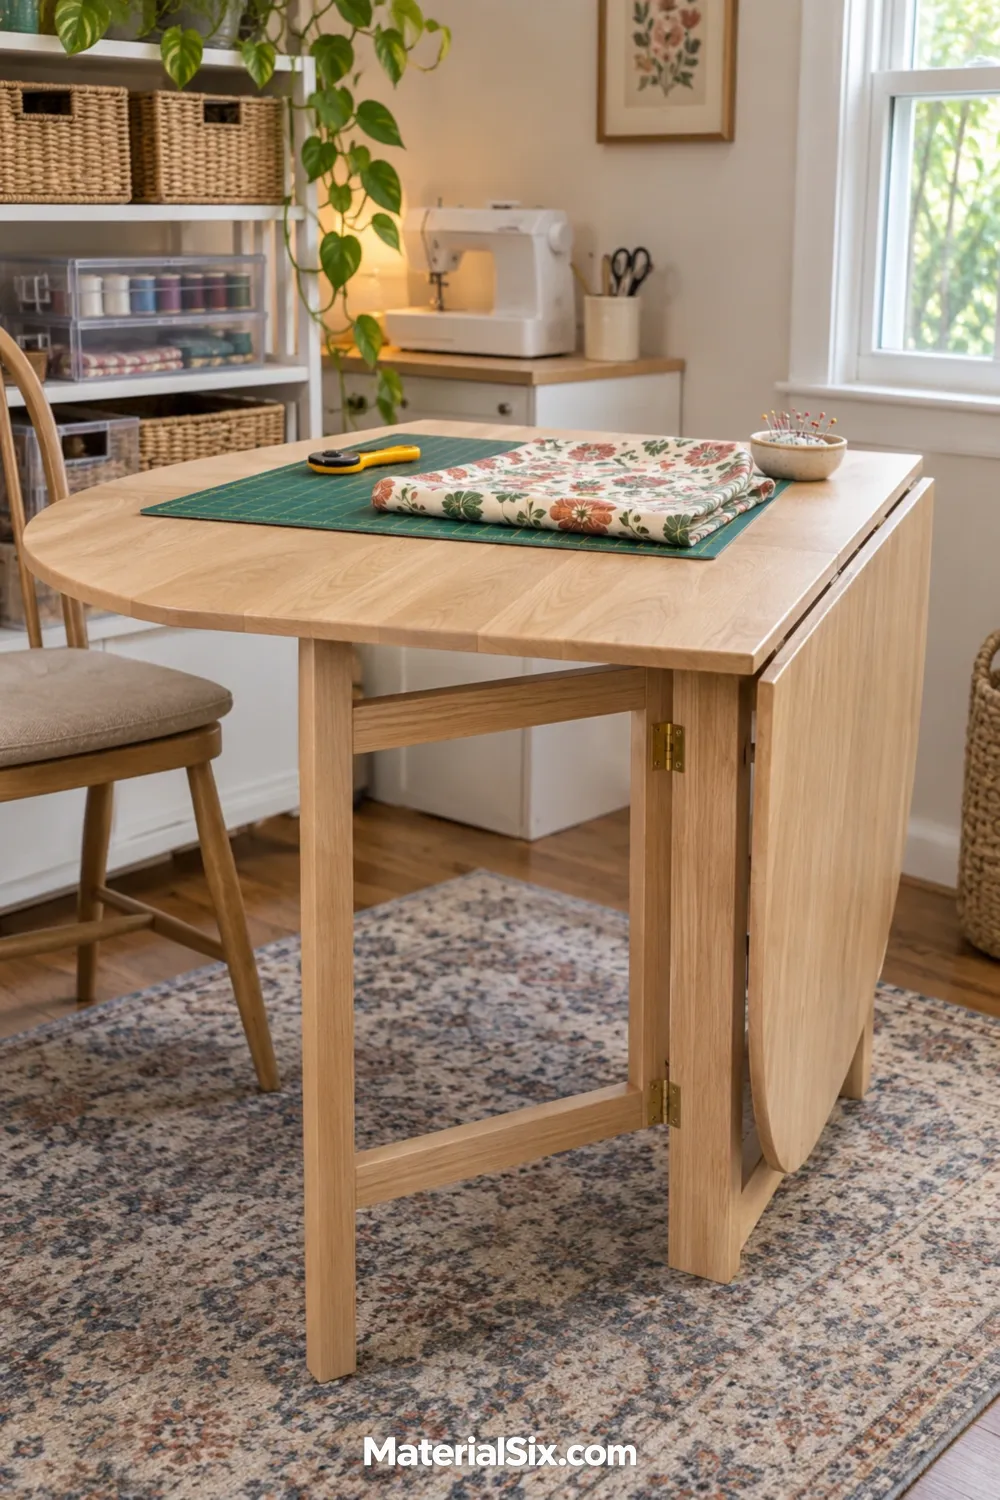
A drop-leaf table gives you a compact everyday surface plus an extension for short periods of cutting, sorting, or assembly. With a gateleg design, study where the supporting leg lands when the leaf is up. That position can affect where a chair or cart will fit. Check both table configurations in the spot you plan to use it, then see whether your cutting mat stays flat across the working area.
15. Put Adjustable Task Lighting Where You Work
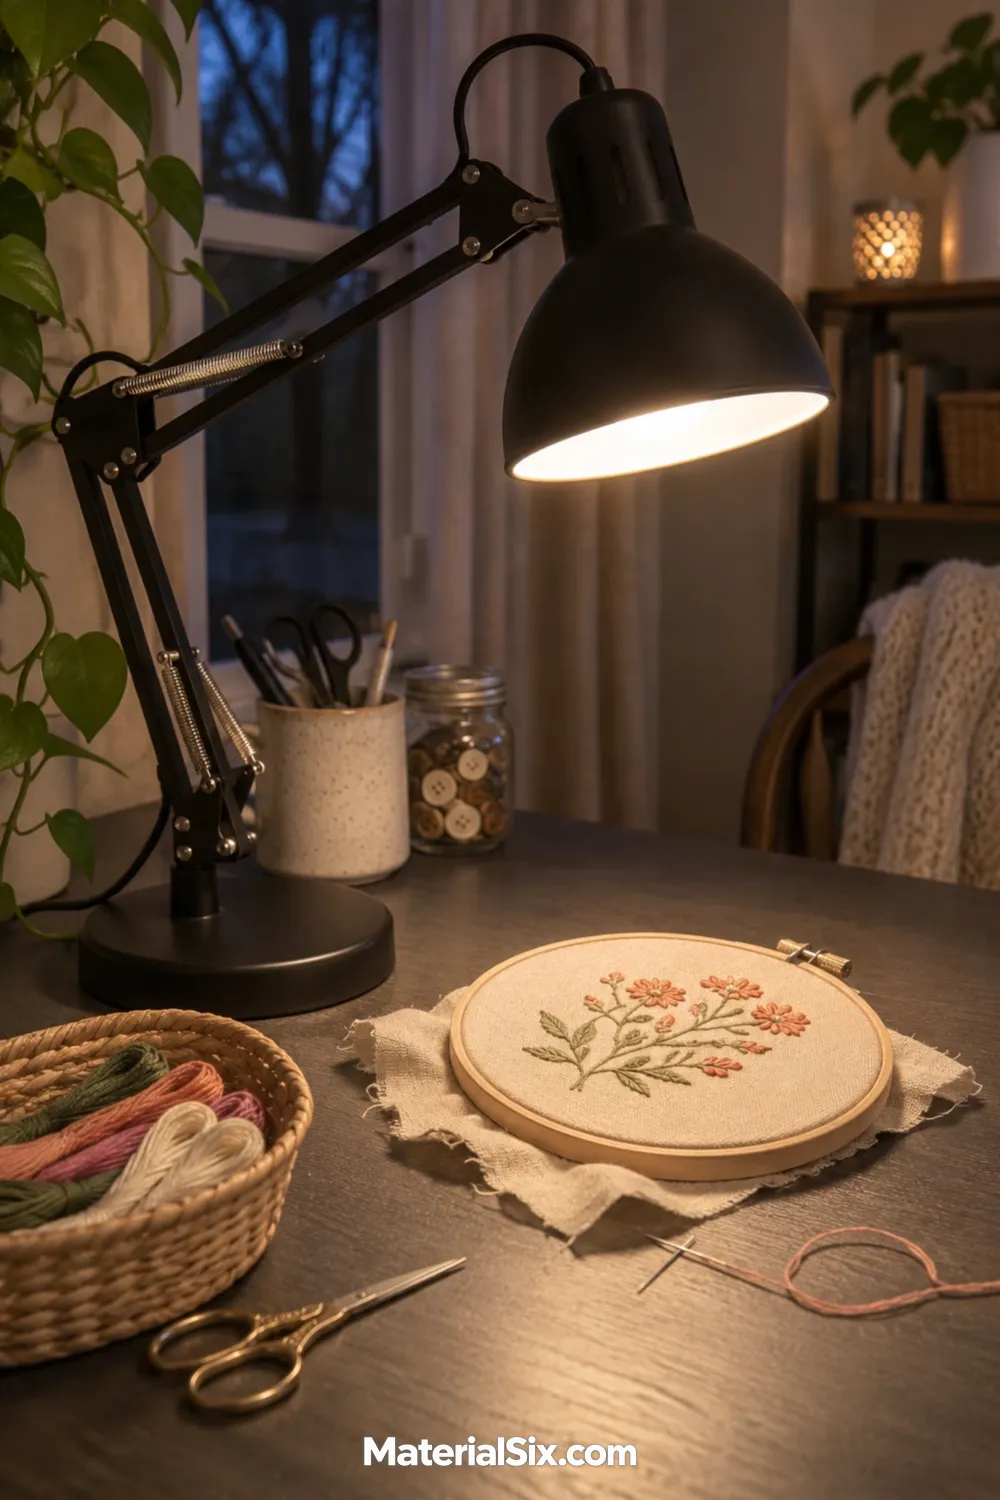
Aim a movable lamp at the spot where your hands work. Test it with your hand in its usual position so you can move the light away from the side that casts the biggest shadow. For a clamp-on model, check that the edge of your table can accept the clamp without interfering with a drawer or fold-down top.
Try Your Layout With a Real Project
Use the supplies from a project you already do and take it through a short trial run. This works with furniture you own or with a temporary table and a footprint marked on the floor.
- Set up. Bring out your biggest workpiece and the tools you need beside it. See where the offcuts, notions, or paper scraps go while you work.
- Move around. Sit down, pull out a drawer, reach for a tool, and carry your project past the chair. Test doors and folding furniture in their open positions.
- Pause and reset. Decide where the project will wait if you need the table in ten minutes. Check that you can move it without mixing up the pieces or losing your place.
Whichever step feels most awkward tells you what to solve first. A clear stretch of worktop helps with setup, while a tray can make it much easier to pause and return.
Make Room for the Part You Enjoy
Set aside one space for the part of crafting that keeps you coming back, even if it’s just the spot where you spread out fabric or lay out a few colors. Give that space a quick trial with your usual tools. You’ll have a clearer idea of where the rest of your supplies belong once you’ve used it.