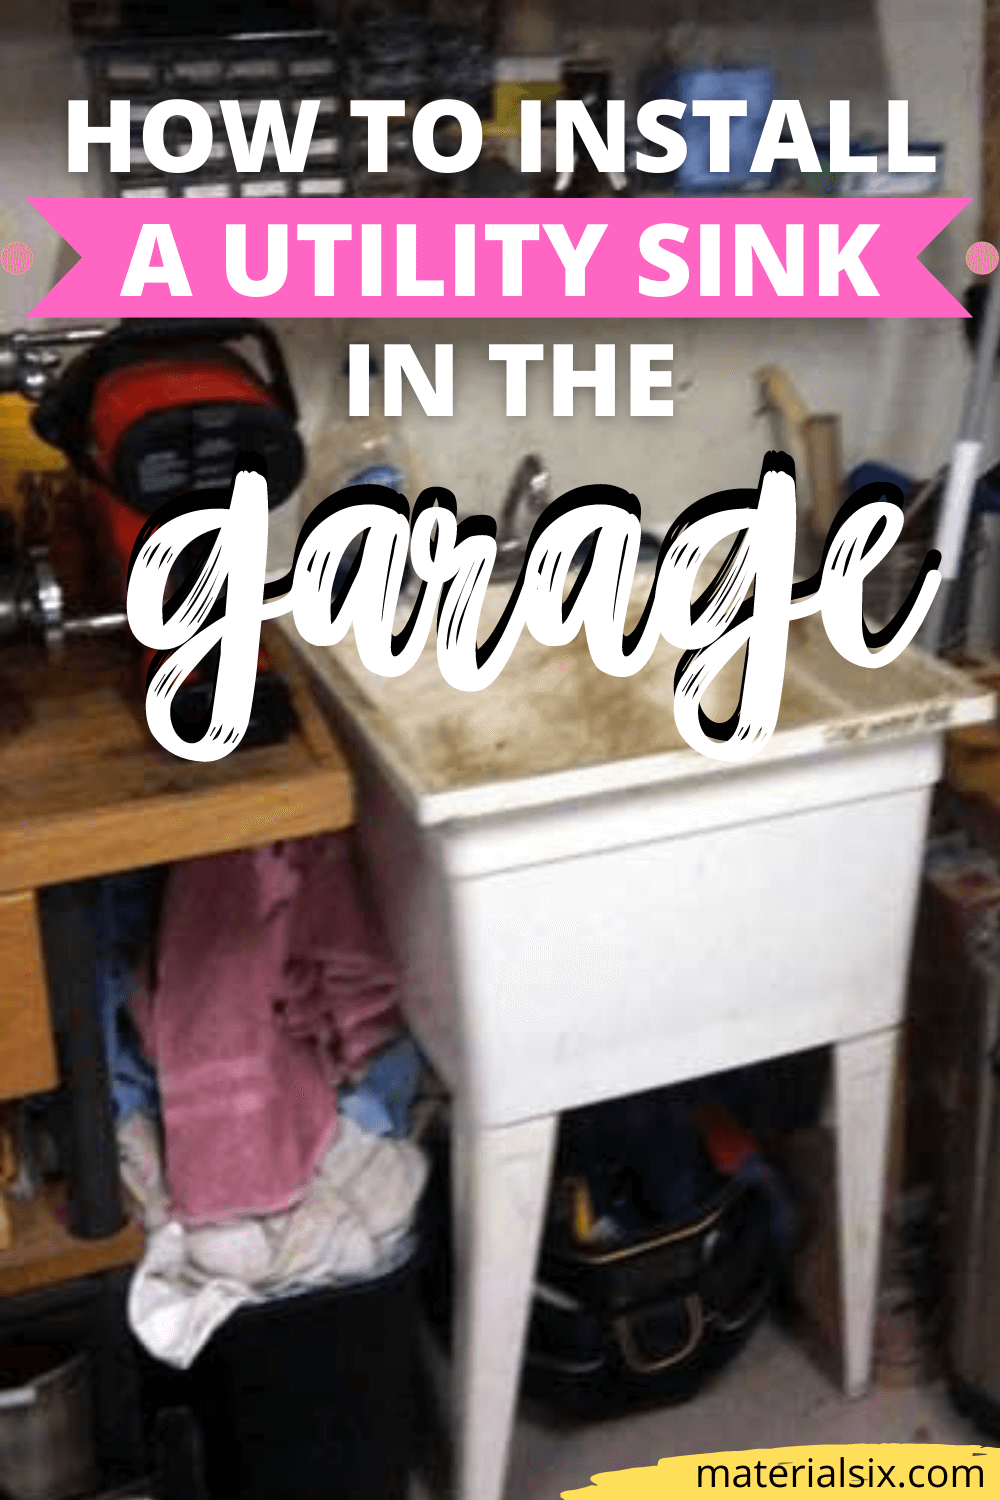
Are you interested in knowing how to install a utility sink in your garage? Installing a utility sink in your garage is not only an easier way out, but it is a better and more user-friendly alternative instead of traipsing through your house to sink.
To properly install these utility sinks, you will need a bit of plumbing knowledge so that they can be installed correctly. In addition to that, you will require drain pipes that will have hot and cold water to supply the utility sink taps. You will also need a drain line so that it can carry the wastewater away. It is also a good idea to read up on how to install a utility sink next to the washer.
3 Crucial Steps to Install a Utility Sink in Your Garage
1. Connect the water lines
The materials needed to carry this out is as follows:
- Soft rubber tubing
- Crescent wrench
- Compression fittings
- Compression couplings
- Copper clips
Make sure that you turn off all the water from the main valve source before you start working.
Step 1
Start with checking how much distance between cold and hot water pipes and decide where you want to install your utility sink.
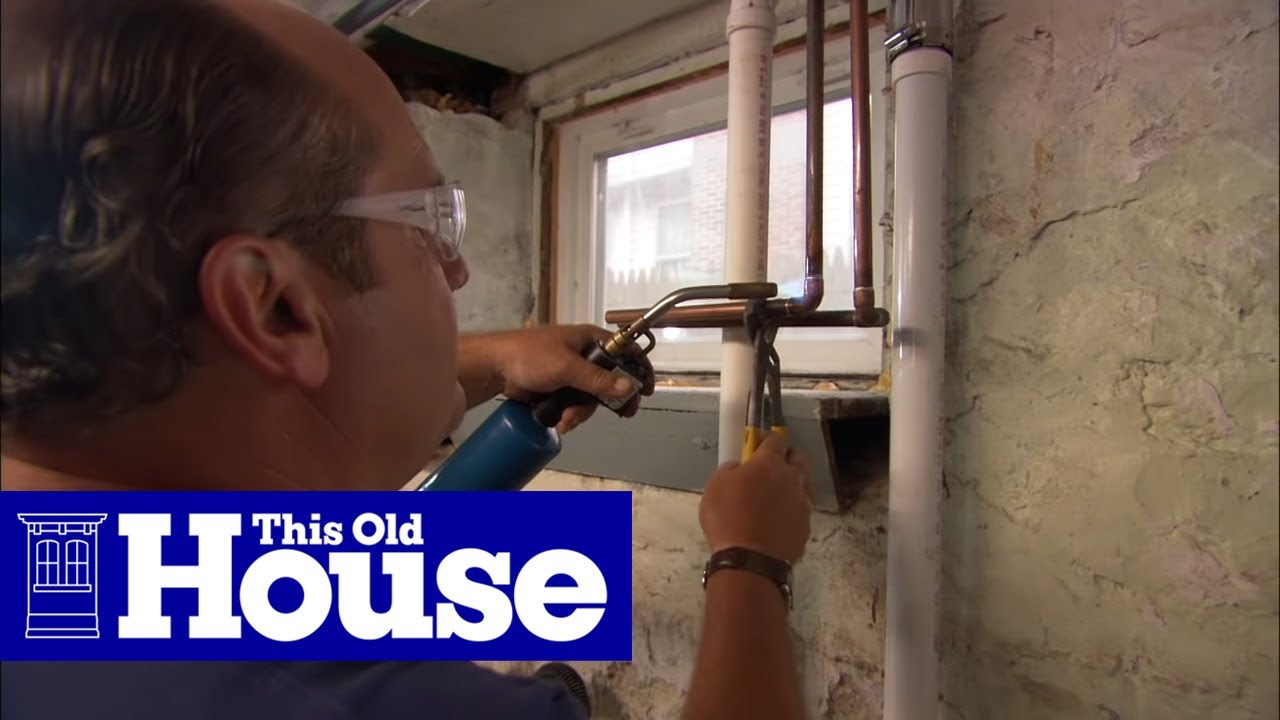
Take the copper tubing and cut it to the measurement of the distance between the cold and hot water pipes, but leave a few inches extra than you require. If you feel the extra tubing is in excess, you can cut it off later. Even though copper tubing a durable product, try keeping this distance within or less than ten feet.
You will want the water to flow with ease through the pipes and from the pipes to the sink. If the utility sink is farther away from your plumbing, the probability of leaks is higher, and it is possible that it will trouble you in the future.
Step 2
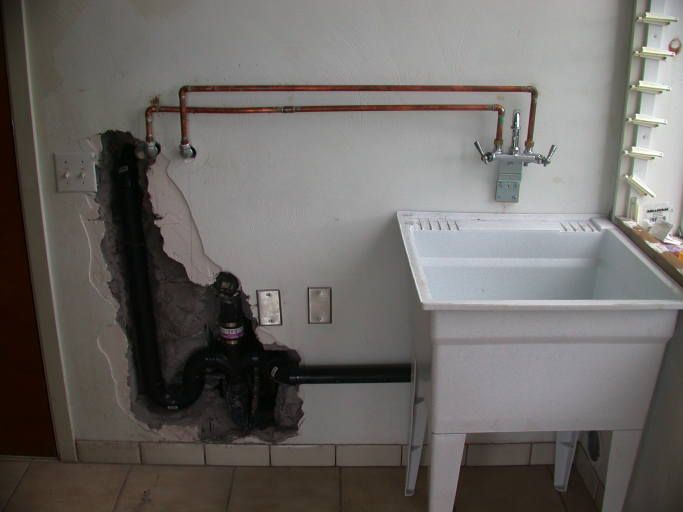
Find the cold and hot water pipes on the wall and, using your wrench, screw a compression that couples on the end of every pipe. Be extremely sure that this coupling is tightly fit and will not become loose.
Step 3
Use the soft copper tubing now and fasten one end to the compression coupling that is on the pipe. Repeat the same process for the other pipe. Then use a compression fitting to make the tubing and the coupling join, and then secure these items using your crescent wrench.
Step 4
There will be two tubes, one for your water and one for cold. Ensure that you mark them right so that when the time to hook them up comes, you can do it properly when installing the sink. Use a magic marker or a paper label for this.
Step 5
Run the copper tubes along the wall and side by side attach them to the wall with copper clips.
Keep both these tubes together so that it gives a uniformed look. These tubes should end where eventually you will fix the sink and the tap handles.
Do not bend these tubes because that will only lead to leakages.
2. Install the drain pipe
The materials needed to carry this out are as follows:
- PVC pipe
- Plumber’s putty
- Y PVC pipe fitting
- Large wrench
- Drain assembly
Step 1
Find the pipe of the drain hookup vent and coat the threads on this pipe using the plumber’s putty.
Screw it at the end of the Y fitting, and when the putty is dried, it creates a water-tight seal.
Step 2
On the top area of the Y pipe, screw the flange portion. This has the strainer. Usually, drain assemblies come with the tap, but you can also get it separately.
Step 3
Install a P-trap on the other end of the Y. This prevents air and gases to get into your drain, which causes bad smells. This again can be done using the plumber’s putty.
Step 4
Ensure that the Y trap is completely equipped before you attach it to the main drain line. Screw it and this and fasten with the plumber’s putty.
Be sure that at all times, the pipe is placed at a pitch from where the water can easily drain. In case it gets too leveled, the water will not drain downwards.
3. Install the sink
The materials needed are as follows:
- Utility sink
- Plywood or any other wood
- Handsaw
- Nails
- Silicone sealant
- Level
Step 1
Measure the sink and cut a hole in a piece of plywood to match. Use this piece as the countertop; make a countertop to hold up the sink using wood nails to secure everything, so it stays in place.
Taking the weight and size of the sink into consideration gives a lot of support to the countertop.
Using the level, make all the surfaces even. This is essential to hold the sink draining.
Step 2
After constructing the countertop, mount the sink. Make a water-tight seal using the silicone putty around the surface of the sink in the area where the sink and the countertop meet.
Step 3
Install the fixtures of the tap and join all the water lines to each handle of the tap.
Using an extension coupling, attach the sprayer to the waterline. In case the sprayer already exists inside the faucet, you can skip this part.
Step 4
Now attach the sink drain to the drainpipe by using the drain assembly. To make sure that the seals remain tight, use the plumber’s putty and silicone glue all around the fittings. See if there is any extra silicone or plumber’s putty and clean it up. Now turn on the water from the main valve, and your utility sink is ready to be used.
Step 5
To be sure that there are no leakages or breakages in the sink, let the water run for at least one whole minute. While the water is running, look under the sink for any trace of leakage or drainage issues. Check the tap coupling, the drain, and the P-trap as well. If you do not spot wetness this time, congratulations! You have successfully installed a utility sink in your garage.
Conclusion
All you need to install a utility sink is the correct tools and the right methodology, and the rest falls in place with the utmost ease. If you follow the instructions, the sink can be used for several years without causing any trouble.
Read also: