How to seal front door gaps: Transform your home with a few simple steps. Say goodbye to pesky drafts and hello to energy efficiency! In this guide, discover the easy techniques that will keep your space snug and comfortable.

The Importance of Sealing Your Front Door
A properly sealed front door acts as a sentinel against the elements, staunchly guarding your home against both blistering cold and sweltering heat.
By stemming the flow of drafts, you not only foster a sanctuary of comfort but also spearhead efforts towards energy conservation. Think of each uninvited breeze as a penny pinched from your wallet; sealing those gaps translates to monetary savings on your energy bills.
Moreover, a snug seal around your door can buffer against intrusive outdoor noise, cocooning you in a more serene environment. The installation of weatherstripping may seem daunting, but with precise instructions, you’ll be equipped to methodically eliminate those unwelcome gaps with ease.
Choosing the Right Weatherstripping
As you prepare to keep drafts at bay, selecting the proper weatherstrip for your door is a practical move that can have long-term benefits.
The material type, frequency of door use, and the actual design of your door frame play significant roles in determining which weatherstripping will suit your needs best. Foam tape might be right for less frequently used doors, while vinyl or rubber is durable for areas with high traffic.
Your budget will also guide your purchase decision, but don’t let cost be the sole deciding factor. Instead, consider the balance between affordability and quality.
A slightly higher initial investment in a superior product can pay off with better performance and a longer lifespan, leading to fewer replacements and, over time, cost savings. Remember, a tight, energy-efficient seal not only reduces your energy bill but also enhances the comfort of your home, making it a worthy consideration for any homeowner.
Step-by-Step Guide to Weatherstripping Installation
- Gather Your Tools: You’ll need a tape measure, scissors or a utility knife, and the weatherstripping material of your choice.
- Measure the Door Frame: Use the tape measure to determine the height and width of your door frame. Record these measurements to ensure you cut the weatherstripping to the correct size.
- Cut the Weatherstripping: Transfer the measurements to your weatherstripping material. Cut it accurately with scissors or a utility knife to match the dimensions of your door frame.
- Apply the Weatherstripping: Starting at the top corner of the door frame, carefully peel the adhesive backing off the weatherstripping. Press it firmly into place as you gradually move along the frame, ensuring there are no wrinkles or gaps.
- Check the Door Function: Gently close the door to test the fit. Ensure the door does not catch on the weatherstripping and that it closes properly. If you discover resistance or gaps, readjust the weatherstripping as needed for a snug fit.
- Seal the Vertical Sides: Now, move on to the vertical sides of the frame, applying the weatherstripping in the same meticulous manner. Make certain there’s a continuous seal that matches up perfectly with the top piece.
The attention to detail in this procedure is crucial to obtain a perfect seal that keeps out drafts, lowers energy bills, and provides a comfortable living environment.
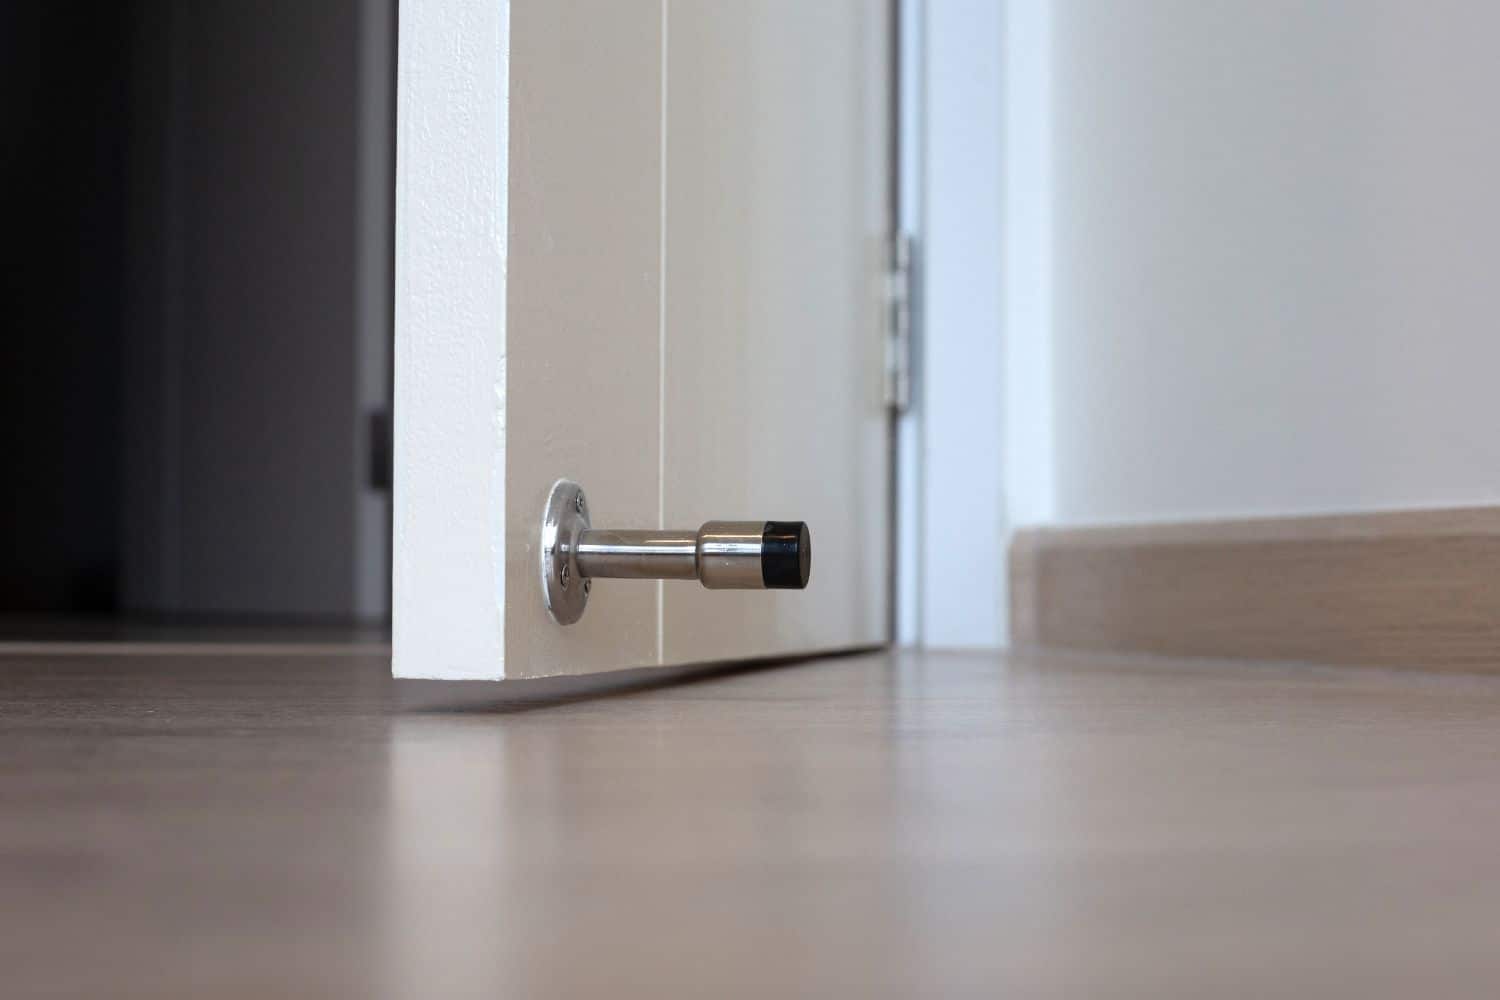
Door Sweep Addition: The Finishing Touch
You’ve fitted your weatherstrip and sealed the vertical and top crevices of your door, but there’s still a potential for chilly drafts through the gap at the bottom.
That’s where a door sweep comes into play; it’s essentially the final line of defense in your draft-proofing strategy. Attaching a sweep to the base of your door blocks that pesky air flow, making your entrance truly snug and energy efficient.
Installing a door sweep is straightforward. You’ll find most sweeps are pre-sized to fit standard doors, eliminating the need for cutting. Simply close your door, align the sweep along the bottom leaving no space for air ingress, and attach it with screws or adhesive, depending on the model.
Once in place, this simple addition works wonders in keeping the warmth in and the cold out, ensuring the efforts you’ve put into insulating your door frame aren’t undermined by a drafty threshold.
Think of your door sweep as the cherry on top of your weatherproofing sundae. It complements the weatherstripping by sealing the final gap, rounding off a well-insulated door that not only saves energy but also contributes to a more comfortable home.

Sealed to Perfection: Preserving Your Weatherstripping
You’ve meticulously measured, cut, and fitted your weatherstripping, but the job doesn’t end there. To maximize longevity and effectiveness, placement is key.
Position your weatherstripping inside the door jamb rather than on the door itself. This shields it from the elements and reduces wear and tear from opening and closing, ensuring a longer life.
Regular maintenance is vital. Inspect your weatherstripping seasonally for any signs of damage or adhesive failure. Clean the strips with a soft cloth and mild soap to remove any debris that might prevent a tight seal.
If you notice a segment loosening, reattach it promptly to prevent drafts. In the event of irreparable wear, replace that section without delay. A proactive approach to weatherstripping care keeps your home comfortable, draft-free, and efficient.
The Parting Seal: Ensuring Enduring Home Comfort
A snugly sealed front door is your home’s shield against the elements, a defender of your comfort and a guardian of your utilities budget.
With every strip of weatherproofing, you stitch a layer of protection, buffering you from chilling draughts and sweltering heat waves alike. This simple yet impactful effort reaps immediate rewards—you’ll notice your living space remains cozy and your HVAC system operates with less strain.
Embrace the role of vigilant homeowner by conducting routine inspections of your door seals. Over time, weatherstripping may wear or detach, leaving your home exposed to uninvited breezes and energy leaks.
A prompt response to these minor fixes prevents them from escalating into costlier problems. Remember, a door that’s insulated from the vagaries of weather not only preserves the sanctity of your home’s climate but also champions the cause of energy conservation for a greener planet.
Related: