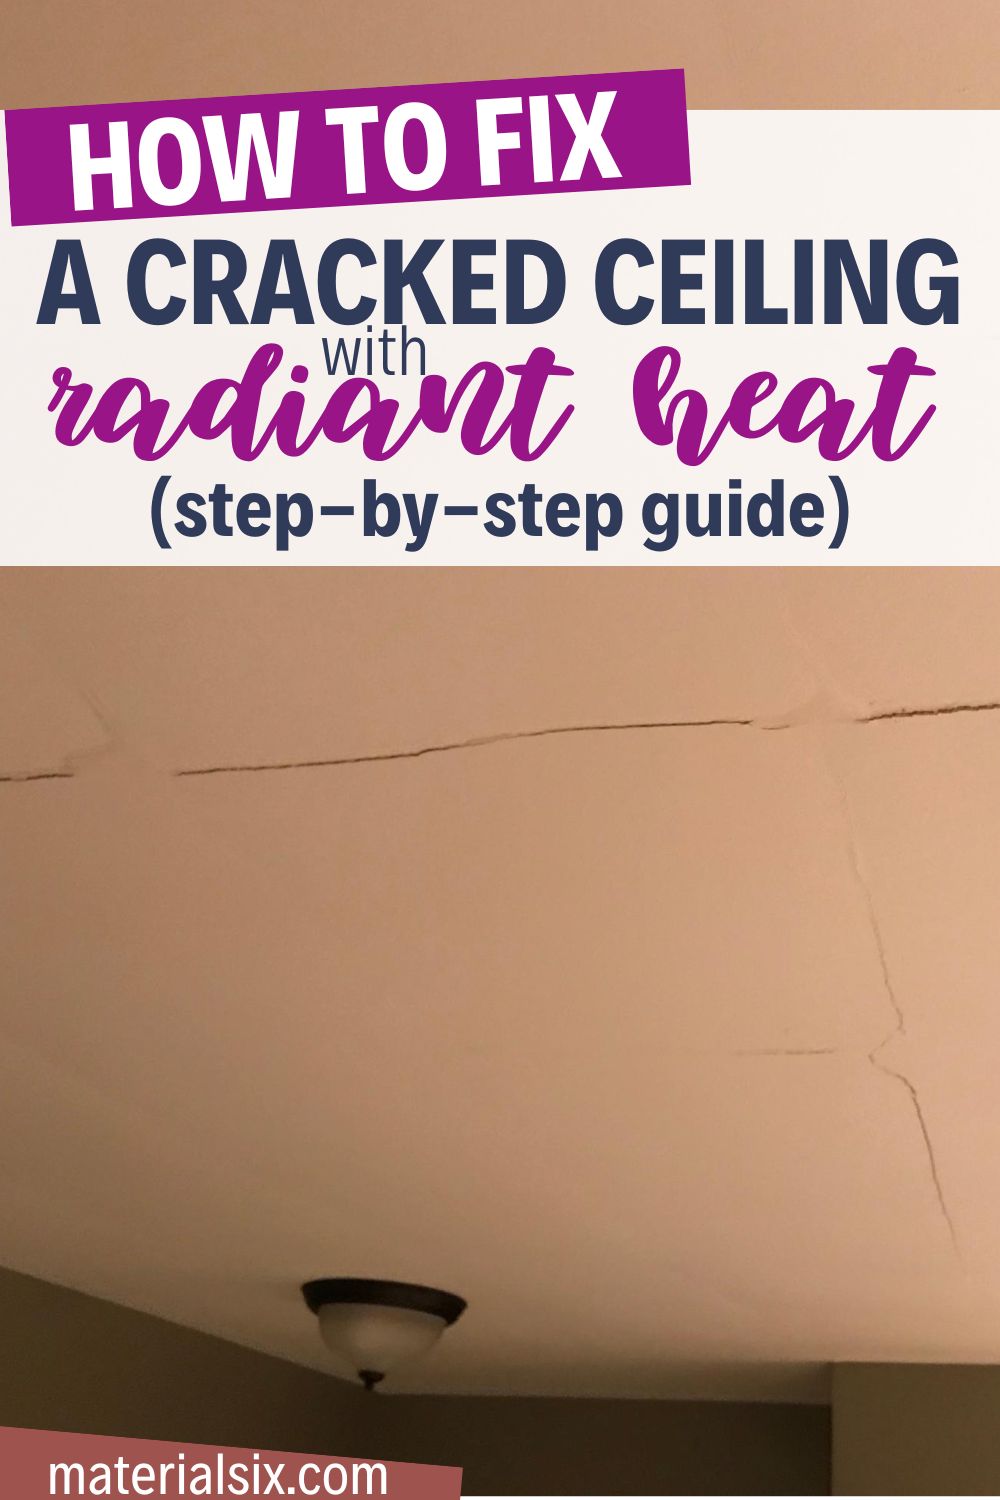
Cracks can appear anywhere in the ceiling, which is not rare. If you are also facing cracks in your ceiling with radiant heat, then it’s a problem. Because radiant heat has a high risk of catching fire, and during the fixing, anything can happen. This makes it difficult to fix cracks. But don’t worry, here is a solution for you to fix a cracked ceiling with radiant heat.
All you have to do is fill the cracks with the fiberglass mesh and then coat the above part with drywall tape, drywall joint compound, primer, and ceiling paint. You will have to apply these things to get the best results. This is the most efficient and risk-free way to fix a cracked ceiling with radiant heat.
If you are new to fixing a cracked ceiling with radiant heat and don’t know anything about it, here is a step-by-step guide that will help you. The guide will lead you to repair your ceiling without risking anything successfully.
Things You Will Need to Fix a Cracked Ceiling with Radiant Heat
- Ladder
- Putty Knife
- Sandpaper
- Paint Roller
- Fiberglass Mesh
- Drywall Joint Compound
- Paper Drywall Tape
- Primer
- Ceiling paint
How to Fix a Cracked Ceiling with Radiant Heat? Step-by-Step Guide
Here are some simple steps that you can follow in order to fix a cracked ceiling with radiant heat.
Remember: Radiant Heat system in your ceiling is very fragile to fire, and a little mishandling can cause serious damage. So, you can’t fix these cracks like a regular ceiling.
So, follow the steps carefully and don’t do anything extra that is not mentioned in the steps.
Step #1: Clean the Crack Area
First of all, you will need to clean the area around the crack in your ceiling. For this, use sandpaper and a putty knife tool to scratch loose paint on the area. You will have to be very careful during this procedure because the ceiling with a radiant heat system has multiple wires, and mishandling can damage any wire.
The damaged wire will result in a short circuit or anything worse. So, be careful and scrap only the outer area.
Don’t take your putty knife or sandpaper inside the cracked area.
Step #2: Carefully Fill the Crack with Fiberglass Mesh
Once the area is cleaned and there is no loose paint around the crack, you will have to fill the crack with fiberglass mesh.
Remember: Fiberglass should be completely dry, and there should be no moisture.
Fill the crack with fiberglass mesh and compress it with the help of a petty knife.
Step #3: Apply Paper Drywall Tape
Now, apply paper drywall tape on the top of the crack area. This will close the crack completely. But make sure that you choose the right size of paper drywall tape.
The size of paper drywall tape should be two times wider than the width of the crack.
Step #4: Apply Drywall Joint Compound
After applying paper drywall tape, you will have to apply the drywall joint compound on top of it. And spread it with the help of the petty knife.
Also, spread the drywall joint compound on the nearby area for a few minutes.
Step #5: Wait for it to Get Dry
Once thoroughly applying the drywall joint compound to the affected area, wait a few hours to get it dry.
It may take 4-5 hours, depending on your house’s temperature and weather conditions. In some locations, it may get dry in a few minutes to a few hours, and in some locations, it may take more than 5 hours to get dry.
So, be patient and wait for it to get dry completely. There should be no moisture or mold in the area.
Step #6: Apply Primer and Ceiling Paint

Now you can apply primer to the area where you have spread drywall compound with the help of the petty knife. Once you have finished applying the primer, you can then apply ceiling paint on top of it with the help of the paint roller or anything similar.
This will fix the cracked ceiling with radiant heat.
Read also: How Long After Applying Primer Can You Paint Your Walls?
What is Radiant Heat Ceiling?
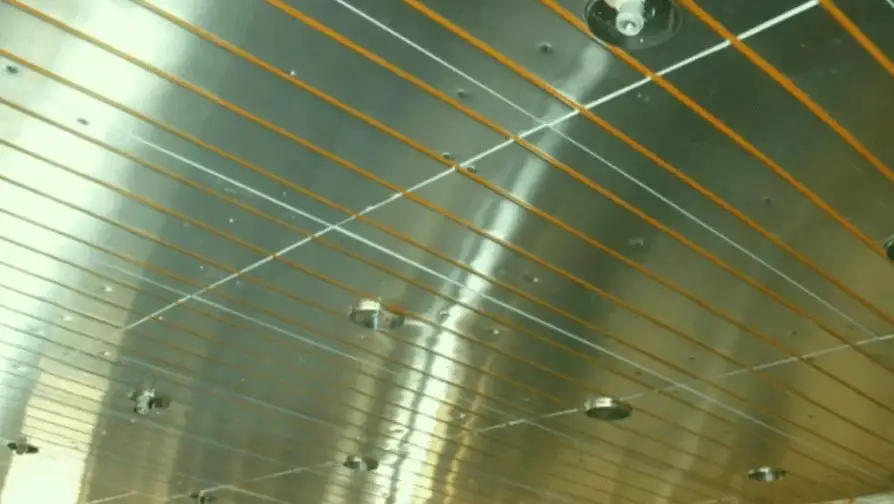
A radiant heat ceiling is a form of the heating system inside the ceiling. It works by reflecting heat from hot water or space heaters into a room by using reflective panels. The most common type of radiant heat is in the form of tubes that run along the ceiling.
The tubes are filled with water and have electrical connections at either end. The wires connect to an electric space heater or hot water heater, which heats up the water and keeps it circulating through the tubes for use as a source of heat for your home or office’s ceiling.
Can Ceiling with Radiant Heat Catch Fire?
Yes, a ceiling with a radiant heat system can catch fire if mishandled.
Radiant heat systems use electric heating elements in the ceiling tiles to transfer heat. Because of the high temperature of these elements, it’s possible for them to ignite if they are not handled properly.
This is especially true if you’re fixing the cracks in the ceiling using a traditional way. If you want to fix cracks in your ceiling that have a radiant heating system, you can’t just follow the traditional way.
Instead, you will have to follow the steps given above.
Is it Safe to Fix Cracks in Ceiling with Radiant Heat?
The answer to this question depends. If you follow all the instructions and steps written above, it is safe to fix cracks in the ceiling with radiant heat.
But, if you are following the traditional way of installing screws to fix the cracked ceiling with radiant heat, then it’s not safe.
Because a little mishandling can damage the wires or tubes inside the ceiling, resulting in fire or other damage. That is why it is mandatory for you to follow the steps given above strictly.
Conclusion
So, this is how you can easily fix a cracked ceiling with a radiant heat system. All you have to do is strictly follow the steps mentioned above and successfully fix the cracks. But be careful during the whole process as a radiant heat system inside a ceiling is considered fragile, and a little mishandling can cause serious damage to the ceiling and the house.
Other Posts You Might Like:
- 6 Different Types Of Ceiling Cracks & How to Fix Them
- Can You Put An Outlet In A Ceiling Box? Read This First!
- Ceiling Fan Light Flickers? (9 Possible Causes & Easy Fixes)
- How to Hang Pool Table Light From Drop Ceiling
- How to Drill Through Joists In A Finished Ceiling
- How to Hang Pot Rack in Plaster Ceiling