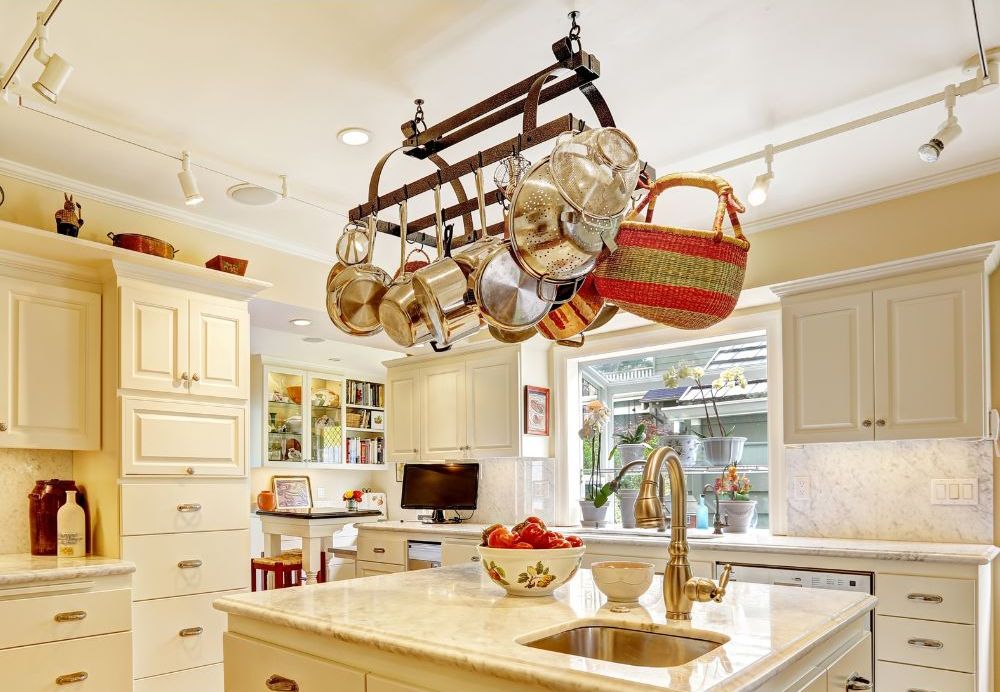
Are you looking for an easy and affordable solution for hanging the pot rack on the ceiling roof of the kitchen? You are in the right place. We are going to provide a step-by-step guide to fixing a pot rack in a plaster ceiling. Fixing a pot rack will be helpful in sensibly organizing your pots and pans and gaining more storage space.
Mark out two holes on each side of your ceiling using Plumb Bobs and Markers with chalk lines. Drill holes into both sides of your plastered ceiling using a Drills Machine. Hang your Pot Rack using Lag Bolts into these holes, which have been drilled into both sides of the plastered ceiling for hanging securely.
If you don’t know anything about installing a pot rack in the plaster ceiling? Don’t worry; here is a step-by-step guide that is especially for you. Just follow the steps, and they will lead you to install a pot rack on the plastic ceiling successfully.

Things You Will Need to Hang the Pot Rack on Plaster Ceiling
- Ladder
- Stud Finder
- Plumb Bob
- Marker
- Level to check the Balancing
- Drill Machine
- Pot Rack
- Screws or Lag Bolts
How to Hang Pot Rack in Plaster Ceiling? Step-by-Step Guide
So, it’s time to work. I will disclose to you some simple steps to hang the pot rack that you must follow exactly.
Step 1: Choose Pot Rack
There is a lot of variety of pot racks available in the market. Choose a pot rack considering the size of your kitchen and a rack that will enhance the grace of your kitchen.
Step 2: Choose the place to hang
Choose a place for the rack where it is easily accessible. Usually, pot racks go over the sink or counter area. Choose the nearest place where you do cooking and prep work. So your pots are always close to you. Also, make sure the pot rack does not block ceiling lights or the way of natural light. Then use the plumb bob to ensure the place is balanced where you want to hand the pot rack.
If it’s not balanced, that pot rack will not be installed properly, and you will need to choose another place.
Step 3: Find the Joists
So, the tricky part of the whole procedure is finding the joists. Access the roof by using the ladder. Use a stud finder to locate the joists. Mark the joists with the marker. You will hang your pot rack from these points.
What is Joist? Joists are beams on a wooden floor that are supported by other beams, or “joists.” Joists carry the weight of the floor and distribute it across the length of the building.
Finding the joists is important because the pot rack will mainly hang on these joists. Hanging the pot rack on the plasterboard is not safe. Fixing the pot rack to the joists is important to prevent accidental falls.
If you are unable to find the Joist, don’t worry. Here is a video that can help you.
Step 4: Drill in the Joists

Drill the joists in with a drill machine. Drill the joists according to the screw hooks so they can fit properly. Mount the screw hooks into holes. You can also use ceiling screws or molly bolts. But I recommend you use the screw hooks in the joist holes. Make sure the screw hooks are tightly inserted into holes to bear the weight of the rack and the pots.
Step 5: Hang the Rack
Hang the rack to the screw hooks you insert in the joist holes. Ensure the rack chain and the screw hooks are fastened and tightened. If you find something loose, check them carefully and tighten anything that needs to be tight.
Step 6: Height Adjustment
You should be aware of the height of the ceiling. Adjust the pot rack at a distance of at least 7 feet from the floor. For this, adjust the chains of the pot rack. A pot rack lower than 7 feet will be dangerous for tall persons in the house. It can hit their head while walking.
Step 7: Level Check
Use a level to determine whether your pot rack is level from all sides. Since you will add more weight to the rack, it should be equally level from all sides.
Step 8: Hang the Pots and Pans

So, after checking the pot rack from all angles, you can now hang the pots and pans. Make sure you hang the pots and spread the weight equally on both sides.
Installing a ceiling-mounted pot rack in your kitchen has some great benefits. It helps to keep the pots and pans organized and easily accessible and provides more storage space in your kitchen, especially when you don’t have enough space.
Besides, the kitchen is the heart of the house, a place for bringing families together. A kitchen with a proper layout ensures that you have everything in hand when you need something. An organized kitchen will enhance the overall grace of your home.
Frequently Asked Questions:
How to hang pots from the ceiling without drilling?
You can use adhesive hooks for this purpose. But you should hang the lightweight pots only in this way. Adhesive hooks are used on the wall to hang the keys, clothes, and other lightweight items. Hanging the heavy-weighted pots on adhesive hooks would be dangerous.
What else should be used in joists to hang a pot rack?
Using Ceiling screws in the joists is perfectly fine. But if you want to hang a heavy-weighted pot rack, I suggest you use molly bolts. Molly bolts are generally difficult to insert in joists, but for a heavy pot rack, it provides more grip with the joists as compared to ceiling screws.
Are hanging pot racks out of style?
That’s not true; pot racks are still popular in kitchen design. Hanging a pot rack above the central table of the kitchen is still not out of style. However, it depends on your personal preference, whether you like to hang your pots in this way or you want to keep them in the cupboards.
How much weight should a pot rack hold?
General contemporary pot racks are designed to bear up to 100 pounds. But their capacity to hold depends upon the models of the pot racks. The weight that the pot rack can hold is specified on the product’s packaging. Before purchasing, you should check its holding capacity so that you can decide whether it is suitable for you or not.
Conclusion
So, this is how you can easily hang a pot rack on the plaster ceiling. You just need to gather that mentioned things and start installing the rack by following the abovementioned steps. I hope this guide will be helpful for you, and if you face any problems during the process, you can share it with me in the comment section below.
Other Posts You Might Like:

