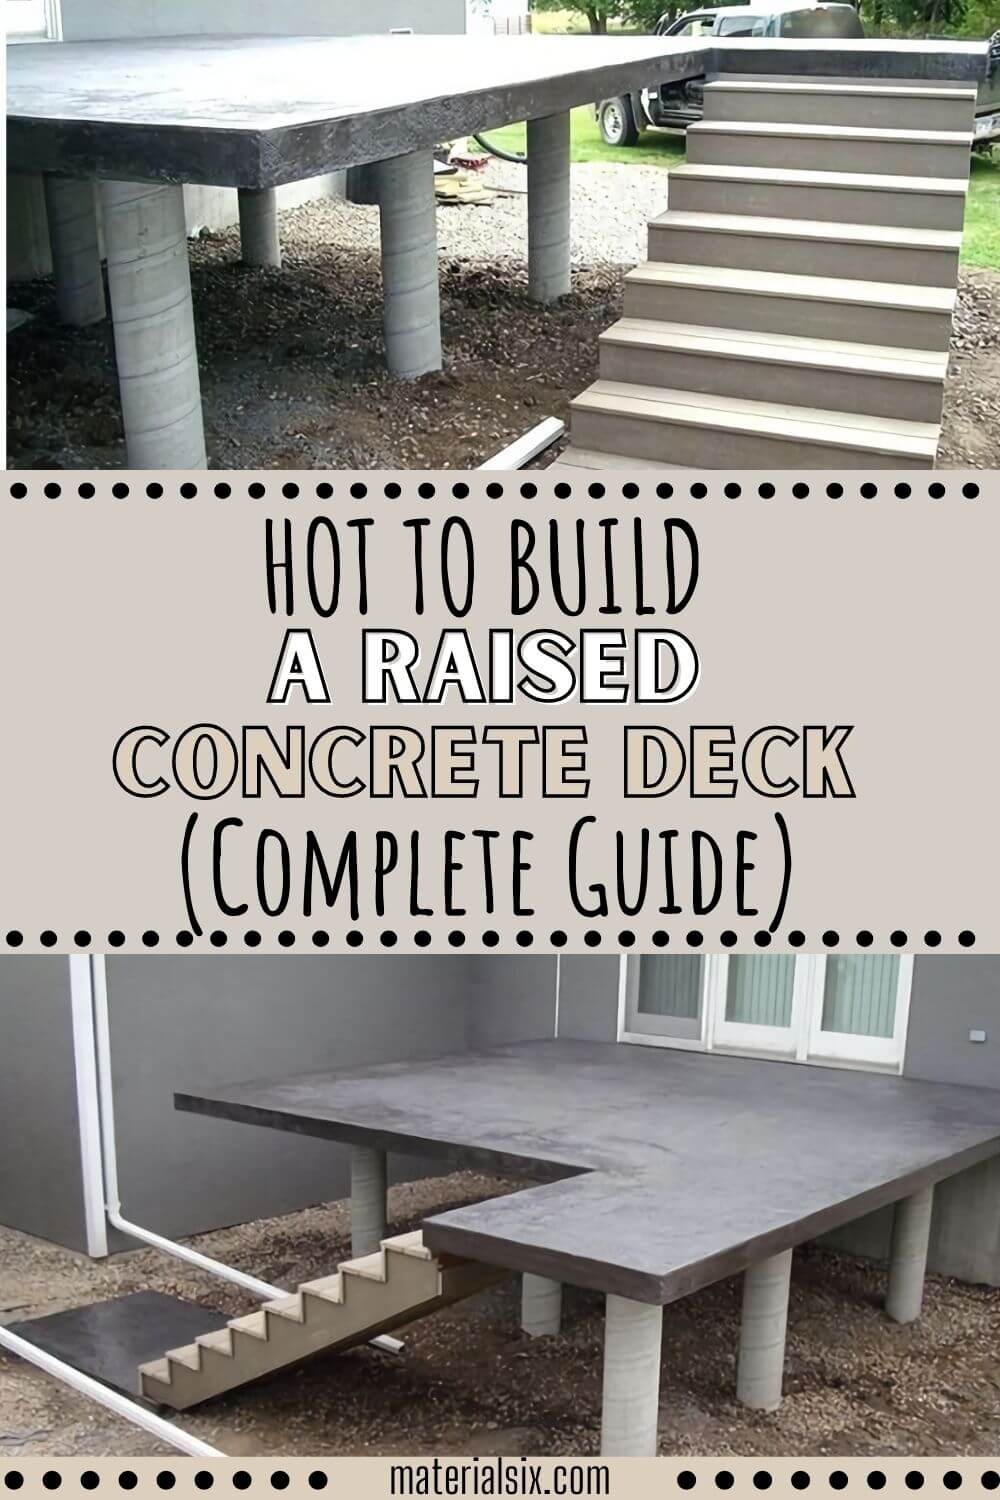
Are you looking to install a raised concrete deck? If yes, then you have come to the right place. Despite the complications that come with this construction, it isn’t impossible to do this job. The final result will be almost similar to a cover and it is less expensive as compared to creating it from scratch. Not to mention, in certain cases it is less costly to install a new patio by yourself as opposed to hiring a contractor for the job. When it comes to local contractors, they charge about $7 – $10 per sq.
Over the past couple of years, reinforced concrete decks have become a popular commodity for homeowners. This is mostly because they require less maintenance as compared to wooden decks. The concrete blocks used only need to be washed occasionally using a garden hose.
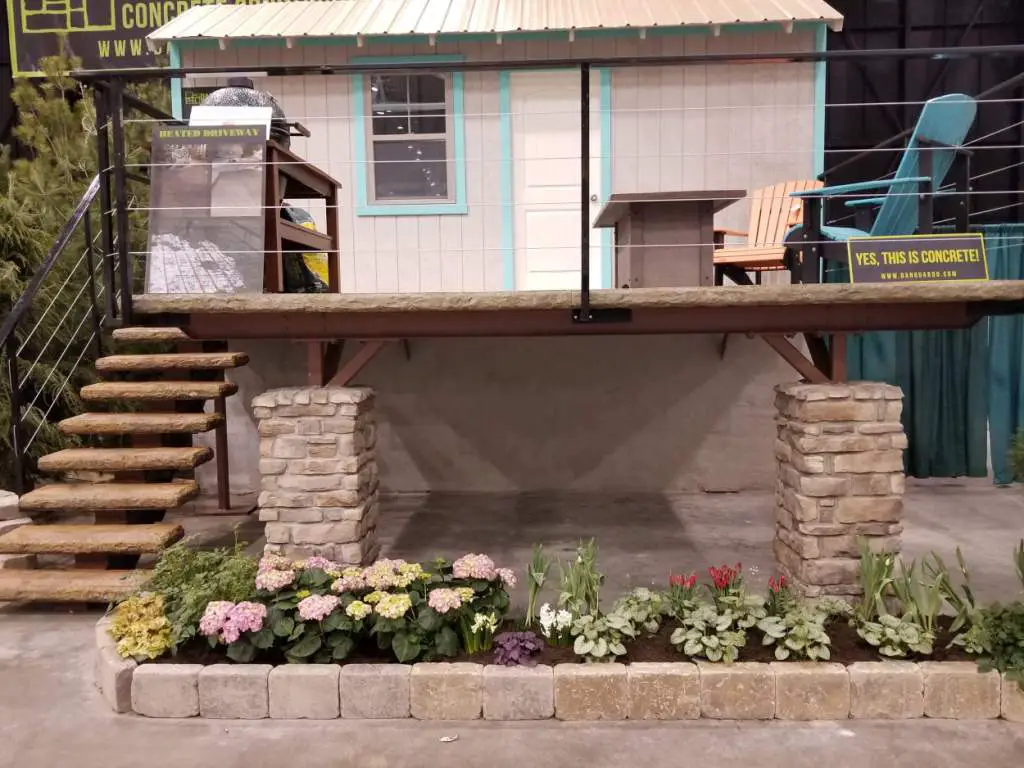
Moreover, a raised concrete deck will add more value to your home, in addition to being an attractive-looking outdoor space. Several factors impact the high interface, such as the location, the lot, the wood type, and the total cost of the project. As compared to using other materials, decks and patios made using concrete materials tend to be less expensive.
Wooden legs are used to support a raised deck from the ground level. Stairs, steps, or a ramp is used as an entrance to the concrete deck. If needed, a 150 x 50 mm or a 100 x 50 mm wooden wall plate is also attached to the house walls by using masonry fixings.
How to Build an Elevated Concrete Deck (A Step-by-Step Process)
If you’re building a raised concrete deck, you’re going to want to keep in mind these 18 steps. Check it out!
1. Design A High Deck
Do your research and look for different design images online. You can also visit your local creative supply store and talk to the experts there to get more information.
In fact, the staff at some of the lifestyle stores will design an elevated interface specifically for you when you buy supplies from their store.
Moreover, there are several online programs and free apps that can help in creating an interface based on whatever ideas and information you provide with.
2. Decide On A Budget
The budget you decide for your project will directly impact the type of materials you use, the type of add-ons you will require, and the volume of the interface. Certain vital features such as handrails and steps are part of the total cost, but other features like electrical work or built-in lighting will also impact the total cost of the construction.
3. Applying For A Cremation Permit
You would need to share the details of your project when it comes to the cremation permit, such as the height, volume, and the wood you will use, to see if everything meets safety standards.
For instance, if you are working with a contractor on this project, then you will have to submit your plans for the interface to show that your interface abides by the local building codes and safety standards.
If you’re DIYing the entire project, then there are several free apps that can help in creating different plans you can deliver to your building’s office whenever you apply for privileges.
Related: Building a Deck without Legal Permit (Risks & Consequences)
4. Purchase The Necessary Materials
Once you get the permission, you can then buy all of the materials. You can find everything that you will need in a creative supply store, including the type and size of wood. If you plan on building a second-story concrete deck, then it is best that you purchase more materials.
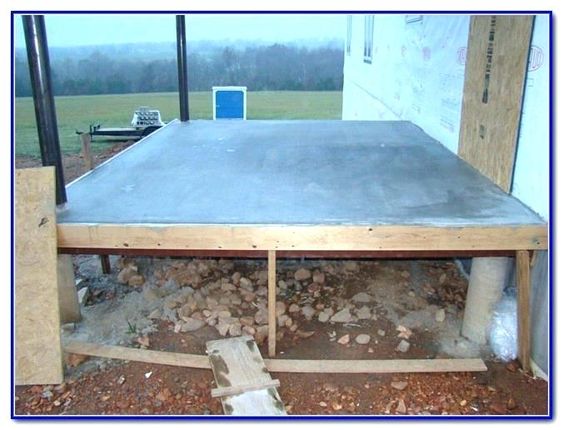
5. Set Your Accounting Board

After purchasing all of your materials, the next step is to start the development process. Firstly, you will need to add your accounting board, which is a horizontally-shaped wooden part that attaches to the existing wall of your living space. It helps in providing security to your terrace.
Furthermore, the volume you need depends on what size your deck is. In addition to other things, you are also going to need a bigger 2’x12’ book for a 24’x14’ interface. Use bolts (not screws) to correctly position the board of the bigger book.
Plus, your accessory should also fulfill the code requirements of the bolting data. Incorrectly installing an accounting board can cause structural failure of the interface.
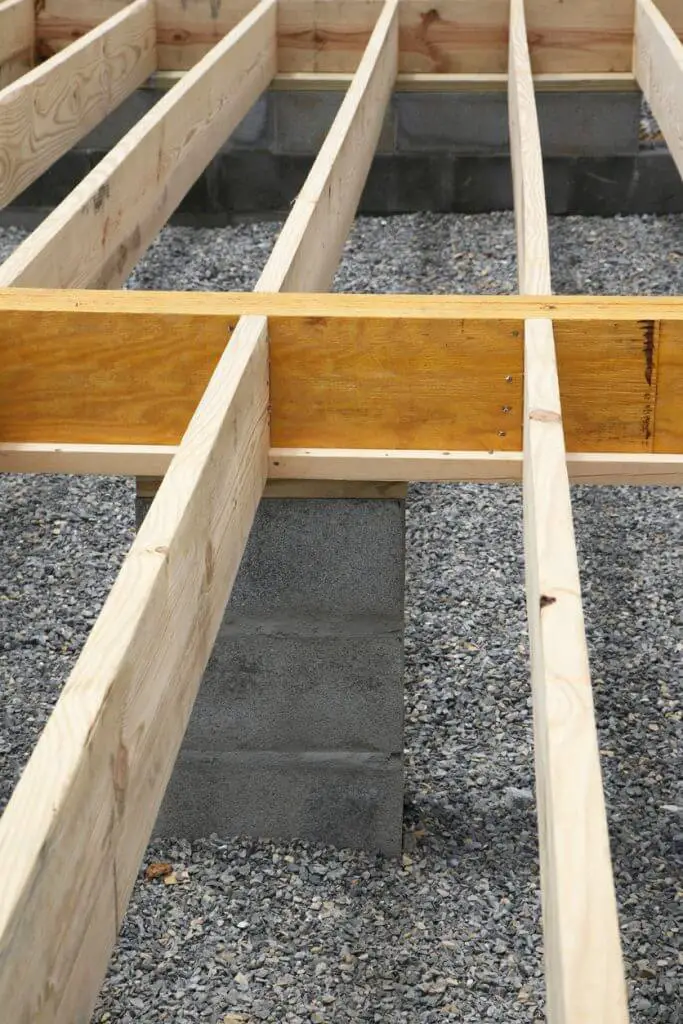
6. Dig Out The Deck Bases
For this process, you can use a string in order to define the high interface shoes. Four pads are required for a standard cover. Each shoe should be 12 inches wide and 48 inches deep in order to reach underneath the frost lines. This is important for safety purposes, especially for colder surfaces where you will have to check the debt your soil will potentially freeze over during the colder season.
For a solid foundation, you would have to use crushed rock and incorporate it cover by the cover, while mechanically compacting every surface before you add the next. This job will get you to 12 inches. You will most likely raise it within 3 to 4 layers.
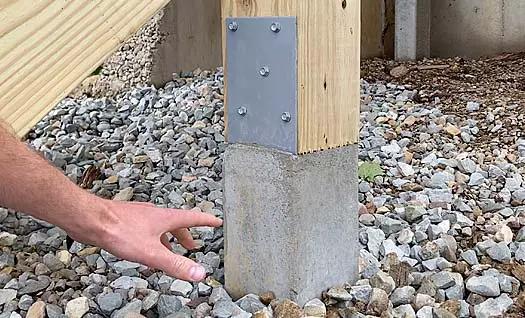
7. Arrange The Posts
After digging the foot holes, the next step is to install the posts within the gaps and make sure that they’re straight. Double-check them before you pour a raised concrete deck, in case you need to change their position again.
8. Prepare The Precise
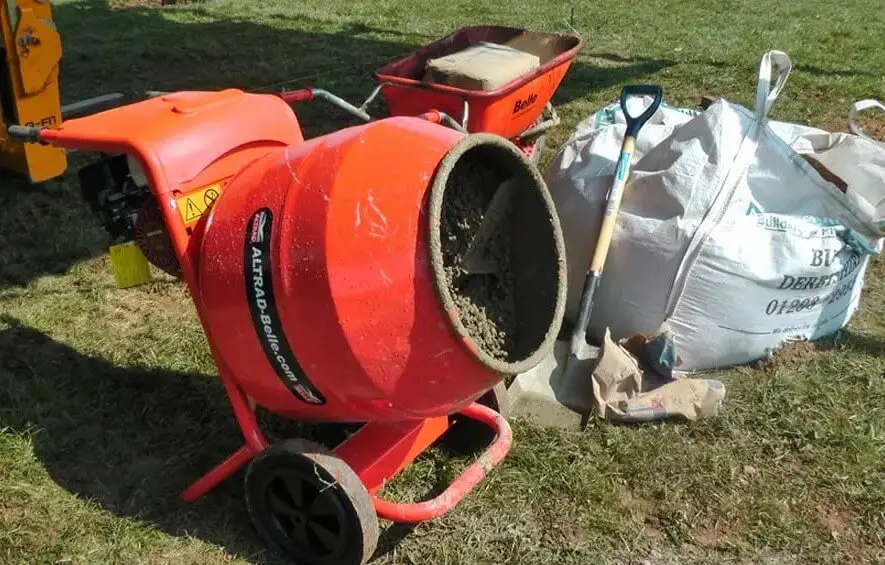
Use the precision bags you purchased to prepare your mixture. You can use a small cement mixer or rent one, to pre-mix your precision. You can also follow the instructions and combine the ideal amount in a wheelbarrow. This entire process will take about two days (48 hours.)
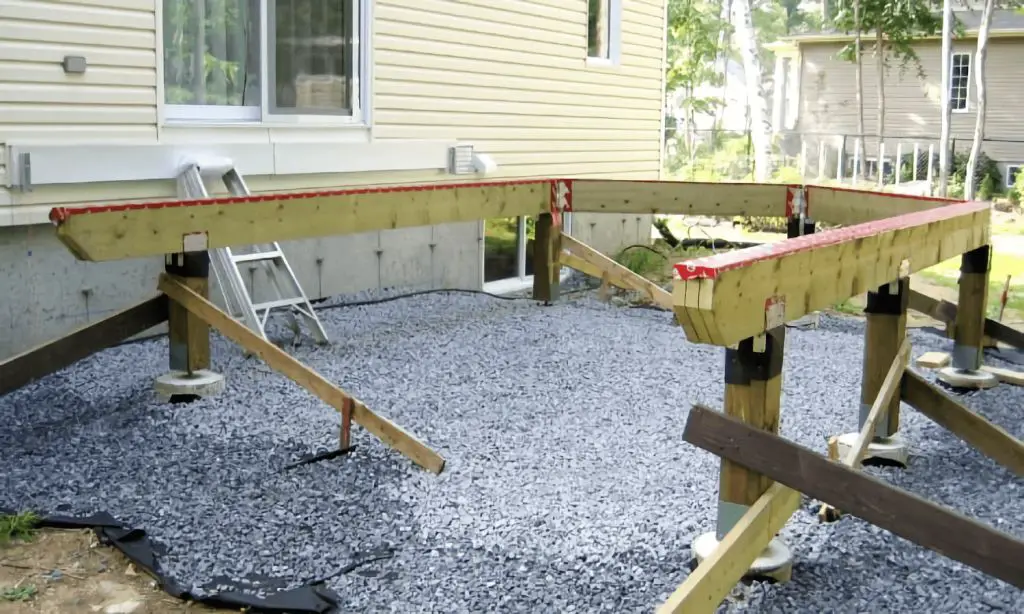
9. Organize And Strengthen The Temporary Posts
Once the precision has cured, check your posts and reinforce them to add more safety. You can use beams or edge beams to accomplish that.
After you do that, the next step is to add the beam supports within the internal parts. Properly measure and cut the top of your posts to ensure that everything is symmetrical on the deck. This helps avoid any future problems.
10. Integrate Permanent Joists
Using joist hangers will add more strength to the load weight of the interface. You can get those in different sizes based on the size of your wood.
They are used to attach the joists to the bigger book. You can use woodblocks that are cut from the wood material of the same size as the joists, which is known as blocking. You can use these woodblocks to add more strength between the joists so that they don’t twist.
11. Put In The Interface

Once you have properly laid your foundations, the next step is to install your interface. Temporarily place all of your interface boards towards the middle of the interface.
Arrange your first row perpendicularly to the beams that are on the rafter. Next, use deck screws to install them.
12. Install The Stairs For Your Elevated Interface
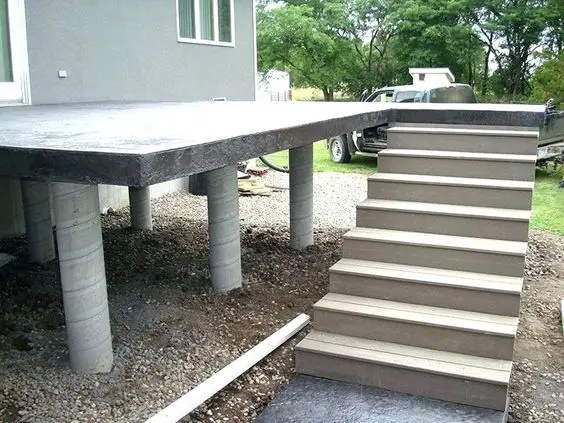
The majority of the living room stores have packs of stairs for elevated terraces, which you can buy. You also have the option to build your own terrace stairs with the help of manuals. No matter which option you pick, you need a concrete interface for the base of your stairs. The pad for that is generally four inches thick.
13. The Footing Of The Stairs
Create a base for your post, depending on the volume of your interface, so that it supports your upper staircase landing, which also includes four footings for the stairs. You have the option to pick a stair design, for example, a design that rotates 90 degrees or one that goes straight into the ground, depending on your requirements.
14. Attach Post Anchors
Use a heavy-duty hammer drill to install the post anchors to your interface shoes. These will help in keeping the stairs safe and in their place.
15. Framing Plus Fastening
Since the majority of the pieces are in place, now is the time to connect them all. Arrange your posts and make sure they are straight. Next, install your landing composition. Once that is done, the next step is to place your beam’s interface.
16. Construct The Sections Of The Staircase
The section of a staircase that you step on is called the ladder rung. The wide board that supports the steps of the ladder on each side is called a crossbar. All of these sections run at an angle, hence it is important to get the right calculations in for the stringers and ladders, which should also be within code regulations.
17. Attach The Stairs’ Railing
Stairs need handrails installed so that they follow the safety standards and the creation codes. 34 inches is the minimum height. You have the option to either screw your post to the crossbar at the top plus the bottom, or to the riser. Make sure that they are even before you move on to the next posts.
18. Install Your Interface Rails
Measure the height of your railing and the location of the railing posts to ensure that they follow the approved creation codes plus drawings. When it comes to the size of the interface, there is a possibility of a 4 – 8-foot division within the posts, which also includes a rail height of 36 – 42 inches.
Also, if you want to cover your publications, make sure that you leave some space for the covers. Making sure that your publications are spaced in a proper manner ensures their safety. Whether your caps are tolerant or not depends on your preference.
Whether you did it yourself or had professional help, you want to make sure that your new deck looks good and adds more value to your living space.
Things To Consider Before Constructing An Interface Above Ground
There are several factors that need to be taken into consideration before building something above ground, such as the location, the materials, the lot, the budget, and so on. Some of these factors are listed below in more detail.
1. The Land
Is the land mostly rocky or sloping? If the land or house slopes downwards, this can impact the post’s depth. On the other hand, the latter can make it difficult to dig for platform posts.
2. The Location
The location of your new deck matters greatly. Do you have plants on your property or does your backyard get sun exposure? You might need to install a roof if your deck is going to get a lot of sunlight.
3. Materials
There are numerous types of materials available to create an elevated interface such as pressure-treated wood, natural wood like cedar, and composite decking materials that look like timber mixed with different other materials. Hence, decks made with these materials require less maintenance.
4. Time
Take a lot of time to construct your elevated interface. This living space venture is quite advanced. Always remember that a slope accepts water plus runoff sliding off of the house’s foundation within the yard area. Even though the standard slope of 2% is ideal for driveways, backyards can have a 1% slope.
5. Steel Alternatives
When constructing a deck, you have other options to choose from for beams. You can also use steel beams for your heck. They won’t get ruined because of the elements or get destroyed over time. As compared to wood, steel beams are safer, straighter, and a better option than wood. Not to mention, they’re more economical.
Frequently Asked Questions
Building a deck or pouring concrete; which task is cheaper?
As compared to a terrace, constructing a deck on ground level tends to cost less. Plus, for $5 per square foot, using concrete is a lot cheaper. Flatland is the ideal location for patios, and decks don’t require regular maintenance.
What are the materials needed for building raised decks?
| Circular Saw | Deck boards |
| Miter Saw | Spindles (also known as balusters) |
| A cordless screwdriver or drill | Rises |
| Hammer drill | Vertical posts |
| Primary utilities | Concrete footings |
| Joists | I Beams |
| Screws |
How can I build a deck in the cheapest way?
- It is best to keep things simple. You can suppress the curves plus other specific interface properties to set it all apart, but it will greatly help to shrink the overall volume of the interface.
- Carefully pick your wood. Even though untreated wood interfaces are affordable, keep in mind the costs in the long run. The wood-filled options require maintenance or else they will deteriorate.
- Warmer months tend to be more popular when it comes to building terraces, hence attempting this project in the off-season will save you some money.
- You can do this project yourself. Besides the construction aspect of it, if you understand important factors such as the creation codes, getting privileges, and so on, then you can take on this project.
- If you are not the DIY type, then you can get a professional to complete the unfinished wood interface, while you can save money on the sealing, staining, or coloring job and do it yourself.
Conclusion
A concrete deck adds a new look to your home and increases its value. You can do more research and decide for yourself if you want to attempt this project on your own or get professional help.
More from Materialsix.com: