
A craft room can hold the things you love without feeling like a storage corner you happen to work in. If you enjoy worn wood, old cupboards, soft fabrics, and useful objects with a little history, a vintage craft room gives those pieces a practical role.
The key is to plan around your projects first, then add character through furniture and details. These ideas cover sewing stations, supply storage, worktables, and a few different room layouts.
You can borrow one approach for an existing space or combine several as you put together a room of your own.
1. Give an Antique Sewing Desk a Working Role
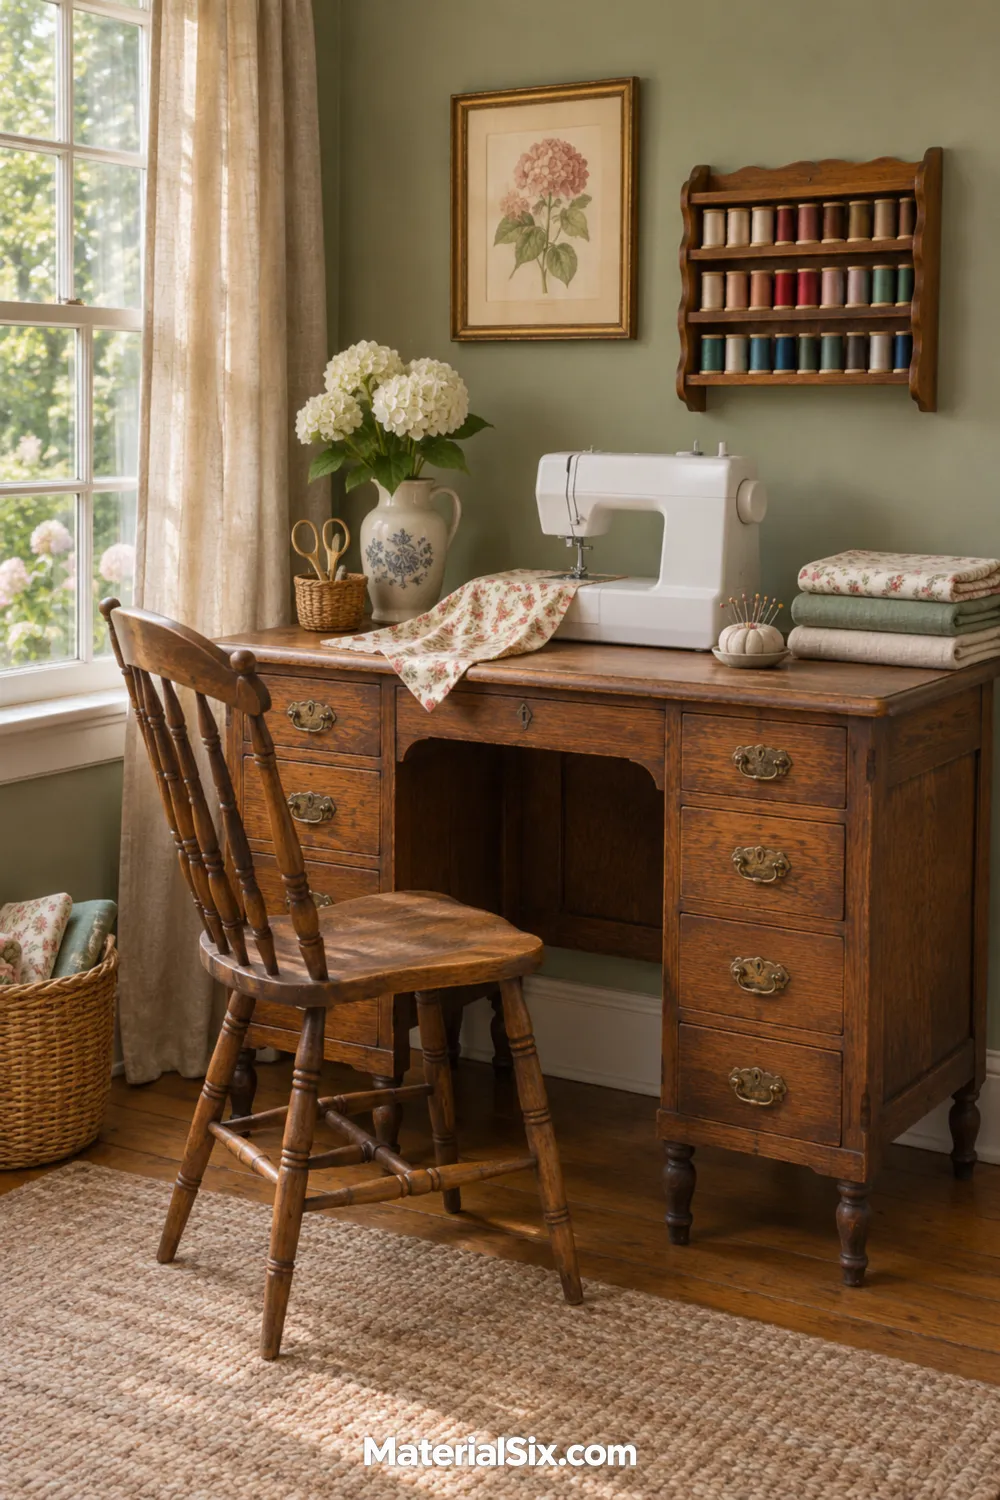
An antique oak sewing desk gives your room a useful focal point without making it feel like a display. Look for a surface deep enough for your sewing machine and the fabric behind it, then pair it with a chair that suits your working height. Keep frequently used notions in the nearest drawer instead of covering the tabletop with accessories.
A small wooden thread rack and a linen curtain can carry the vintage mood. Leave an open patch beside the machine for cutting threads or checking seams. Before bringing an older desk home, check that its drawers move freely and its joints feel steady.
2. Sort Small Supplies in an Apothecary Cabinet
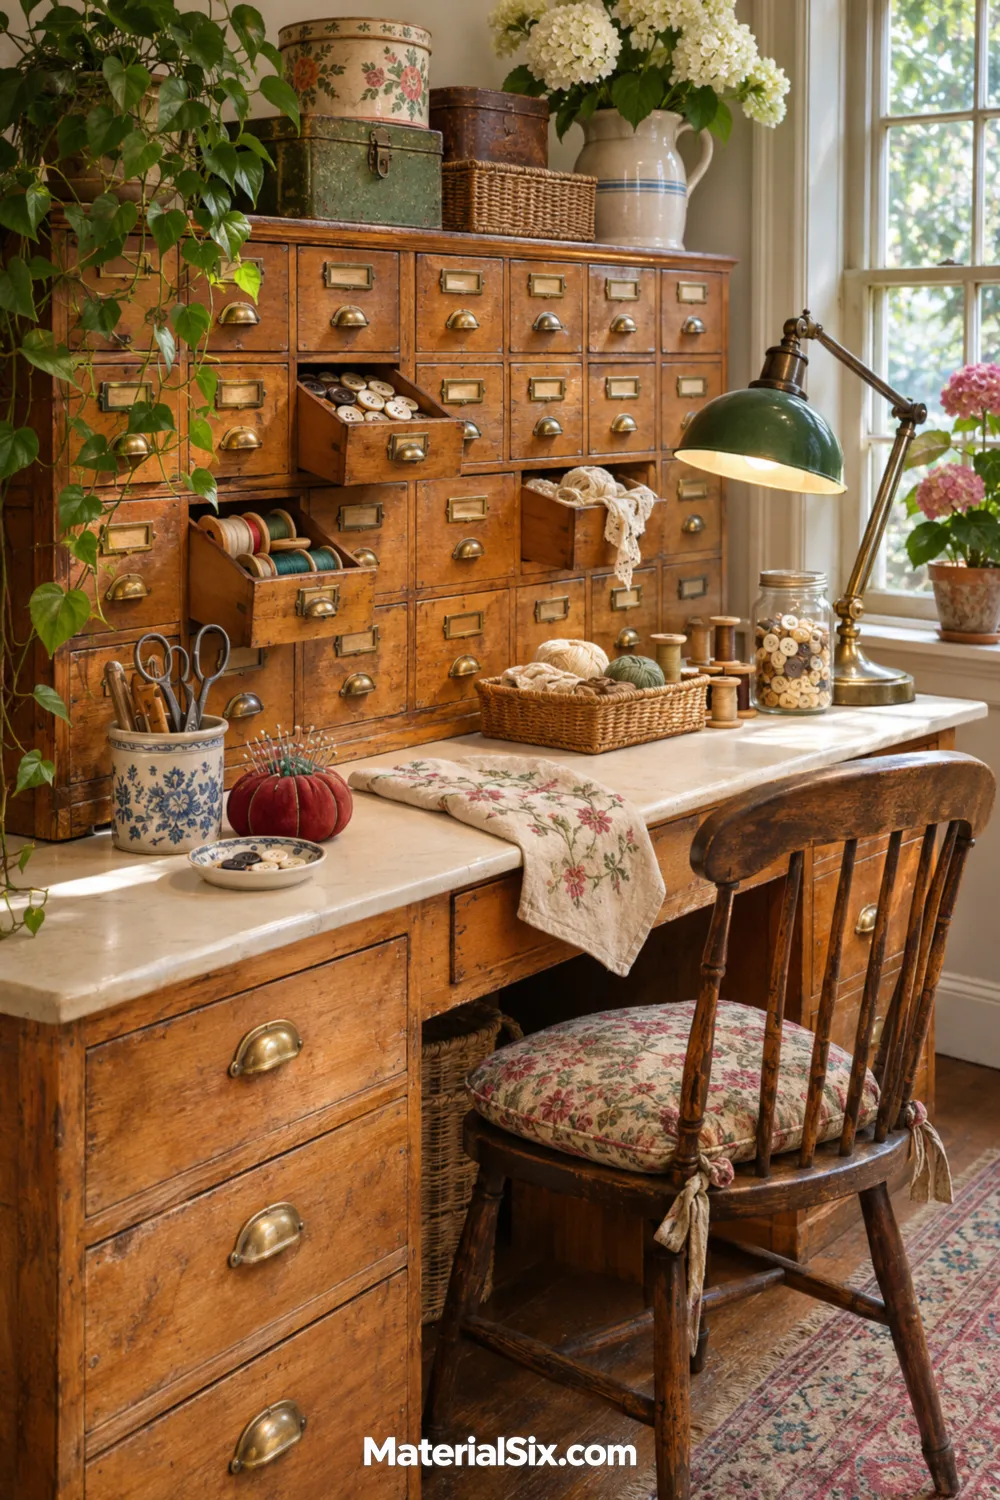
A many-drawer cabinet brings vintage character to the smallest craft supplies. Give buttons, beads, clips, and embroidery notions separate homes so you can reach for a category without emptying a large mixed bin. Choose shallow drawers for little pieces and reserve deeper ones for bulkier tools.
Set the cabinet within easy reach of your main work surface. You can keep a simple drawer map inside a nearby notebook if the original pulls have no label holders. Let the cabinet remain the visual focus, with only a task lamp and one project basket nearby. Check drawer interiors for rough spots before storing delicate materials.
3. Turn a Glass-Front Hutch into a Supply Display
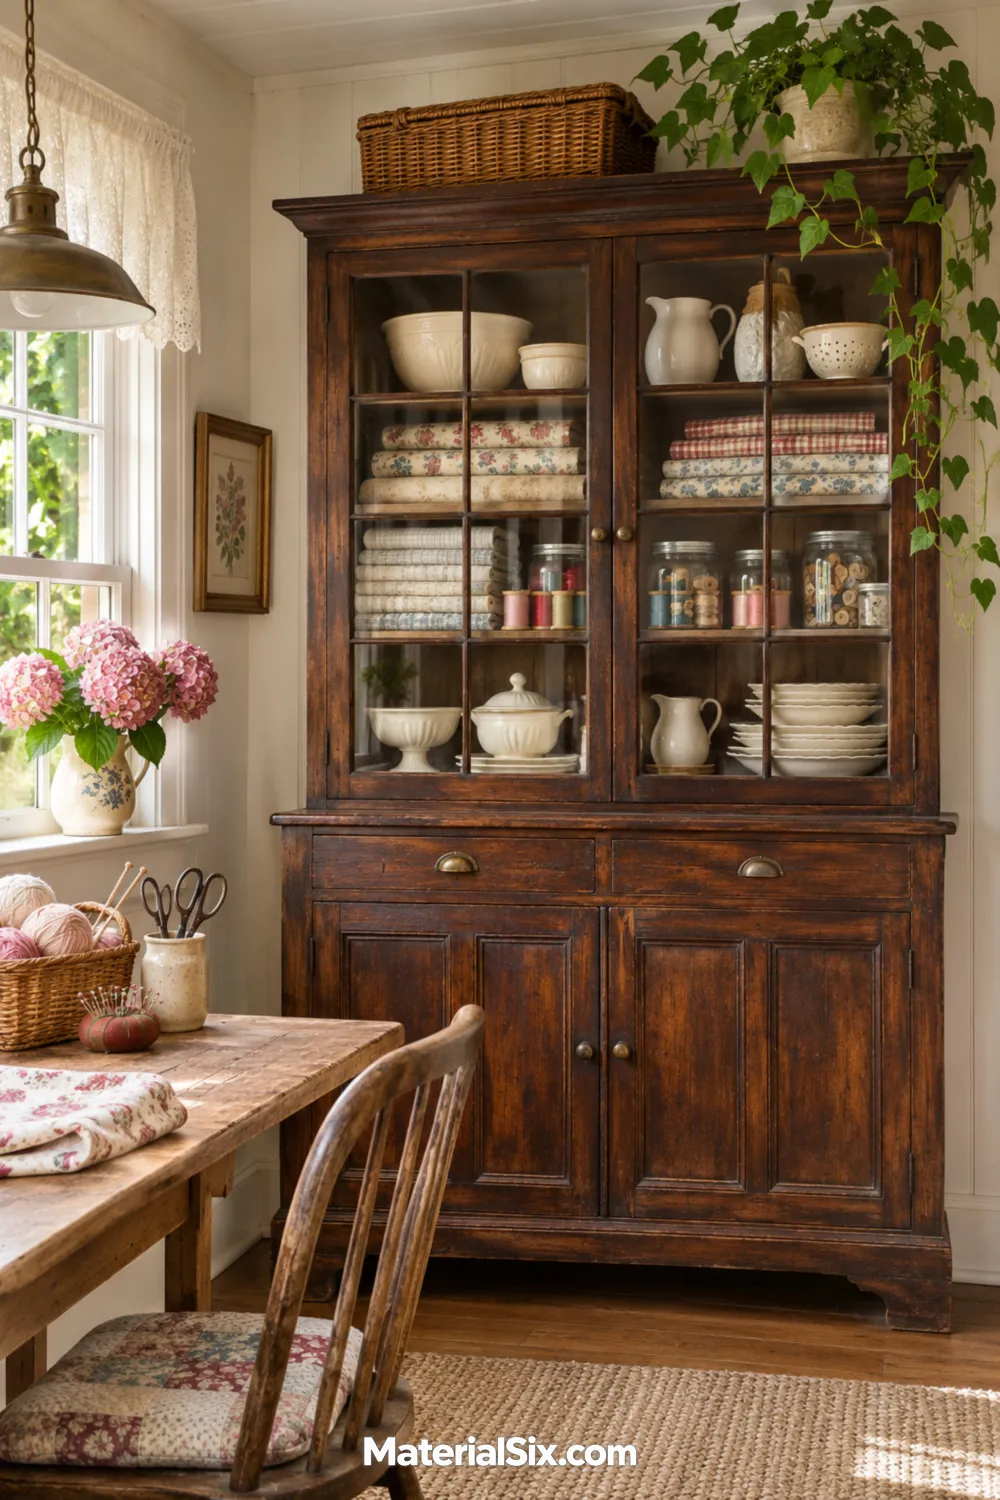
A dining room hutch can become a generous craft organizer while keeping your supplies visible. Arrange fabric bundles, baskets, and jars behind the glass, then use the closed lower cupboards for packaging and less attractive equipment. Group materials by the way you use them instead of trying to create a strictly decorative color gradient.
Vintage dishware can hold clips or thread spools on a shelf, provided the pieces are clean and have no sharp chips. Leave some space between containers so each group is easy to remove. A pale wall behind a dark hutch helps the furniture stand out without filling the room with more decoration.
4. Frame a Pegboard Above Your Worktable
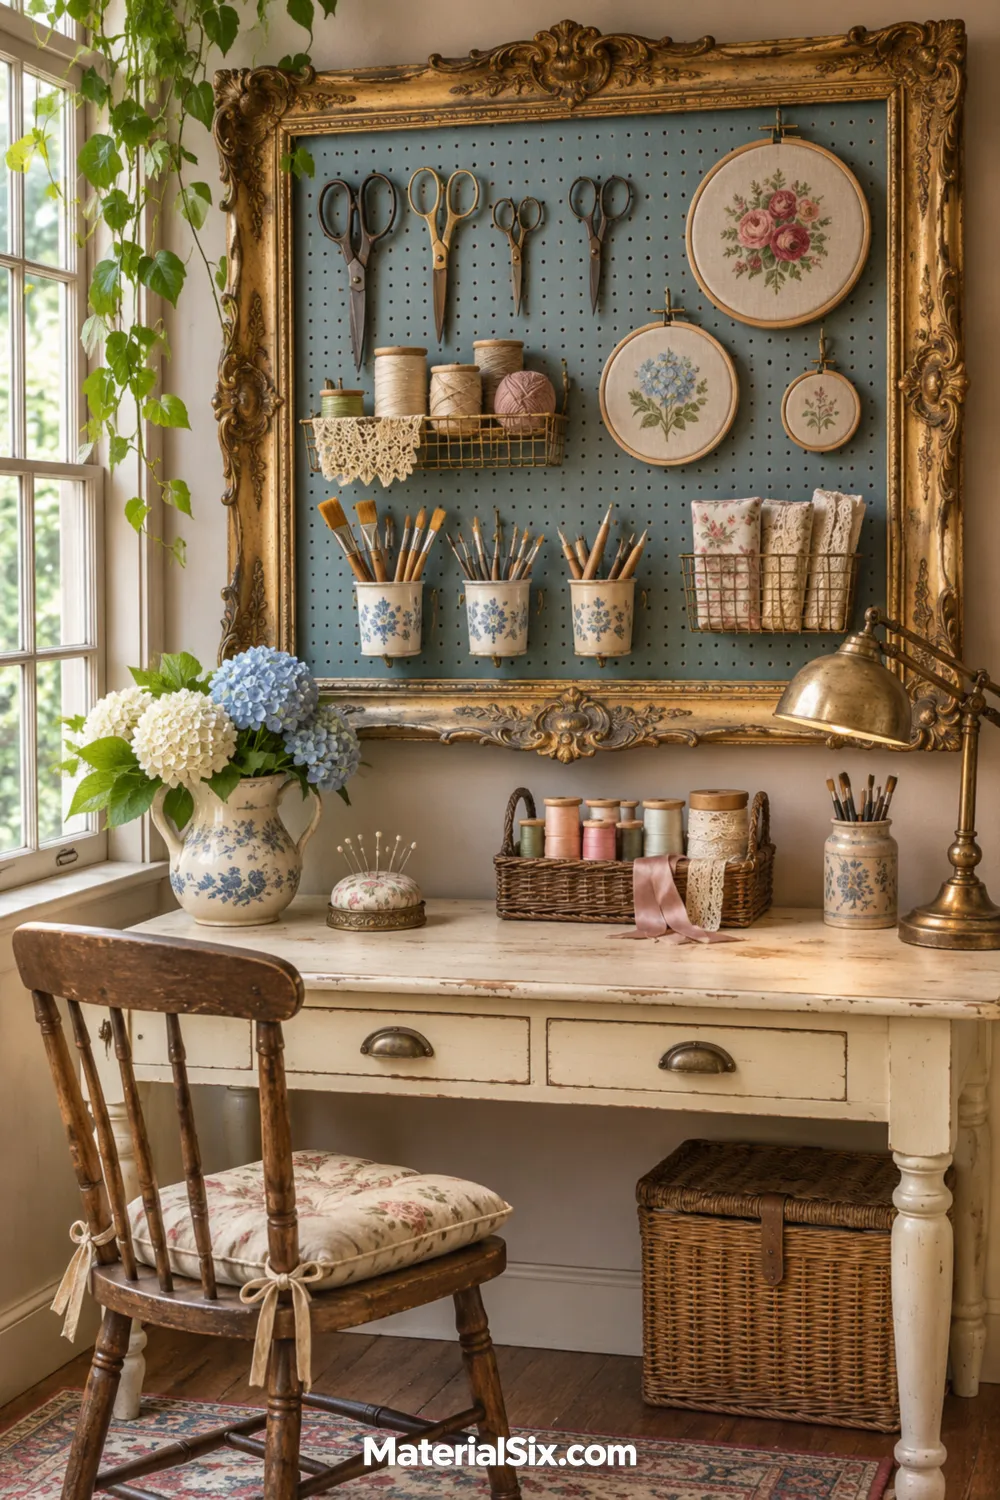
A framed pegboard gives everyday tools a place on the wall while borrowing the look of an old picture frame. Use a frame with enough depth and a secure mounting arrangement for the board and the supplies you plan to hang. Place scissors, hoops, and ribbon where you can reach them without stretching across your project.
Keep the layout generous rather than filling every opening. A few hanging cups can hold pencils and brushes, leaving the worktable clear. Choose a muted board color that works with the room, such as dusty blue or warm cream. The vintage detail comes from the frame, while the storage remains practical.
5. Center the Room on a Farmhouse Worktable
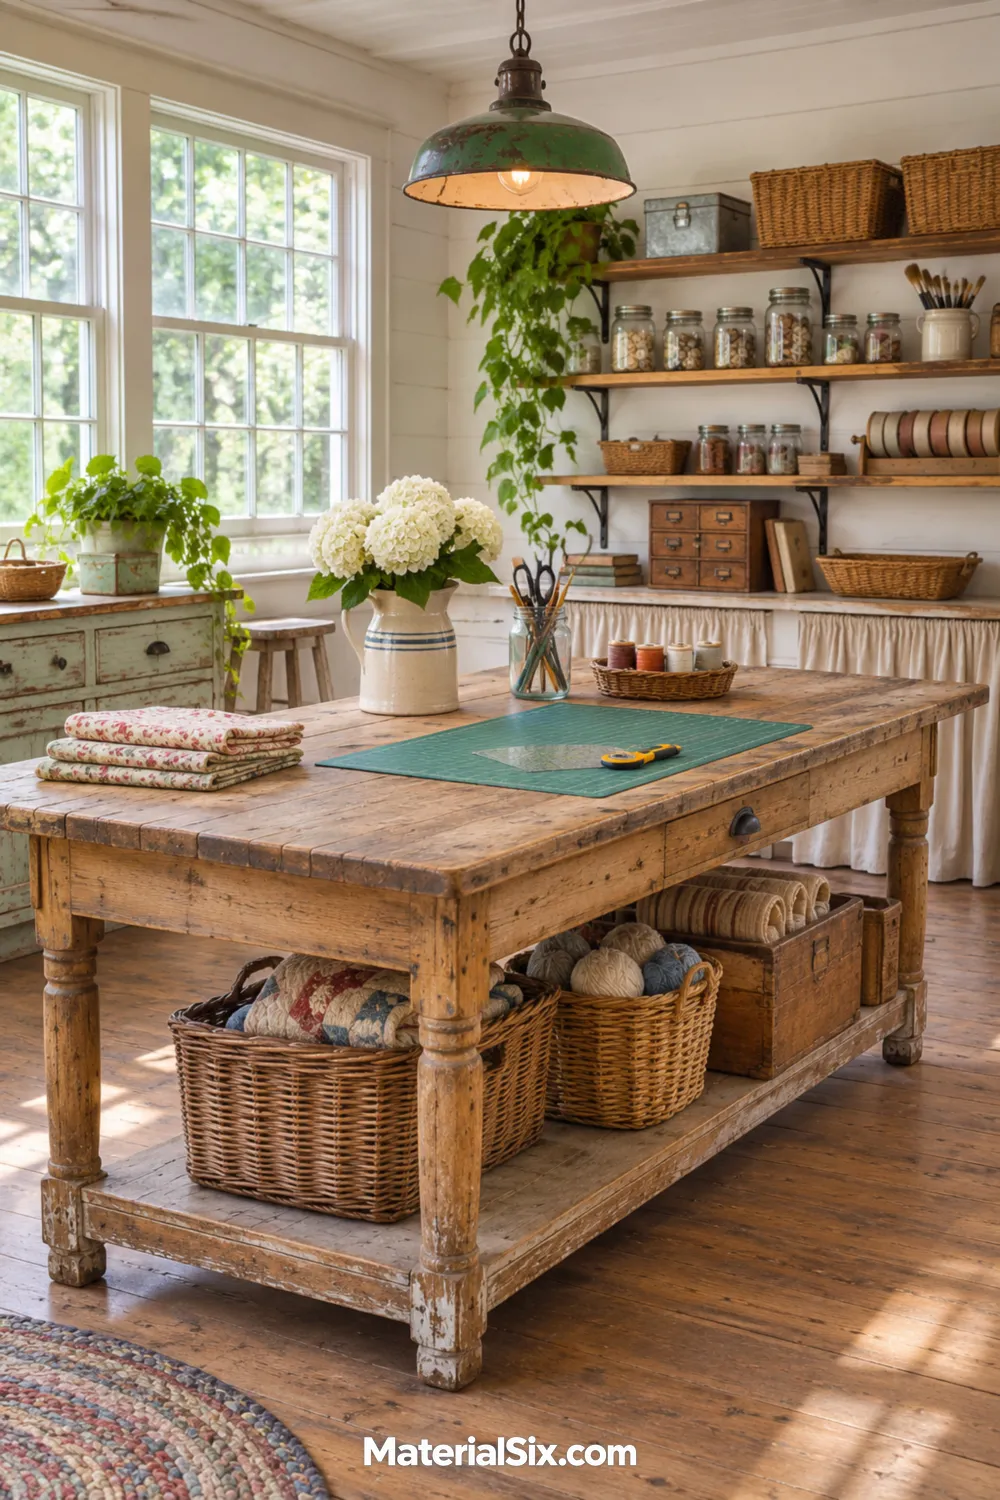
A freestanding farmhouse table gives you room to approach a project from several sides. This layout is useful when you spread out fabric, assemble paper pieces, or switch between crafts during a session. Before choosing a table, map the chair space and walking routes so the room still works with someone seated.
Use baskets beneath the table for current projects, keeping the floor around your feet clear. A removable cutting mat protects an older wooden top during messy or sharp-tool work. Mix the table with simple storage along the walls, then let its worn wood supply most of the room’s vintage character.
6. Build a Sewing Nook Beneath the Eaves
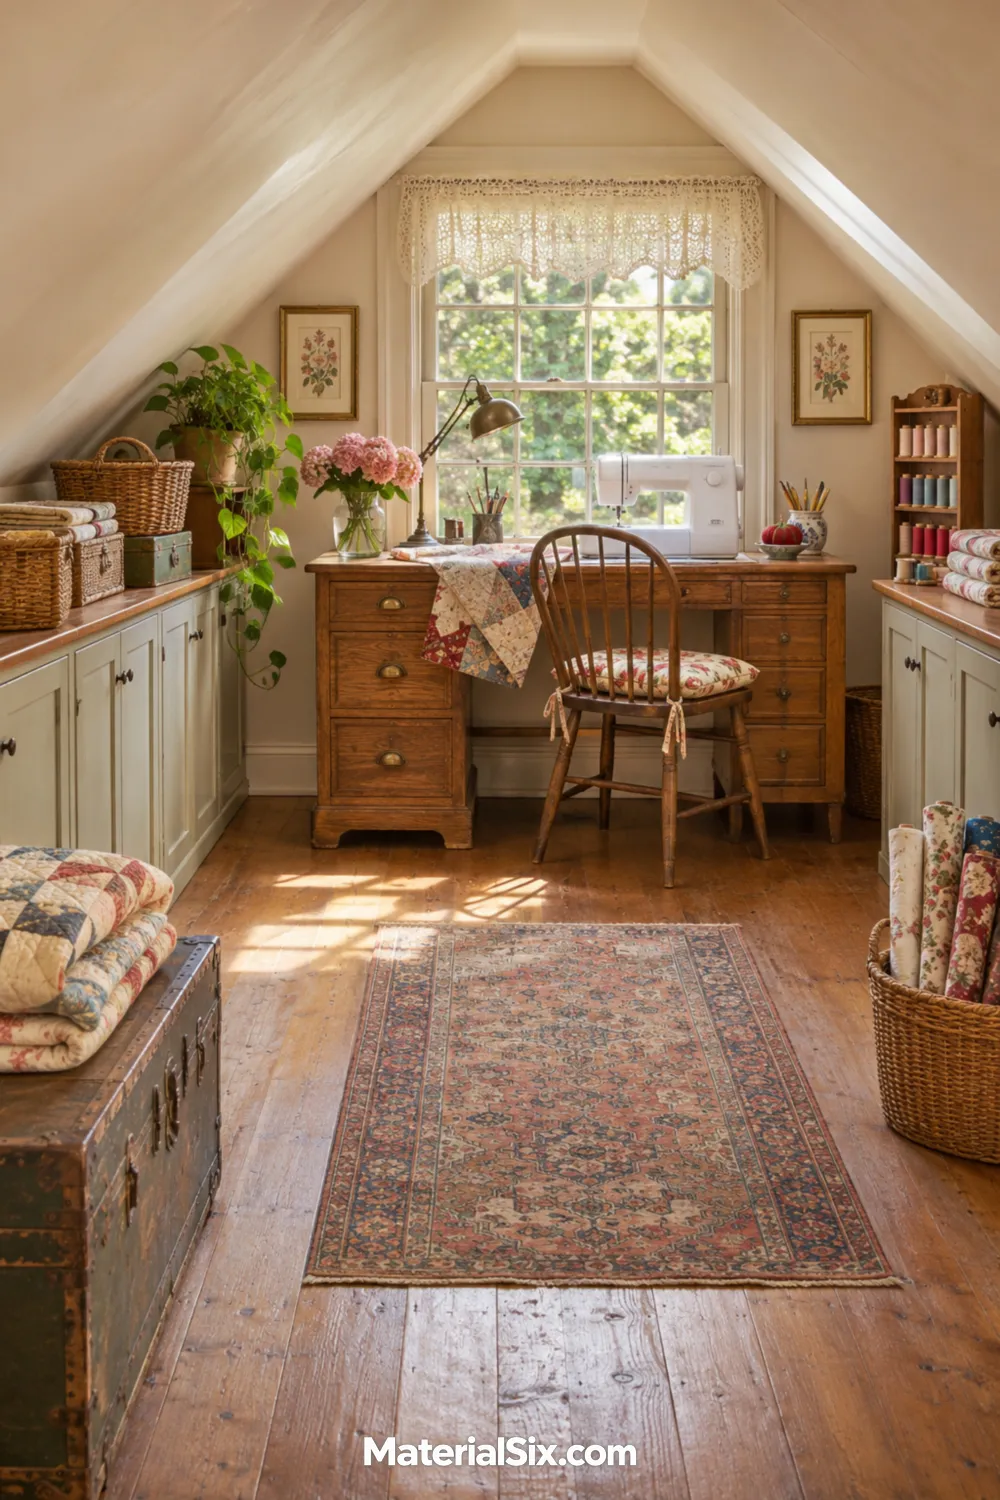
An attic craft room can use its lowest edges for storage and reserve the taller center for moving around. Tuck a shallow cabinet beneath the slope, then position your sewing desk where you can sit and stand comfortably. Check the actual headroom with your chair in place before committing to the arrangement.
Keep the palette light enough to show the room’s shape, with warm wood or a patterned curtain adding character. A task lamp matters when the desk sits away from a window. Use the lowest shelves for supplies you do not need constantly, and avoid crowding the main path with decorative trunks or floor baskets.
7. Make a Closet-Sized Craft Station
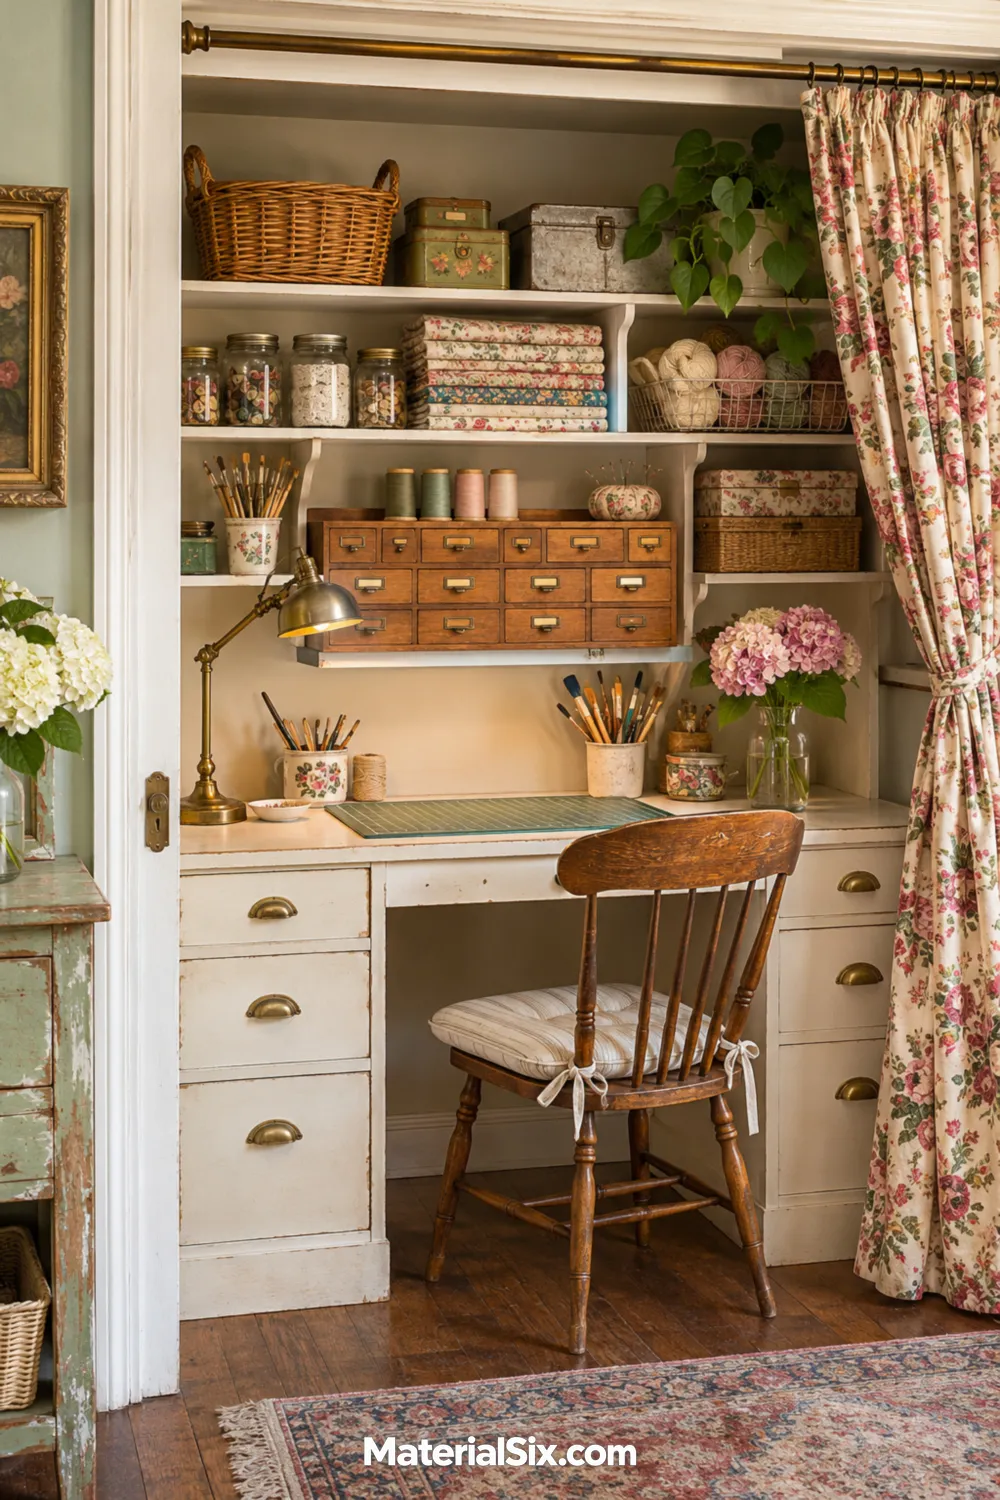
A shallow closet can hold a compact craft station when you plan around the projects you actually make. Start with a work surface that leaves room for your knees and a chair, then add shelves above for a limited collection of supplies. Measure equipment with its working parts open, including any trays or extension surfaces.
A floral curtain can soften the opening when the station is put away, while a small wooden drawer organizer adds vintage style inside. Keep daily tools on the lowest shelf and lighter backup materials above. Use a nearby outlet without trailing cords through the doorway, and leave the opening easy to access.
8. Give a Craft Shed a Cottage Interior
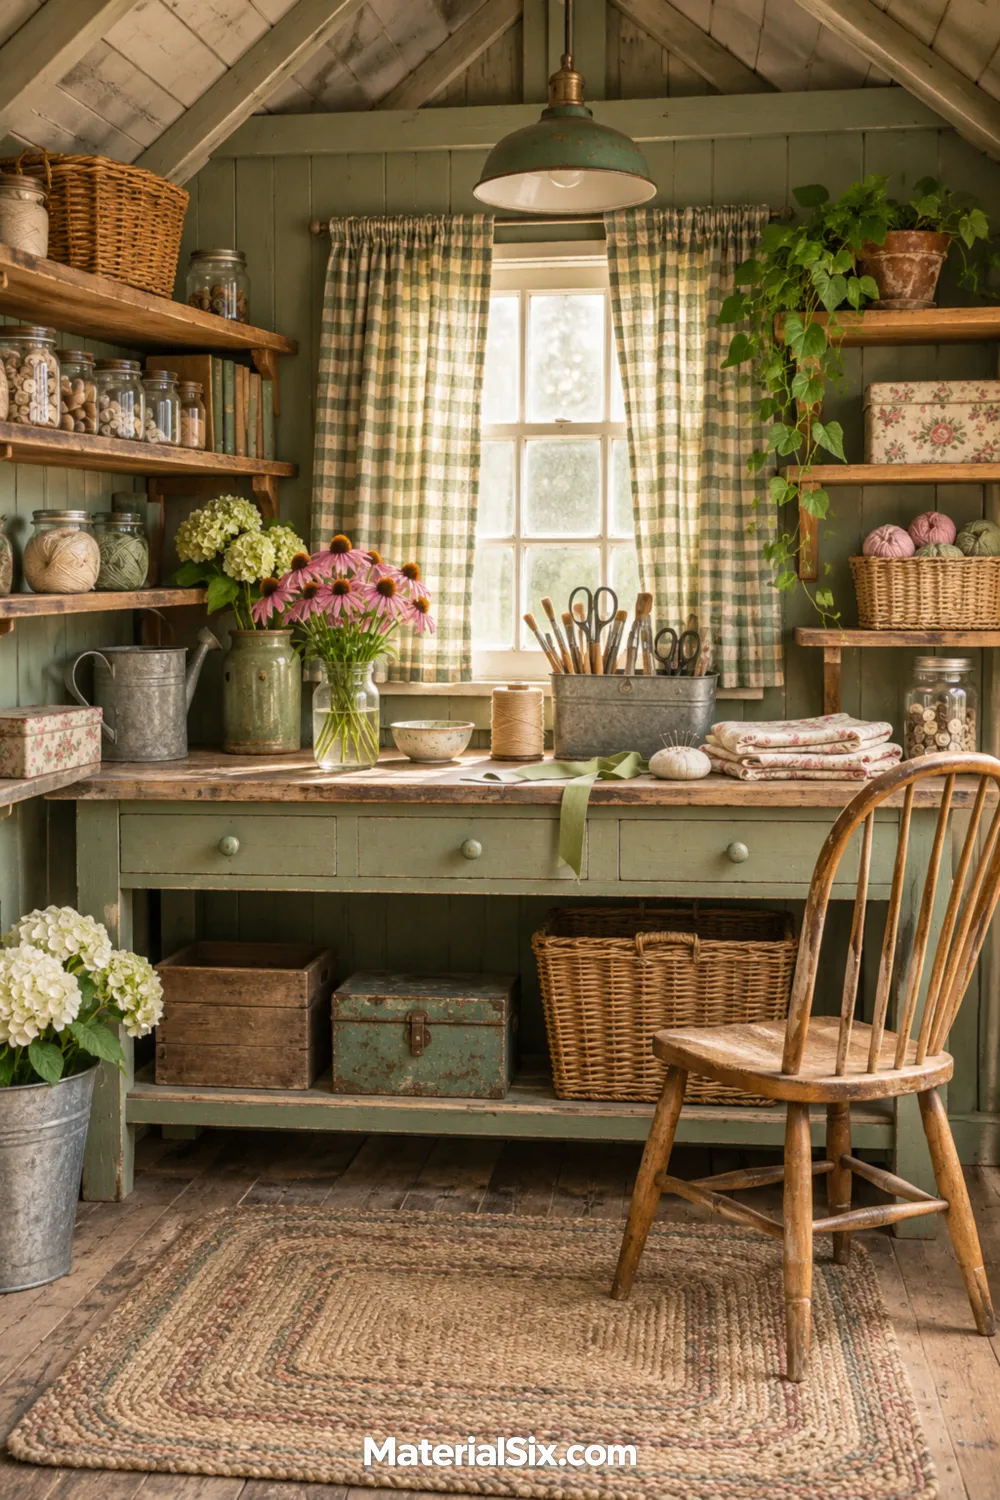
A craft shed can feel welcoming with a painted workbench, open shelving, and a few familiar cottage details. Let the main work surface sit near a window, then keep your most-used supplies on the adjacent wall. Choose furnishings that suit the actual floor space rather than copying a full indoor craft room.
A washable rug, checked curtain, and wood chair can bring warmth without using much room. Before moving paper, fabric, or equipment into a shed, consider the conditions inside throughout the year. Keep sensitive supplies indoors if the space is damp or subject to temperature swings. Plan lighting and power separately with qualified help when needed.
9. Keep Paper Flat in a Vintage Drawer Chest
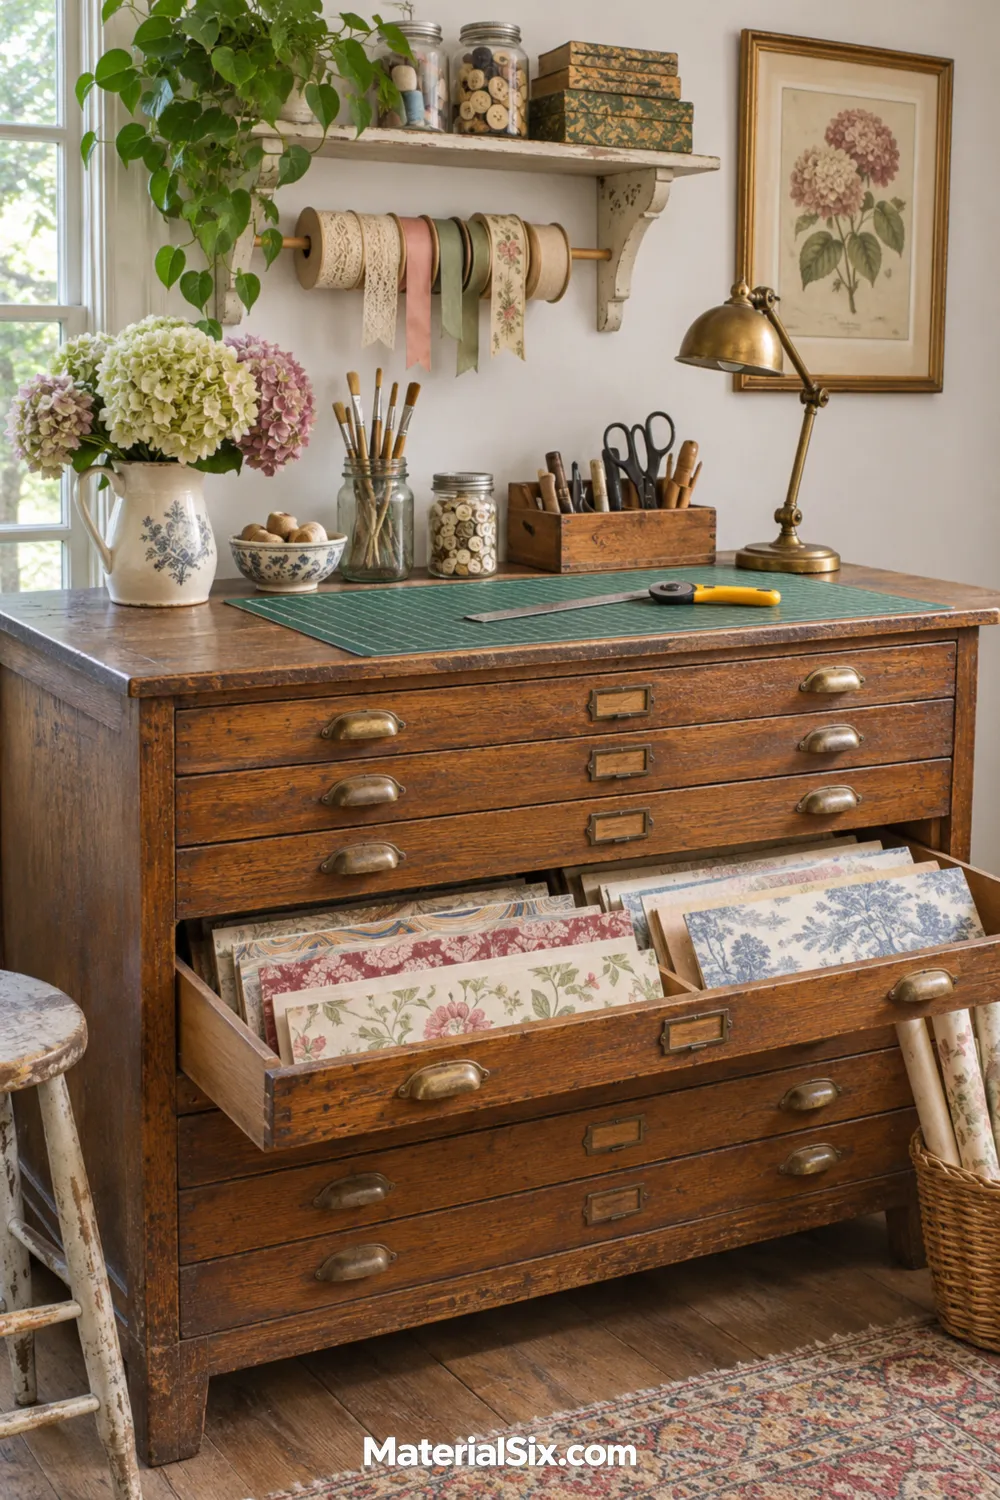
A flat-file chest gives large paper sheets a dedicated home without folding them into smaller containers. Separate watercolor paper, patterned sheets, and finished work by drawer so you can remove one group at a time. Check the usable drawer size before buying a cabinet, since the outside dimensions can be misleading.
Set a compact cutting surface above the chest if its height suits your work. Use clean storage folders between delicate sheets rather than placing everything directly against an older drawer interior. Pair the broad cabinet with simple shelving or a narrow chair so the room does not feel crowded by several heavy furniture pieces.
10. Store Fabric in a Linen Cupboard
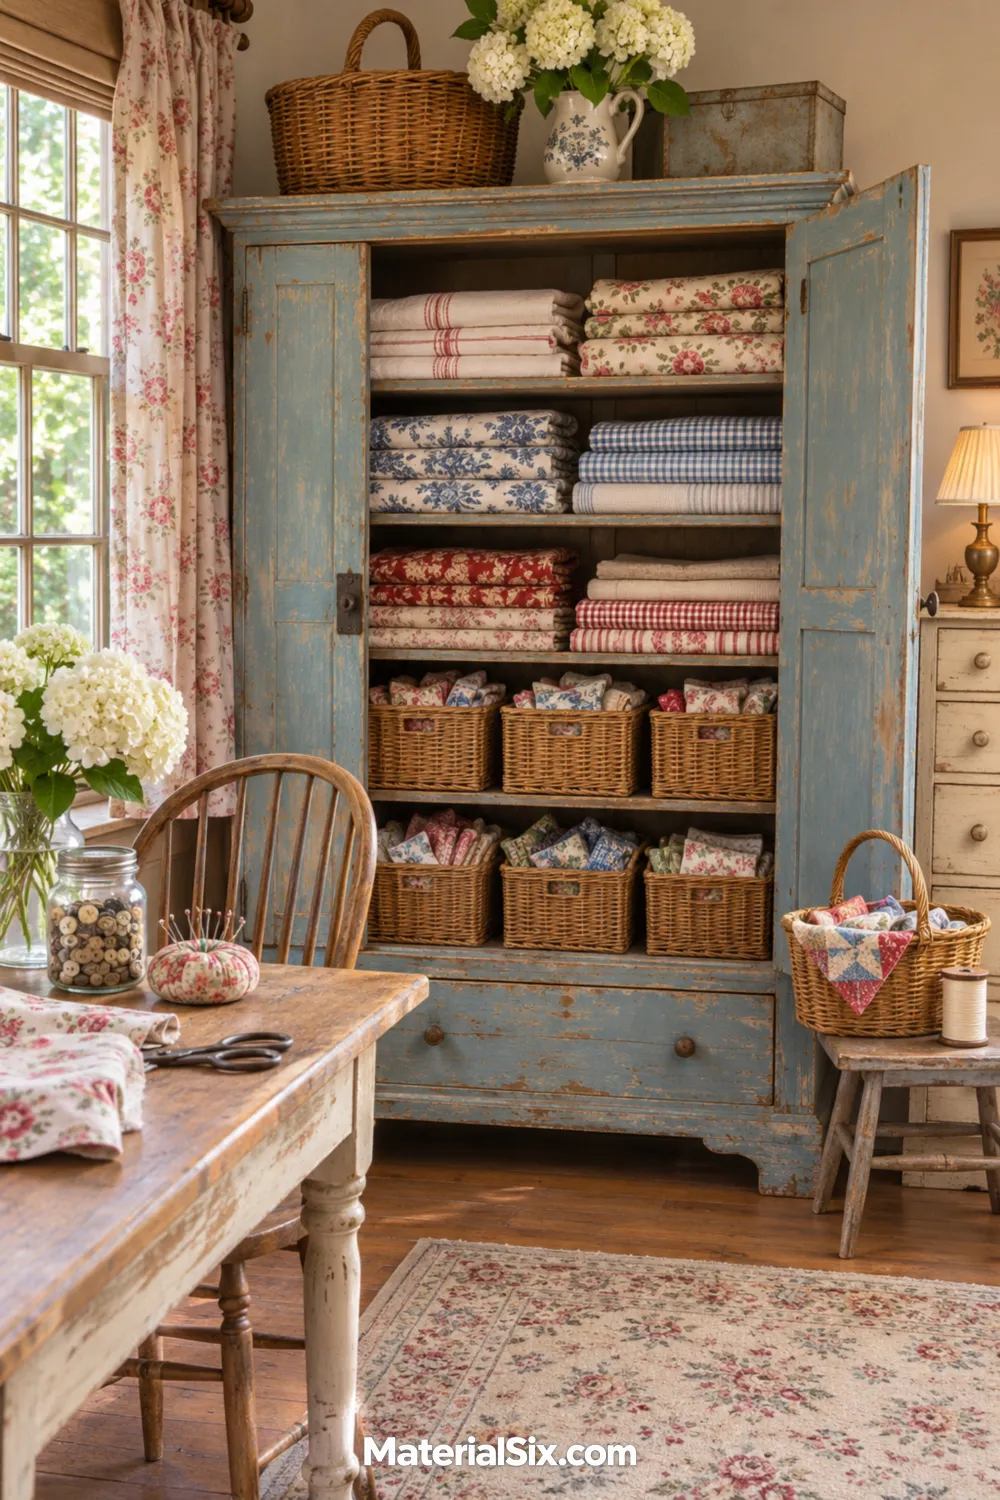
A linen cupboard can give your fabric collection a calm, furniture-like presence. Fold each length to a similar width so you can see the options without pulling out an entire stack. Keep heavier bundles on lower shelves and smaller remnants in separate baskets that slide out easily.
Closed doors are useful when you prefer a quieter room between projects. Inside, leave enough space around each stack for your hand rather than packing shelves to the edges. A clean shelf lining can separate fabric from an older wood surface. Place a small project basket nearby for the pieces you are currently using, so they do not disappear into the larger collection.
11. Use a Rolling Cart for Works in Progress
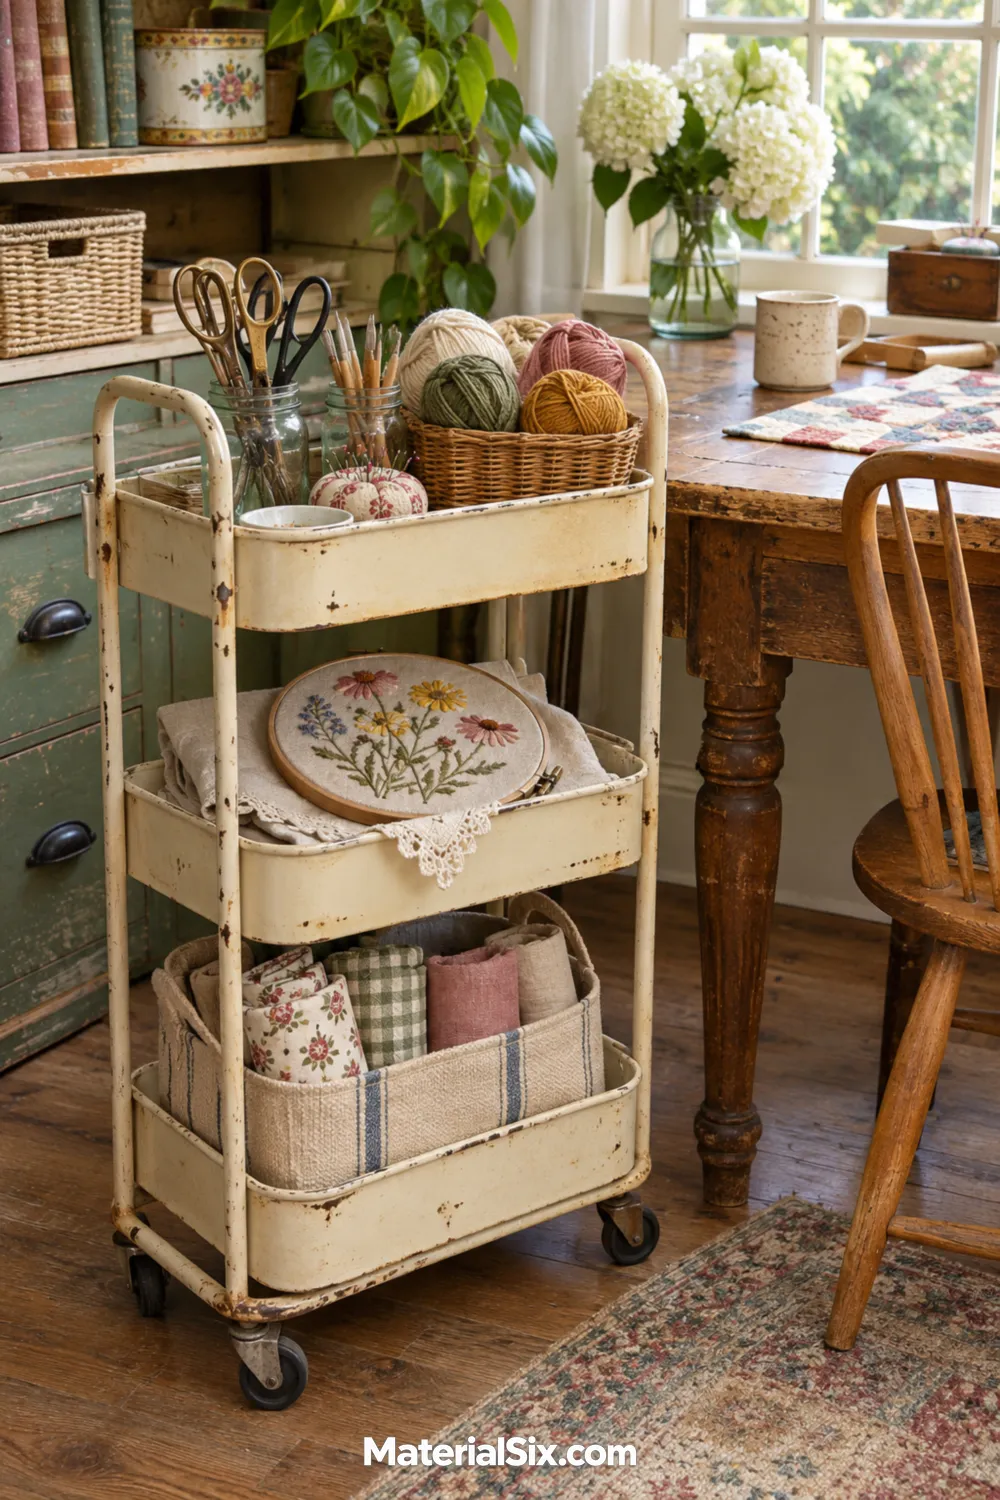
A small rolling cart can carry one active project between your storage and worktable. Give the top shelf to the tools you need now, and keep project materials together in a tray below. This keeps temporary supplies from spreading across every surface in the room.
Choose a cart with wheels that move comfortably on your floor and check that it stays steady while parked. An older metal utility cart can suit a vintage room, but clean it thoroughly and check edges before using it for fabric or yarn. Leave a parking spot beside the table so the cart becomes part of the layout instead of an obstacle in the walkway.
12. Create a Library Wall for Craft Books and Baskets
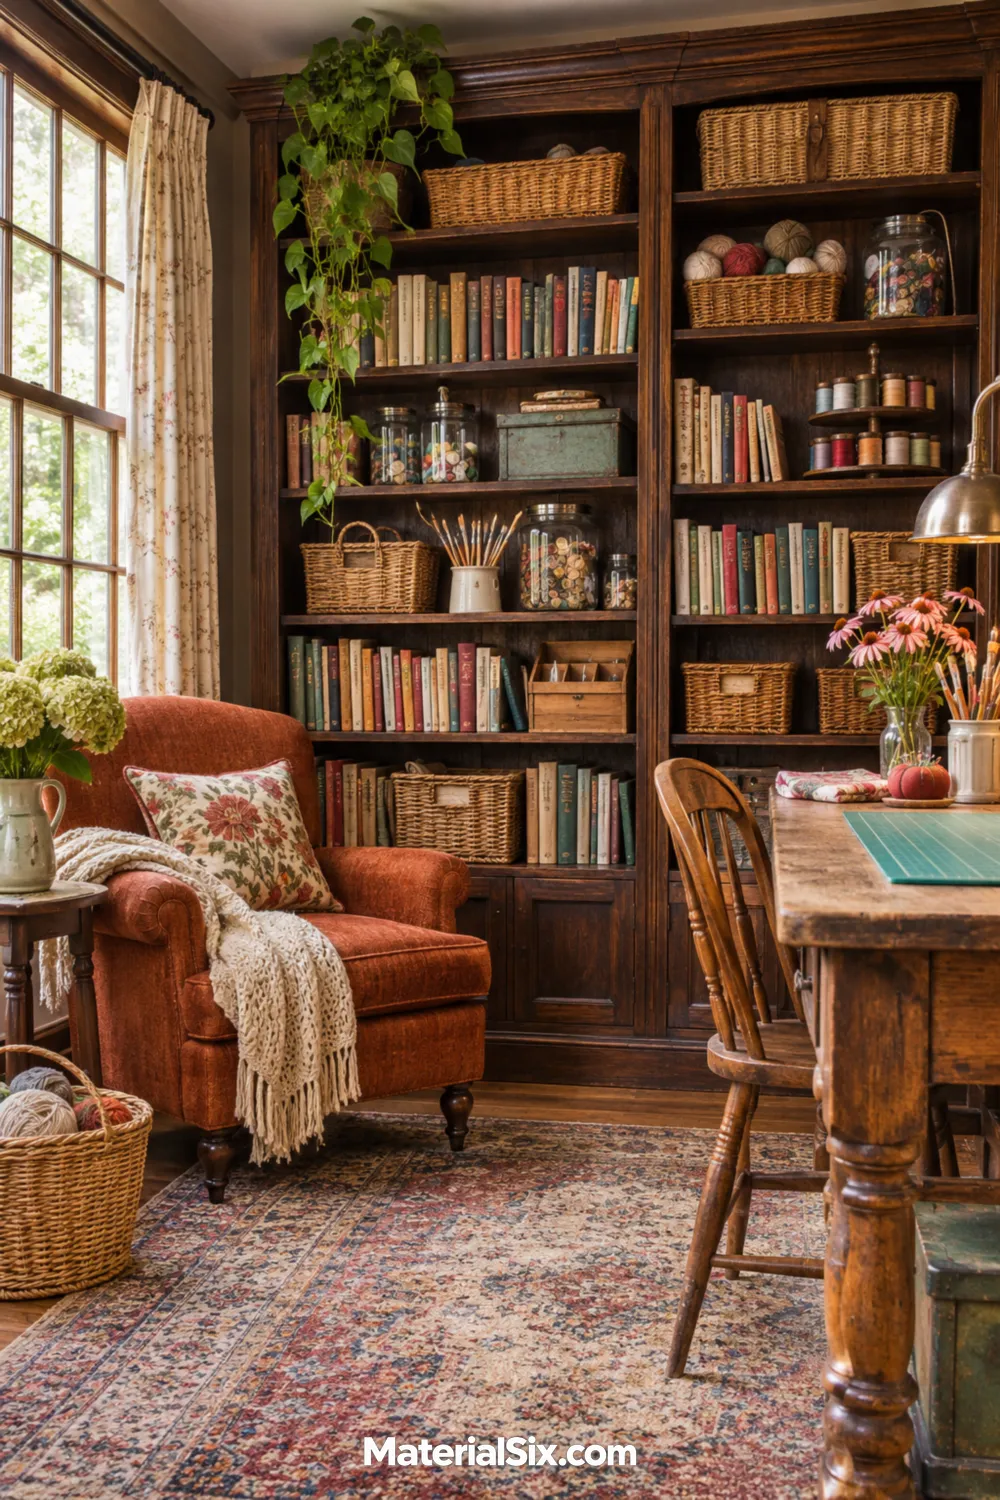
A wall of bookcases can bring the feeling of a collected home library into a craft room. Mix reference books with baskets of materials, keeping frequently used supplies at an easy reaching height. Group related crafts together so the shelves help you find something rather than simply displaying everything you own.
Try a secondhand bookcase with sturdy shelves and a finish that works with your desk. Secure tall furniture appropriately for your wall and household. A comfortable reading chair nearby gives you a place to review patterns or plan a project. Leave the worktable separate, with enough clear space to put those plans into practice.
13. Hang Ribbon and Wrap on Wooden Spool Racks
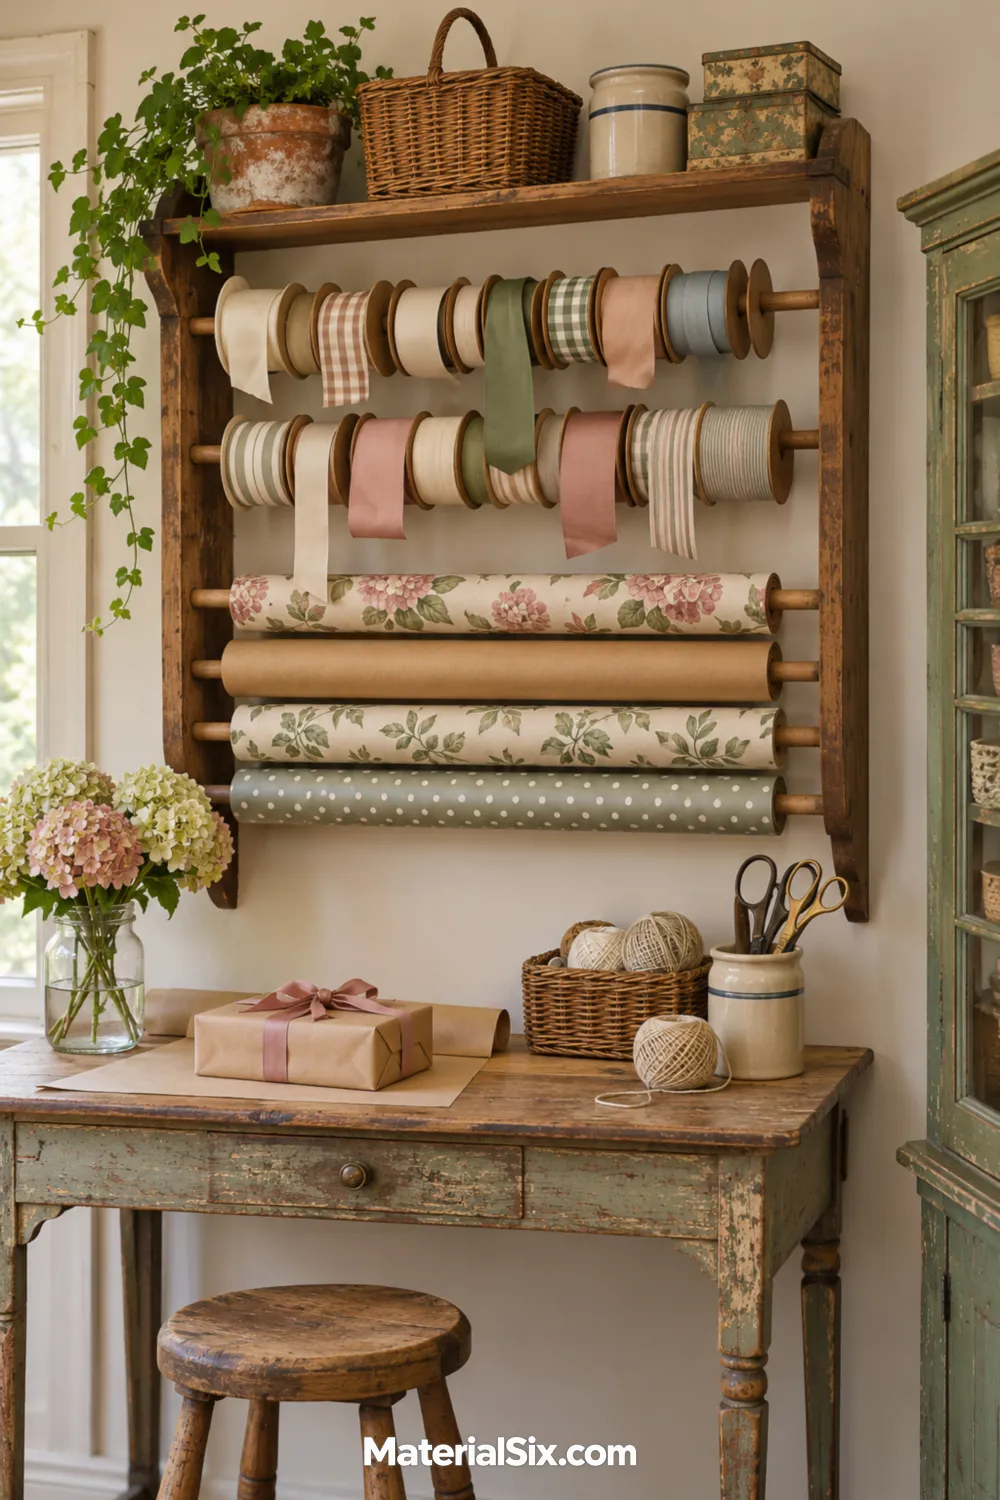
A wall-mounted rack can make ribbon, twine, and wrapping paper easier to see before you begin a project. Use separate rods for different materials so removing one roll does not disturb the entire arrangement. Check that the rack can carry the combined weight and that the supports suit the wall.
A wood finish and simple metal brackets fit comfortably into a vintage-inspired workspace. Position the rack above a wrapping table with enough clearance to pull material down without knocking into supplies. Keep scissors in a nearby drawer or cup. Limit the display to the rolls you use regularly, storing extras elsewhere so the wall remains readable.
Start with the part of your workspace that causes the most friction, whether that is a crowded table or supplies you cannot find. Choose a vintage piece that solves that problem, then build the rest of the room around the way you work. Save your favorite ideas and keep the details that suit your projects, space, and collection.