Every laundry room has an abundance of water, so you need to tame it and direct it in the right direction. In order to divert the water down the right path, direct it to the drainpipe and then into the sewer main.
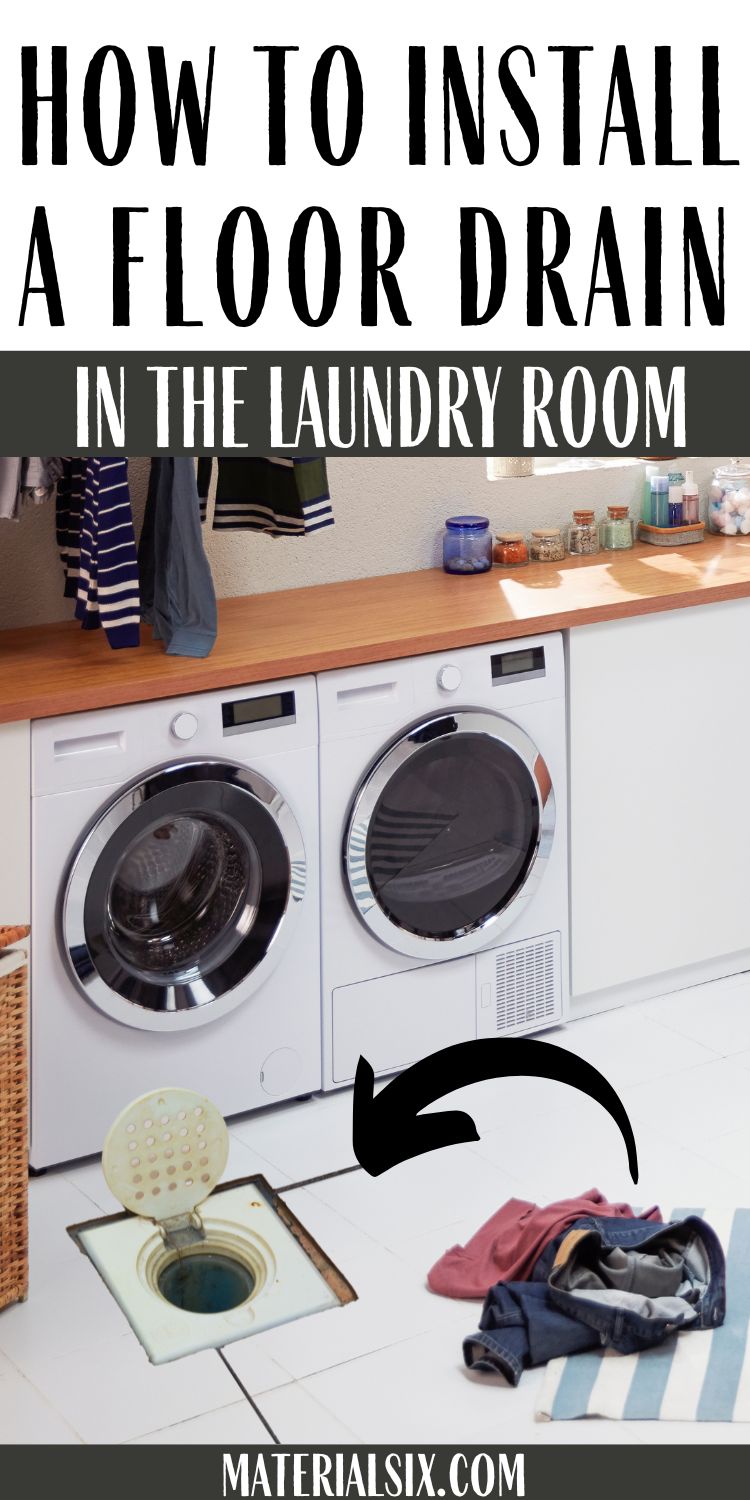
An escape route for the water in the laundry room is a floor drain. Similar to your shower drain, a drain in your laundry room at the lowest point can collect water at a central point and discharge it down and away.
A laundry room floor drain is one of the best ways to get rid of water in your house. It’s pretty simple to install; all you need are some basic tools and a little bit of know-how, along with this article. Once you’re done installing the floor drain, follow these tips on how to maintain it for optimum performance!
How Do Laundry Room Floor Drains Work?
Drains in laundry rooms provide a way for spilled water to exit the room. A 2-inch drain is covered with a grated grate so that water on the laundry room floor can drain away.

Through a short section of ABS pipe below the floor, the water flows vertically down to the P-trap, then through branches of the house’s plumbing into the sewer main.
Laundry room floor drains can be installed by following a few simple steps. First, the laundry room floor is punctured with holes for the pipe to connect to the P-trap and to go down into a drain stack or branch of the plumbing.
Water is expected to be minimal on most floors. With a drain, a laundry room acts more like a waterproof basin.
Installing the laundry room floor drain is ideal if the flooring is being installed during a renovation or new construction project.
We want to ensure that we can run pipes underneath the floor structure easily.
In a new floor system or reinstalling an old one, waste and vent runs must be connected between the joists or perpendicular to the joists.
The drain must be built on a completely waterproof floor. If you are adding a floor covering (such as tile), you should place a sheet or liquid waterproof membrane beneath it. In addition to extending several inches up the walls, the membrane should extend on all sides to the drain collar, and as far as possible from the collar.
Here’s What You Need To Know Before You Begin

Identify the point at which the sanitary tee will eventually be connected before you begin this project. A sanitary tee joins a branch drain (like the one in the laundry room) to the vertical drain most likely outside the house.
You may need to remove a portion of the ceiling in the lower level if it is a habitable floor or finished basement. A metal grid suspended below a drop ceiling can be accessed by removing the ceiling panels.
The drywall ceiling must be cut into, removed, and then reinstalled after the removal. A subfloor under the room to be drained is needed for laying tile or any other waterproof material.
It also provides added support for hardwood floors, which are resistant to flexing when someone walks on them. The subfloor should be level so that the rubber floor drain liner can lie flat against it.
The Steps To Follow When Installing A Floor Drain In A Laundry Room

1. Make a hole in the floor and cut it
Prepare a 2-inch hole in the laundry room floor at the location where the drain will be located by cutting a 2-inch hole with a hole saw or jigsaw. The floor of your laundry room may also have tile flooring, so you will need to remove some tiles and mortar as well.
Make sure the drain hole is located at the lowest point of the floor. It will not drain properly if it is located at a high point.
2. Install the Drain in the Floor

On the floor, screw the ABS floor and shower drain in place. Through the hole in the lower extension, it should extend into the floor beneath.
3. Extend the drain assembly with an extender pipe
Make a 12-inch cut in the ABS pipe. Make sure the pipe is square when you cut it. Using sandpaper, remove any plastic burrs.
Apply ABS glue on both the inside and outside of the 2-inch coupling, then apply another layer of ABS glue around the pipe that extends above the laundry floor. Hold the two pipes together with a lot of pressure for about one minute (or until the glue has set).
4. Install the P-Trap

The drainage system will eventually connect with the drainpipe that is currently in place. Draw a straight line between the two. Make sure the P-trap follows the straight line you formed in the assembly in the previous step. Once again, ensure that the P-trap is pointed directly toward the drain line by gluing the two sections together.
5. Cut into the End-Point Drainage Pipe
Make cuts into the drainage line using a reciprocating saw or hacksaw. Using the ABS pipe cut section as an example, fit and glue up the 2-inch sanitary tee. The ABS pipe should be held up by steel hanging straps screwed into floor joists.
Drains must also be connected to existing vent stacks in order to meet plumbing codes. Connect the vent stack using a sanitary tee. To operate this fixture, the top of the tee must be visible above the rim of the floor.
6. Install the Pipe to the 
In order to maintain the required drainage slope, the drain line must slope at least 1/4 inch per horizontal foot. To connect the P-trap and the ABS elbow, cut the 1/2-inch ABS pipe in half. Remember to include the inside of the coupling hubs when measuring.
In case of a large-scale water spill, water-resistant baseboards protect walls. Glue all areas of the pipe with ABS/PVC glue, but not so much that the glue drips. With practice, fitting ABS pipes becomes easier.
You can practice it on waste ABS pipe by buying an extra 2-inch hub-to-hub ABS coupling. When ABS pipe is glued into a coupling, it tends to push out. Until the glue cures, hold the sides firmly together.
Conclusion
In conclusion, the first step to preventing leaks and other problems in your laundry room is to install a proper floor drain. To do this, you’ll need to remove any existing flooring, insulation, and subfloor.
Once you have access to the floor, you can run the drain pipe down to the outside of your house. It’s usually recommended to bury the drainpipe at least two feet below ground to prevent any kind of water damage to the floor or subfloor.
The next time you are planning on installing a floor drain in the laundry room, here are some helpful tips to keep in mind.
More from Materialsix: