When furnished with an outdoor chair and table, your patio will be the next favorite spot to sit back and get relaxed.
Nevertheless, the idea of dazzling sunlight and pouring rain may make you think twice to use this outdoor area for a long time.
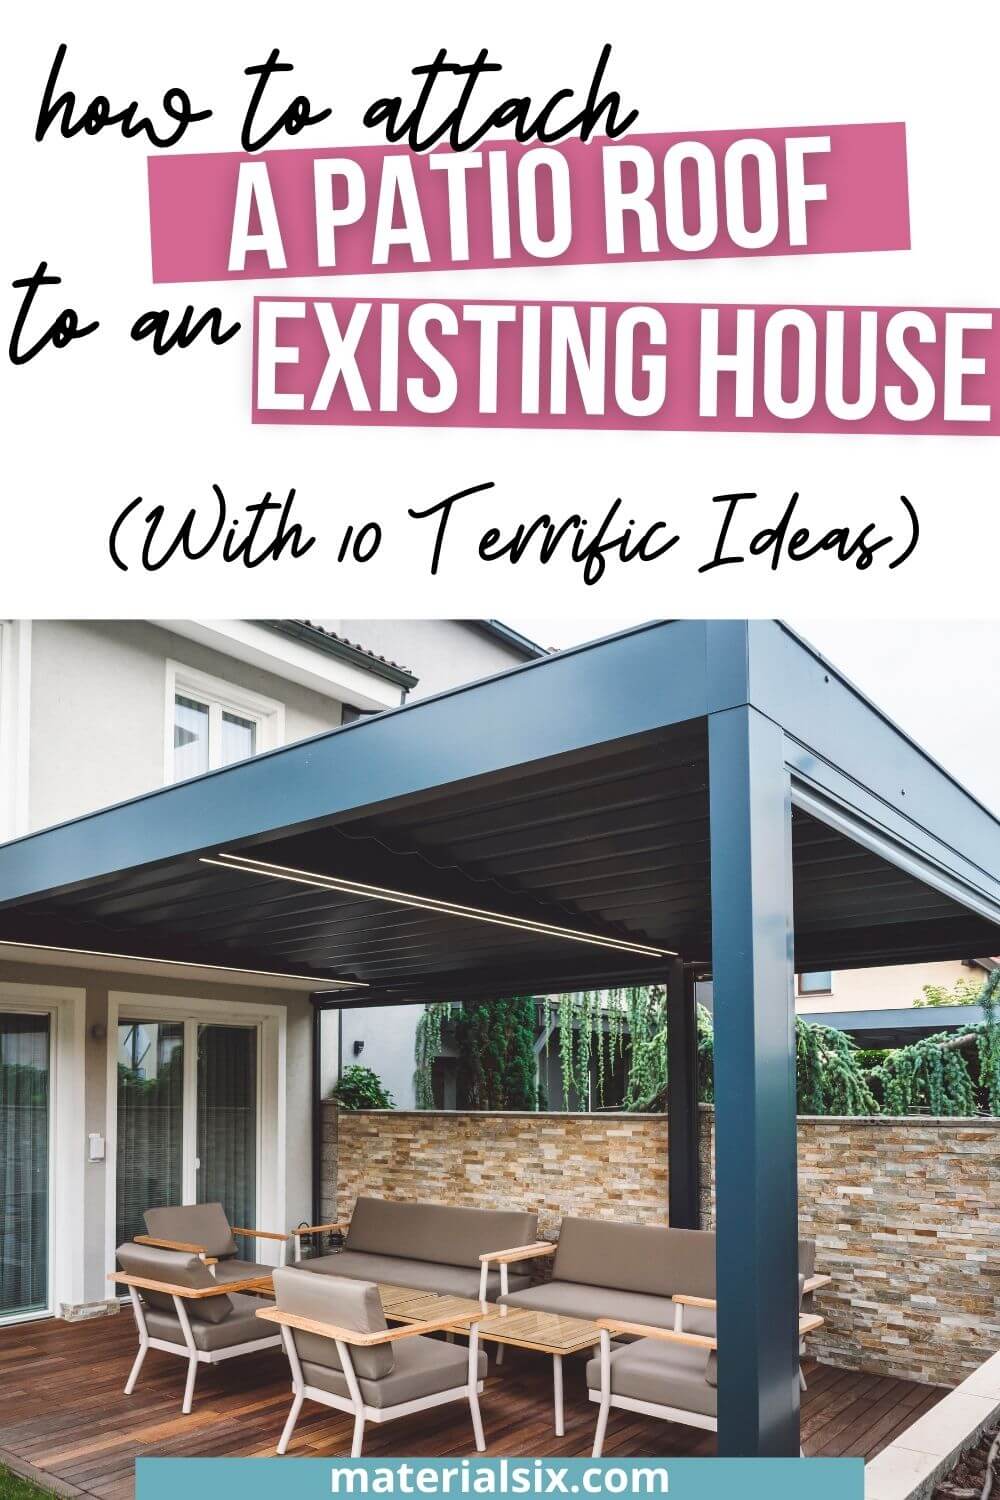
Thus, installing a patio roof will be a great move.
A patio roof will not only protect you from the weather but also give the building a sense of grandness while boosting the curb’s appeal.
Moreover, read on to discover how to attach a patio roof to an existing house and some of the best ideas to get you inspired.
Step-by-Step to Connect a Patio Roof to an Existing House
With some basic construction or woodworking knowledge and skills, attaching a patio roof should not be an issue.
However, if you are not good enough in basic construction skills, experts’ support should be enough to make the most of your patio roof installation.
In general, you need to prepare the following materials before connecting a porch roof to an existing house:
| Wooden beams | lag bolts |
| rafters | Black roofing felt |
| planks | roofing shingles |
| Screwdriver | Ledger |
| nails | oriented strand board |
| nail gun | utility knife |
Meanwhile, the common steps to attach a patio roof to an existing house are as follows.
- Start with measuring the sightline clearance height from the house roof and the required beam sizes.
- Take a screwdriver and lag bolts to fasten the base of the roof posts to the ground.
- Trim one side of the horizontal roof beams at an angle carefully to make sure the rafters sit flush on it later.
- Use a nail gun to connect the horizontal beam. Then, set it flush with the roof of your existing house.
- Assemble the outer rafters and install their beam to the rim of the house roof.
- Install the rafters carefully until they fit on the top of the beam.
- Once properly installed, outline the patio roof by connecting the planks horizontally across the rafters.
How to Connect a Porch Roof to a House in Five Different Ways
You just need to ensure that you take the right way to attach your patio roof since they come with their own pros and cons.
For your reference, here are a few different methods to connect a porch roof to an existing house that you can pick.
1. Use riser brackets
To achieve a particular height, you can take advantage of some riser brackets. Then, these will require a customized barge cap to lift the roof of your patio.
Further, utilizing riser brackets let you elevate the ceiling up to 2 ft. A bunch of striking choices for the calming ambiance and the finishing look are available as well.
If you wish to block natural light from pasting to the patio, consider filling the gap between the barge cap and the porch roof.
Then, seal the back opening to finish. However, if you prefer to get some natural light, opt for using opaque twin-wall sheeting.
Hence, installing this feature between the barge cap and the patio roof will allow more daylight to pass through.
You can also incorporate additional flashing wall covering to get a cleaner and more finished look. After that, seal the brackets from the facade accordingly.
2. Install to the fascia boards
This is one of the most common methods to connect a patio roof to an existing house.
To proceed with this technique, you should fix the backchannel to the fascia board by strengthening two rafters inside the covering.
While this method is pretty simple to perform, it does not let you adjust the height of your patio roof.
If you want to make the porch roof a bit higher, it is necessary to get rid of the existing house gutter. Thus, you can set the backchannel in an upper position.
Since you have the gutter removed, the use of transfer flashing from the house roof to the porch will be compulsory.
Furthermore, removing the house gutter typically lets you add up to 4 inches of extra height.
3. Elevate the roof by 20 inches
If you wish to elevate the porch roof up to 20 inches, it is necessary to remove the gutter, fascia, and eaves.
Then, trim the rafters back to the wall line for installation purposes.
Afterward, connect the backchannel to the rafter directly and strengthen it. This step will give you a clean finish as the patio roof can attach to the wall line perfectly.
However, applying transfer flashings on top is recommended to complement the look of your patio roof when proceeding with this method.
4. Attach the roof to the wall directly
If you want to have the cleanest look without too much effort, consider attaching the patio and the backchannel directly to the house wall.
Likewise, this method allows you to get better protection from the rain as well.
Additionally, to prevent the splash of the rain, sometimes you need to block the airflow too. If you cannot afford this situation, try to set the patio sheeting over the top of your patio roof.
Place the sheeting about 12 inches above the top of the roof to let the air flow without getting splashed by the rain.
Thus, this should be your best solution, particularly if your patio is fully covered and does not have much airflow.
5. Take advantage of FHS columns

Another good method to attach a porch roof to a house is by applying FHS columns on top of the existing wall.
Follow the column installation with setting and strengthening the patio to the rafters. Then, you must put the beam on top of the desired height.
After that, do not forget to install a customized box channel on the house and a personalized barge on top.
Please note that this method requires you to remove fascia, eaves, and gutter in advance. Moreover, you need to cut back the rafters as well to create a neat look and additional height.
10 Best Patio Roof Ideas for Any House
After learning how to attach a patio roof to an existing house and successfully follow it, you can furnish this outdoor area to achieve your ultimate comfort.
However, you must remember that installing a porch roof is not only about giving the patio a shade that protects against the sun heat and rain splash.
Therefore, steal the look of the following ideas to turn your patio roof into something more than a shield.
1. Enchanting Pergola Style
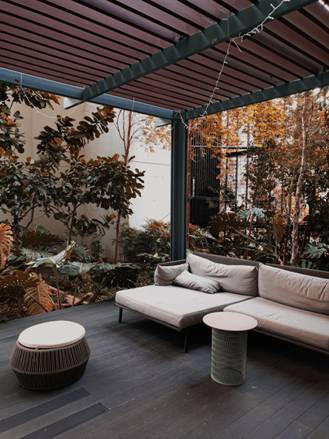
The industrial look of the dark steel beams and posts does not stop this patio roof from looking chic and modern.
Furthermore, the painted pergolas, even add charisma to this patio and complement everything underneath.
When it comes to the cost, you may need to prepare around $4,500 to $12,000 of the total budget to build this patio roof.
Pros:
- It does not block the airflow and works well in any existing house style.
Cons:
- Due to the nature of pergolas, it does not protect your patio completely from rain or daily sunlight
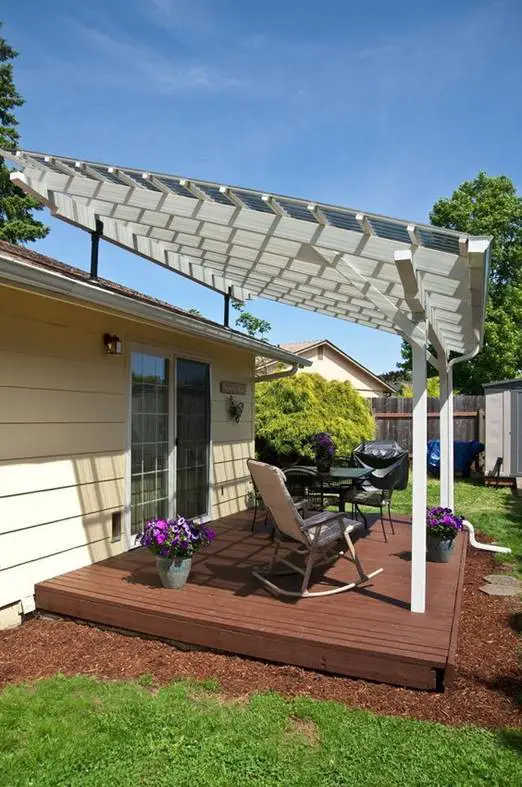
2. Lovely Lattice Patio Covering
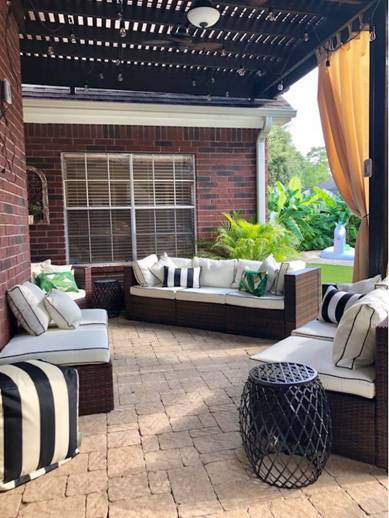
This patio roof showcases the beauty of simplicity. Thanks to the latticework, you can enjoy the natural light that passes through.
Meanwhile, an orange plain curtain is hanging on the edge of the roof, offering additional privacy in this cozy outdoor living space.
Pros:
- It makes a perfect choice if you do not want to block the natural light completely.
Cons:
- You cannot expect the roof to protect you from the rain unless you install a clear sheet covering above the beams.
3. Tempered Glass Patio Roof
Are you seeking a patio roof that is rich in natural light but can protect you from snow or rain? Then, take tempered glass into account.
In addition, thanks to the transparency of the tempered glass, you can enjoy the view over the roof from the comfort of your outdoor chair.
Pros:
- The ultimate look is highly modern and stunning. It also provides you with the best of both worlds when it comes to protection and beauty.
Cons:
- It is a bit expensive to install a tempered glass roof over your patio.
4. Wood and Fiberglass Combo
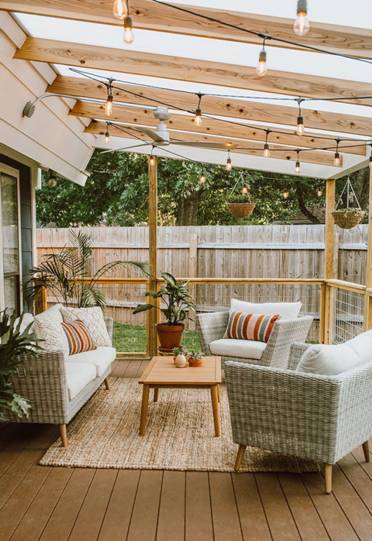
Fiberglass is versatile and makes a perfect alternative to costly tempered glass. Therefore, you can steal the look of this stunning patio roof to take advantage of this material.
The wooden posts and beams make this roof appear more natural and chic.
Moreover, a string of hanging lights installed on the beams will turn this outdoor area into a cozy and stunning spot at night.
Pros:
- It will not break your bank to make your patio look eye-catching with a fiberglass roof.
- Your budget should not exceed $50 for the materials.
Cons:
- Since it utilizes such wooden material, the roof will naturally age by changing shade and color over time.
5. Patio Roof with Greeneries
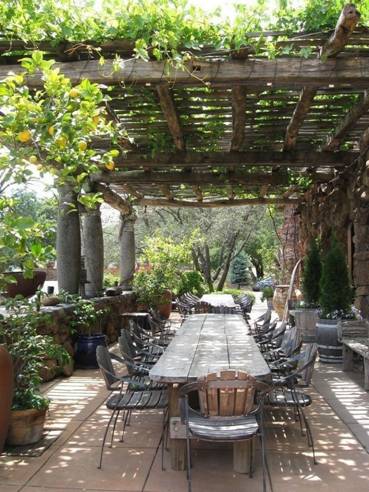
Give your patio a touch of nature by growing some creeping plants over its roof. For instance, as shown in this picture, the idea will work best in pergola styles.
The aged wooden beams mirror the traditional look of the long table on the patio.
Additionally, for a splash of color, consider growing flowering plants instead of the ones adored for their leaves only.
Pros:
- Creeping plants will give extra shade and make the patio look more calming.
Cons:
- You cannot expect the roof to protect you completely from the rain or snow.
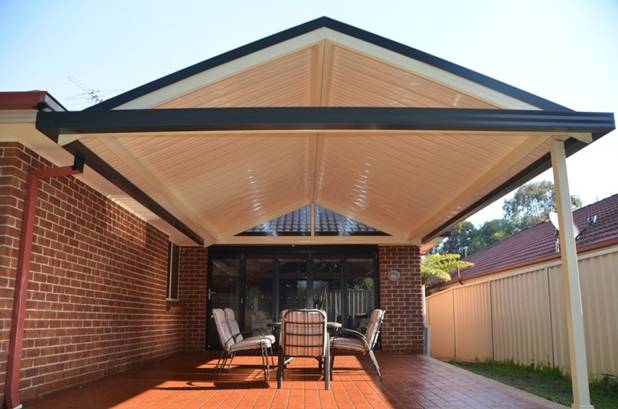
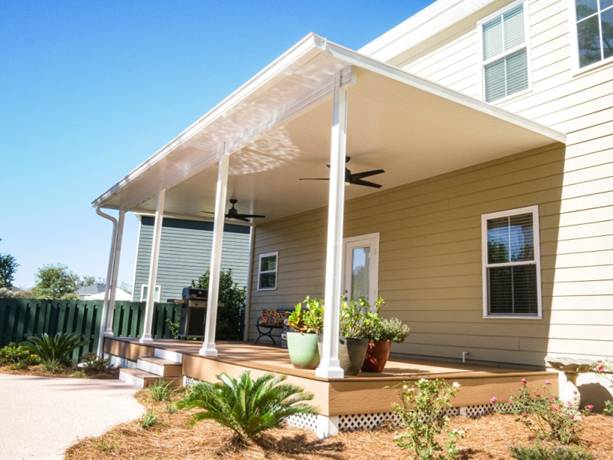
6. Gable Roof with Exposed Brick Posts
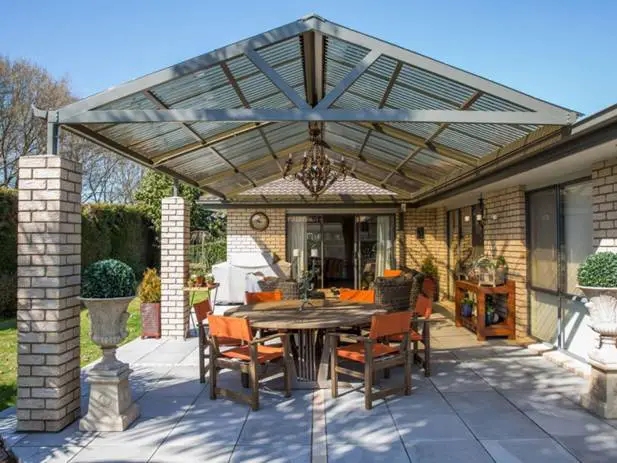
Gable patio roofing is typically attached directly to an existing home, offering a functional and beautiful covering for the outdoor area.
For example, this gable roof comes with neutral gray framing and exposed brick posts that match the exterior wall. A chandelier is hanging on it for a grand finish.
Further, to attach a gable patio roof to the house, the total average cost starts from $3,928.
Pros:
- It allows more ventilation and can easily shed water or snow.
Cons:
- The high slope of a gable roof is prone to collapse if constructed poorly.
7. Colorful Patio Awning
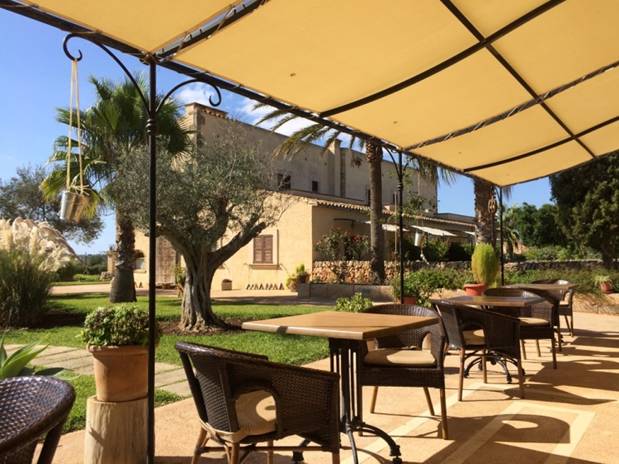
An awning is another great choice when you wish to protect your patio from the heat and sun. Also, it comes in different colors and patterns, making it easy to choose one that suits your outdoor space.
Indeed, this patio roofing option typically costs around $2,000 to $27,400 depending on the materials, designs, and types.
Pros:
- It is flexible and convenient to install a fabric patio awning.
Cons:
- The fabric awning is pretty costly.
8. Elegant Louvered Roof
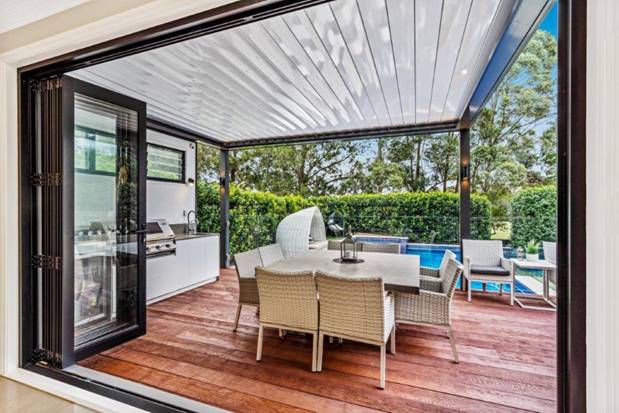
Do you want to take your traditional pergola roof to the next level? So, consider attaching a louvered one onto your existing house for the best choice.
With white slats and black posts, this louvered roof complements the sleek and modern look of this backyard patio.
Then, to enjoy the great function of the louvered roof, you should expect to spend around $6,048 to $26,100.
Pros:
- You can adjust the patio roof depending on the weather by opening or closing the slats at the touch of a button.
Cons:
- It is not budget-friendly for some people.
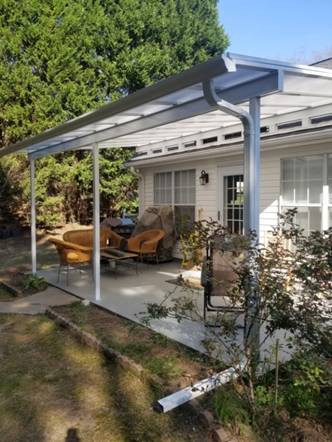
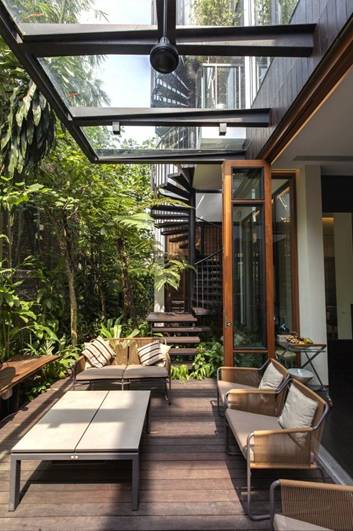
9. Roof for Your Patio Garden

If you are looking for a way to cover your garden patio, this idea should be on the top list. Likewise, featuring glass covering with metal framing, this roof offers the perfect solution.
Thereupon, it allows your plant and flower collection to receive the needed daily sunlight to thrive in properly.
Besides, you can still enjoy the patio during the light rain.
Pros:
- This roof keeps the patio bright without diminishing its protection against extreme heat and rain.
Cons:
- The wooden post may age over time and the overall maintenance is somewhat costly.
10. Cozy Patio with Roof
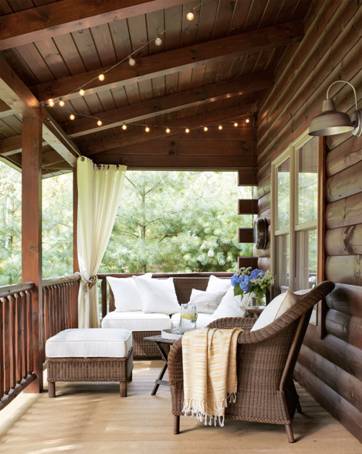
Turn your patio into a functional outdoor living space by installing a roof that covers the area completely.
You can also complete the patio with a roof light that typically costs around $35 and a curtain for added privacy.
Pros:
- Its design can protect your patio from the rain while boosting curb appeal.
Cons:
- When attached to an existing house, the construction may take more time and effort.
Final Thoughts
Now that you know several ways to connect a patio roof and some ideas to get started, doing the project yourself should not be difficult.
Otherwise, if you feel like you cannot follow every step on how to attach a patio roof to an existing house, having some expert assistance would be a great idea too!
More from Materialsix.com: