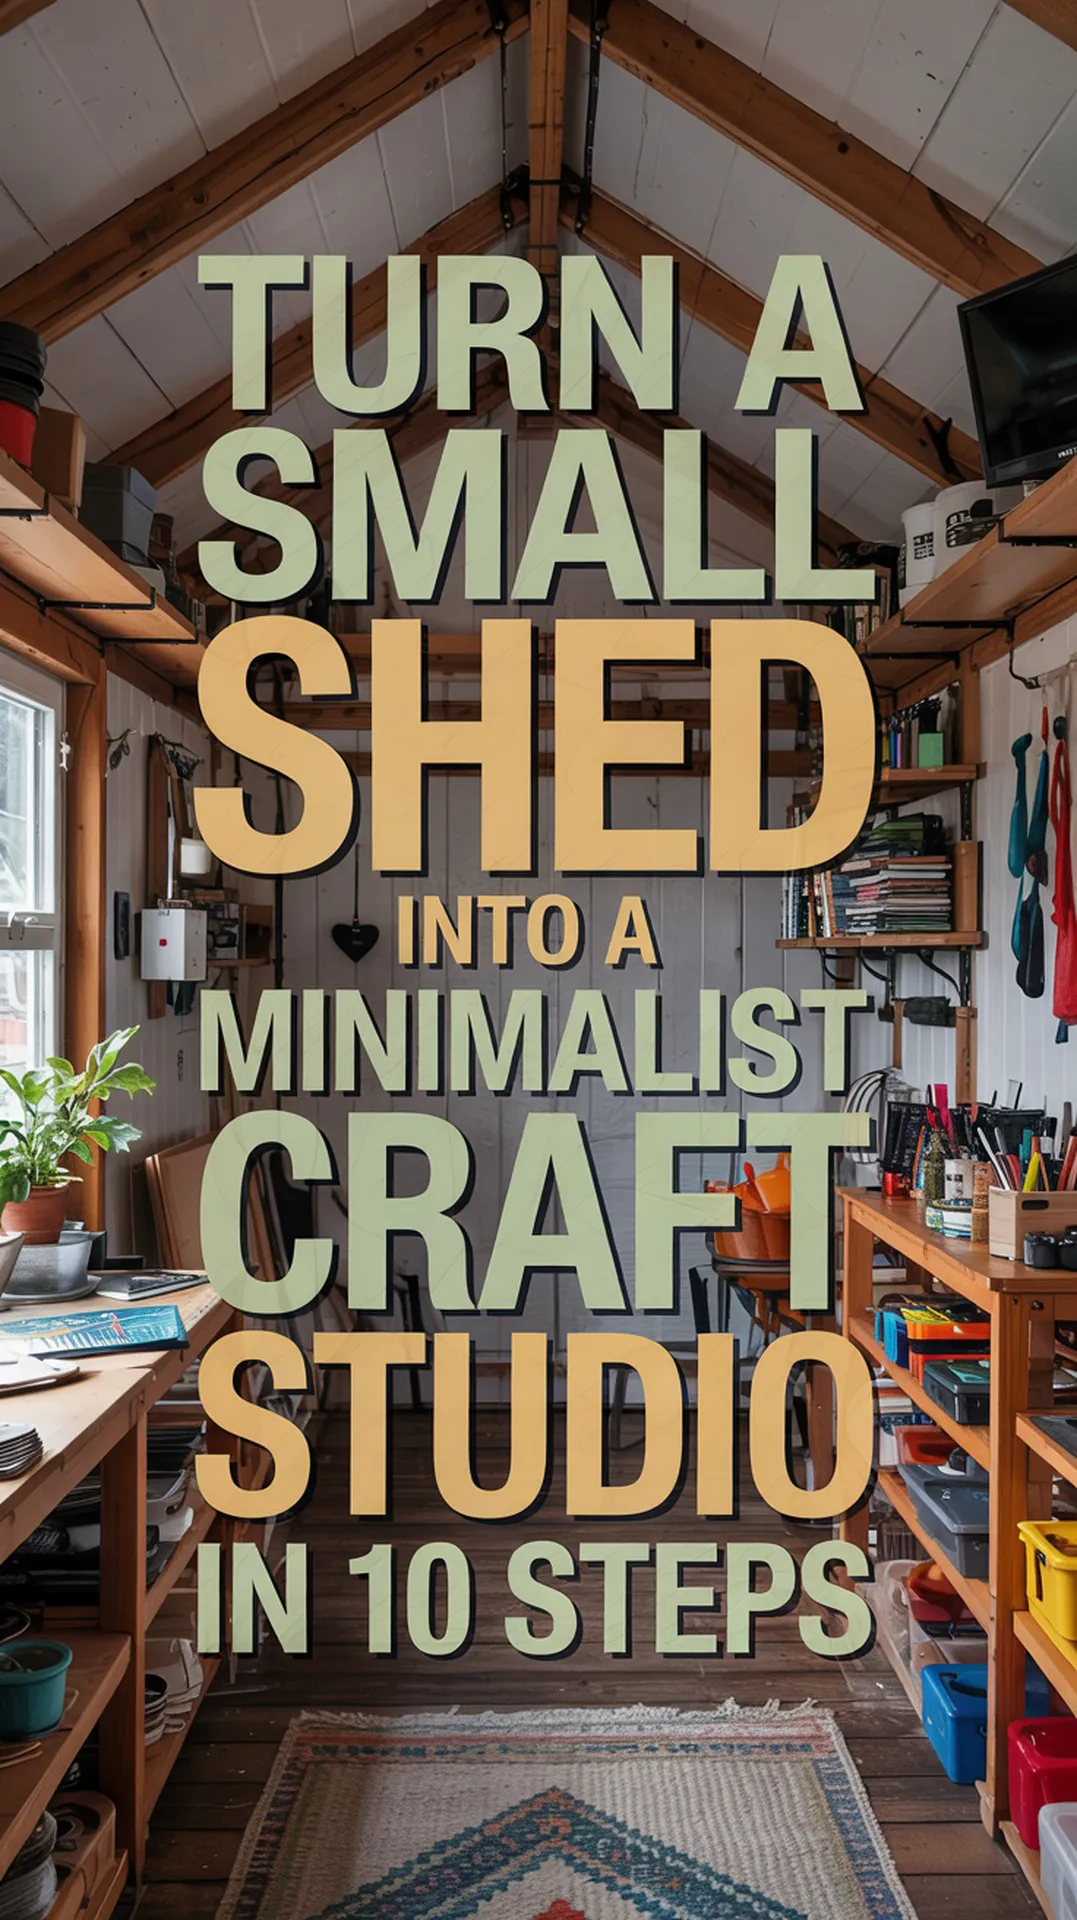
Got a backyard shed that’s currently closer to “dumping ground” than dreamy space? If you’ve ever dreamt of having a quiet, creative space all to yourself — where the glitter can fly, the glue can dry, and your ideas can come to life — it may be time to transform that decaying outbuilding into a place to craft.
Yes, we mean turning your average tool or garden shed into a dreamy, functional and beautiful creative space to work where your creativity can blossom. Whether you’re playing around with sewing, scrapbooking, painting, or DIY décor, a shed can transform into your personal sanctuary—and we’re going to show you how to make it happen.
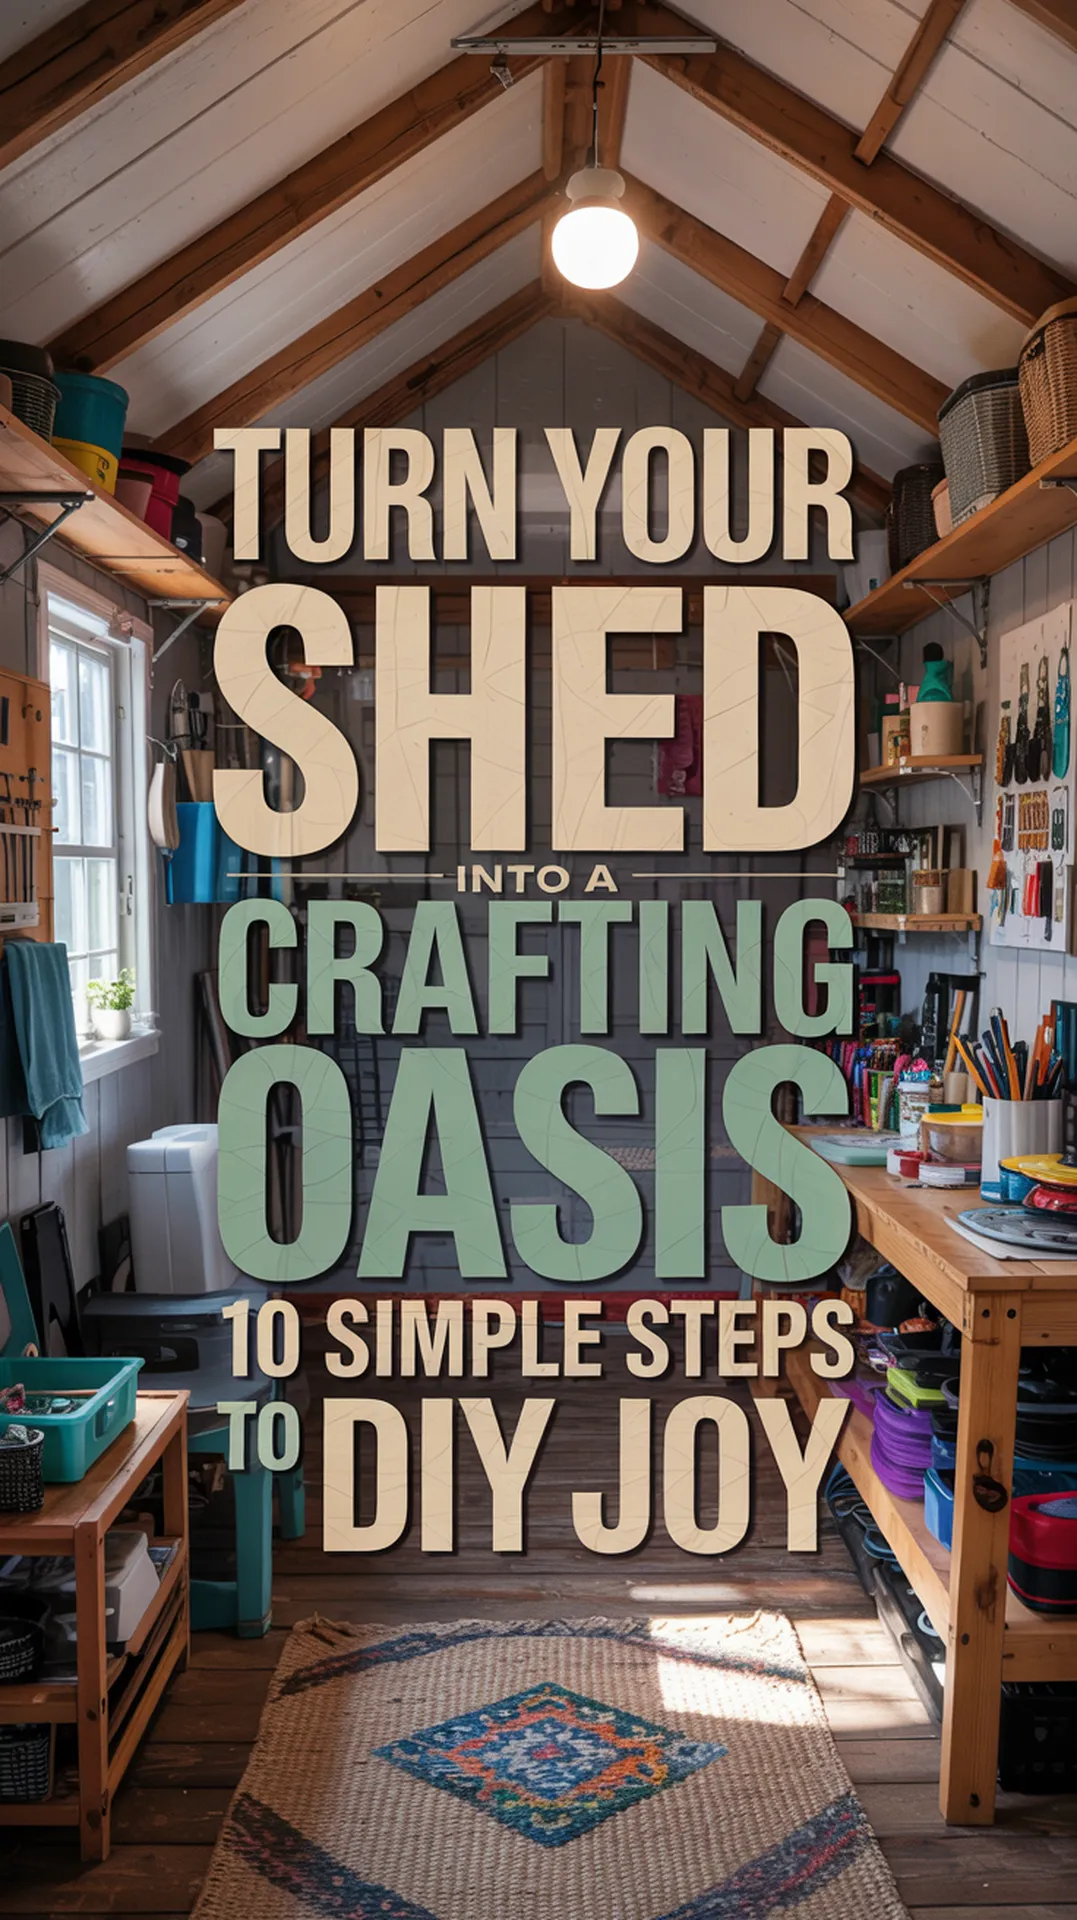
This guide is filled with working advice, inspirational ideas and storage solutions to create the ultimate crafting getaway — in your own backyard.
The Craft Shed: The Rehab You Never Knew You Needed
Before we get into how to do it, let’s talk about why. Why convert a shed into a crafting space?
For many women — moms, grandmas, busy professionals and side-hustling creatives alike — it can be difficult to find space in the home for craft. This is a temporary kitchen table. Guest rooms get commandeered during the holidays. It is cold and crowded in the garage.
But a backyard shed provides:
- Privacy: A space of your own to concentrate, relax and create magic.
- Designated space: Stop passing supplies in and out of the shop every single day.
- Realistic inspiration: create a collage of colors, colors, and textures.
- Organization: Finally put a home to every ribbon, button and brush.
So now lets dive into the step by step transformation.
Step 1: Empty Out & Evaluate the Shed
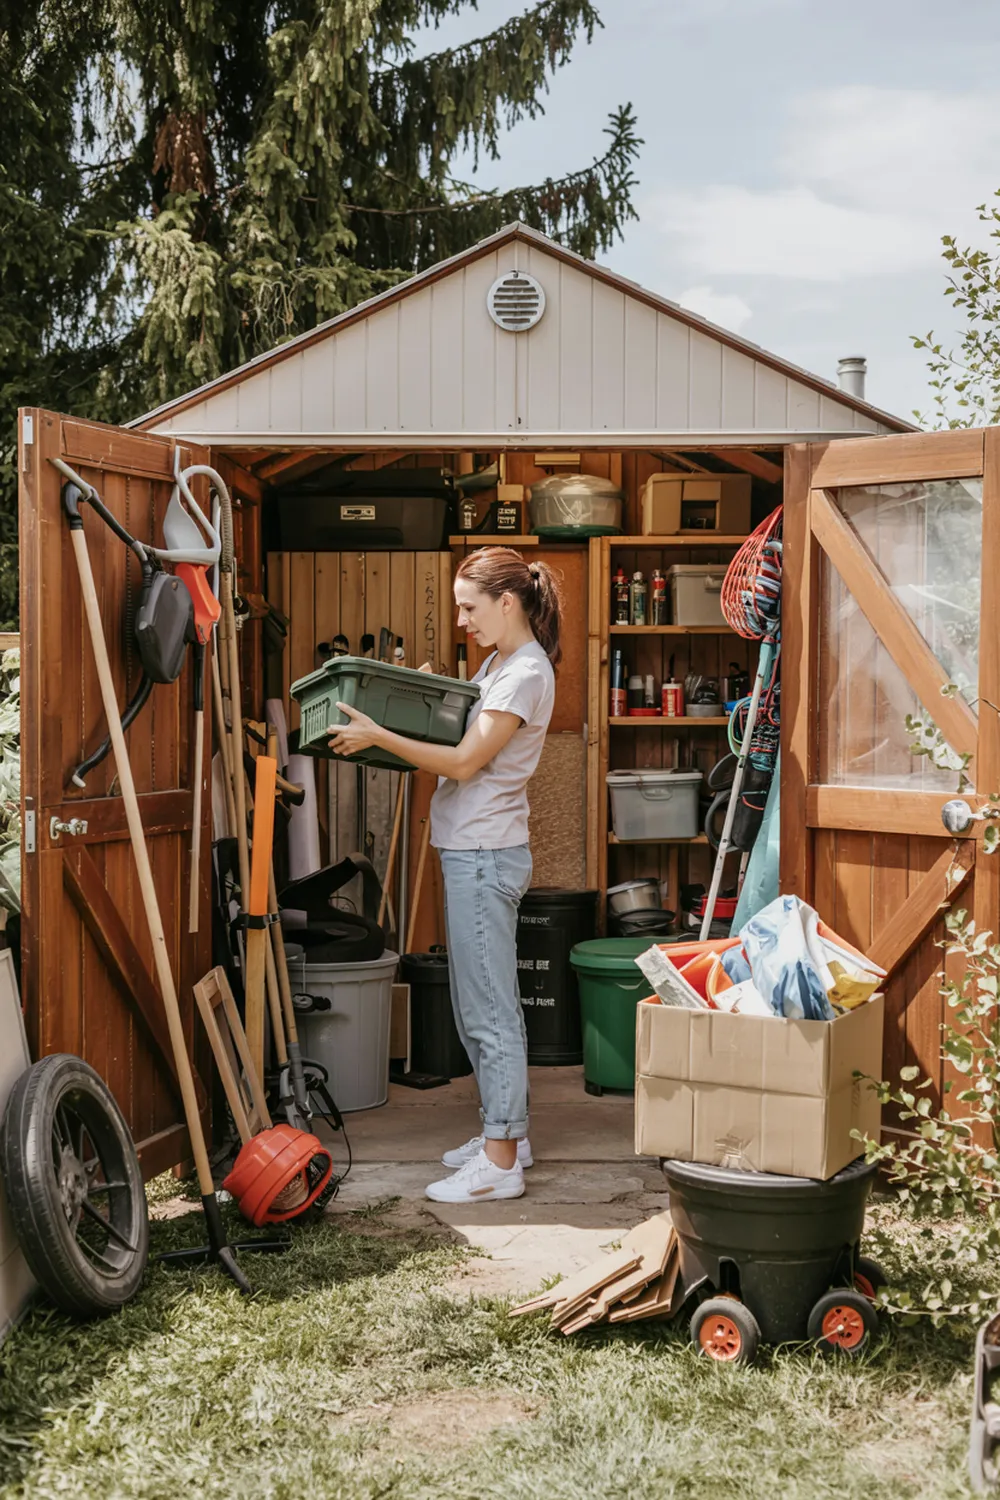
Clean up the mess. Many sheds are filled with old tools, holiday decorations and items that haven’t been out since the last millennium. Remove everything and be ruthless about what comes back and what doesn’t.
First things first: start with a clean slate. Most sheds are stuffed with old tools, holiday decorations, and things that haven’t seen daylight in years. Take everything out and be ruthless about what stays and what goes.
As you clean, ask yourself:
- Is the shed structurally sound? Any leaks or drafts?
- Do you need insulation for year-round use?
- Is there electricity or natural light?
Even the most basic shed can be upgraded into a cozy, usable space—but it starts with knowing what you’re working with.
Pro Tip: Take “before” pictures! You’ll love seeing the transformation later.
Step 2: Plan Your Crafting Needs
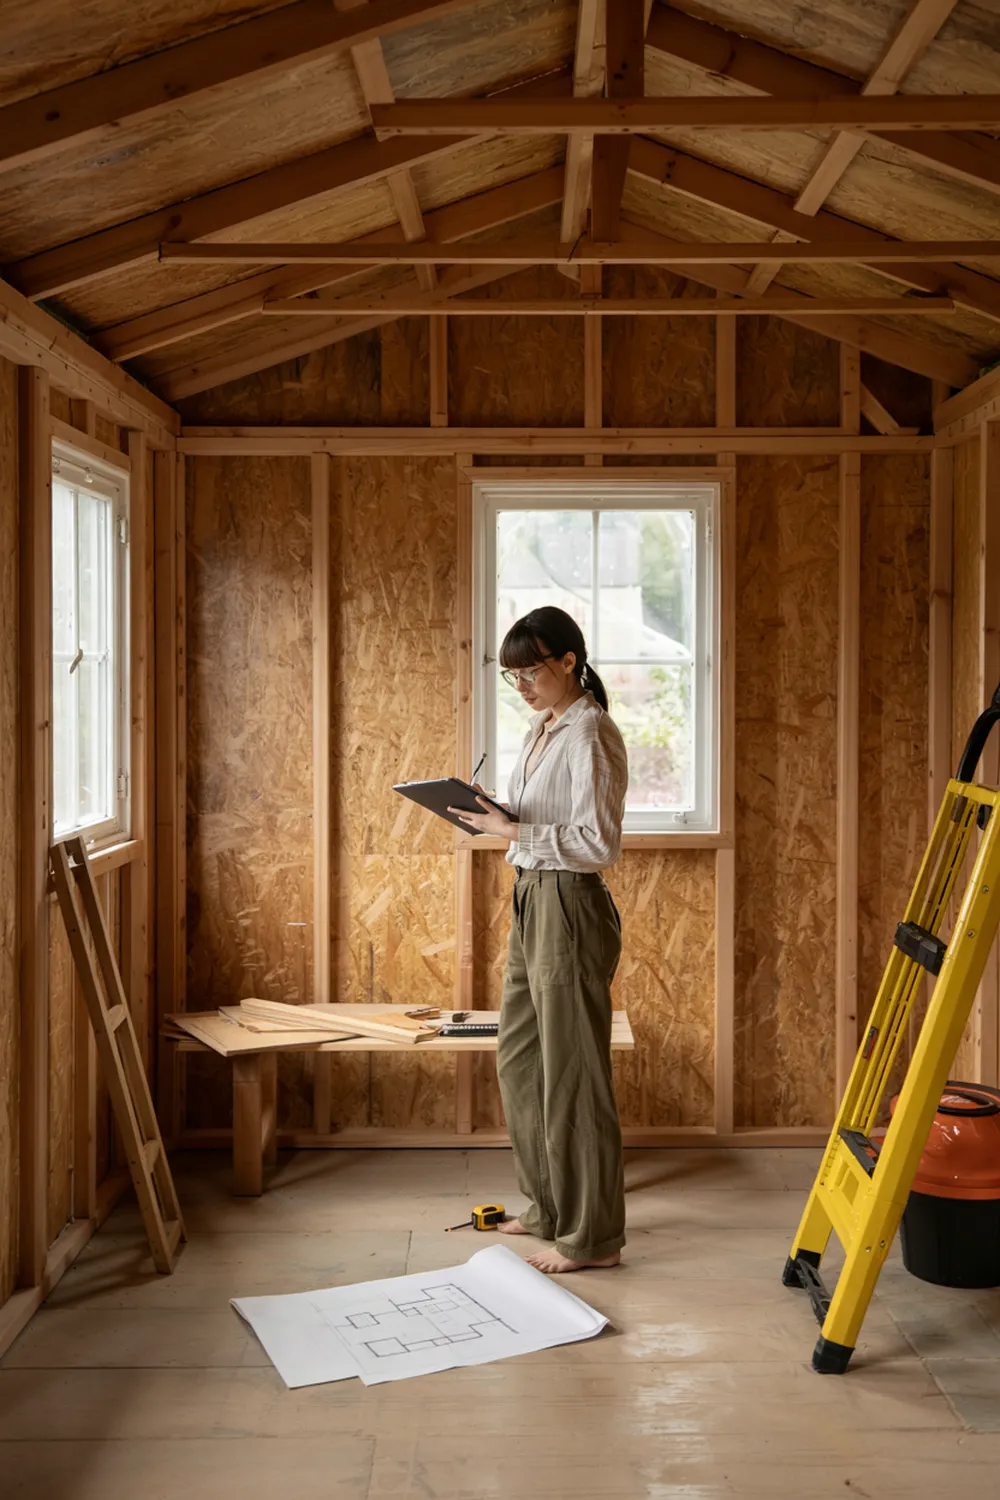
Every crafter is different. Some need big tables and storage for fabric, while others need vertical space for paintbrushes, markers, or beads. Make a list of:
- The types of crafts you do (or want to do)
- The tools and supplies you need to store
- The amount of workspace you require
- Whether you need seating for guests or classes
Sketch a rough layout of the space and visualize what zones you need—think storage, work area, inspiration corner, and comfort zone.
Step 3: Insulate and Add Finishing Touches
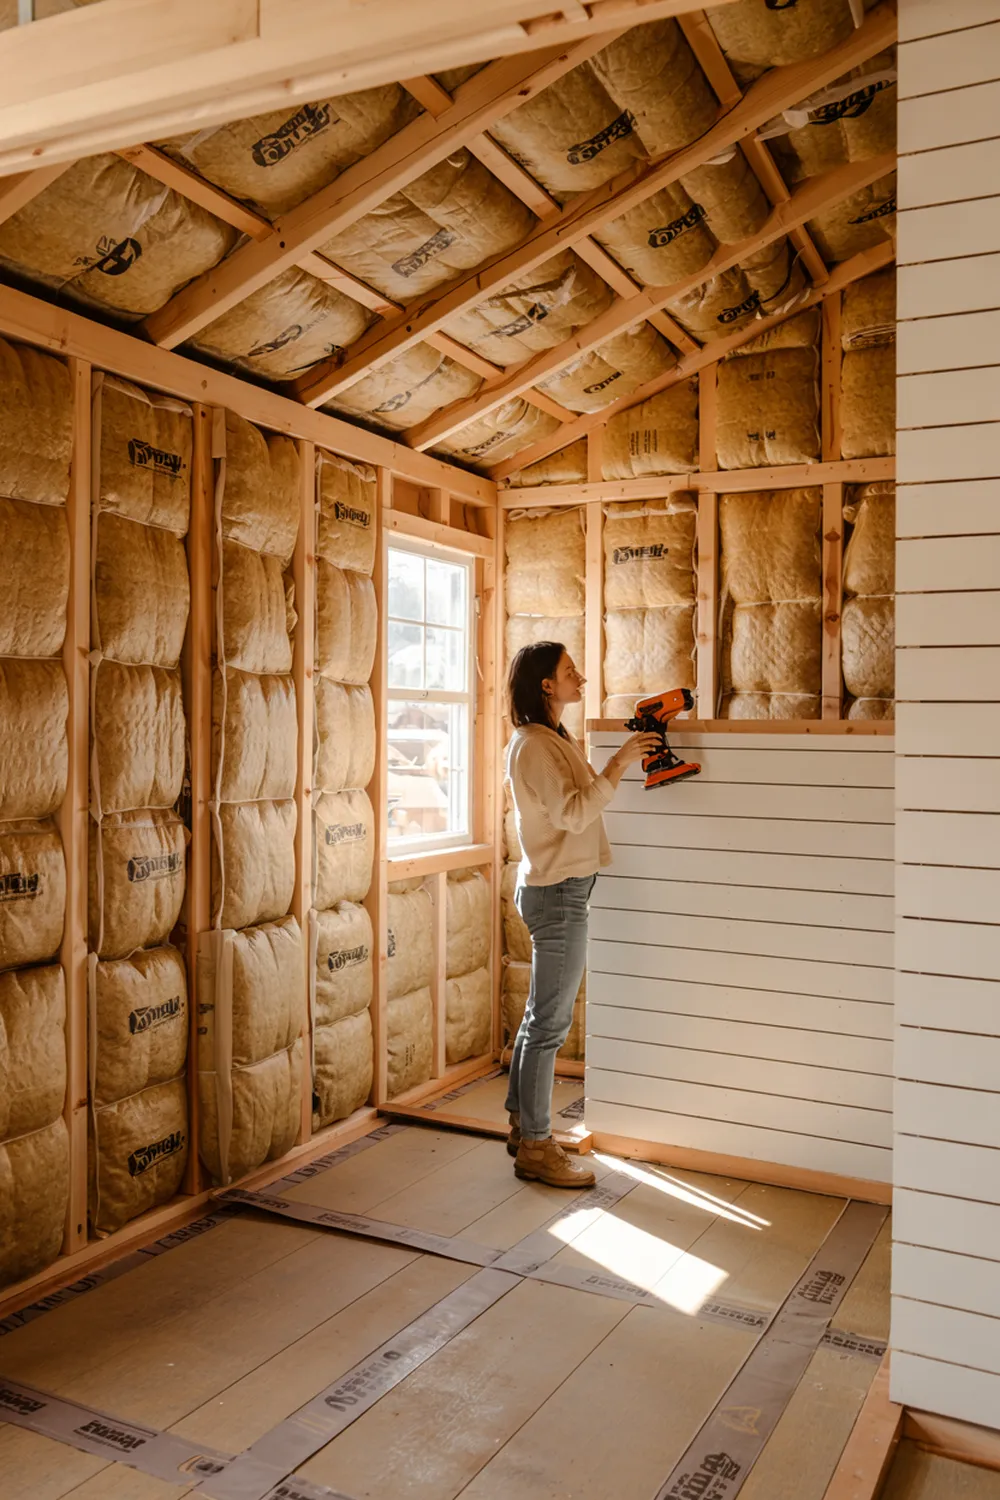
If you live somewhere with seasonal weather, insulation is a must. Depending on your budget and shed type, you can:
- Use foam board or roll insulation
- Add paneling, drywall, or shiplap to make it feel more like a room
- Lay down vinyl or laminate flooring for easy cleanup
Want it to feel super cozy? Add curtains, area rugs, or even a small space heater or fan. The more comfortable it is, the more you’ll use it.
Step 4: Bring in Power and Light
Lighting is essential in any craft space. Natural light is amazing if your shed has windows—maximize it by painting the interior white or pastel to reflect light. But you’ll likely need more.
Ideas for lighting:
- Overhead lighting for general brightness
- Task lighting for close-up work (clip-on lamps, desk lamps, under-shelf LEDs)
- Fairy lights or string lights for ambiance
Need power? Consider hiring an electrician to run a proper outlet or extension safely from your home. Even solar-powered kits can work if you’re off-grid.
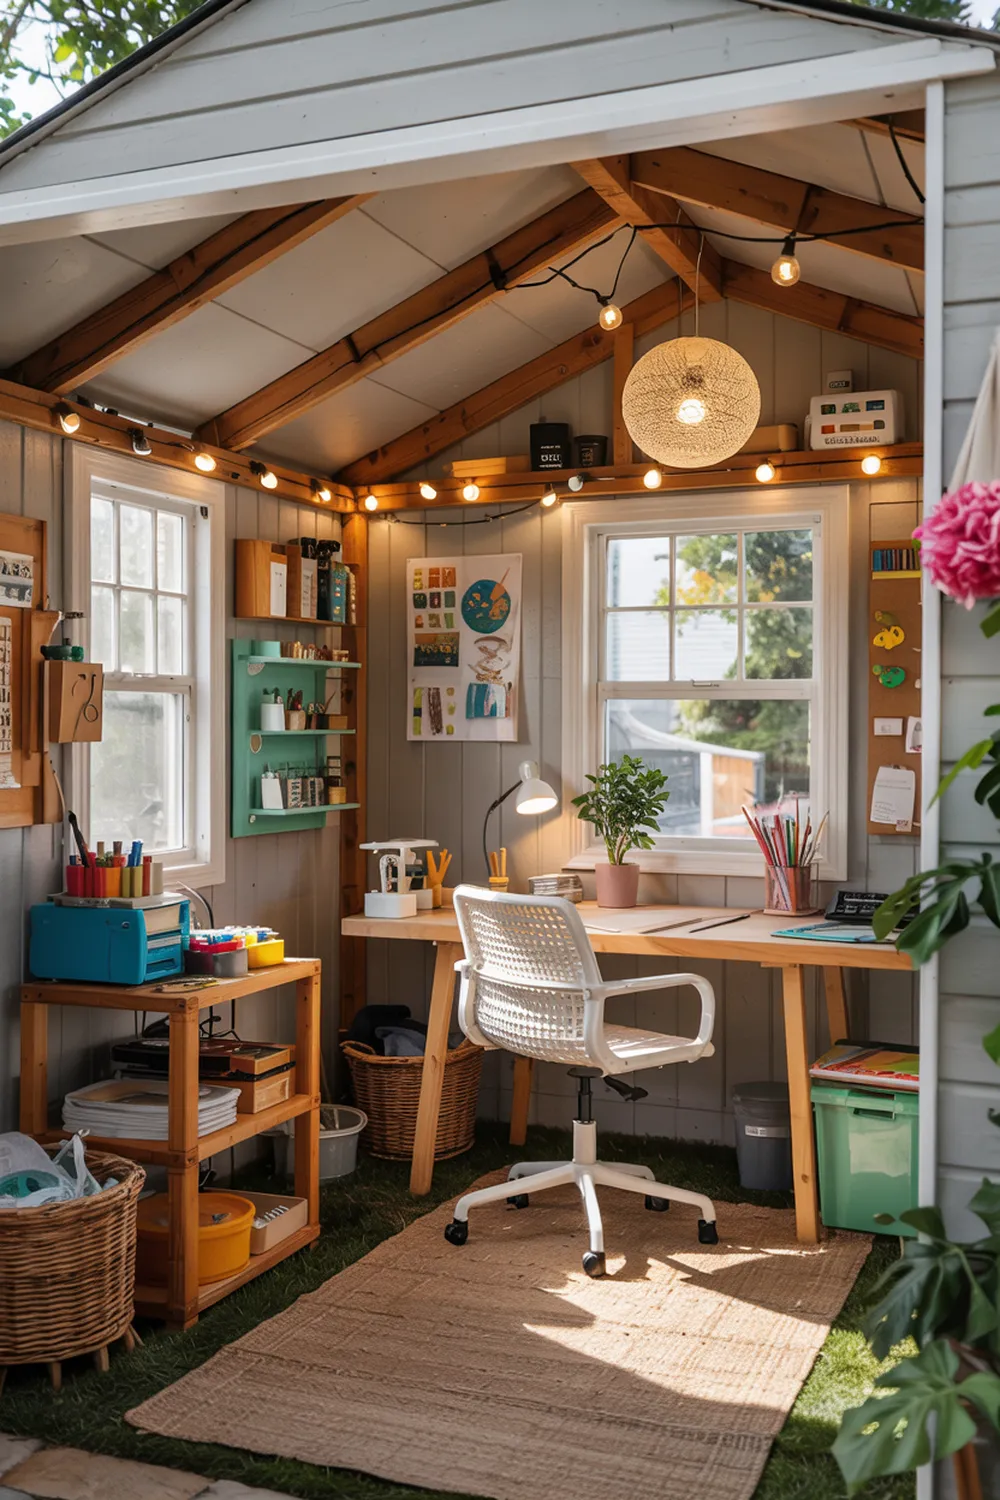
Step 5: Add Furniture & Workspace
Here’s where things get exciting: creating your dream workspace.
Must-haves:
- A sturdy table or desk: Adjustable height or fold-down options work well in small sheds.
- Comfortable chair: You’ll be sitting for long stretches—invest in a supportive, stylish chair.
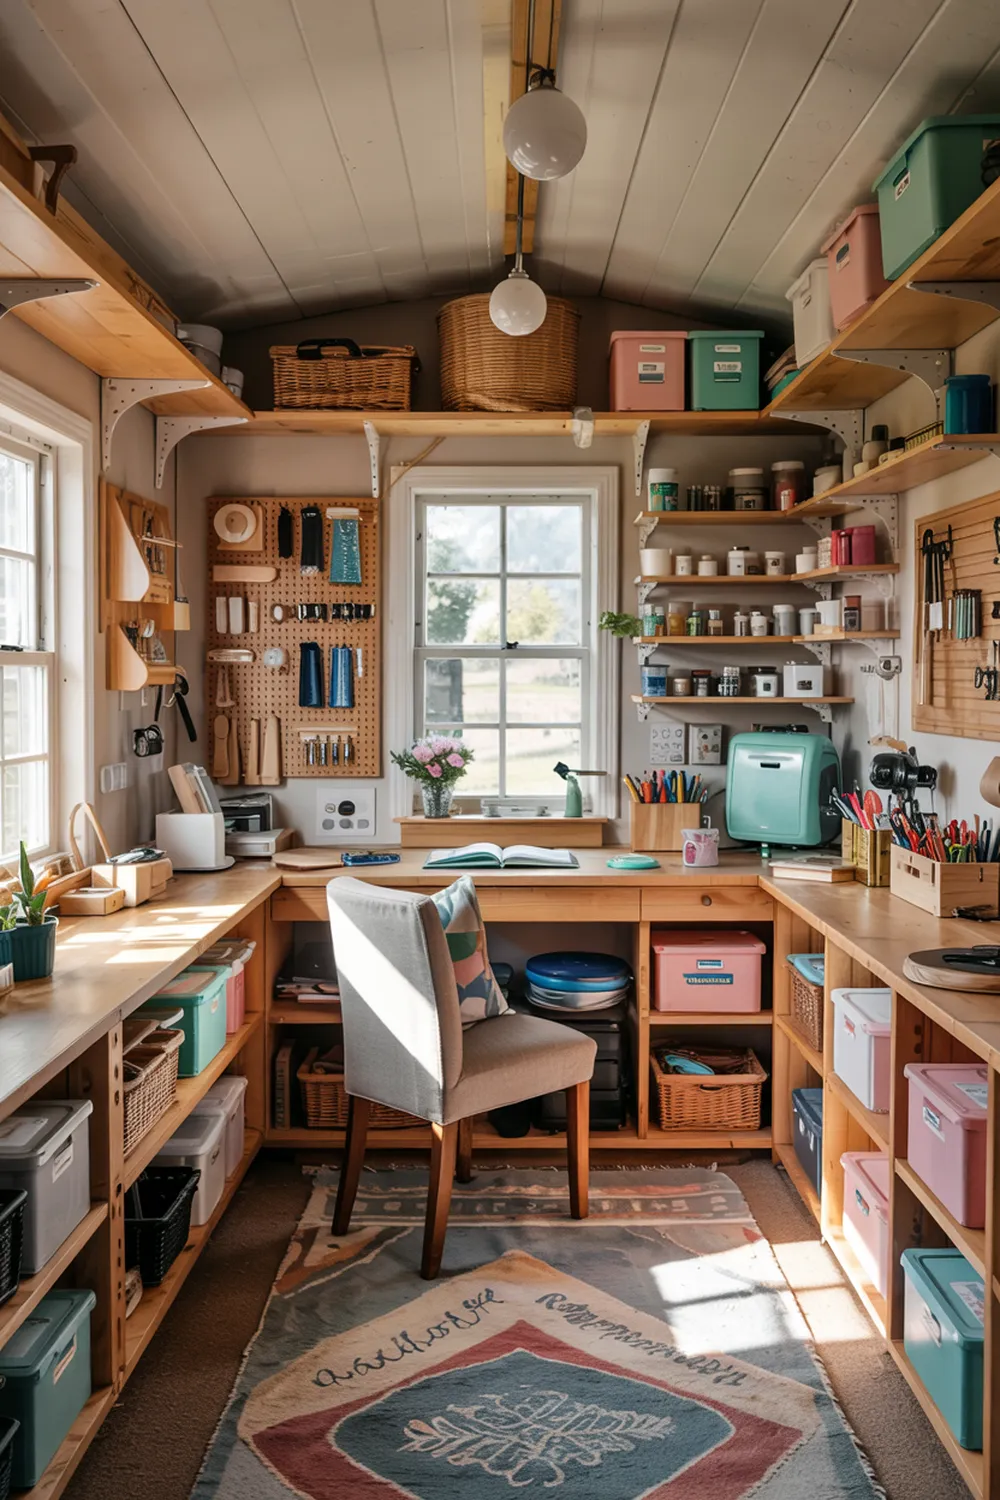
- Open shelving or cubbies: Keep tools in reach and supplies visible.
- A pegboard wall: Hang scissors, washi tape, paintbrushes—whatever you use often.
- Rolling carts: Great for mobility and keeping projects contained.
If space is tight, consider multifunctional furniture like a drop-leaf table, wall-mounted desk, or vertical storage towers.
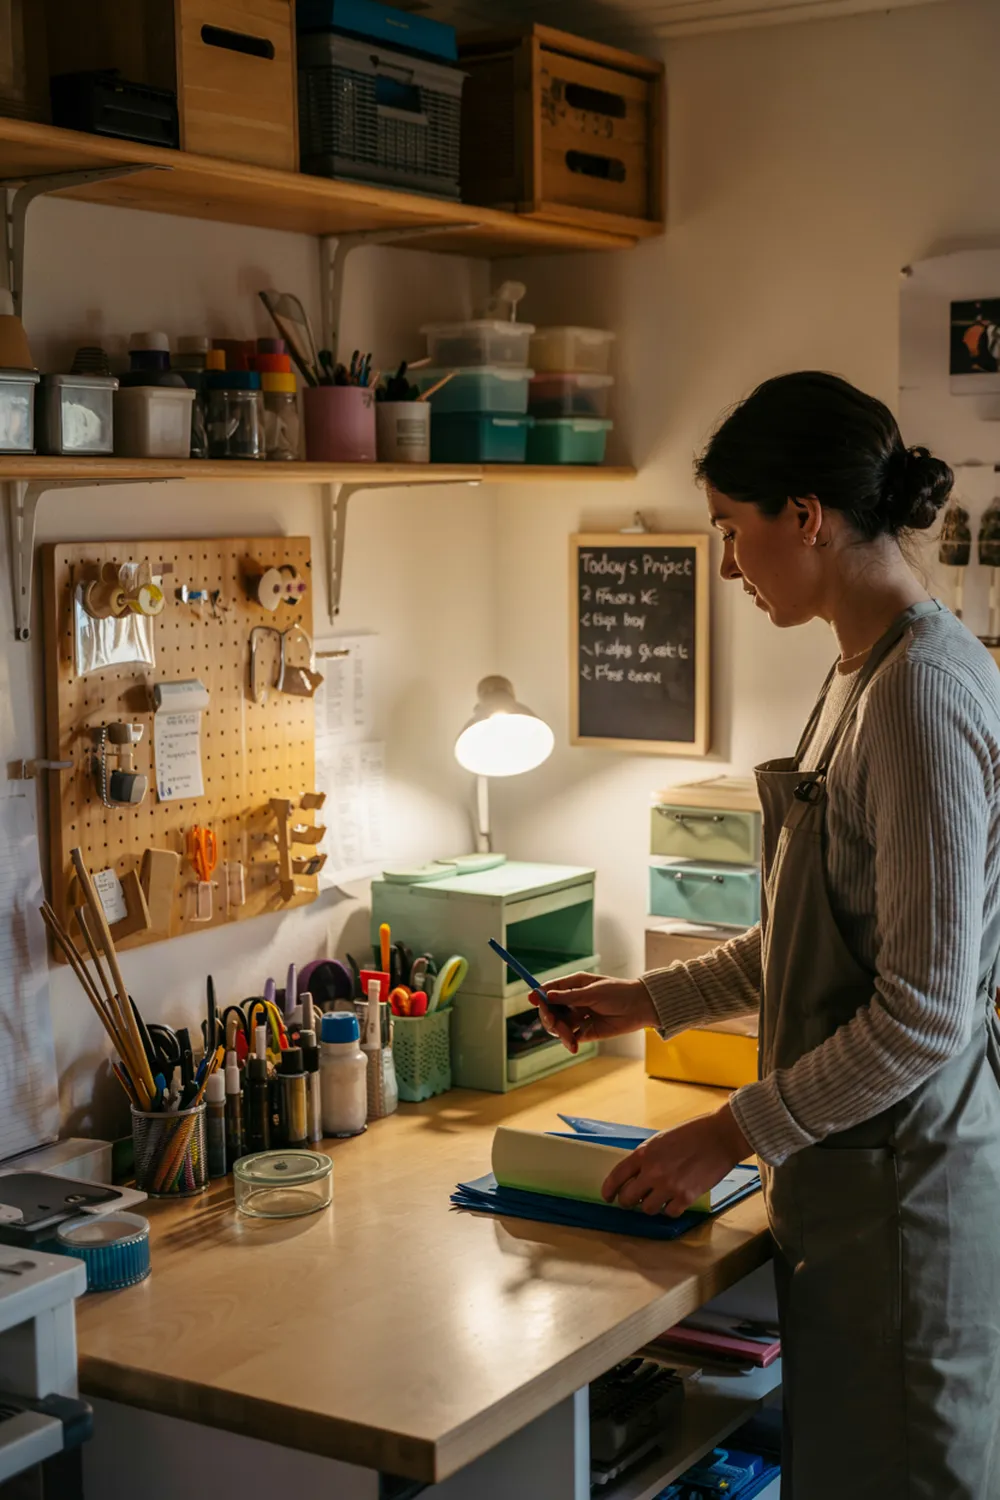
Step 6: Organize Your Supplies (and Keep It That Way!)
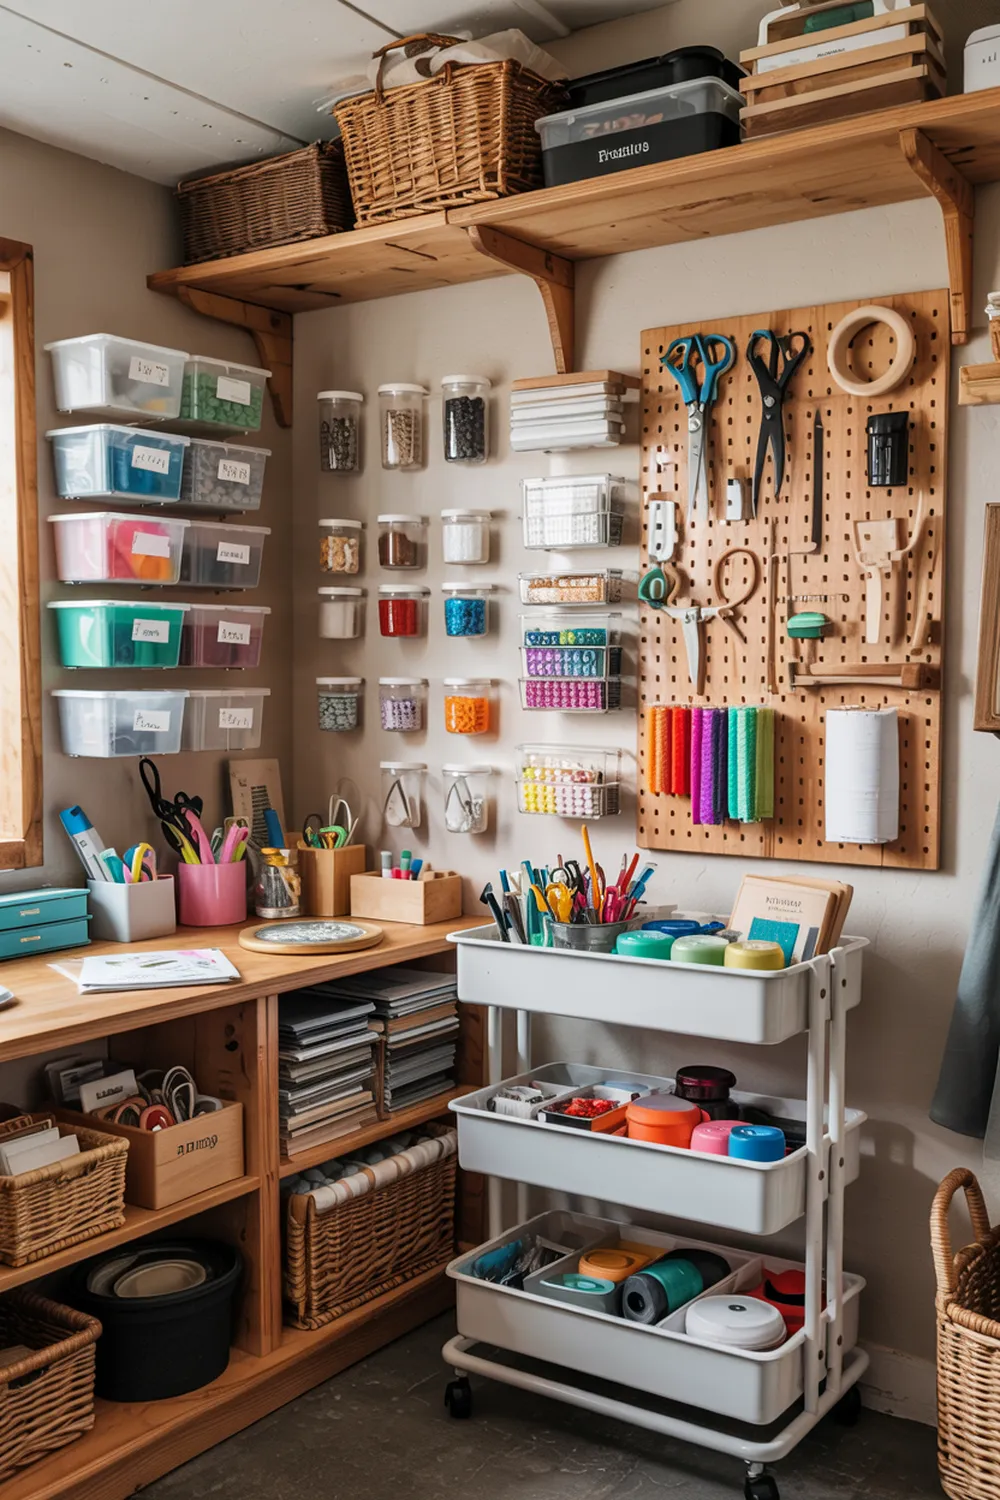
A crafter’s shed can go from serene to chaotic fast—unless you build in smart organization.
Genius organization ideas:
- Mason jars for buttons, beads, and smaller items
- File folders or magazine holders for paper and vinyl
- Labeled plastic bins for seasonal or bulk supplies
- Over-the-door shoe organizers for tools and brushes
- Tension rods to hold ribbon spools or fabric
Color coding and clear containers help you see everything at a glance—and make your space Pinterest-worthy, too!
Bonus tip: Use chalkboard labels or printable tags so you can relabel as your collection grows.
Step 7: Create an Inspiration Corner
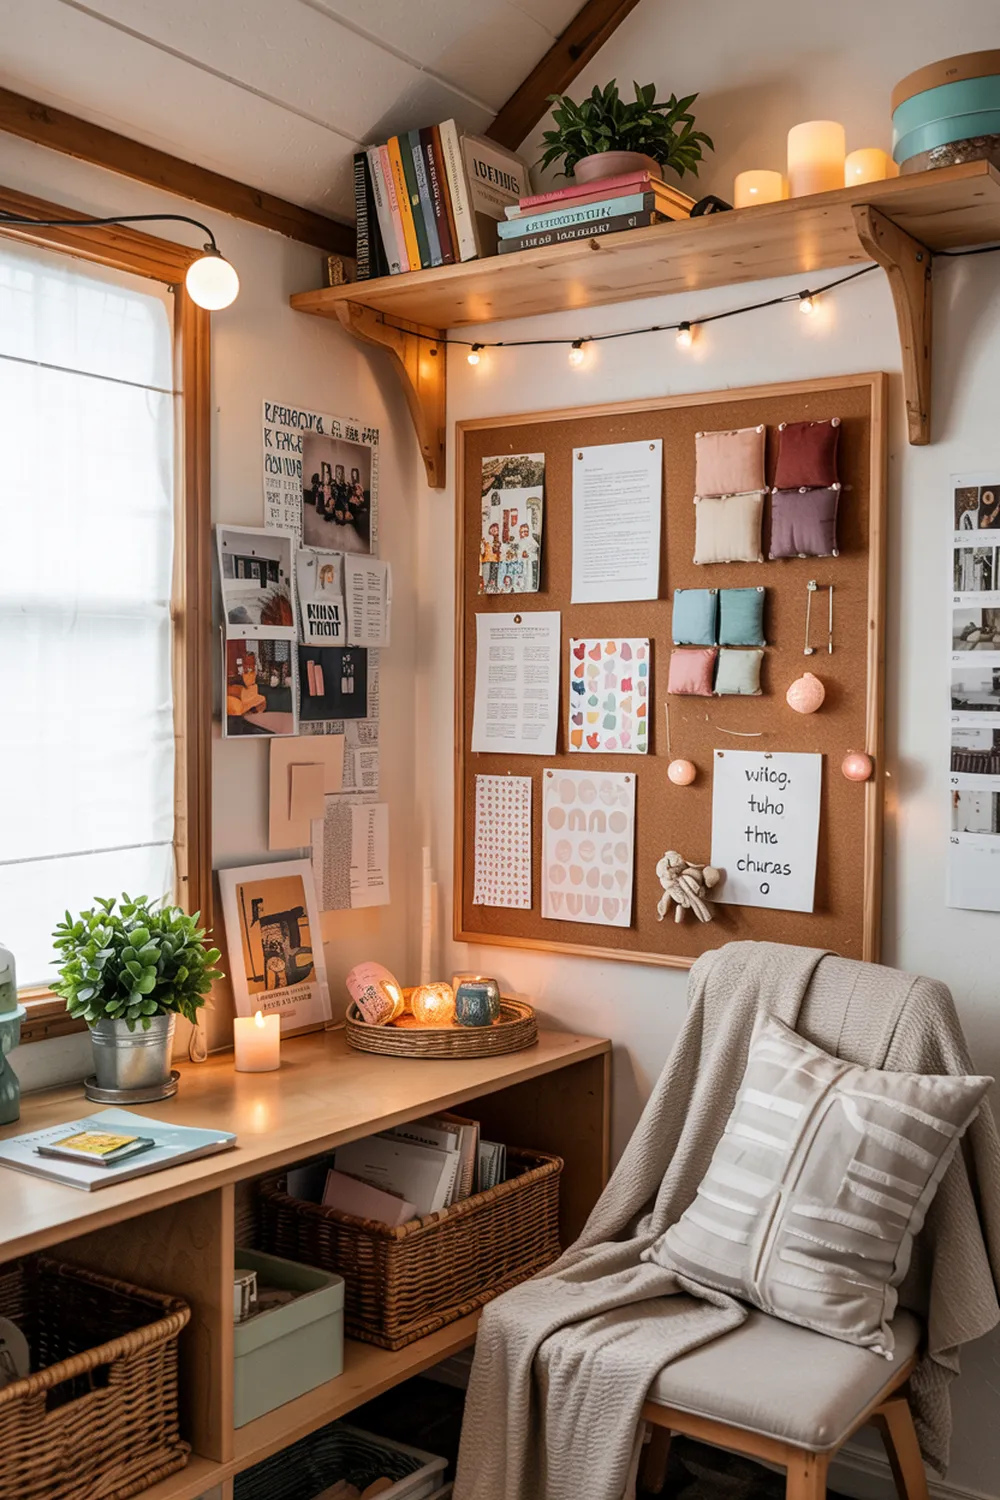
Don’t forget to feed your creative soul.
Dedicate a small area of your shed to things that spark inspiration:
- A corkboard or vision board
- A framed quote that motivates you
- A shelf for your favorite craft books or magazines
- Photos of past projects or loved ones who inspire you
This space should feel like your creative heartbeat—a cozy reminder of why you craft.
Step 8: Add Personal Comforts
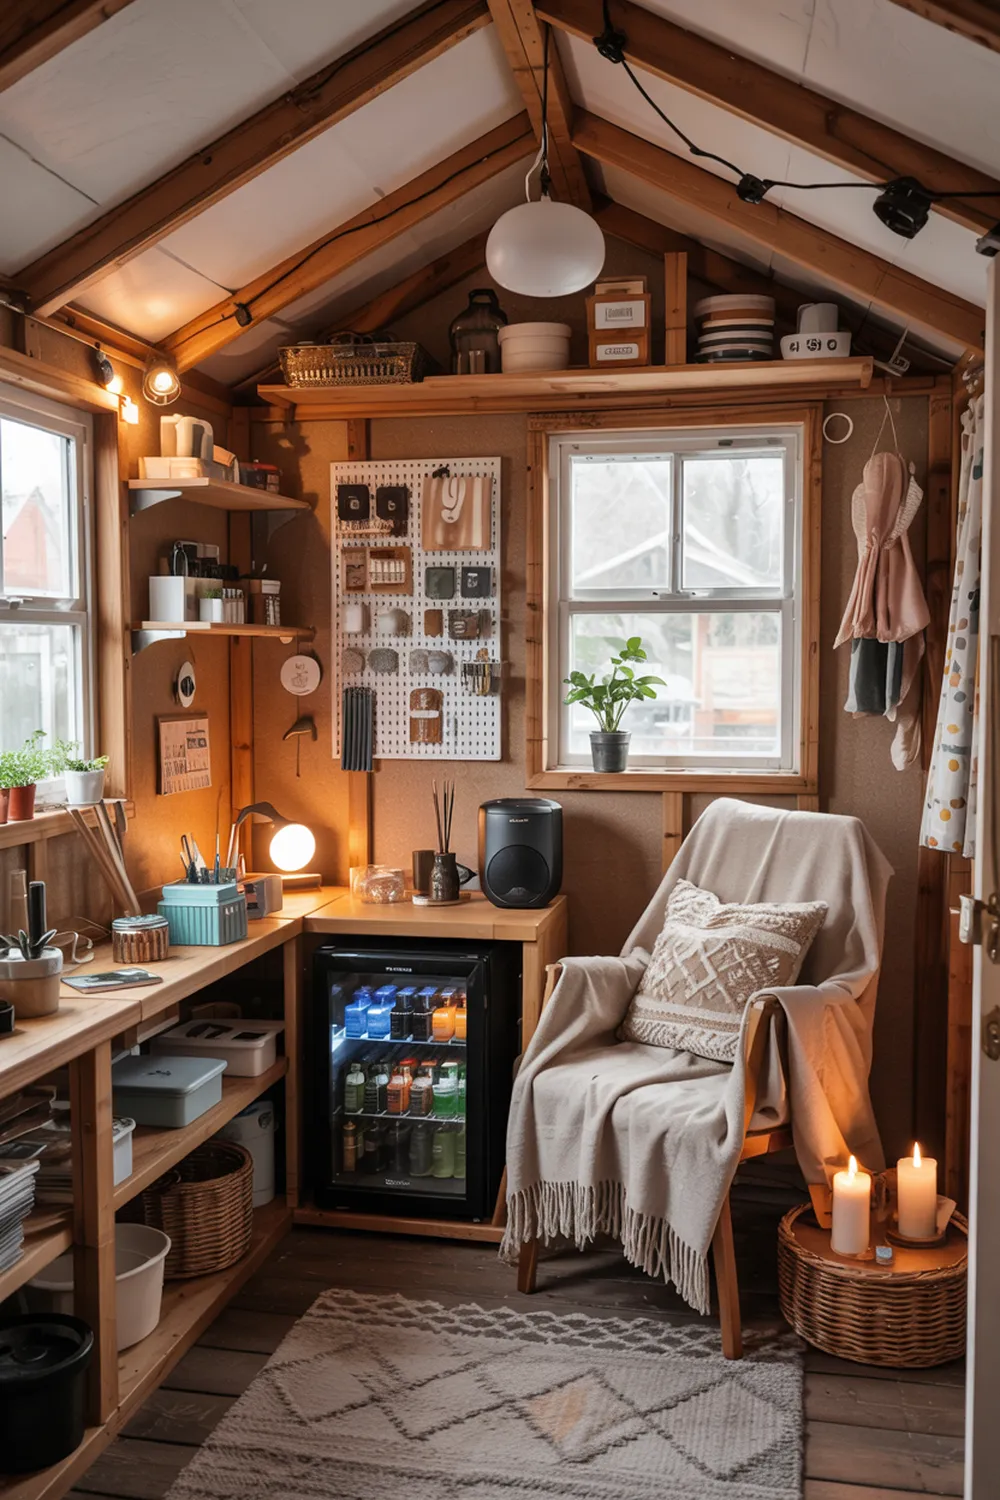
It’s not just a workspace—it’s your retreat.
Little touches make a big difference:
- A Bluetooth speaker for music or podcasts
- A mini fridge with drinks or snacks
- A cozy throw blanket or pair of slippers
- A candle or diffuser with your favorite scent
These details help your shed feel less like a “workshop” and more like a sanctuary.
Step 9: Decorate with Your Own Creations
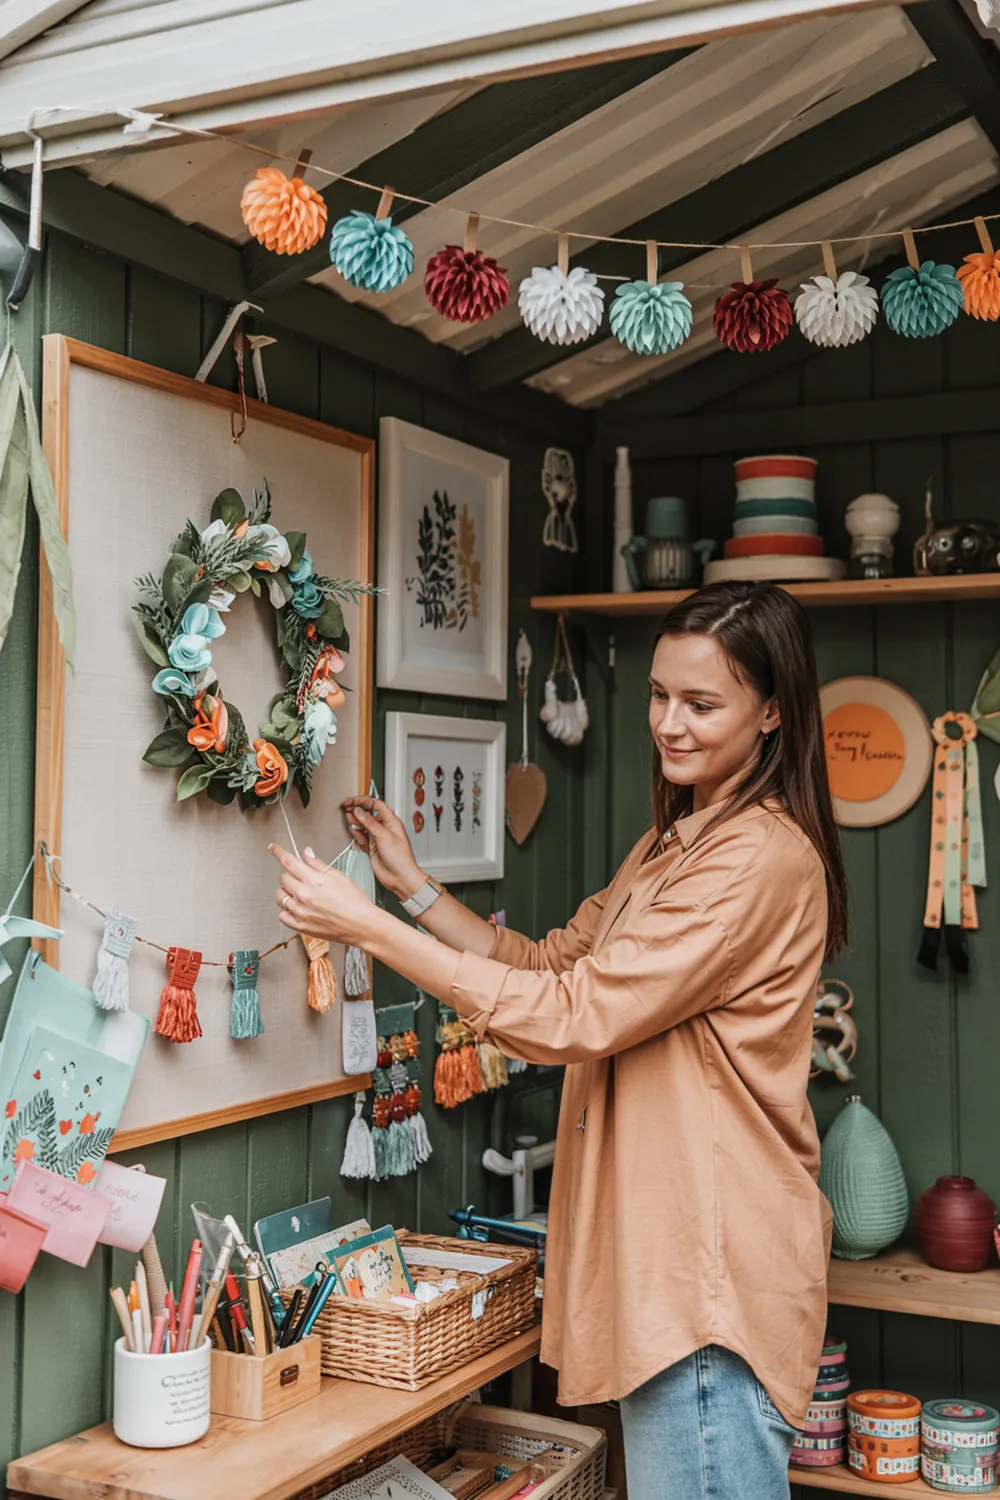
Once your crafting oasis is set up, show off your work! Hang up your handmade wreaths, framed quotes, knitted pieces, or paper art. Let your own creativity be part of the décor—it’ll fuel even more inspiration.
Even displaying in-progress pieces can bring a sense of energy and movement to the space.
Step 10: Maintain Your Oasis
The final step? Keep your space functional and clutter-free.
A few simple habits:
- Do a quick tidy-up at the end of each session
- Set aside time each month to purge supplies you no longer use
- Keep a donation box nearby for extra materials
- Review your organization system every season—it’s okay to tweak!
Your shed doesn’t have to be perfect—but keeping it clean and inspiring ensures it remains a true retreat, not just another place to stash things.
Crafting Oasis Ideas by Hobby
Need a little spark of inspiration? Here are some shed themes based on your craft:
✂️ Sewing & Quilting Shed
- Cutting table with a rotary mat
- Thread rack on the wall
- Fabric storage by color in clear bins
🎨 Painting or Art Shed
- Easel near a window for natural light
- Slop sink (if you have access to water)
- Hanging drying rack for canvases
📸 Scrapbooking & Paper Crafts Shed
- Tons of drawer space for paper, stamps, and stickers
- Built-in paper cutter station
- Label printer for custom tags
🧶 Knitting or Crochet Shed
- Comfy chair with a yarn basket nearby
- Wall hooks or cubbies for skeins
- Display for finished items
🛠️ DIY Décor or Cricut Shed
- Rolling table for your Cricut or Silhouette machine
- Vinyl storage in hanging file folders
- Cupboard for blanks like mugs, signs, and tote bags
Final Thoughts
Your backyard shed could be so much more than just a storage building—It can be the place you look forward to escaping to, the one spot in your world that is 100% yours.
With a little foresight, some creativity, a weekend (or two) of elbow grease and a healthy disregard for vanity, you can transform a nondescript shed into the ultimate crafting retreat that fosters joy and productivity.
Whether it’s a calming solo escape, a cozy place to host craft nights with friends and family, or a headquarters for your side hustle—woah, this shed is about to become your new happy place.
📌 Save This for Later!
Turn your Pinterest dreams into reality. Save this post to your Craft Room Ideas or Backyard Makeover board and start planning your shed transformation today! ✨🌿🧵