Do you find a large hole in your villa drywall? Don’t get pissed off. Either a small or large hole, you can repair it. Although repairing a large hole would be different from a small one. A large hole needs a new and rigid piece of drywall and some scrap lumber as the frame. But you don’t need lumber to fix a small hole.
Here is how to repair a large hole in the drywall.

Materials You Will Need
Before beginning the work, make sure you have prepared several materials. Those include a drywall saw and knife, piece of drywall, lumber or plywood strips, measuring tape or ruler, and joint drywall compound. Those are the least materials you need. You can prepare other building tools to help you with the woodwork. Now, let’s get started.
Steps to Repair a Large Hole in the Drywall
1. Create a Large Square Hole

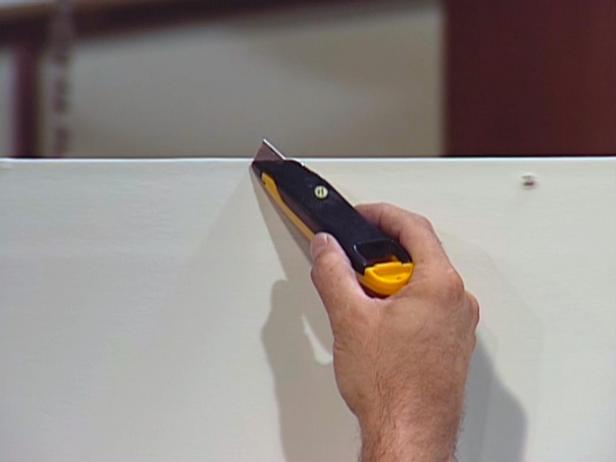
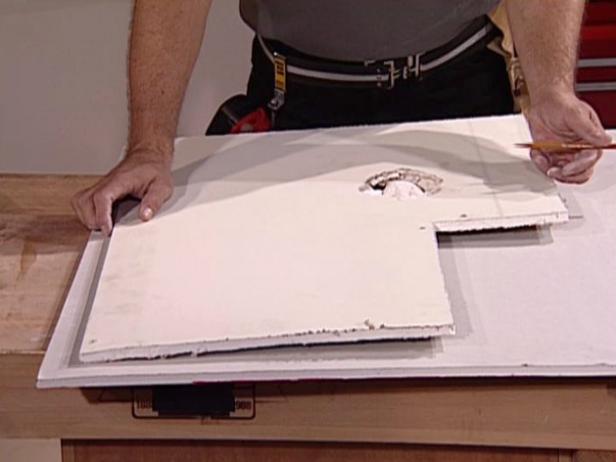
First, you need to create a large square hole as a space for the new drywall piece. Draw a bigger square outside the hole using a pencil. Starting from the hole, cut the drywall to the corners of the square using a drywall saw. Using a drywall knife, score the lines. Then, break the damaged drywall by pushing it into the hole. There you will get a square hole.

2. Install the Wooden Frames

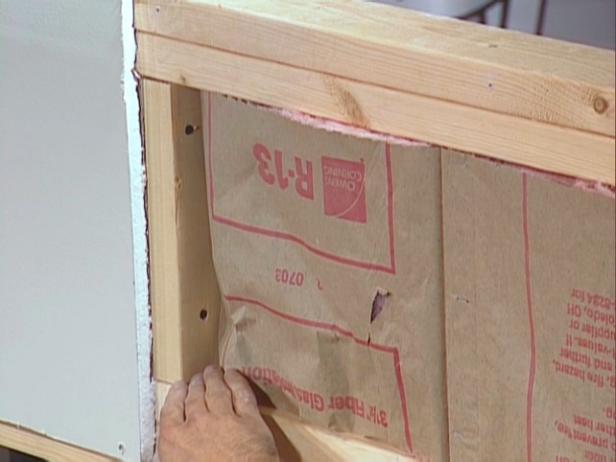
Cut two strips of plywood or lumber three inches wide. Make sure they are longer than two opposite sides of the hole. Install one piece of the wooden frame on one side of the hole and the other on the opposite side.
Secure them using drywall screws from the outside. Screw them an inch from the edge of the drywall. Drive several screws on each side. If the hole is more than 10 inches wide, cut one or two more strips to install on the center of the hole.
3. Place the Drywall Patch
Using a measuring tape or ruler, measure the length of the hole. Then cut a piece of drywall accordingly. It doesn’t need to be the same size. But, make sure that the gap between the new and the old patch is not too wide. Place the new patch on the wooden frames and secure it with screws. You must note that the thickness of both patches must be the same.
Don’t leave those gaps between patches bare. You need to cover those seams on each side using fiberglass mesh tape or drywall joint tape. This method is also about avoiding any wrinkles or bubbles in the coverage. So, the next step can be done smoothly.
4. Apply the Coating
Apply three layers of coating for this work to achieve a smooth finish. Use joint compound for the first and second layers, then used mixed compound for the final coat.
First, mud the seams with a thick layer to cover the tape and the wall surface around. Then go back to scrape the excess mud to get a semi-rough finish using the same 6-inch joint knife. Do this several times to get rid of some mud.
Let it dry before brushing it with sandpaper. Go easy when sanding. You don’t want to scar the tape and remove all the coats. Then, apply the setting coat using a wider joint knife. Scrape the excess mud several times and let it dry.
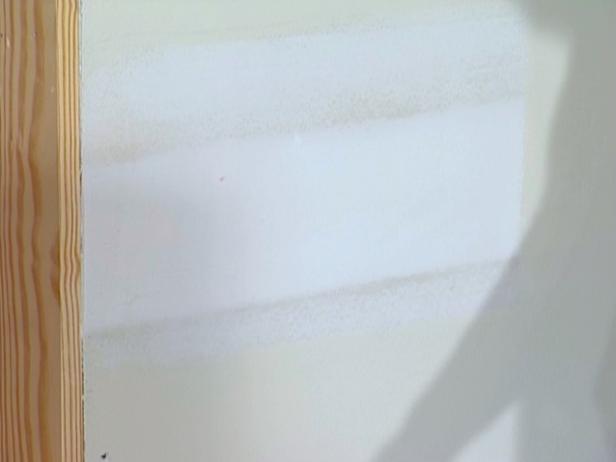
Then, apply the third layer of mixed joint compound using the same method as the first and second coats. But, stroke in a different direction from the previous coat. If you stroke vertically for the second coat, go horizontal this time to get a smooth surface.
5. Sanding and Painting

If some scratches appear, apply another coat and continue with sanding. But you don’t need to if the wall or ceiling surface is already smooth. Use the same method as you did with the third layer. Wipe off the sanding dust so you can start painting the drywall.

