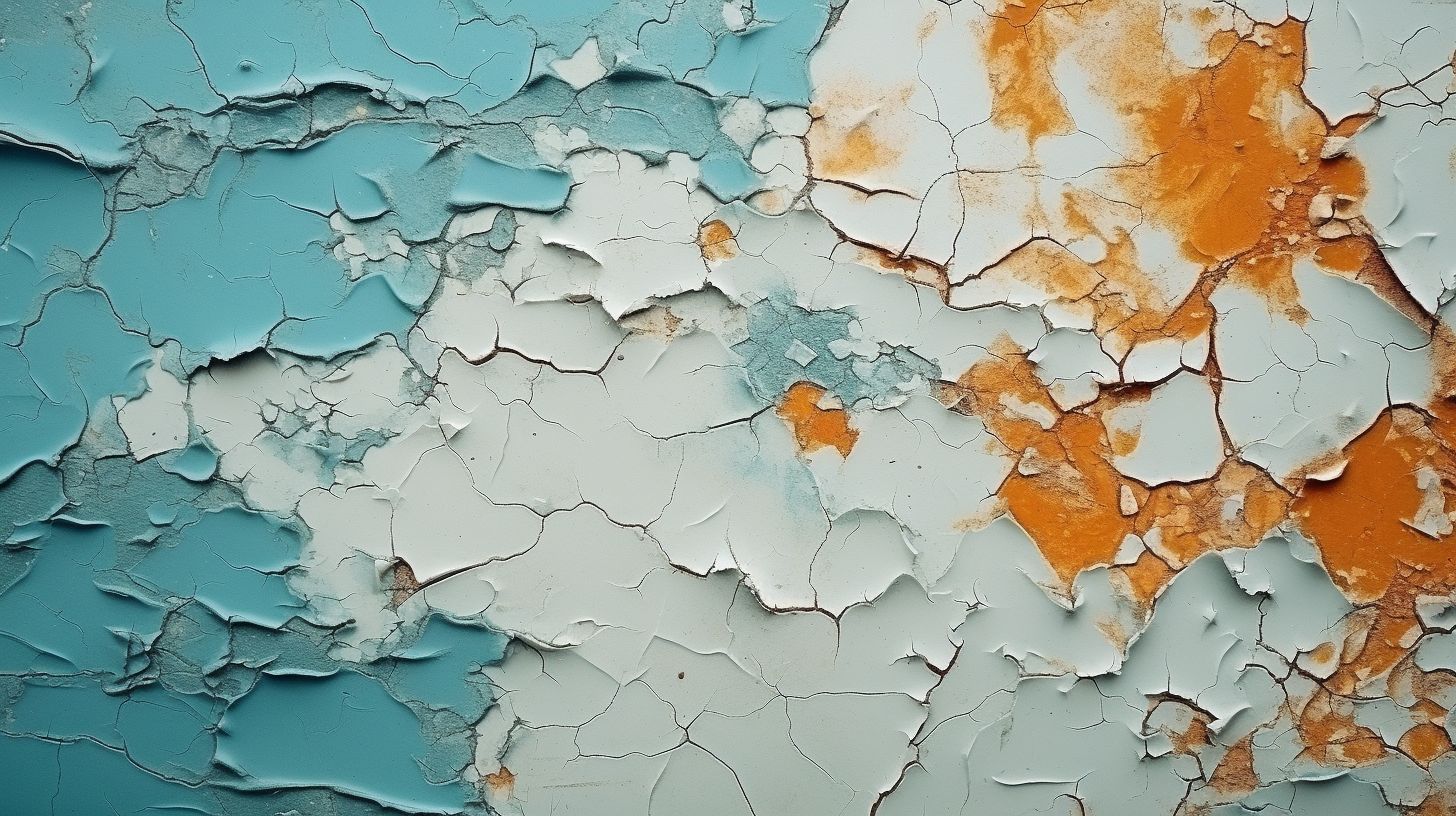
Peeling paint on your bathroom ceiling or wall can be a downright nuisance. It’s often triggered by high humidity, soap and water buildup, or hasty painting practices. Whether you’re an experienced DIY-er or embarking on your first home renovation mission, this comprehensive guide will walk you through the process of fixing that pesky problem with ease.
Ready to restore beauty back to your bathroom? Let’s get started!
Key Takeaways
- High humidity and poor ventilation are common causes of peeling paint on bathroom ceilings or walls.
- To prevent paint peeling, apply paint in a low – humidity environment, keep the area clean before painting, adequately prep surfaces, allow proper drying time between coats, and ventilate the bathroom well.
- To fix peeling paint on your bathroom ceiling or wall, gather necessary materials for repair, scrape off the peeling or chipped paint, patch the area where the paint had been peeling, apply a second coat of plaster if needed and sand again, prime the bathroom wall prior to painting, and finally paint your bathroom.
Causes of Bathroom Ceiling Paint Peeling

And high humidity is a top culprit in causing bathroom ceiling paint to peel, a problem often encountered in wet areas. Because bathrooms become steamy during showers and baths, the moisture in the air can significantly impact the condition of your paint job.
The issue of moisture buildup can compound this problem, particularly if the bathroom is poorly ventilated, as the excess dampness can seep into the paint layers, causing them to lose adhesion and peel. The common issue of poor ventilation exacerbates the problem, as it allows moisture to linger and undermines the paint’s integrity.
When tackling this issue, always remember to wear protective eyewear to guard against any paint or debris that might flake off during the scraping process.
The peeling problem worsens when this excess moisture meets with poor ventilation, resulting in trapped wetness that damages your paint.
Further causes include hasty painting procedures and lack of proper preparation before starting the task. Skimping on cleaning surfaces thoroughly can lead to accumulating water and soap scum beneath fresh layers of paint—setting up a situation ripe for peeling later on.
The same goes for skipping critical steps such as priming or not allowing enough time between coats for adequate drying; both oversights often result in severe cracking or peeling down the road.
Keys to Preventing Paint Peeling

To achieve first place in durability and aesthetics for your bathroom walls, it’s essential to take the right preventative steps against paint peeling. Enhancing the lifespan of your bathroom’s paint job means preventing paint from peeling. Actions you can take include:
- Applying bathroom paint in a low-humidity environment: Paint peeling or bubbling may occur in high humidity, making it essential to have optimal weather conditions when painting.
- Regular cleaning and keep the area clean before painting: Don’t apply paint over built-up water and soap scum – this could cause the new paint to peel off along with the grime.
- Prepping adequately: Rushed prep work often leads to peeling because the new tincture hasn’t adhered properly to the surface. To prevent peeling, it’s essential to wipe down the walls with a damp sponge to remove any residue or dust before applying primer.
- Allowing proper drying time between coats: A hasty second coat without enough drying can lead to severe cracking called “alligatoring,” which is another form of peeling.
- Including a final coat of gloss enamel sheens can significantly improve moisture resistance and ease of cleaning.
- Ventilating the bathroom well: Help lower humidity levels by installing a fan and turning it on for at least an hour after bathing – this aids in preventing ceiling paint from peeling.

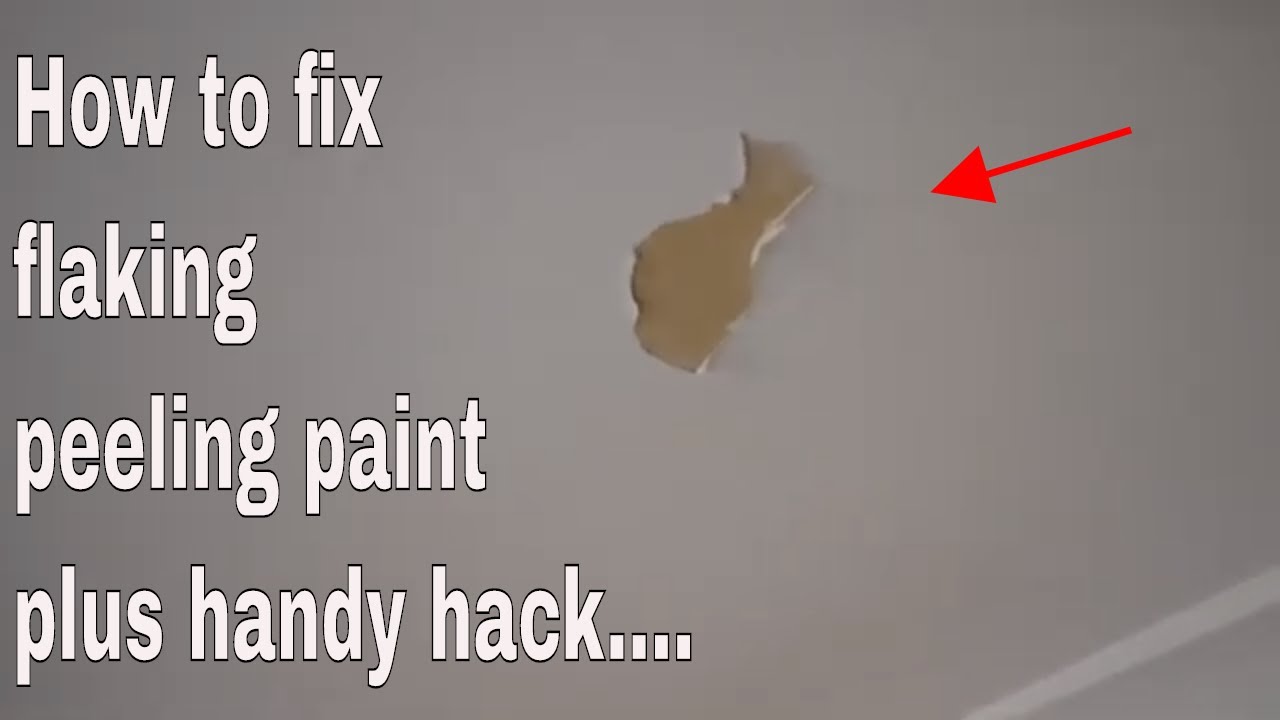
Steps to Repair Peeling Paint on Bathroom Ceiling or Wall

In the midst of scraping, the stark contrast of the peeled paint against the solid areas is starkly evident, showcasing the urgent need for repair.
For actual painting tasks, a high-quality primer, paintbrushes, and specialty bathroom interior latex paints are key to ending up with a fresh new coat that won’t easily peel off again.
To ensure you have everything you need, it might be wise to visit local hardware stores to pick up any additional supplies like specialized sealants or moisture-resistant primer. As you scrape, you may notice tiny flakes of paint that come off easily; these must be removed to ensure a smooth surface for repainting.
The next step is to gather all the necessary materials for repair before diving into the process itself. To prepare for the task, cover the floor and any immovable fixtures with plastic sheets to protect them from dust and paint splatters.
Here’s a step-by-step guide on how to fix peeling paint on your bathroom ceiling or wall. Don’t miss out on these essential tips!
Gather necessary materials for repair
Before diving into the repair process, gathering the needed materials ensures an efficient work session.The first step is to compile a list of materials you’ll need for the repair, such as spackle, primer, paint, and various tools.
An important aspect of preparation is ensuring that all “old paint” is scraped away to create a clean surface for the new coats to adhere to.
An oil-based primer is particularly effective in bathrooms because it seals the porous surface of the wall and helps prevent future peeling due to moisture.
The essential items would be a drop cloth and painter’s tape for protection against paint splatters affecting other areas of your bathroom.
A putty knife and sandpaper help smooth out peeled or chipped spots on your wall or ceiling. For actual painting tasks, a high-quality primer, paintbrushes, and specialty bathroom interior paint are key to ending up with a fresh new coat that won’t easily peel off again.
Don’t forget about safety; ensure you have protective goggles and a dust mask ready. Once all these are in place, you’re set to tackle that peeling problem head-on!
Scrape off the peeling or chipped paint
Before you can begin the process of repainting, you need to effectively remove all peeling and chipped paint from your bathroom ceiling or wall. Arm yourself with a sturdy putty knife or scraper and carefully start to scrape off any areas where the paint is not adhering well.
This step requires patience as rushing could inadvertently damage the ceiling surface area further. Remember, safety comes first so always wear protective goggles and a dust mask during this task to protect yourself from potential flying debris and dust particles that might loosen during scraping.
Once you have removed all loose paint, it’s crucial to assess and repair the damaged area to prevent future peeling.
Patch the area where the paint had been peeling
To fix peeling paint on your bathroom ceiling or walls, patching the area where the paint had been peeling is an important step in the repair process. After scraping off the loose or chipped paint with a paint scraper and cleaning the surface, you will need to apply a patching compound to fill in any damaged areas.
Smooth it out with a putty knife and allow it to dry according to the manufacturer’s instructions. This will create a smooth surface for your new coat of paint, ensuring better adhesion and a professional-looking finish.
Apply a second coat of plaster, if needed and sand again
If the first coat of plaster isn’t enough to fully repair the peeling paint on your bathroom ceiling or wall, don’t worry. Applying a second coat of plaster is a simple solution to ensure that the damaged areas are properly covered and protected.
Make sure to assess the patched areas before proceeding with this step – if you still see any unevenness or roughness, applying another layer will help create a smooth surface for painting.
Once the second coat is applied, allow it to dry completely before moving on. Afterward, grab your sandpaper and gently sand down any excess or uneven patches until you achieve a smooth finish.
Prime the bathroom wall prior to painting
To ensure better adhesion and a smoother finish, incorporating a high-quality bonding primer such as the “zinsser peel stop primer” can significantly improve paint adhesion and durability. This crucial step will help the paint adhere properly and create a more durable surface.
Before applying the primer, make sure to remove any loose sections of paint and sand the area for a smooth finish. Allow sufficient drying time between coats of primer and paint for the best results.
It is also recommended to choose a paint with a gloss or semi-gloss finish for bathroom walls, as these finishes are more resistant to moisture. After priming, repaint the bathroom wall with the same color and brand of paint for a seamless look.
Paint your bathroom
To complete the repair process and give your bathroom a fresh look, it’s time to paint. Start by applying a coat of primer to ensure good adhesion and protect against future peeling.
Use a high-quality paint designed for bathrooms, such as Benjamin Moore Aura Bathroom Walls & Spa Matte or Sherwin Williams Duration Home Interior Acrylic Latex. With a paint roller or brush, carefully apply the new paint to the patched areas and entire surface.
Remember to allow sufficient drying time between coats for best results. A new coats of paint will not only cover up any remaining peeling spots but also enhance the overall appearance of your bathroom.

Note: If, however, you find the task daunting or beyond your DIY skills, hiring a professional painter who is familiar with the challenges of bathroom environments can be a worthwhile investment.
How to Repair Peeling Paint on Textured Ceiling

To repair peeling paint on a textured ceiling, start by removing any loose paint using a putty knife. Make sure to sand down the area after removing the loose paint to create a smooth surface.
Next, patch the damaged areas with plaster and allow it to dry thoroughly before proceeding. Sand the patched areas again if necessary. The next crucial step is priming the ceiling before painting.
Apply a high-quality primer that has stain-blocking properties to ensure good adhesion of the new coat of paint. Finally, choose a paint with a gloss or semi-gloss finish for textured ceilings and apply it evenly using a paint roller or brush.
Remember, proper preparation and priming are key in repairing peeling paint on textured ceilings. By following these steps and using the right tools and materials, you can achieve professional-looking results in your DIY project.
Frequently Asked Questions
Can you paint directly over peeling paint?
Painting directly over peeling paint may seem like a quick fix, but it’s not the best solution. The peeling paint needs to be addressed first to ensure a long-lasting finish. Before painting, you should scrape off the loose or chipped paint using a paint scraper or putty knife.
Then, sand down any rough edges with fine-grain sandpaper and clean the area thoroughly. Patch any areas where the paint had been peeling with spackling compound or drywall compound.
Finally, prime the surface before applying a fresh coat of paint for better adhesion and a smooth finish. So, while it may be tempting to skip these steps, taking the time to properly address peeling paint will ensure a beautiful and durable result in your bathroom.
Will PVA stop paint peeling?
Using PVA as a primer or sealer can help improve paint adhesion and create a protective barrier between the surface and the paint. This can potentially prevent peeling in some cases.
However, it’s important to note that PVA is not a guaranteed solution for preventing paint peeling in bathrooms. There are several factors that contribute to paint peeling, such as excess moisture, mold growth, and improper surface preparation.
Therefore, while using PVA may be beneficial, it’s recommended to address the root causes of paint peeling and take additional preventive measures like good ventilation, proper cleaning, and using bathroom-specific primers and paints for better long-term results.
Conclusion
In conclusion, fixing peeling paint on your bathroom ceiling or wall is an important step in maintaining the appearance and integrity of your space. By addressing the causes of peeling paint and following the necessary steps for repair, you can ensure a smooth and long-lasting paint job.
Remember to prioritize good ventilation, proper cleaning and priming, and choose high-quality paints for moisture resistance. With these tips in mind, you’ll be well-equipped to tackle this issue and enjoy a fresh-looking bathroom once again.